Naan Recipe: Classic or Garlic Butter
 Prep Time 15 minutes Cook Time 20 minutes Total Time 1 hour 35 minutes


This naan recipe is a classic rendition of the beloved Indian flatbread, known for its soft texture and delicious flavor. For a twist, try making garlic butter naan by brushing the cooked naan with a mixture of melted butter and minced garlic, adding a savory and aromatic touch. Both versions are sure to be a hit at your next meal, whether paired with a spicy curry or enjoyed on their own as a flavorful side.

Indian naan is a type of flatbread that is traditionally made in a tandoor, a clay oven. It is typically made with flour, water, yeast, yogurt, and sometimes egg, which gives it a soft and fluffy texture. Naan is usually brushed with ghee or butter before serving, which adds flavor and helps keep it moist.
Naan is believed to have originated in Persia (modern-day Iran) and then spread to the Indian subcontinent and Central Asia. The word “naan” is derived from the Persian word “non,” which means bread.
Today, naan is a staple in Indian cuisine and is enjoyed worldwide for its soft and chewy texture and ability to complement a wide variety of dishes.

Why is this the best recipe?
- Soft and Fluffy Texture: The combination of flour, yogurt, and egg, along with the yeast and baking powder, creates a dough that rises well and results in a soft and fluffy texture.
- Rich Flavor: The addition of yogurt, egg, and vegetable oil adds richness and depth of flavor to the naan, making it more enjoyable to eat on its own or with other dishes.
- Easy to Make: This recipe uses simple ingredients and basic techniques, making it accessible to home cooks of all skill levels.
- Customizable: While this recipe is delicious on its own, you can also customize it with toppings like garlic, cilantro, or sesame seeds to add extra flavor and texture.

Ingredients and substitutes
- All-purpose flour: Provides structure and texture to the naan. Whole wheat flour or a mix of whole wheat and all-purpose flour for a healthier option.
- Yeast: Acts as a leavening agent, helping the dough rise and become light and fluffy. You can also use instant yeast instead of active dry yeast. Use about 25% less instant yeast than the amount of active dry yeast called for in the recipe.
- Sugar: Feeds the yeast, helping it activate and causing the dough to rise. You can also use honey or maple syrup in place of sugar.
- Warm water: Helps activate the yeast and hydrate the flour.
- Yogurt: Adds moisture, flavor, and a slight tanginess to the naan. It also helps tenderize the dough. You can also use sour cream or buttermilk instead of yogurt.
- Vegetable oil: Adds moisture and helps keep the naan soft. You can also use melted butter or ghee in place of vegetable oil.
- Baking powder: Helps the naan rise and become fluffy.
- Egg: Adds richness and helps bind the dough together. For a vegan option, you can omit the egg or use a commercial egg replacer.

Step-by-step: Soft naan bread
- Yeast mixture – In a small bowl, combine the warm water, eggs, sugar, and yeast. Let it sit for about 5-10 minutes or until it becomes frothy.
- Dry ingredients – Combine the flour, salt, and baking powder in a large mixing bowl. Add the yogurt, vegetable oil, and the yeast mixture. Mix everything to form a dough.

- Knead the dough on a floured surface for about 5-10 minutes or until it becomes smooth and elastic. Place the dough in a greased bowl, cover it with a damp cloth, and let it rise in a warm place for about 1-2 hours or until it doubles in size.
- Preheat a skillet, a griddle, or a cast-iron skillet over medium-high heat.

- Divide the dough into 16 equal portions. Roll each portion into a ball, then flatten it into an oval or teardrop shape, about 1/4 inch thick.
Pro tip – Roll into a 6-inch circle, hold one end of the circle, and stretch to make an oval, as shown in the video.

- Cook – Place the flattened dough onto the hot cast-iron skillet or griddle. Cook for about 1-2 minutes, or until bubbles form on the surface. Flip the naan and cook for another 1-2 minutes or until lightly browned and cooked through.
- Garlic butter – Combine the soft butter, grated garlic, and chopped cilantro until smooth. Before you remove the naan from the skillet, brush it with garlic butter. You can also sprinkle black sesame or nigella seeds on top for extra flavor.
- Store – Remove from the pan and store wrapped between layers of a clean kitchen cloth. Serve the naan warm, as a side dish, or with your favorite Indian curry.


Troubleshooting
- Dough Doesn’t Rise: If your dough doesn’t rise, it could be due to old or inactive yeast. Make sure your yeast is fresh and check the expiration date. Also, ensure the water you use to activate the yeast is warm but not too hot, as hot water can kill the yeast.
- Naan Doesn’t Puff Up: If your naan doesn’t puff up while cooking, it could be because it was rolled too thin or because the cooking surface wasn’t hot enough. Try rolling the dough slightly thicker and ensuring your pan or oven is preheated properly.
- Naan is Too Dense: Dense naan can be caused by over-kneading the dough, which can make it tough. Try kneading the dough just until it comes together and is smooth.
- Naan is Too Dry: Dry naan can be the result of overcooking. Cook the naan just until it’s lightly brown on both sides, and brush it with butter or ghee immediately after cooking to add moisture.
- Burnt Toppings: If your toppings are burning, try adding them to the naan just before serving or using less heat when cooking.
- Sticking to the Pan: If your naan is sticking to the pan, make sure the pan is well-oiled or use a non-stick pan. You can also sprinkle some flour or semolina on the pan before cooking to prevent sticking.


Frequently asked questions
Fresh naan is best the day it is made, but leftovers will keep at room temperature for 4 to 5 days. Naan also freezes beautifully for up to a month. They are perfect for wraps and snacks.
Traditionally, naan is cooked in a tandoor, a clay oven that reaches very high temperatures. However, you can also cook naan on a stovetop, grill, or in an oven. Here are the methods for each:
Stovetop: Preheat a cast-iron skillet or non-stick pan over medium-high heat. Place a rolled-out naan onto the hot skillet and cook for about 1-2 minutes, or until bubbles start to form. Flip the naan and cook for another 1-2 minutes, or until lightly browned and cooked through.
Grill: Preheat your grill to medium-high heat. Place rolled-out naan directly on the grill grates and cook for about 2-3 minutes per side, or until lightly charred and cooked through.
Oven: Preheat your oven to the highest temperature possible, ideally 500°F (260°C) or higher, with a pizza stone or baking sheet inside. Place rolled-out naan onto the preheated stone or sheet and bake for about 3-4 minutes, or until puffed up and lightly browned.
Yes, you can make naan without yeast by using baking powder or baking soda as a leavening agent. However, the texture and flavor may differ from traditional yeast-raised naan.
Yes, you can make gluten-free naan using a gluten-free flour blend. However, the texture and taste may be different from traditional naan.
Yes, you can make naan without yogurt. You can substitute yogurt with buttermilk, sour cream, or a dairy-free alternative like coconut yogurt.
Yes, you can make vegan naan by using a dairy-free yogurt and omitting the egg. You can also brush the cooked naan with olive oil or vegan butter instead of ghee.
It really bothers me when I go to a restaurant and have naan that’s tough and chewy like rubber. Therefore, if you look at my video, you will see that the naan really is soft, and the secret is simply to make sure the dough is soft. Avoid the temptation to add too much flour.
Indian Naan – Garlic Butter Naan
This naan recipe is a classic rendition of the beloved Indian flatbread, known for its soft texture and delicious flavor. For a twist, try making garlic butter naan by brushing the cooked naan with a mixture of melted butter and minced garlic, adding a savory and aromatic touch. Both versions will surely be a hit at your next meal, whether paired with a spicy curry or enjoyed on their own as a flavorful side.
Video
Ingredients
- 4 cups (500 g) All-purpose flour
- ½ tsp Baking powder
- 2 tsp Active dry yeast
- 1 tbsp Sugar
- ½ cup (120 ml) Warm water
- 2 large Eggs
- ½ cup (100 g) Greek yogurt
- 2 tbsp Vegetable oil or butter
- ¾ tsp Salt
- 4 tbsp (55 g) Butter or ghee for brushing (optional)
- 4 tbsp (55 g) Unsalted Butter or Ghee soft room temperature
- 4 – 8 large Garlic cloves grated
- 2 tbsp Cilantro, or other toppings optional
Method
- Yeast mixture – In a small bowl, combine the warm water, eggs, sugar, and yeast. Let it sit for about 5-10 minutes or until it becomes frothy.2 tsp Active dry yeast, 1 tbsp Sugar, 2 large Eggs, ½ cup Greek yogurt, ½ cup Warm water
- Dry ingredients – Combine the flour, salt, and baking powder in a large mixing bowl. Add the yogurt, vegetable oil, and the yeast mixture. Mix everything to form a dough.4 cups All-purpose flour, ½ tsp Baking powder, 2 tbsp Vegetable oil, ¾ tsp Salt
- Knead the dough on a floured surface for about 5-10 minutes or until it becomes smooth and elastic. Place the dough in a greased bowl, cover it with a damp cloth, and let it rise in a warm place for about 1-2 hours or until it doubles in size.
- Preheat a skillet, a griddle, or a cast-iron skillet over medium-high heat.
- Divide the dough into 16 equal portions. Roll each portion into a ball, then flatten it into an oval or teardrop shape, about 1/4 inch thick.
- Cook – Place the flattened dough onto the hot skillet or griddle. Cook for about 1-2 minutes or until bubbles form on the surface. Flip the naan and cook for another 1-2 minutes or until lightly browned and cooked through. Brush with butter or ghee before removing it from the pan.4 tbsp Butter or ghee
- Garlic butter – Combine the soft butter, grated garlic, and chopped cilantro until smooth. Before you remove the naan from the skillet, brush it with garlic butter. You can also sprinkle black sesame or nigella seeds on top for extra flavor.4 tbsp Unsalted Butter or Ghee, 4 – 8 large Garlic cloves , 2 tbsp Cilantro, or other toppings
- Store – Remove from the pan and store wrapped between layers of a clean kitchen cloth. Serve the naan warm, as a side dish, or with your favorite Indian curry.
Notes
- Use High Heat: If you’re cooking naan on a stovetop, make sure your pan is very hot. This helps the naan puff up and develop those characteristic bubbles.
- Roll Out Evenly: Try to roll out your naan dough evenly so that it cooks evenly. Too thick, and it might not cook through properly; too thin, and it might become too crispy.
- Use a Hot Oven or Grill: If you’re using an oven or grill, preheat it well before cooking the naan. This helps mimic the intense heat of a tandoor oven, resulting in better texture.
- Add Toppings Carefully: If you’re adding garlic, cilantro, or other toppings, add them just before or after cooking the naan to prevent them from burning.
- Brush with Butter or Ghee: For extra flavor and moisture, brush the cooked naan with melted butter or ghee as soon as it comes off the heat.
- Keep it Moist: Cover the cooked naan with a clean kitchen towel while cooking the rest to keep it soft and warm.
- Experiment with Flavors: Naan can be flavored with different herbs and spices, or even filled with ingredients like cheese or minced meat for a unique twist.
- Don’t Overcook: Naan cooks very quickly, so keep an eye on it to prevent it from becoming too dry or crispy.
- Overnight – The dough can be prepared a day in advance. Proof it on the counter for an hour, then punch down and let the dough rest in the fridge overnight. Overnight proofing is a great way to add flavor. The next day, let the dough come to room temperature before you shape and bake it.
- Storing naan – These naans freeze beautifully. Cool, then place them in a freezer-safe storage bag. These can be frozen for up to a month.
- Kneading the dough – If possible, use an electric mixer because the dough is soft and sticky.
- Bread machine – This dough can be easily made in a bread machine. Pour all ingredients into the pan set to dough or manual. Start and let the dough run its cycle for about 9 to 10 minutes – continue with the recipe as shown above.
Equipment you will need


Nutrition
Tried this recipe?
Mention @veenaazmanov_kitchen or tag #veenaazmanovkitchen!


Don’t lose this recipe! Save it for Later!
📌 Save this Recipe for later on Pinterest so you can easily find it again.
⭐ Add Veena Azmanov Kitchen to your Google Preferred Sources.
It helps Google show you more of our recipes.
📧 Subscribe for new recipes delivered to your inbox.
🎥 Follow us for more recipes

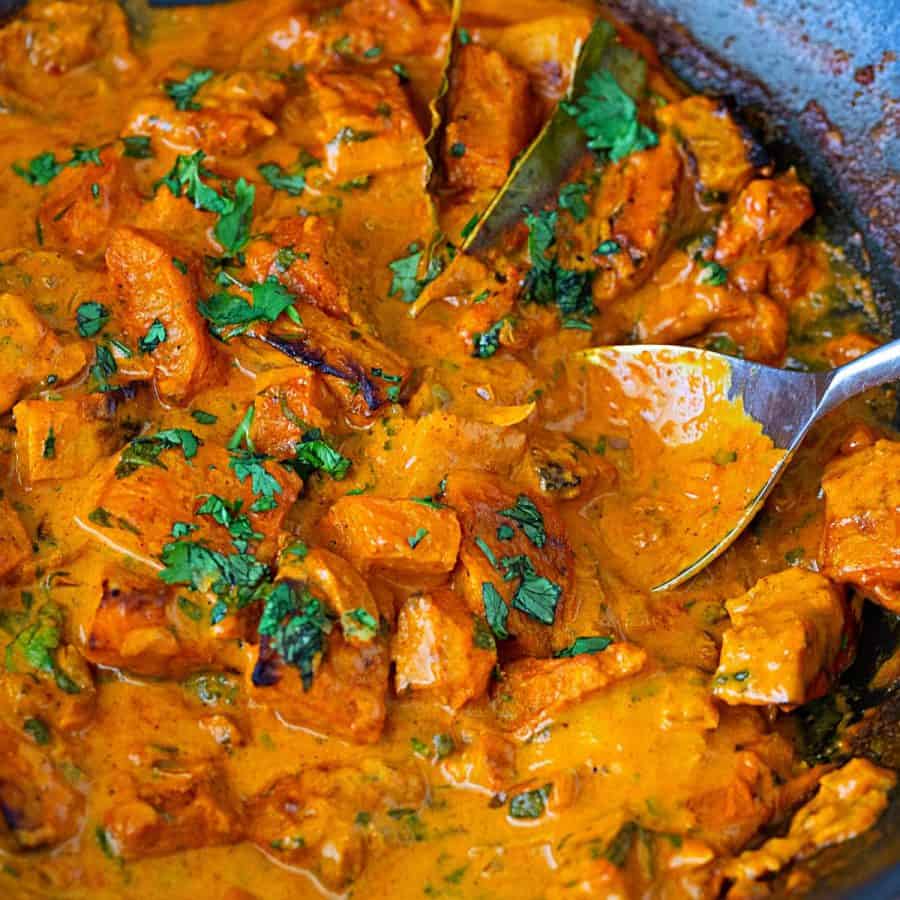
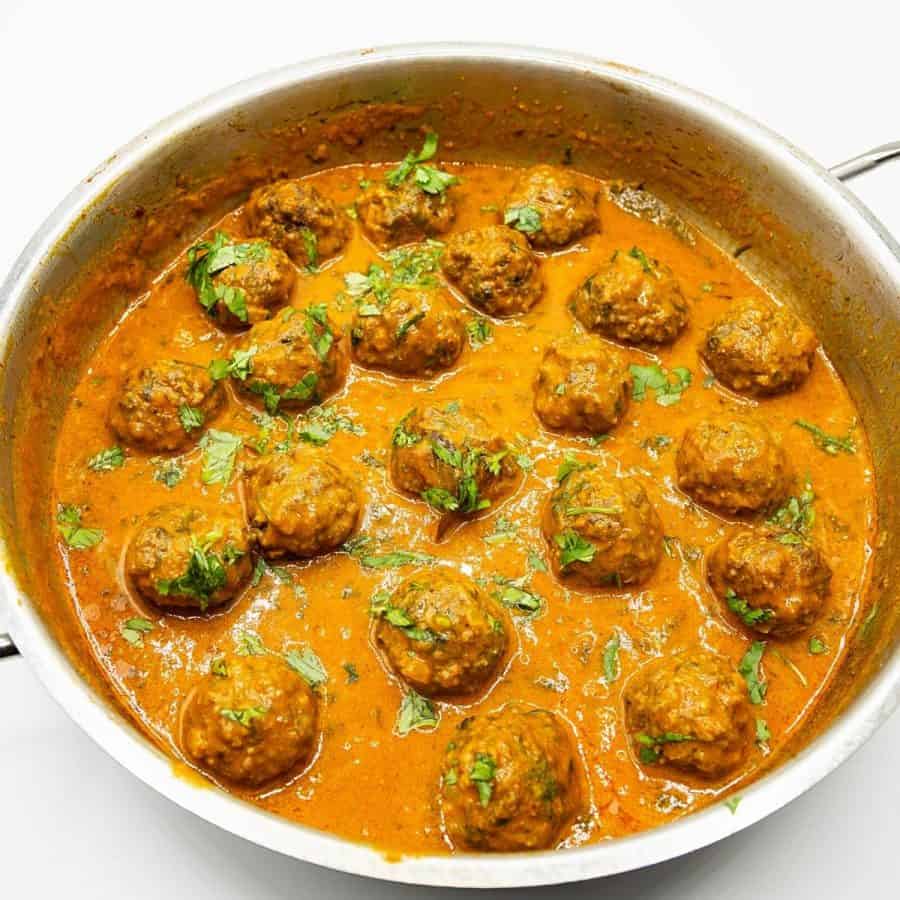
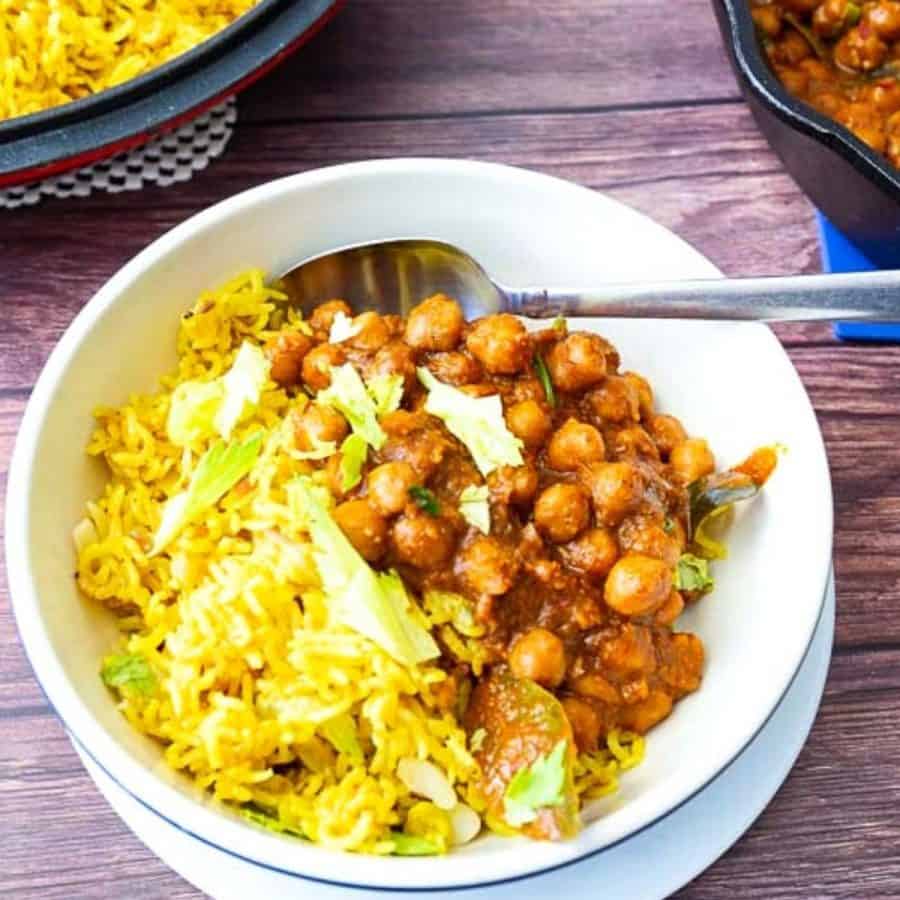
Chicken malai kebabs or Chicken Tikka Masala
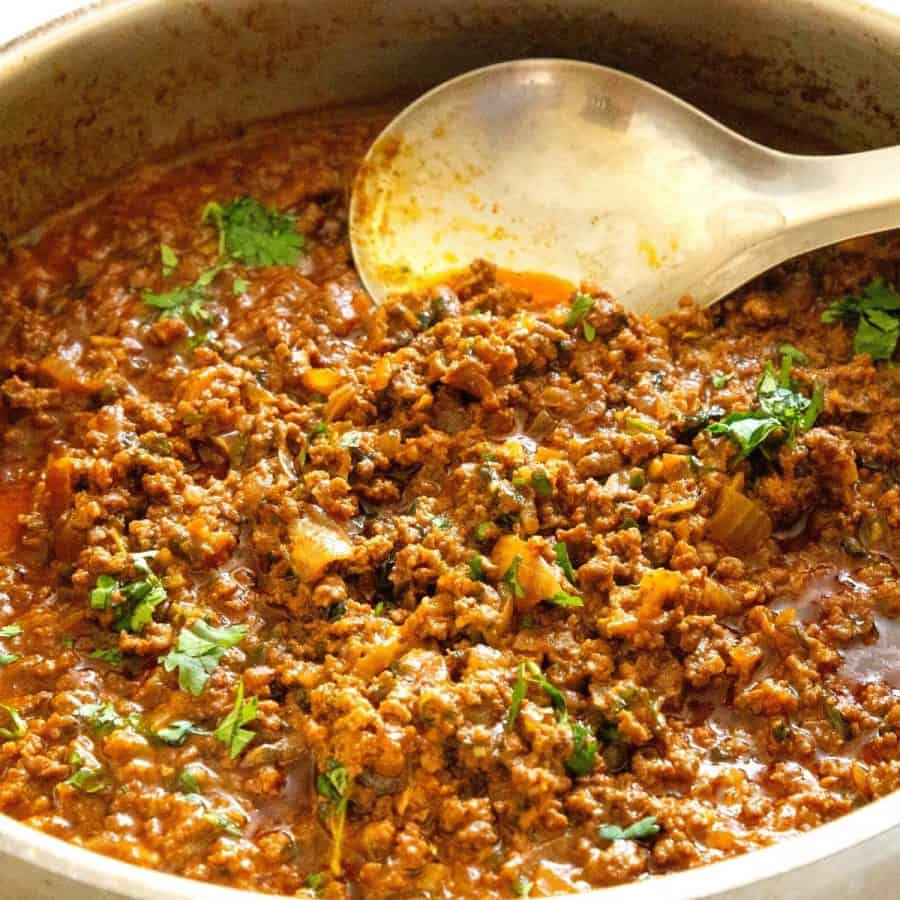
Indian Lamb Biryani or Minced Beef Curry
Black bean curry or Kidney beans coconut curry
Lamb Masala aka Mutton Masala or Slow-cooked Beef Curry
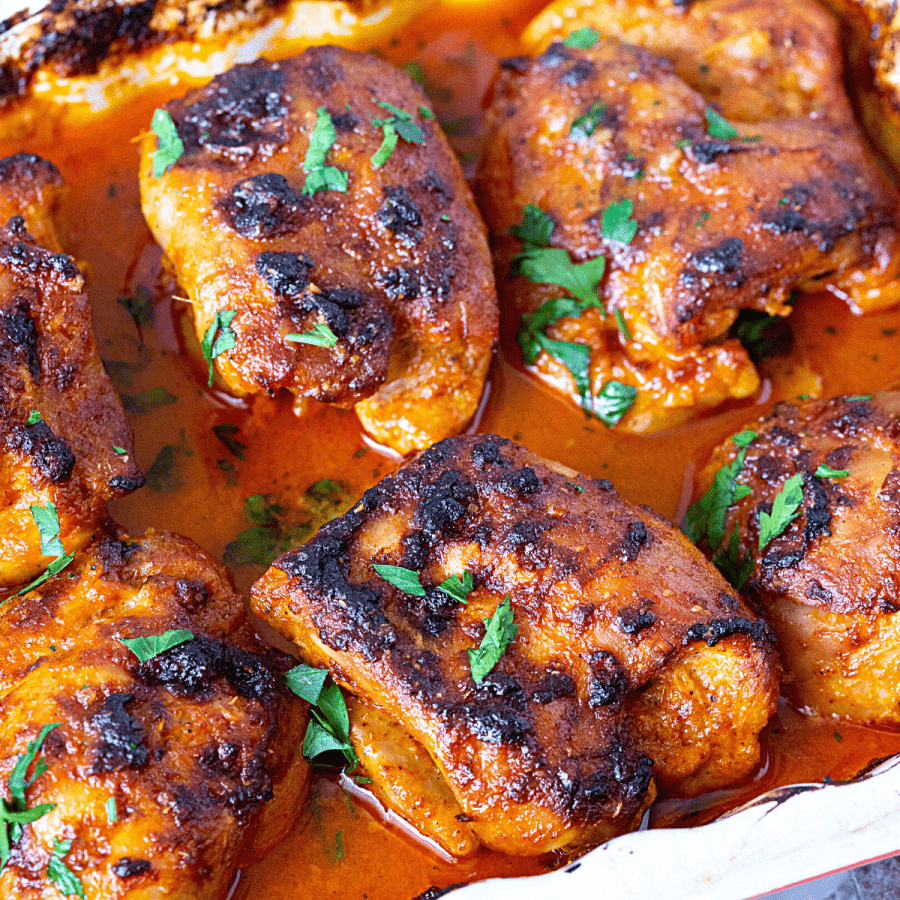
Chicken curry in 15 mins or tandoori chicken


Love this. I have made this many times to go with our Shawarma. Instead of the garlic butter, I use garlic salt in the dough. So glad I learned how to make this as finding it in stores is a pain in my area. Thank you for a wonderful recipe.
Thank you for the lovely feedback, Misty. I am so happy you enjoy making this naan. Garlic salt sounds good. I sometime add garlic powder in mine.