











We all need our whipped cream dessert to look just as beautiful tomorrow as it does today. But keeping whipped cream fresh longer can be tricky. These five simple, easy and effortless methods to stabilize whipped cream will make sure your cakes, cupcakes, and desserts look fresh longer. You can try any of these five methods that work best for your current project.

Whipped cream is pretty much perfect for any dessert. Add a dollop of whipped cream to a bowl of cut fruits, and you have turned your fruit bowl into a dessert! Whipped cream with a pie or pastry is amazing too. Isn’t it? My kids will eat it out of a bowl with a spoon.
You can flavor whipped cream with anything from vanilla to cocoa, lemon, cinnamon, liquor, strawberry the list is endless.
Why do we Need to Stabilize Whipped Cream?
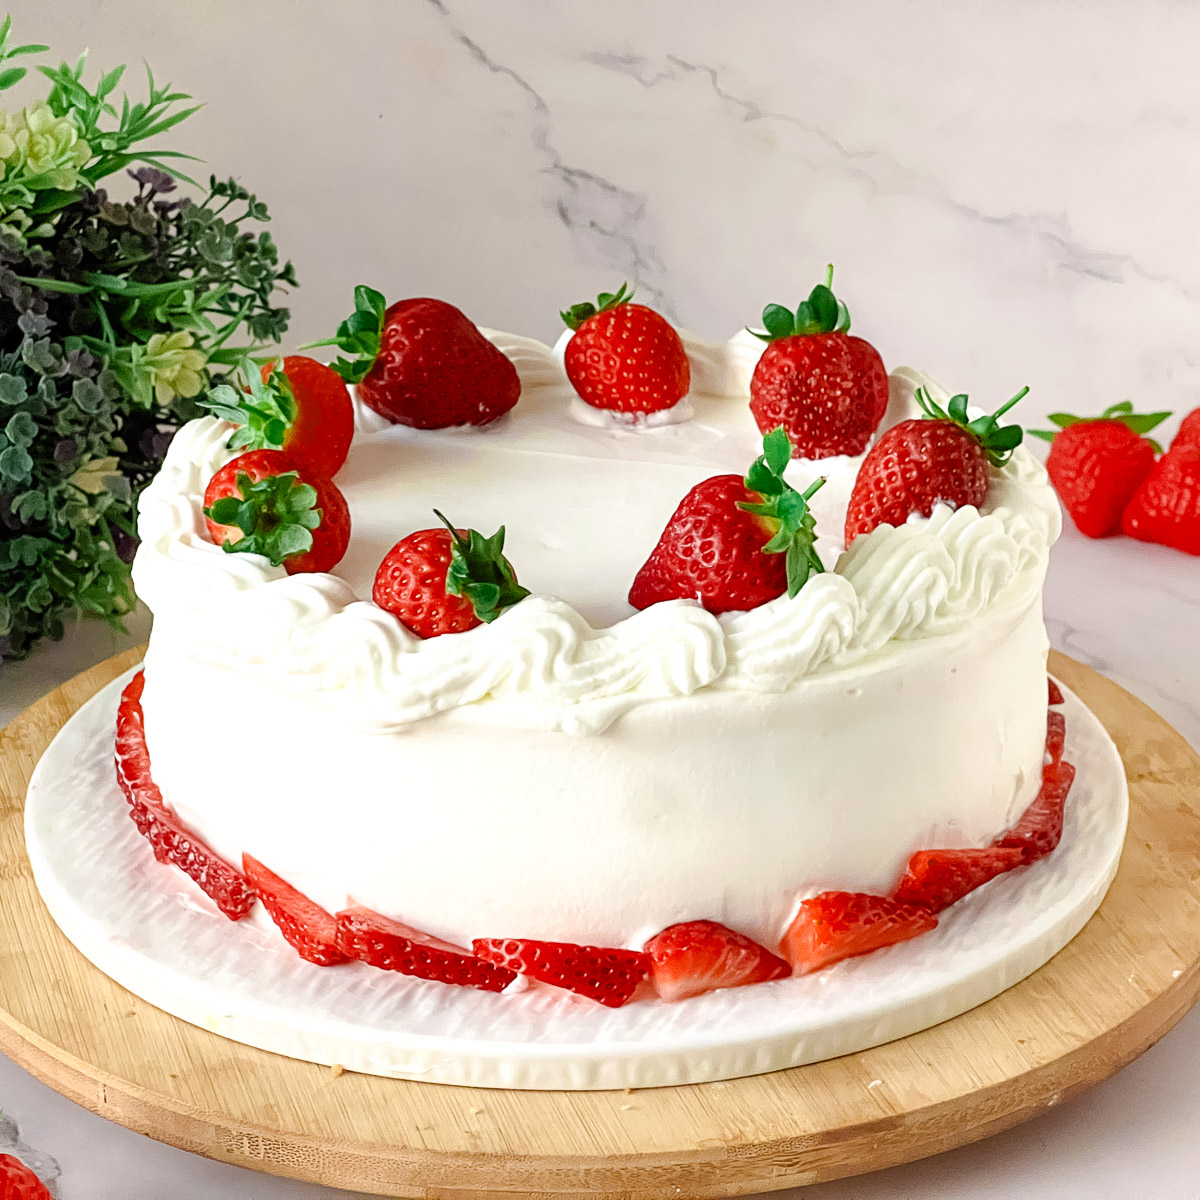
The most important thing about cakes with whipped cream is the consistency of the cream.
- Too soft and it can make your dessert look limp.
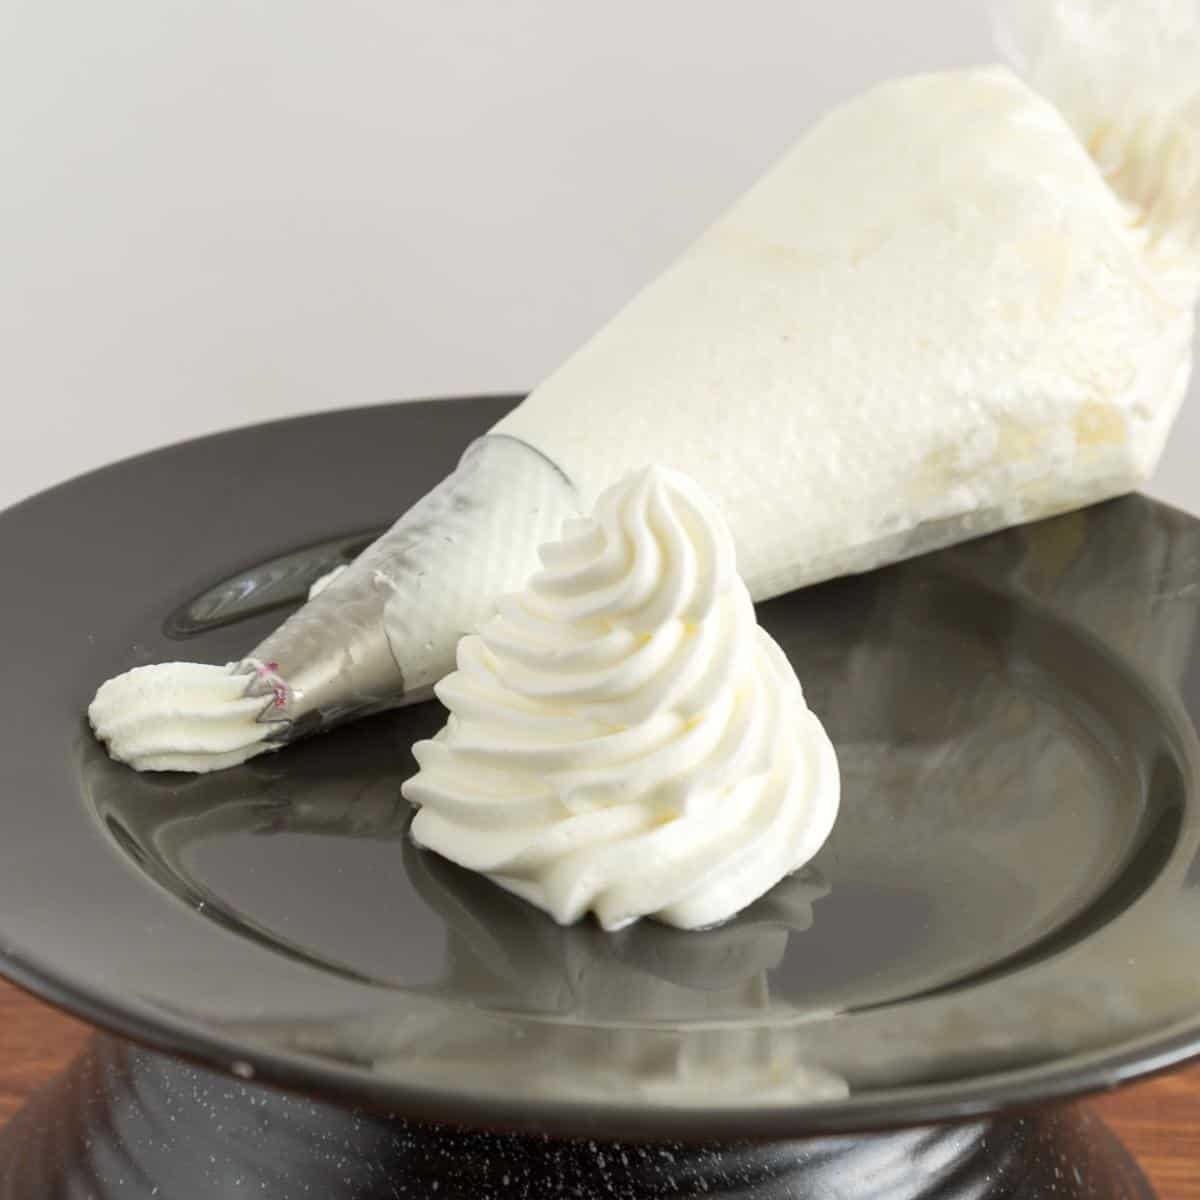
- Have you tried to pipe with whipped cream? Stabilize whipped cream and suddenly piping with whipped cream becomes a dream
Five Ways to Stabilize Whipped Cream
Yup, you read correctly, five different ways to stabilize whipped cream. Ah well, technically just two. So, Let’s talk about them and their substitutes as well as and which to use and when.
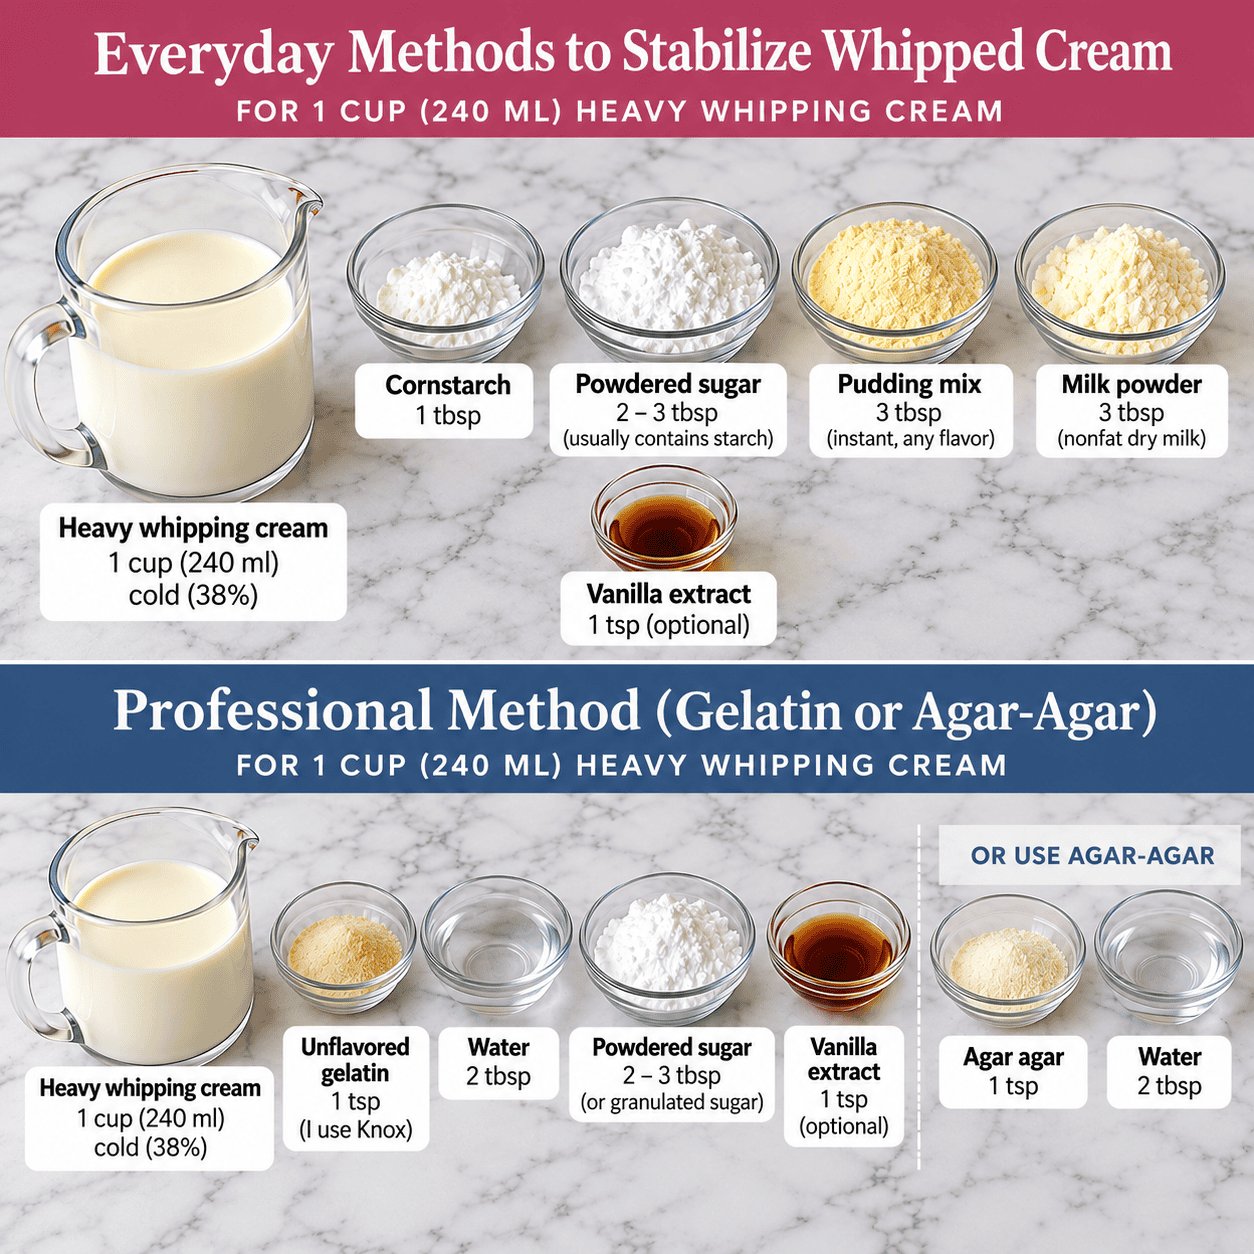
- Gelatin – This is common in Bakeries and commercial dessert shops. It usually has the most extended shelf life. Your whipped cream will hold its shape longest. It’s not vegetarian so perhaps not a choice for everyone. A substitute for gelatin is usually agar-agar, but I have not tried using it yet. If I do, I will update the post and let you know.
- Cornstarch – is another way to stabilize whipped cream and it works well. I use cornstarch more often for home desserts as compared to gelatin. Simple and easy as adding it to the whipped cream after adding the sugar.
- Confectioners Sugar/Powdered Sugar – Again what you are doing here is taking advantage of the starch in the confectioner’s sugar which usually is either cornstarch or potato starch.
- Milk Powder – This works on two levels. First, it takes advantage of the starch in the milk powder which usually is cornstarch. Second, it adds a more milky flavor as compared to starch flavor to the stabilized whipped cream.
- Pudding Mix – You guessed it!! Pudding mix contains starch which most commonly is cornstarch or arrowroot.
So Which Should You Use When?
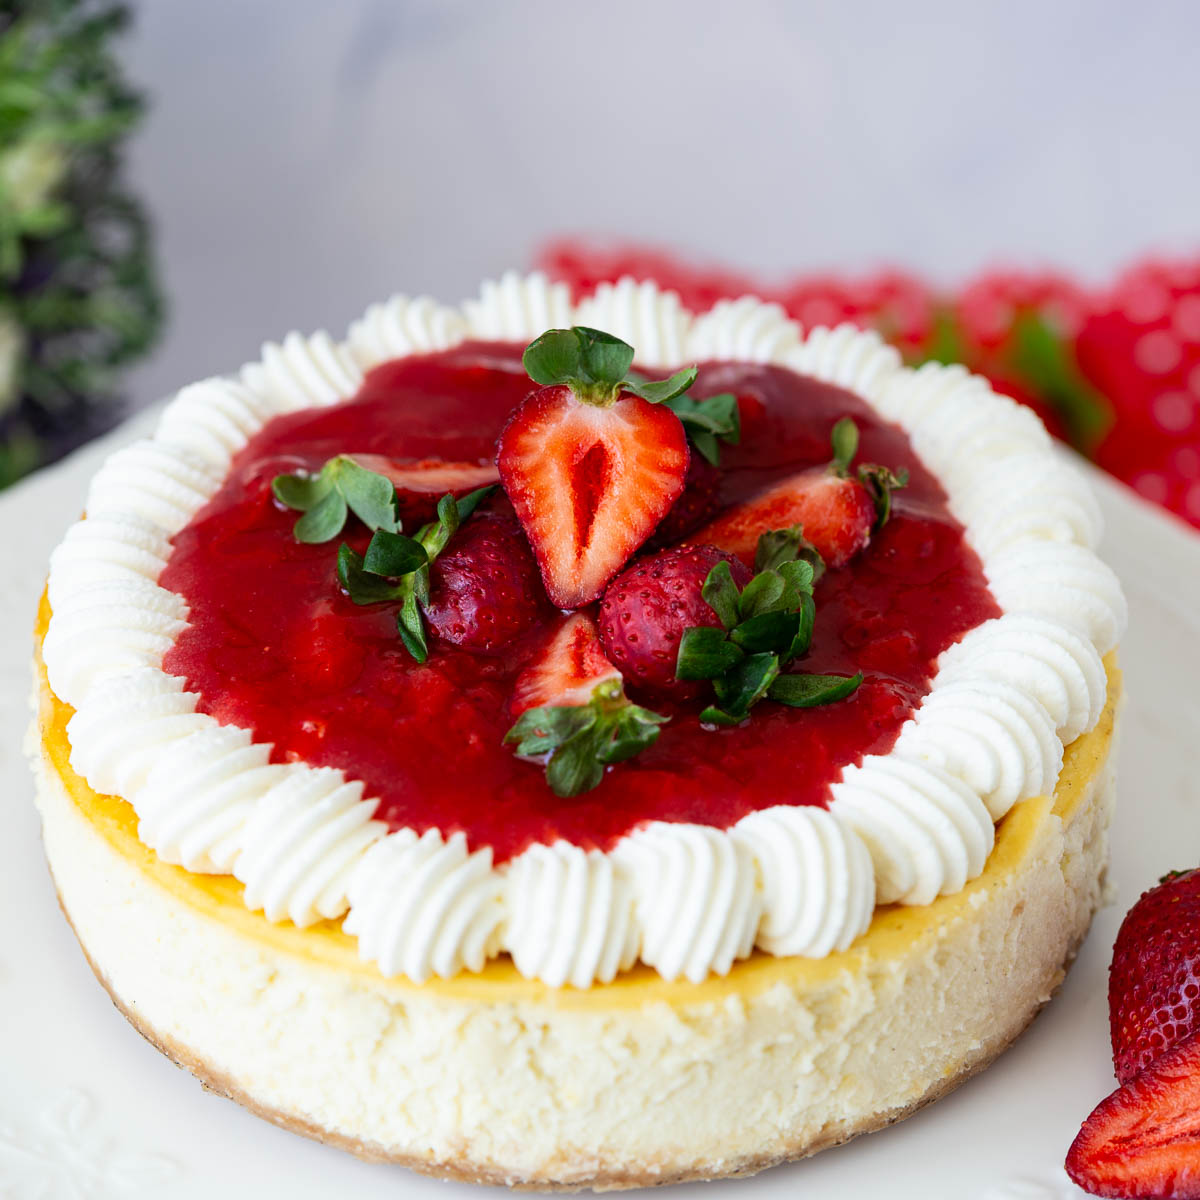
I most commonly use confectioner’s sugar or milk powder when I need classic whipped cream for homemade desserts. That’s because I don’t keep my whipped-cream desserts long. However, when it’s a customer’s cake, I stabilize the whipped cream with gelatin.
Why? Because I cannot decorate a cake at the last minute. I need to decorate and let the cake sit in the fridge a few hours before the customer comes to pick it up. The customer again won’t happen just before the party, so she still needs to keep it in her fridge for a few more hours. I want my whipped cream to hold up until it’s time to serve the cake/dessert. In this case, gelatin works best.
Let’s Start with the Easiest Methods
How to Stabilize Whipped Cream With…
- Cornstarch – 1 tbsp for every 1 cup whipping cream
- Confectioners Sugar /Powdered Sugar – 3 tbsp for every 1 cup whipping cream
- Milk Powder – 3 tbsp for every 1 cup whipping cream
- Pudding Mix – 3 tbsp for every 1 cup whipping cream
Method
- Start by beating the cream with a whisk attachment.
- Slowly add sugar or confectioners sugar / powdered sugar.
- If using granulated sugar – once you reach the soft peak stage.
- Add the vanilla and cornstarch or milk powder or pudding mix.
- Continue to beat until stiff peaks.
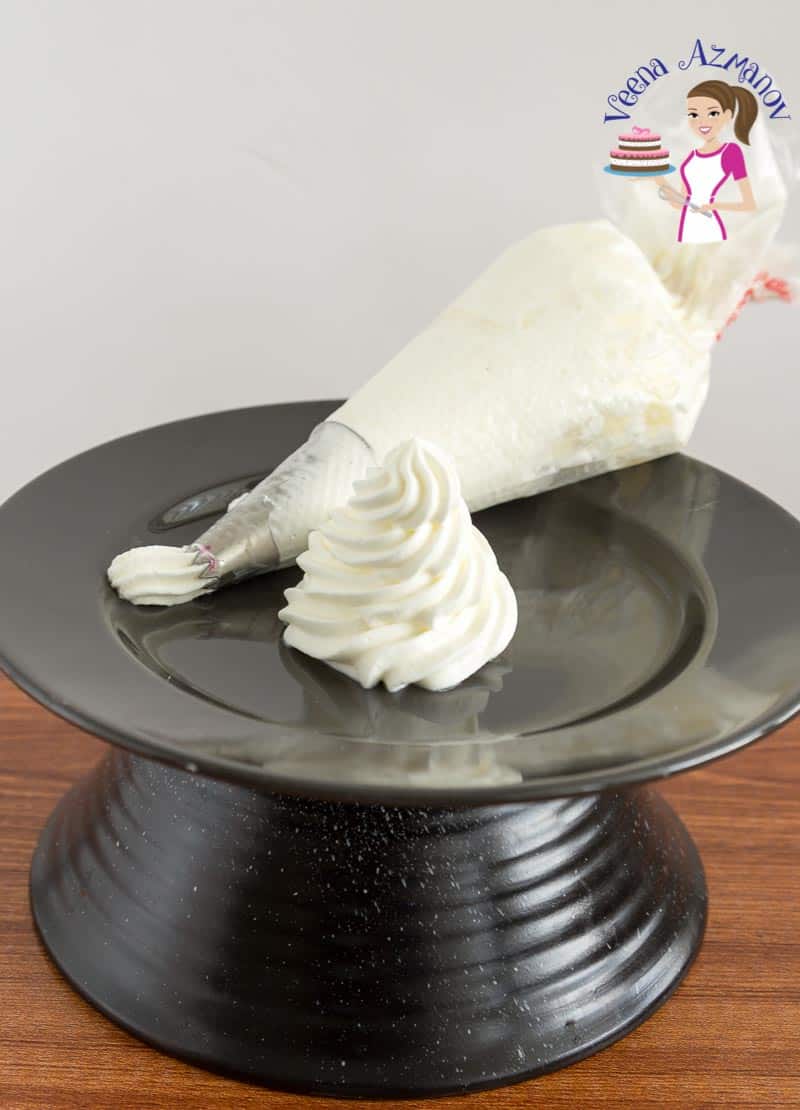
- Your whipped cream is stabilized when you can see the peaks hold their shape firmly.
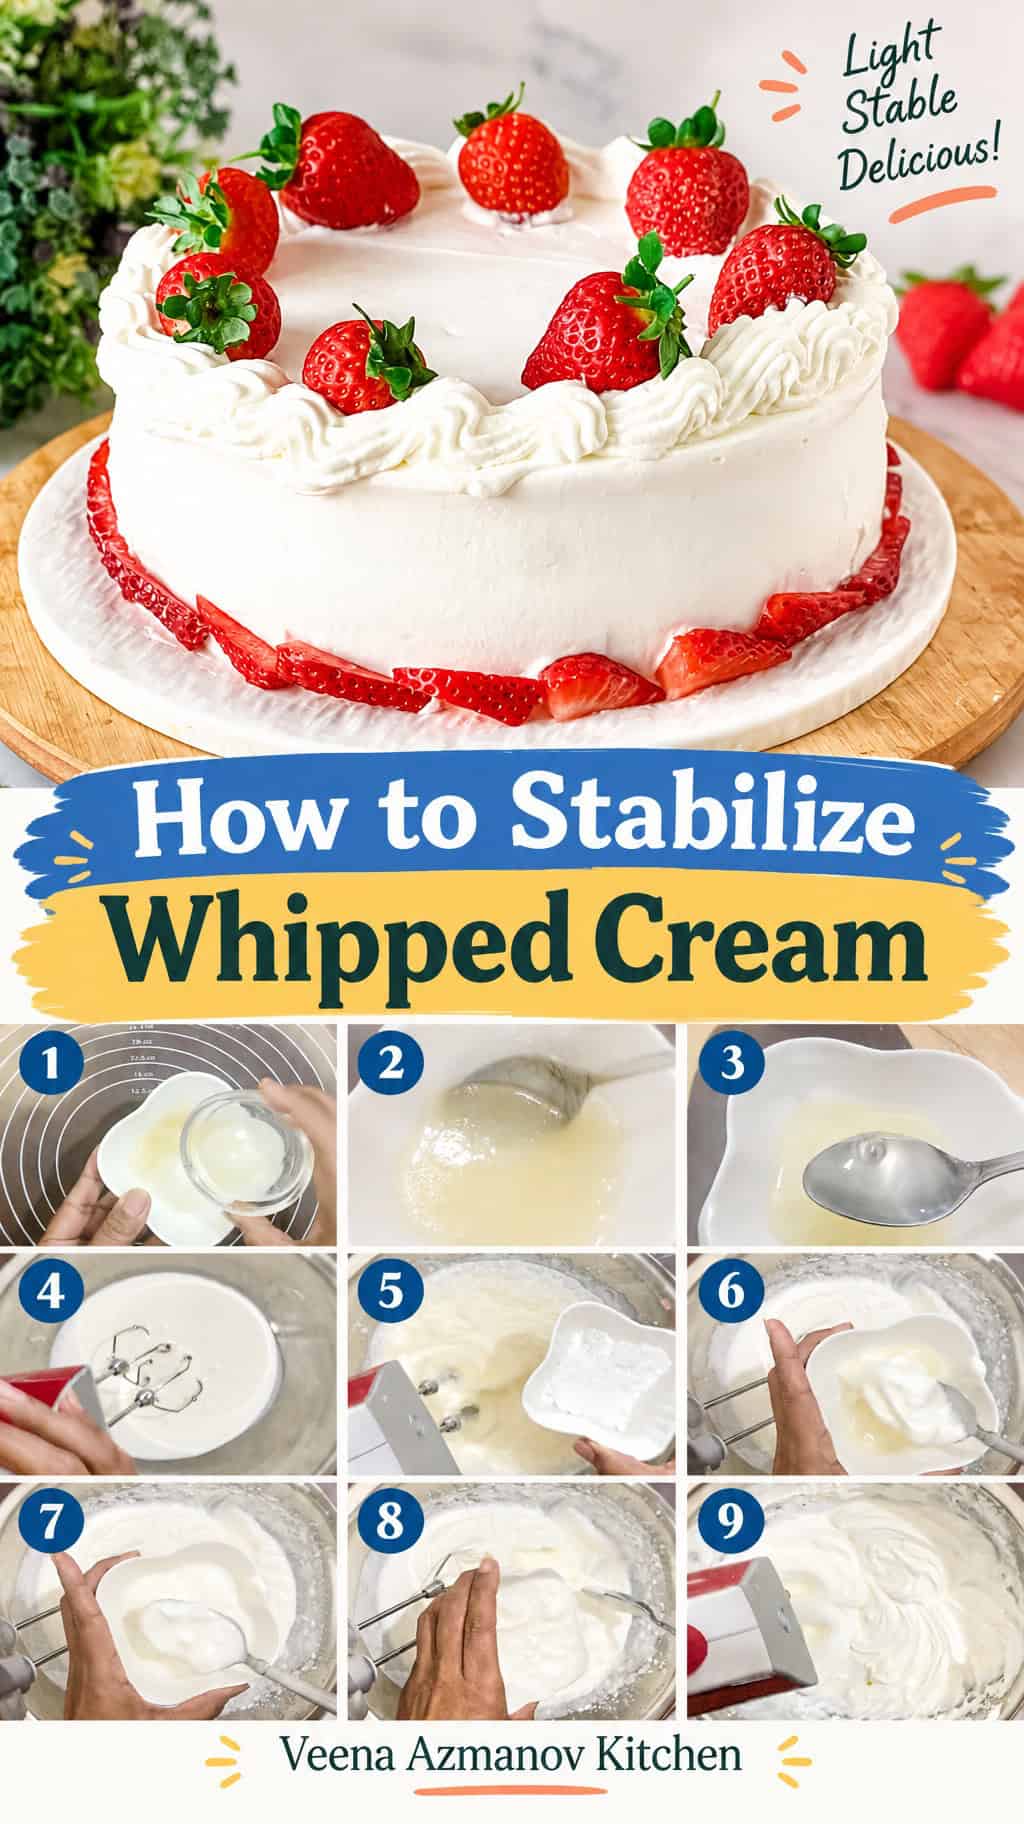
How to stabilize whipped cream with Gelatin (Bakery Method – Strongest Hold)
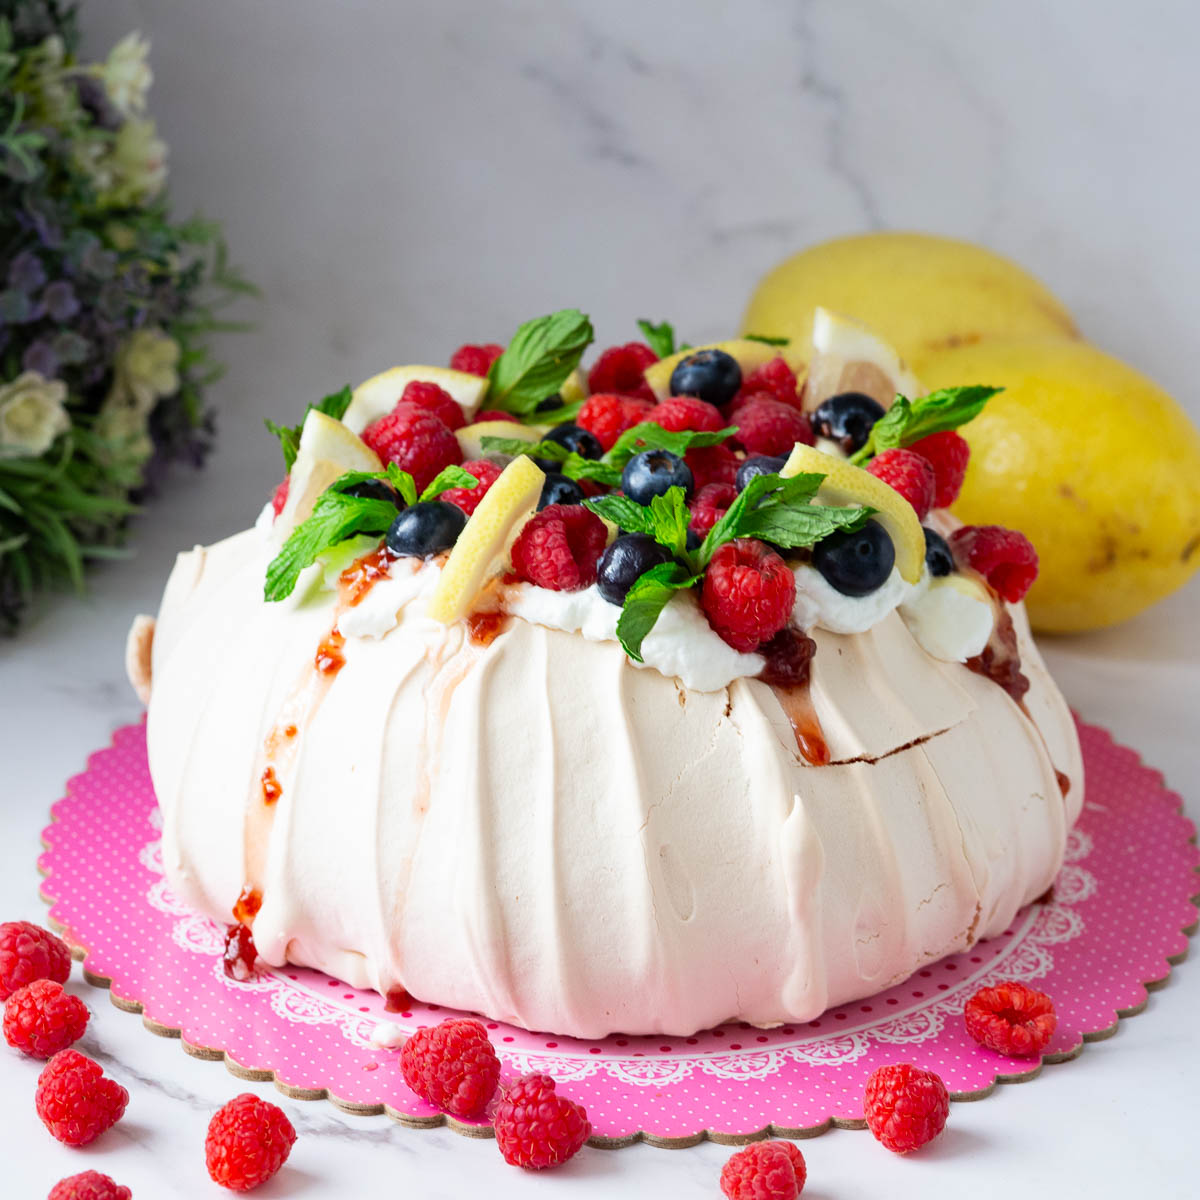
Gelatin is a classic way to stabilize whipped cream for professional results.
- Prep the Gelatin: In a small bowl, sprinkle unflavored gelatin over the cold water. Let it sit for 5 minutes to absorb the water and bloom. After blooming, gently heat the gelatin mixture in the microwave for about 10 seconds, or until it has dissolved completely. Let it cool slightly, but not so much that it sets.
- Whip the Cream: In a cold mixing bowl, add the heavy whipping cream and start whipping on medium speed. As it begins to thicken, add powdered sugar and vanilla extract (if using).
- Add the Gelatin: While the cream is still whipping, slowly drizzle the cooled gelatin mixture into the cream. Continue whipping until stiff peaks form. Be careful not to over-whip at this point, or it will become lumpy and start to churn into butter.
Pro tip: To avoid clumps, I prefer to temper the gelatin first by adding 1 to 2 tablespoons of whipped cream, then add it to the whipped cream and continue whipping. - Storage: Use immediately or store in the fridge. Gelatin-stabilized whipped cream should stay firm for 2-3 days.

Storage and Make-Ahead
- Storage: Stabilized whipped cream should always be kept refrigerated. Store it in an airtight container or use it immediately to frost cakes, cupcakes, and desserts. Gelatin-stabilized whipped cream can hold its shape for up to 2–3 days in the fridge, although the texture is always best when freshly made.
- Make-ahead: If I’m decorating a cake in advance, I prefer using gelatin to stabilize the whipped cream. It gives me enough time to frost and decorate the cake, refrigerate it, and keep it looking beautiful until it’s ready to serve. For everyday desserts that will be served the same day, powdered sugar or milk powder is usually enough.
- Piping: For the best results, pipe gelatin-stabilized whipped cream soon after making it, before the gelatin begins to set. Keep the finished dessert refrigerated until serving.
- Freezing: You can freeze small piped portions of stabilized whipped cream on a parchment-lined tray, then transfer them to an airtight container. However, thawing may affect the texture, so I prefer freshly made whipped cream for decorating cakes.

How to Stabilize Whipped Cream
Ingredients
- 240 ml (1 cup) Heavy whipping cream or double cream 38% chilled
Everyday methods to stabilize whipped cream
- 1 tbsp Cornstarch
- 2 – 3 tbsp Powdered sugar (usually contains starch)
- 3 tbsp Pudding Mix
- 3 tbsp Milk powder
Stabilizing whipped cream with gelatin (Professional)
- 1 tsp Unflavored gelatin I use Knox flavorless gelatin
- 2 tbsp Water
- 2 – 3 tbsp Powdered sugar or granulated sugar
- 1 tsp Vanilla extract (optional) for flavoring
Stabilize with Agar agar
- 1 tsp Agar agar
- 2 tbsp Water
Instructions
Everyday Method to Stabilized whipped cream
- Start by whipping the cream with a whisk attachment. Slowly add the sugar (or confectioners' sugar). Add the vanilla and cornstarch, milk powder, or pudding mix. Continue to whip until stiff peaks. Your whipped cream is stabilized when you can see the peaks hold their shape firmly1 tbsp Cornstarch, 2 – 3 tbsp Powdered sugar, 3 tbsp Pudding Mix, 3 tbsp Milk powder
Stabilized whipped cream with Gelatin
- Prep the Gelatin: In a small bowl, sprinkle unflavored gelatin over the cold water. Let it sit for 5 minutes to absorb the water and bloom. After blooming, gently heat the gelatin mixture in the microwave for about 10 seconds, or until it has dissolved completely. Let it cool slightly, but not so much that it sets.1 tsp Unflavored gelatin , 2 tbsp Water
- Whip the Cream: In a cold mixing bowl, add the heavy whipping cream and start whipping on medium speed. As it begins to thicken, add powdered sugar and vanilla extract (if using).240 ml Heavy whipping cream, 2 – 3 tbsp Powdered sugar , 1 tsp Vanilla extract
- Add the Gelatin: While the cream is still whipping, slowly drizzle the cooled gelatin mixture into the cream. Continue whipping until stiff peaks form. Be careful not to overwhip at this point, or it will become lumpy and start to churn into butter. Pro tip: To avoid clumps, I prefer to temper the gelatin first by adding 1 – 2 tablespoons of whipped cream, then add it to the whipped cream and continue whipping.
- Storage: Use immediately or store in the fridge. Gelatin-stabilized whipped cream should stay firm for 2-3 days.
Stabilize whipped cream with agar agar
- Prepare Agar-Agar – Add agar-agar to water. Stir well to ensure no lumps. Let stand for 2 minutes. Heat in the microwave for 30 seconds to a minute. Let cool completely – then follow the same process as below for gelatin.1 tsp Agar agar, 2 tbsp Water
Video
Notes
- Chill everything – Cold cream, a cold bowl, and cold beaters are non-negotiable. Warm cream won’t whip, and the gelatin can react poorly if things heat up too early.
- Bloom the gelatin properly – Don’t skip this step. Let the gelatin sit in cold water for a few minutes so it absorbs fully—this avoids grainy bits later.
- Don’t overheat the gelatin – Heat just until melted and smooth. If it boils or gets too hot, it loses strength and won’t stabilize anything.
- Cool the gelatin before adding – Let the melted gelatin cool slightly so it’s still liquid but no longer warm—hot gelatin + cold cream = disaster.
- Add gelatin at soft peaks – If you wait too long, it won’t incorporate. Add it when the cream is thickened but not stiff yet, then whip to firm peaks.
- Don’t overwhip – Once you hit stiff peaks, stop! Overwhipping leads to grainy, clumpy cream—or butter.
- Use within a few minutes – The gelatin starts setting quickly, so get piping or frosting soon after whipping.
- Refrigerate immediately – Stabilized whipped cream is best stored cold. It holds for 2–3 days, but always keep it covered and chilled.
Equipment


Made this recipe?
I’d love to see how yours turned out! Share a photo on Instagram and tag @veenaazmanov_kitchen or use #veenaazmanovkitchen. And don’t forget to leave a rating and review!
Tips for Stabilizing Whipped Cream
- Start with cold cream. Whipping cream needs to be chilled, not frozen or warm. Cold cream whips faster and holds its peaks better.
- Chill your equipment. Place the mixing bowl and whisk attachment in the fridge for a few minutes before whipping. This is especially helpful in warm weather.
- Keep the cream cool in hot weather. If you live in a hot or humid climate, place your mixing bowl over a larger bowl filled with ice water. This helps keep the cream cold while whipping.
- Temper the gelatin before adding it. Adding gelatin directly to cold whipped cream can cause it to set into small lumps or strings. Mixing a little whipped cream into the dissolved gelatin first helps it combine smoothly.
More cakes with whipped cream
- Chocolate Cake with Whipped Cream
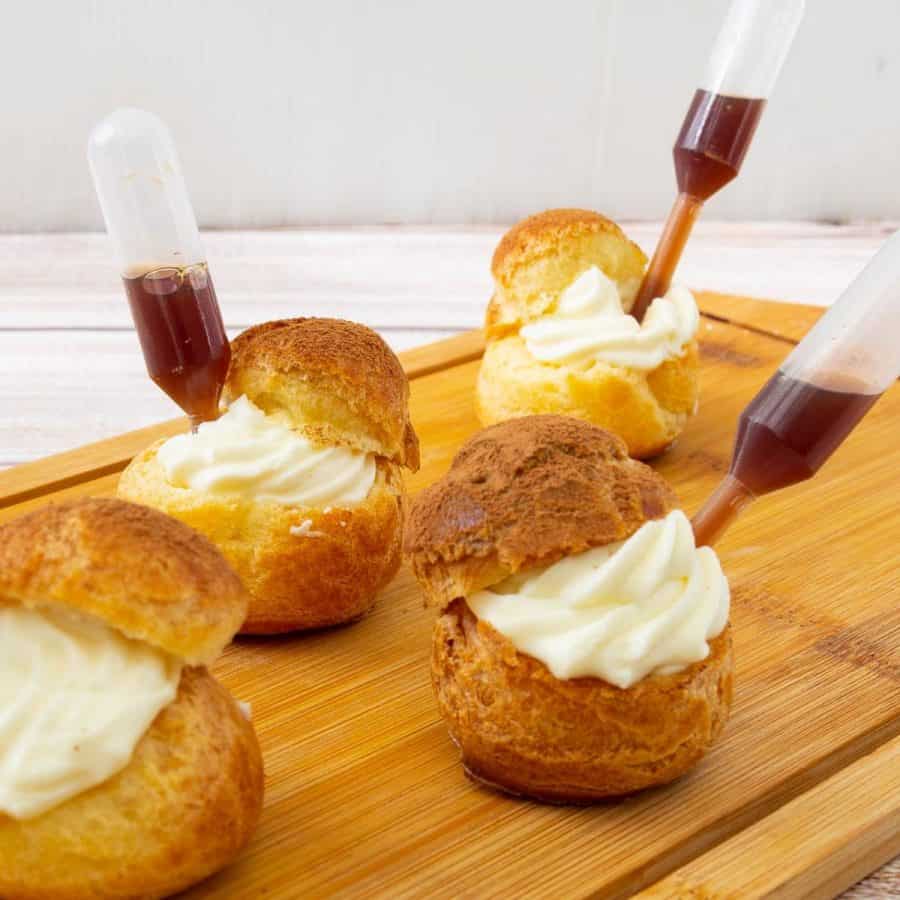
- Cream Puffs with whipped cream
- Pumpkin Cake with Whipped Cream Buttercream
- Vanilla Sour Cream Cupcakes with Whipped Cream Buttercream
- Mascarpone cream cake



Troubleshooting
| Problem | Possible cause | How to fix it |
|---|---|---|
| Whipped cream is soupy | The cream became too warm while whipping. | Refrigerate for a few minutes, then whip again until it holds its peaks. |
| Gelatin whipped cream is runny | The gelatin may have been too warm when added. | Place the mixing bowl over ice water and gently whip again. If the gelatin has already formed lumps, you may need to start over. |
| Whipped cream is slightly overwhipped | The cream was beaten past stiff peaks. | Stop immediately. Add a few tablespoons of cold liquid whipping cream and gently stir with a hand whisk until smooth. |
| Whipped cream is greasy or lumpy | The fat has started separating, turning the cream into butter. | If it has separated significantly, it cannot be rescued. Use it to make butter and start a fresh batch. |
| Stabilized whipped cream is stringy | The gelatin set too quickly when added to the cold cream. | Unfortunately, gelatin strings are difficult to remove. Next time, temper the dissolved gelatin with a little whipped cream before adding it to the bowl. |
Frequently asked questions
Depending on the method, it can last 6 hours to 3 days. Gelatin is the most stable.
Yes! Instant pudding mix is an easy way to stabilize whipped cream while adding flavor.
For 1 cup (240 ml) cold heavy whipping cream, use 1 tablespoon instant pudding mix, 2 tablespoons powdered sugar, and 1 teaspoon vanilla extract (optional).
Whip the cold cream until it begins to thicken. Add the pudding mix, powdered sugar, and vanilla, then continue whipping until stiff peaks form. The pudding mix helps the cream hold its shape, making it ideal for cupcakes, trifles, and no-bake desserts.
Best for: Cupcakes, trifles, and make-ahead desserts. Keep refrigerated.
Yes, cream of tartar can help whipped cream hold its shape for short-term use, although it isn’t as reliable as gelatin for longer storage.
For 1 cup (240 ml) cold heavy whipping cream, use ¼ teaspoon cream of tartar, 2 tablespoons powdered sugar, and 1 teaspoon vanilla extract (optional).
Whip the cream until it begins to thicken. Add the cream of tartar, powdered sugar, and vanilla, then continue whipping until stiff peaks form. Avoid adding too much cream of tartar, as it can affect the flavor.
Best for: Light desserts and whipped cream you plan to serve the same day.
Yes! Powdered milk adds milk proteins that help give whipped cream a little more body without significantly changing its flavor.
For 1 cup (240 ml) cold heavy whipping cream, use 1 tablespoon nonfat dry milk powder, 2 tablespoons powdered sugar, and 1 teaspoon vanilla extract (optional).
Whip the cream until it begins to thicken. Add the milk powder, powdered sugar, and vanilla, then continue whipping until stiff peaks form.
Best for: Everyday desserts, fruit toppings, and light frosting.
Absolutely! Cream cheese makes whipped cream richer, thicker, and more suitable for piping onto cakes and cupcakes.
For 1 cup (240 ml) cold heavy whipping cream, use 2 tablespoons softened full-fat cream cheese, 2 tablespoons powdered sugar, and 1 teaspoon vanilla extract (optional).
Beat the softened cream cheese separately until smooth and lump-free. In another bowl, whip the cold cream until it begins to thicken. Add the cream cheese, powdered sugar, and vanilla, then continue whipping until firm peaks form.
Best for: Cakes, cupcakes, fruit dips, and whipped cream frosting. Keep refrigerated.
You can pipe it onto parchment, freeze, then store in an airtight container. Thaw in the fridge before using.
Low-fat creams (25% fat) can be whipped if you work with them while very chilled. Chill the cream, as well as all the equipment used to whip it. Additionally, place the bowl of whipped cream over a bowl of ice while whipping it. Low-fat creams can also be stabilized; however, the consistency of these will be quite loose and won’t hold shape.
Yes! Try cornstarch, pudding mix, or cream cheese—each gives different results depending on how long you need it to last.
Use gelatin or cream cheese methods—they hold their shape best for rosettes and swirls.
More DIY recipes
- How to Make Yogurt or Greek Yogurt
- How to cook basmati rice
- Homemade Caramel Sauce
- Homemade Butterscotch Sauce


Don’t lose this recipe! Save it for Later!
📌 Save this Recipe for later on Pinterest so you can easily find it again.
⭐ Add Veena Azmanov Kitchen to your Google Preferred Sources.
It helps Google show you more of our recipes.
📧 Subscribe for new recipes delivered to your inbox.
🎥 Follow us for more recipes

Hi, I’m Veena
I’m the recipe developer, baker, and food photographer behind Veena Azmanov Kitchen.
I’ve spent years developing and testing recipes, from everyday meals and homemade breads to cakes and desserts.
I share the practical tips and little details I’ve learned along the way so you can get great results in your own kitchen.









I’ve seen people add melted marshmallows or milk powder—do those work too?
They do! I don’t use them as often, but they’re both decent stabilizers—especially if you’re out of gelatin or want a sweeter option. I might do a separate post on those soon.
This was so helpful! I’ve been trying to figure out why my whipped cream always deflates after a few hours. Tried your gelatin version and it lasted all day. Thank you!!
You’re so welcome! That used to be my exact struggle too until I learned this method. Happy it helped!
Can I color stabilized whipped cream with gel food coloring? I want to make it pink for a baby shower.
Absolutely! Just add a little gel coloring when the cream is at soft peaks—before you add the gelatin. It holds color really well.
Just used the cornstarch version to top a banana cream pie and it lasted through dinner without falling flat. Love that I had everything already in my pantry.
That’s exactly why I keep that one in my back pocket too—no special ingredients and still holds up nicely for a few hours!
I’m vegetarian, so I tried the agar agar method. It worked, but the texture was slightly different than regular whipped cream—still held up well though!
That’s totally normal—agar gives a firmer hold and can feel a bit different on the spoon. But it’s a great alternative if you don’t use gelatin.
I’ve been looking for a whipped cream that actually pipes well. The gelatin method was perfect for making little rosettes on a fruit tart!
Yes! It’s one of the few versions that really holds definition when piped. Rosettes on fruit tarts sound gorgeous!
I had no idea you could use instant pudding to stabilize whipped cream! I made a batch for a trifle and it held up in the fridge for two days. Genius.
Right? Such an easy trick and it works so well for layered desserts like trifles. Glad you gave it a try!
Have you ever had the gelatin clump up when adding it to the cream? I followed the steps but maybe I let it cool too much?
Yes, that can happen! If the gelatin starts to set before adding, it won’t blend smoothly. Try letting it cool just until it’s lukewarm—still liquid, but not hot. That usually does the trick.
I tried the cream cheese version for cupcakes and it was SO good. Light, a little tangy, and really stable. My kids licked the bowl clean ?
Haha that’s the best review! It really is such a nice balance of light and rich. Thanks for trying it and sharing!
I used the gelatin version to frost a birthday cake and it held up perfectly—even after sitting out for a couple of hours. I’ve always avoided whipped cream frostings but this totally changed my mind.
Yay! That’s exactly why I love this method—no sliding or weeping, even in warmer temps. So glad it worked out for the birthday cake!