


This round apple honey challah is a soft, rich bread filled with warm cinnamon-spiced apples and finished with a simple honey glaze. The apple filling runs through the layers of the bread, while the honey gives the baked loaf that gorgeous golden shine and just enough extra sweetness.
Of course, apples, honey, and round challah make this especially perfect for Rosh Hashanah, but honestly, you don’t need a holiday to make this one. If you love soft homemade bread, cinnamon apples, and the smell of something sweet baking in the oven, this is a beautiful bread to make all through apple season.
I’ve made challah in so many shapes over the years — classic braids, round loaves, individual challahs, and filled versions. And while I love a beautiful braid, adding a filling changes the whole experience.
For this one, I use a simple spiced apple filling and roll it inside the dough before shaping the loaf. So, instead of having apples sitting on top or falling off when you slice it, you get little pockets of soft cinnamon apples throughout the bread.
The honey glaze goes on after baking while the challah is still warm. It gives the crust a lovely shine and a subtle honey sweetness without turning the bread into dessert.
Traditionally, round challah is served for Rosh Hashanah, and apples and honey are associated with wishes for a sweet new year. That’s what makes this loaf particularly lovely for the holiday table. But outside the holidays? Think of it simply as a soft apple-filled sweet bread — wonderful for breakfast, brunch, or with a cup of coffee.
Why you’ll love this apple honey challah
- Soft, rich challah dough – Tender, fluffy, and slightly sweet, even before we add the filling.
- Apples in every slice – The cinnamon-spiced apple filling is rolled right into the dough rather than simply added on top.
- Beautiful but surprisingly doable – The round shape looks impressive without requiring a complicated braid.
- Not just for the holidays – Make it for Rosh Hashanah, fall baking, brunch, breakfast, or simply because apples and homemade bread are a very good combination.

Ingredients and substitutes:
- Milk: Adds richness and tenderness to the dough. For a dairy-free version, you can also substitute water, almond milk, or soy milk.
- Sugar: Sweetens the dough and helps activate the yeast. You can also use honey or maple syrup for a different flavor profile.
- Eggs: Provide richness, structure, and a soft crumb. For a vegan option, you can also use flaxseed meal mixed with water or use a commercial egg replacer.
- Yeast: Leavens the dough, making it rise. Both instant yeast and active dry yeast work well in this recipe.
- Flour: All-purpose flour gives a soft texture, while you can also use bread flour for a chewier bread.
- Apples: Provide a tart and juicy contrast to the sweet dough. Firm varieties like Granny Smith work best, but you can use a mix of different apples for more depth of flavor.
- Cinnamon, Cloves, Nutmeg: Add warmth and spice to the apple filling. You can adjust the quantities to taste or substitute with similar spices like allspice or cardamom for a different flavor profile.
- Vanilla Extract: Enhances the flavor of the apples and spices. Almond extract can be used as an alternative for a different twist.
- Honey: Used in the glaze to add a shiny, sweet finish. You can also use maple syrup or agave nectar for a different flavor.

Step-by-step: Apple Honey Challah
- Prepare the Dough: Warm the milk slightly, then mix it with the sugar, Eggs, butter, and yeast in a large bowl of a stand mixer with a hook attachment. Add the flour and salt. Knead the dough on medium speed for 8 to 10 minutes until soft, smooth, and elastic.
- Rise: Place the dough in a greased bowl, cover it with a damp cloth, and let it rise in a warm place for about 1-2 hours or until it is doubled in size.

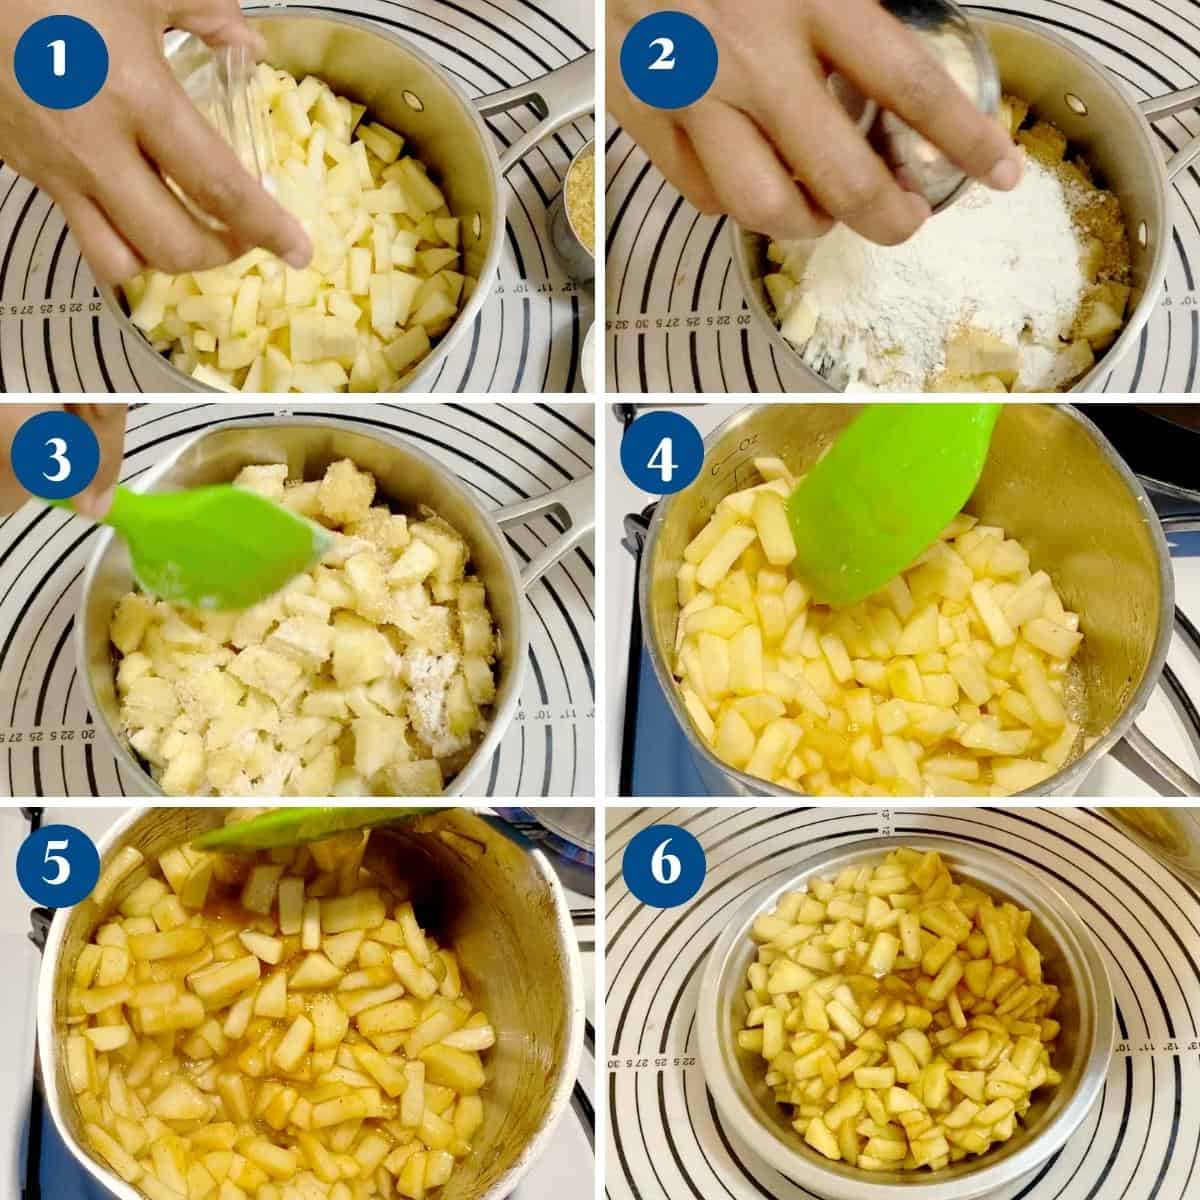
- Apple Pie Filling: Peel, core, and chop the apples into small pieces. Combine the apples, sugar, salt, cinnamon, cloves, nutmeg, and vanilla extract over medium heat. Cook for 10-15 minutes until the apples are soft, and the mixture thickens. Stir in the flour and cook for 2-3 minutes until fully incorporated and thickened. Remove from the heat and let the filling cool completely.
- Assemble the Challah: Once the dough has risen, punch it down and roll it out on a floured surface into a long strip about 5-6 inches wide. Spread the cooled apple pie filling down the center of the strip. Fold the dough from both sides to encase the filling and form a long log. Carefully roll the log into a coil, starting from one end, and tuck the end under the coil.
- Second Rise: Place the coiled challah onto a parchment-lined baking sheet. Cover with a cloth and let it rise for another 30-45 minutes until puffy.

- Oven: Preheat your oven to 350°F (175°C).
- Bake the Challah: Brush the risen challah with beaten egg and dust with pearl sugar. Bake for 30-35 minutes or until golden brown and cooked through.
- Honey Glaze: Combine the honey with hot water. After 30 minutes of baking, brush the challah with the honey syrup and bake for 5 more minutes (this keeps it moist).
- Finish with Butter – Once baked, brush the top with melted butter. Optional but gives it wonderful flavor.
- Cool: Let the challah cool slightly before serving.


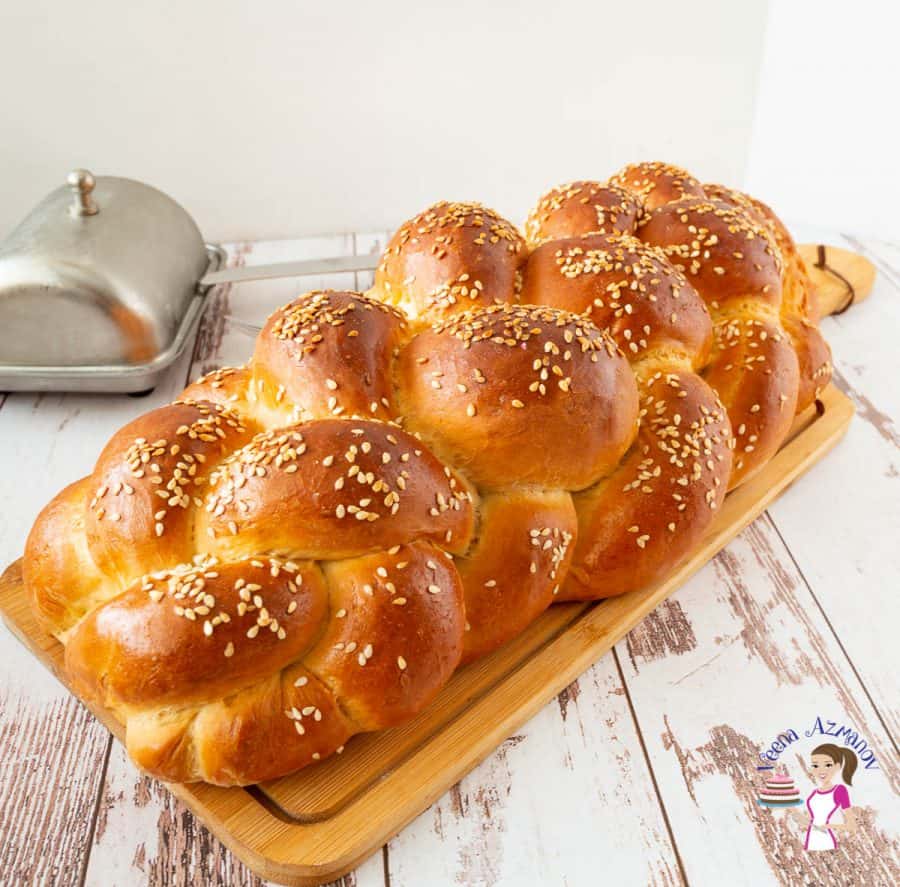
Apple Honey Challah – Braided Bread
Ingredients
Challah dough
- 240 g (1 cup) Whole milk or water warmed (110°F)
- 50 g (¼ cup) Granulated sugar
- 7 g (2¼ tsp) Active dry yeast
- 100 g (2 large) Eggs beaten
- 60 g (4 tbsp) Unsalted butter softened
- 500 g (4 cups) All-purpose flour (or bread flour for a chewier texture)
- 9 g (1½ tsp) Salt
Apple pie filling
- 4 – 5 med Apples peeled, cored, and chopped
- 75 g (⅔ cup) Brown sugar
- ¼ tsp Salt
- 1 tsp Ground cinnamon
- ¼ tsp Ground cloves
- ¼ tsp Ground nutmeg
- 1 tsp Vanilla extract
- 2 tbsp Flour
Honey glaze
- 2 tbsp Honey
- 2 tbsp Hot water
Instructions
- Prepare the Dough: Warm the milk slightly, then mix it with the sugar, Eggs, butter, and yeast in a large bowl of a stand mixer with a hook attachment. Add the flour and salt. Knead the dough on medium speed for 8 to 10 minutes until soft, smooth, and elastic.240 g Whole milk or water, 50 g Granulated sugar, 7 g Active dry yeast, 100 g Eggs, 60 g Unsalted butter, 500 g All-purpose flour , 9 g Salt
- Rise: Place the dough in a greased bowl, cover it with a damp cloth, and let it rise in a warm place for about 1-2 hours or until it is doubled in size.
- Apple Pie Filling: Peel, core, and chop the apples into small pieces. Combine the apples, sugar, salt, cinnamon, cloves, nutmeg, and vanilla extract over medium heat. Cook for 10-15 minutes until the apples are soft and the mixture thickens. Stir in the flour and cook for 2-3 minutes until fully incorporated and thickened. Remove from the heat and let the filling cool completely.4 – 5 med Apples, 75 g Brown sugar, ¼ tsp Salt, 1 tsp Ground cinnamon, ¼ tsp Ground cloves, ¼ tsp Ground nutmeg, 1 tsp Vanilla extract, 2 tbsp Flour
- Assemble the Challah: Once the dough has risen, punch it down and roll it out on a floured surface into a long strip about 5-6 inches wide. Spread the cooled apple pie filling down the center of the strip. Fold the dough from both sides to encase the filling and form a long log. Carefully roll the log into a coil, starting from one end, and tuck the end under the coil.
- Second Rise: Place the coiled challah onto a parchment-lined baking sheet. Cover with a cloth and let it rise for another 30-45 minutes until puffy.
- Oven: Preheat your oven to 350°F /175°C.
- Bake the Challah: Brush the risen challah with beaten egg and dust with pearl sugar. Bake for 30 minutes.
- Honey Glaze: Combine the honey with hot water. After 30 minutes of baking, brush with the honey syrup and bake for 5 to 10 more minutes, or until golden brown and cooked through.
- Finish with butter – Once baked, brush the top with melted butter and let cool slightly before serving.
Video
Notes
- The dough should be soft and slightly tacky after kneading. Avoid adding excess flour or the challah can become dense.
- Cook the apple filling until most of the liquid has evaporated, then cool it completely before filling the dough.
- Don’t overfill the dough, and pinch the seams well so the apple filling stays inside during shaping and baking.
- Proofing time is a guide. Let the shaped challah rise until noticeably puffy rather than relying only on the clock.
- If the challah browns too quickly, loosely cover it with foil and continue baking until done.
- Brush the honey glaze over the challah while it is still warm.
- Store well wrapped at room temperature for 2 to 3 days. For longer storage, freeze the completely cooled challah for up to 2 months.
Made this recipe?
I’d love to see how yours turned out! Share a photo on Instagram and tag @veenaazmanov_kitchen or use #veenaazmanovkitchen. And don’t forget to leave a rating and review!
Tips for the best apple honey challah
- Keep the dough soft. Don’t keep adding flour just because the dough feels slightly tacky at first. As it kneads and the gluten develops, it will become smoother and easier to handle. Too much flour gives you a heavier challah.
- Cook the apples until the excess moisture is gone. You want tender apples with a thick, almost jammy coating—not apples swimming in syrup. Too much liquid makes the filled dough difficult to roll and can create soggy patches inside the bread.
- Cool the apple filling completely. This one really is important. Warm filling softens the dough and makes rolling, sealing, and shaping much harder.
- Don’t overfill the dough. I know, more apples sounds better! But too much filling makes the dough difficult to seal and increases the chance of it bursting open during baking.
- Seal the filled ropes well. Pinch the seams firmly before shaping the challah and position the seams underneath whenever possible. A little apple escaping is fine; half the filling on the baking sheet is not.
- Watch the dough, not the clock. Rising times change with room temperature. After shaping, the challah should look noticeably puffy and feel light before it goes into the oven.
- Protect the top if necessary. Because this is an enriched dough with egg and sugar, it can brown before the center is completely baked. Loosely tent it with foil if you’re happy with the color but it still needs more baking time.
- Glaze while warm. Brush the honey glaze over the challah shortly after it comes out of the oven. The warm crust takes on the glaze beautifully and gives you that gorgeous glossy finish.
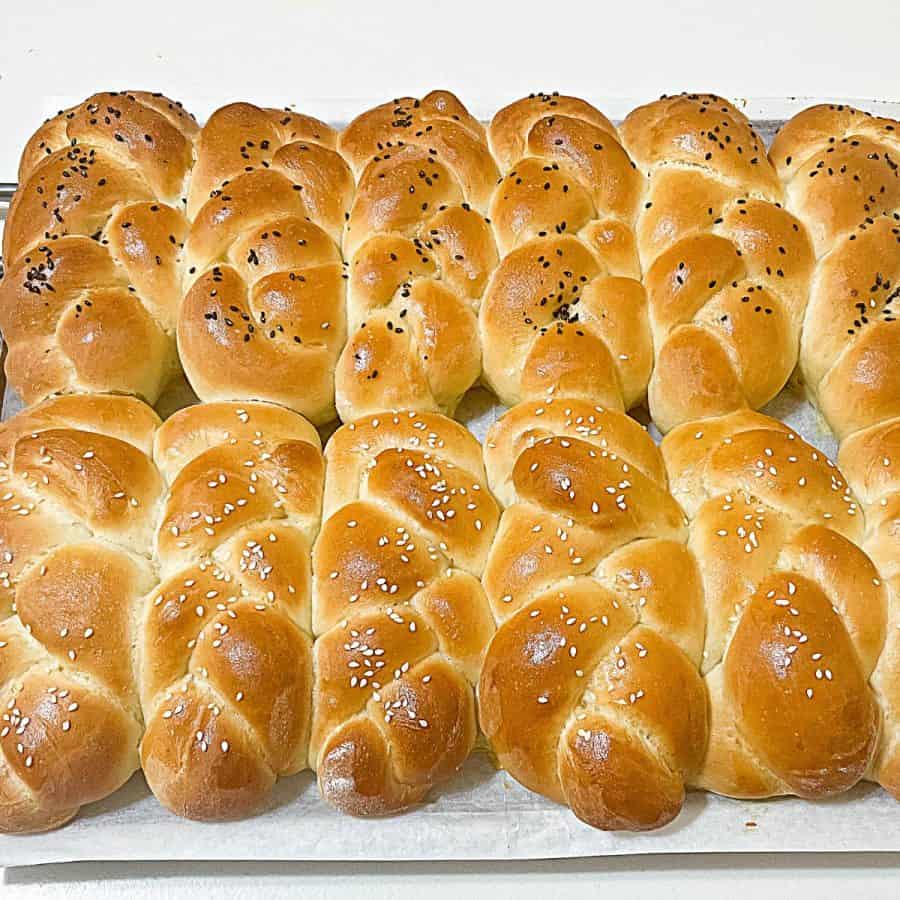
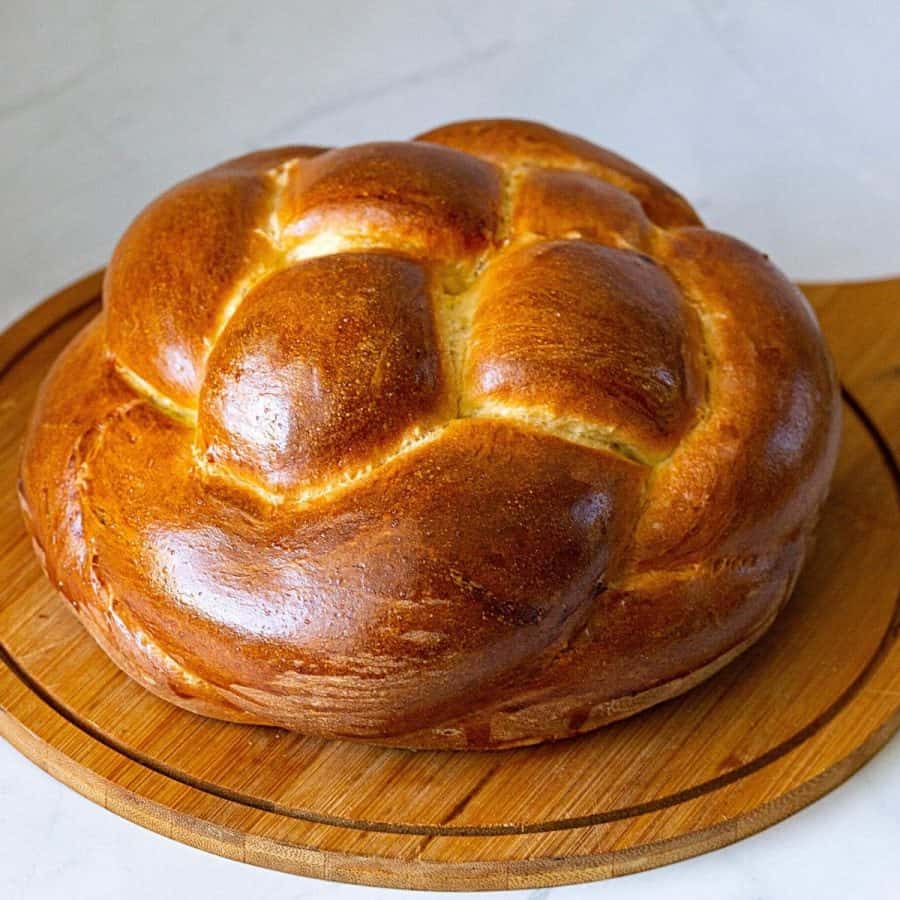
- Comforting Round Challah Recipes for Every Occasion
- Milk and Honey Challah
- Easiest 3 Braid Challah Bread Recipe
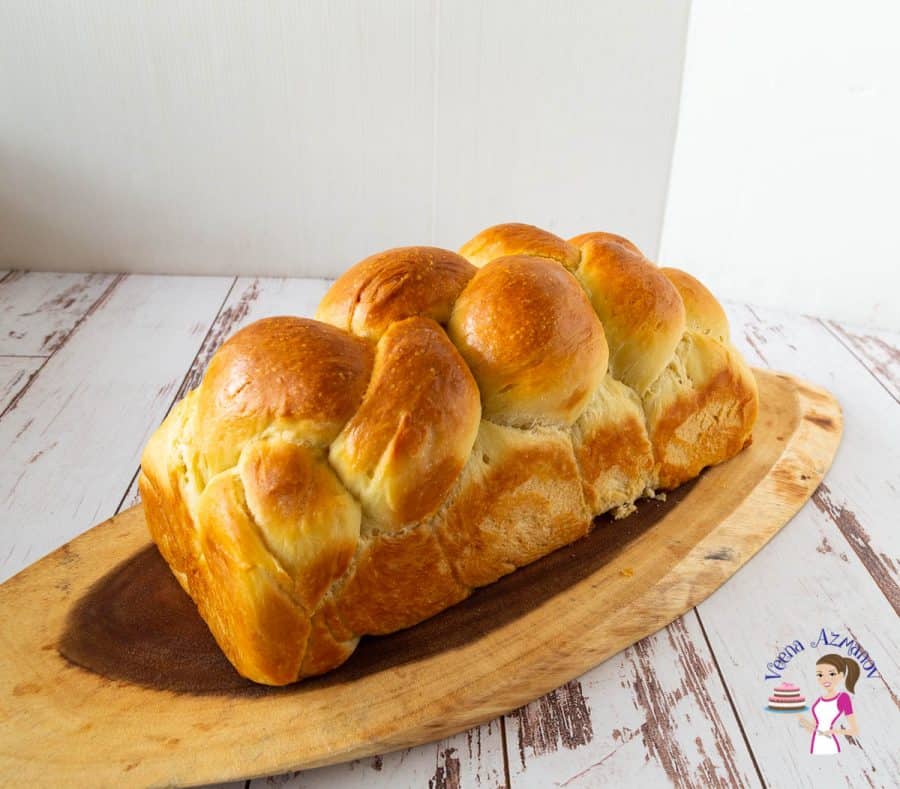
- Challah Sandwich Bread
- Soft and Delicious Mini Challah Rolls – Single Braid


Frequently asked questions
Store leftover challah in an airtight container at room temperature for up to 3 days. For longer storage, wrap it tightly in plastic wrap and freeze it for up to 3 months. To reheat, wrap in foil and warm in a 300°F (150°C) oven until soft and warm.
Yes, you can prepare the dough the night before and let it rise slowly in the refrigerator. This slow rise can enhance the flavor of the bread. Bring the dough to room temperature before proceeding with the recipe.
Yes, but keep in mind that whole wheat flour will result in a denser, heartier loaf. You might want to use half whole wheat and half all-purpose flour to maintain some lightness. Also, you may need to add a bit more liquid to the dough.
Yes! You can experiment with different fillings like chocolate chips, nuts, or dried fruits. Just be careful not to overfill the dough, as this can make it difficult to shape and cause the filling to leak out during baking.

Don’t lose this recipe! Save it for Later!
📌 Save this Recipe for later on Pinterest so you can easily find it again.
⭐ Add Veena Azmanov Kitchen to your Google Preferred Sources.
It helps Google show you more of our recipes.
📧 Subscribe for new recipes delivered to your inbox.
🎥 Follow us for more recipes

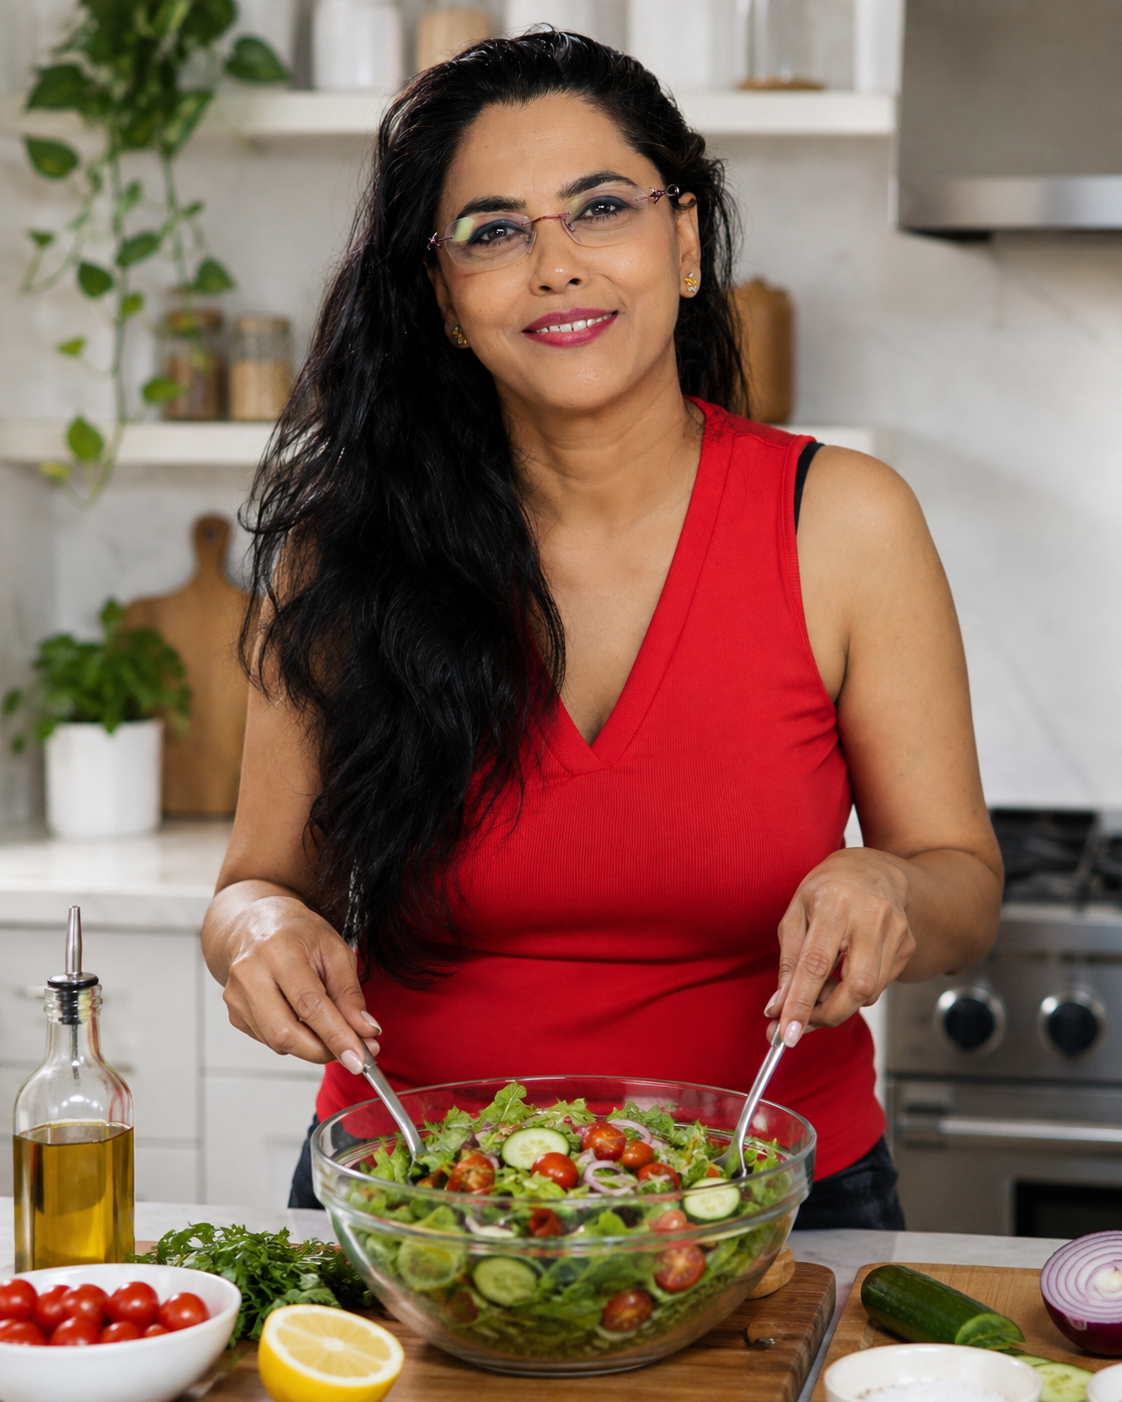
Hi, I’m Veena
I’m the recipe developer, baker, and food photographer behind Veena Azmanov Kitchen.
I’ve spent years developing and testing recipes, from everyday meals and homemade breads to cakes and desserts.
I share the practical tips and little details I’ve learned along the way so you can get great results in your own kitchen.



ARE YOUR FLOUR, IN ALL RECIPES ISRAELI OR AMERICAN
THERE ARE SOME DIFFERENCES BETWEEN THEM AS THE HUMID LEVEL
I shop at Teev Tham and often buy different brands for cooking. I don’t really see much of a difference. I think they all work well in my recipes.