How to Temper Chocolate (Microwave)


Tempering chocolate sounds intimidating, but it’s really just about controlling temperature. Once you get the melt, cool, and reheat stages right, you’ll get smooth, glossy chocolate that sets perfectly every time.
Tempering chocolate used to intimidate me—especially when I first started making bonbons. I had batches that turned dull, streaky, or refused to set properly (always at the worst time).
Once I switched to the microwave seeding method and actually paid attention to temperatures, everything changed. It’s cleaner, faster, and much easier to control at home—no marble slab or fancy setup needed.
Now it’s the only method I use.
What does it mean to temper chocolate?
Tempering chocolate is the process of heating and cooling chocolate to specific temperatures so it sets:
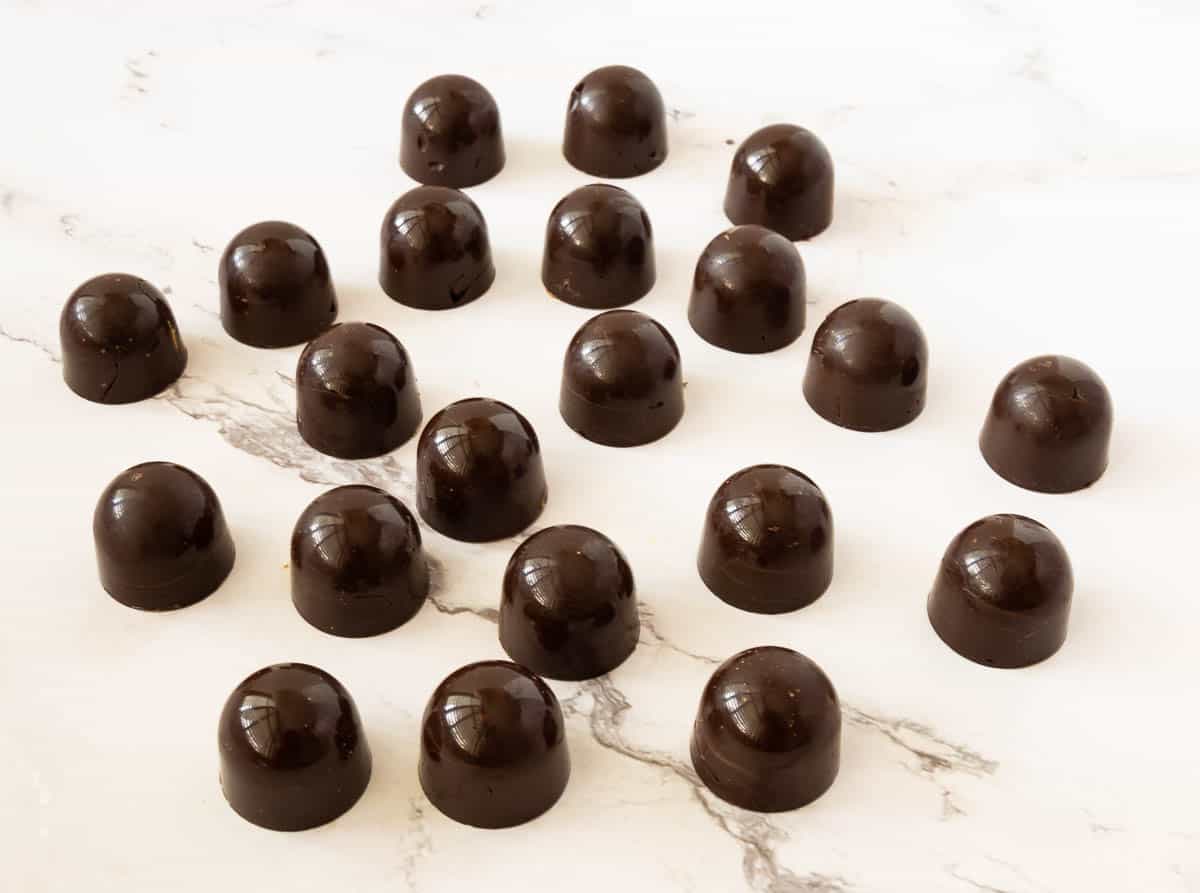
– smooth and glossy
– firm at room temperature
– with a clean snap
Without tempering, chocolate will look dull, feel soft, and may develop streaks.
Why temper chocolate?
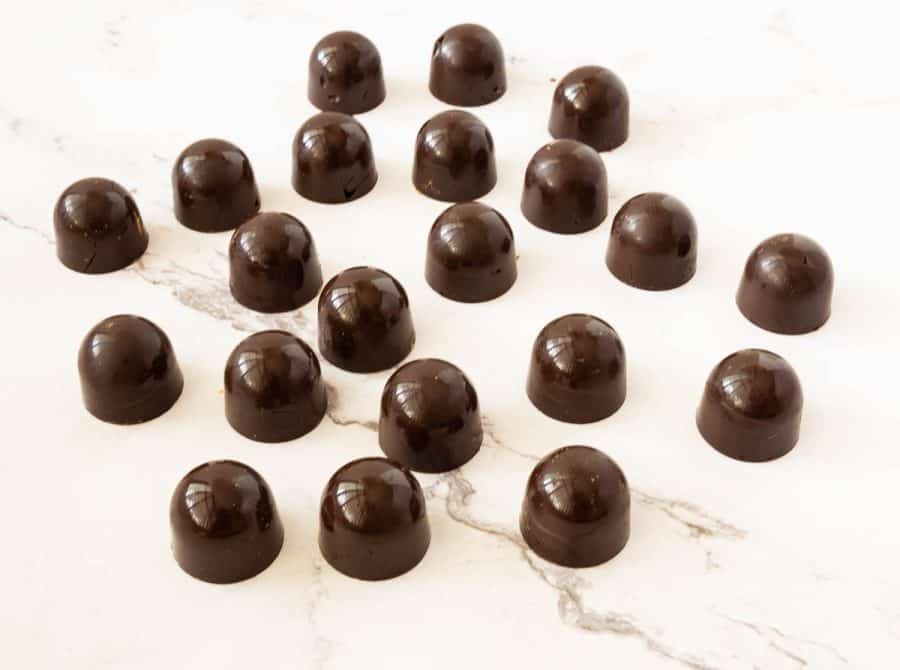
- Bonbons → shiny finish + clean snap
- Chocolate-covered strawberries → firm coating that doesn’t melt in your hand
- Truffles & candies → professional look and texture
👉 If chocolate is the star (not mixed into a recipe), temper it.
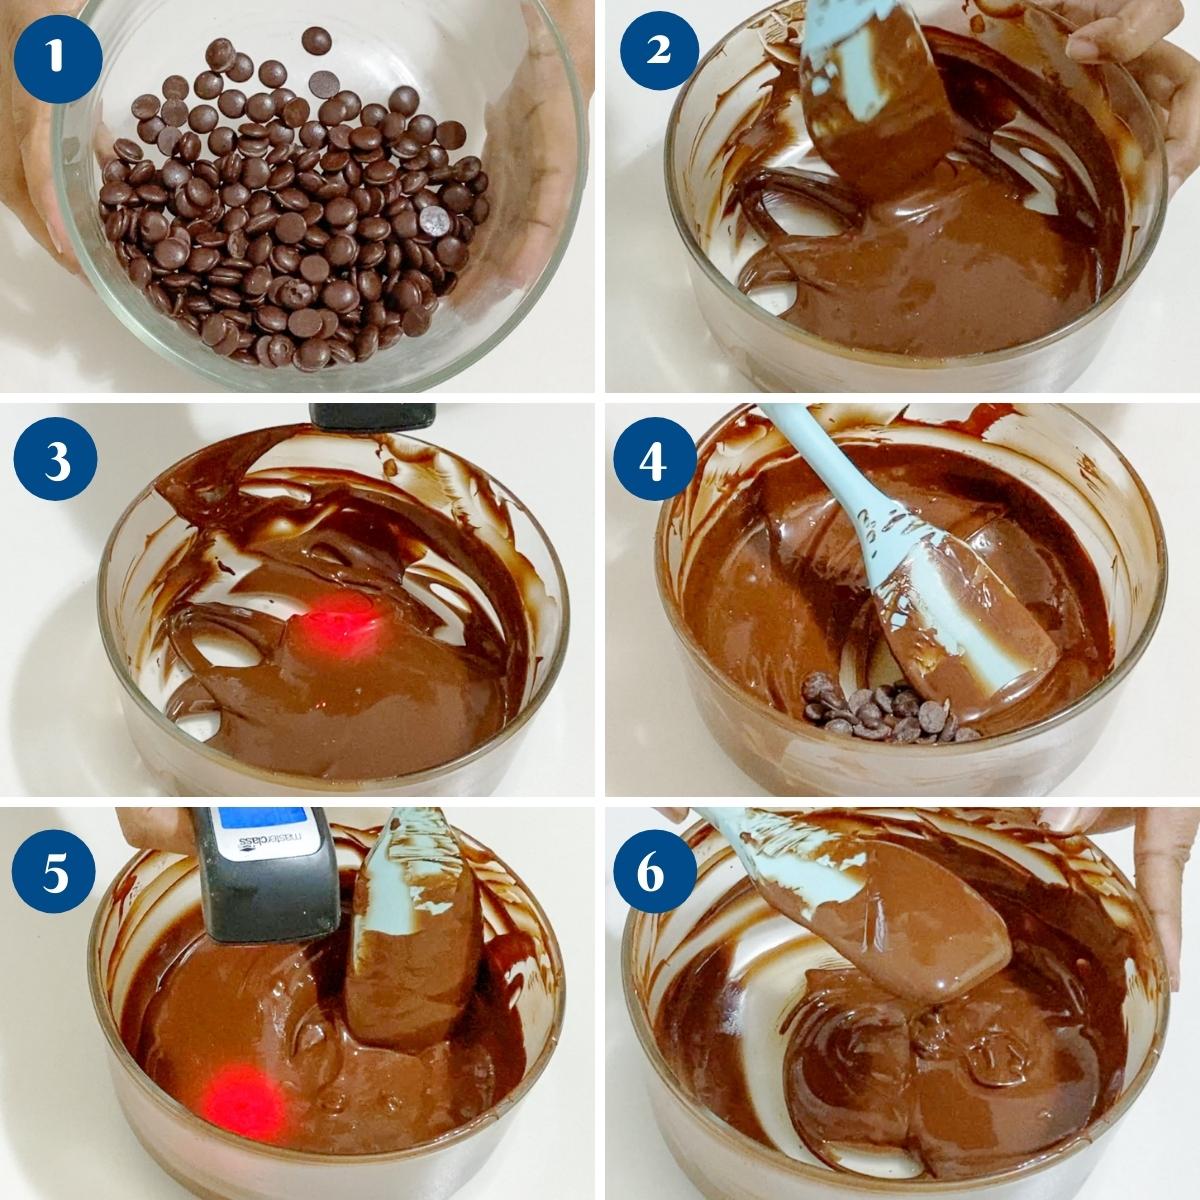
How to Temper Chocolate in the Microwave (Seeding Method)
Step-by-step
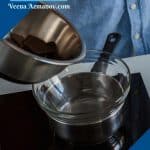
- Chop chocolate into small, even pieces
- Place 2/3 of the chocolate in a microwave-safe bowl
- Heat in 30-second intervals, stirring each time
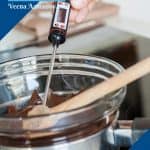
- Do not exceed:
- 45°C for dark
- 40–45°C for milk/white
- Add remaining 1/3 chocolate (seed chocolate)
- Stir continuously until melted and temperature drops
- Reheat in 5–10 second bursts until working temperature is reached
Pro tips
- Stir constantly — this controls crystal formation
- Never overheat — it ruins temper
- Add chocolate slowly when cooling
- Work in a cool room
Tempered Chocolate Temperatures Table
| Chocolate Type | Melt To | Cool To | Reheat To (Working Temp) |
|---|---|---|---|
| Dark Chocolate | 45°C (113°F) | 27°C (80°F) | 31–32°C (88–90°F) |
| Milk Chocolate | 45°C (113°F) | 26°C (78°F) | 29–30°C (84–86°F) |
| White Chocolate | 40°C (104°F) | 25°C (77°F) | 28°C (82°F) |
How to test if chocolate is tempered
- Dip a knife or parchment strip into chocolate
- Let sit at room temperature
👉 It should: - set within 2–3 minutes
- look shiny
- feel firm and dry


Tips for success
- Use high-quality chocolate (not chips)
- Chop evenly for consistent melting
- Keep everything dry (water ruins chocolate)
- Don’t rush — tempering needs patience
Troubleshooting
| Problem | Cause | Fix |
|---|---|---|
| Chocolate is dull | Not properly tempered | Reheat and repeat process |
| Streaks or bloom | Incorrect temperature | Temper again |
| Too thick | Temperature too low | Gently reheat |
| Won’t set | Not enough stable crystals | Add more seed chocolate |
Can I temper chocolate on the stovetop?
Yes. You can temper chocolate on the stovetop using a double boiler.
- Place a heatproof bowl over a pot of simmering water
- Melt 2/3 of the chocolate, stirring until it reaches the right temperature
- Remove from heat and add the remaining chocolate (seeding)
- Stir until it cools, then gently reheat to working temperature
👉 This method gives you more control, but it’s slower than the microwave and you must avoid steam getting into the chocolate.

What is the tabling method?
A professional technique where chocolate is cooled on a marble surface before reheating. It’s effective but messy and less practical at home.

When do you use tempered chocolate?
If you plan to dip chocolate, mold chocolate, or make bonbons, you want to temper your chocolate so it will be smooth, shiny, and stay hard at room temperature. Once your chocolate is tempered, you can pour it into molds, dip strawberries, cherries, cookies, etc. If tempered properly the chocolate should set within 2 to 3 minutes.


Frequently asked questions
To test if your chocolate is tempered, dip the tip of a spatula in the chocolate. Leave it to set at room temperature (between 65 to 70F) If the chocolate is tempered it will harden within 3 to 5 minutes. It should look shiny and glossy.
Chocolate will continue to solidify as it cools which means it will go out of temper. Depending on the weather it can happen slowly or quite quickly. The key is to keep stirring the chocolate often so it does not solidify around the edges. You can even keep a bowl of warm water around and dip the chocolate bowl in warm water for a quick 5 seconds. Stir the chocolate. As long as your chocolate does not go over 90F you should be able to use it.
When chocolate is not stored or tempered properly it can cause the cocoa fat to separate from the rest of the chocolate cause those white streaks or white or dull spots. This can be taken care of by tempering the chocolate again.
That percentage on the chocolate refers to how many cocoa beans vs how much cocoa butter is in your chocolate. The higher the percentage of cocoa beans the more intense the chocolate.
You can, but it’s risky. Tempering depends on precise temperatures, so a thermometer gives consistent results.
Not ideal. Chocolate chips contain stabilizers that prevent smooth tempering. Use couverture or baking chocolate instead.

How to Temper Chocolate in the Microwave (Seeding Method)
Knowing how to melt chocolate is great but learning how to temper chocolate will open a whole new world of wonderful treats you are going to love creating.
Video
Ingredients
- ½ lb (226 g) Chocolate Milk, semi-sweet, or dark
Method
- Chop chocolate into small, even piecesPlace 2/3 of the chocolate in a microwave-safe bowlHeat in 30-second intervals, stirring each timeDo not exceed: 45°C for dark or 40–45°C for milk/whiteAdd the remaining 1/3 chocolate (seed chocolate)Stir continuously until melted and the temperature dropsReheat in 5–10 second bursts until working temperature is reached½ lb Chocolate
Notes
- Stir constantly — this controls crystal formation
- Never overheat — it ruins temper
- Add chocolate slowly when cooling
- Work in a cool room
- Dip a knife or parchment strip into chocolate
- Let sit at room temperature
👉 It should: - set within 2–3 minutes
- look shiny
- feel firm and dry
Equipment you will need

Nutrition
Tried this recipe?
Mention @veenaazmanov_kitchen or tag #veenaazmanovkitchen!


Don’t lose this recipe! Save it for Later!
📌 Save this Recipe for later on Pinterest so you can easily find it again.
⭐ Add Veena Azmanov Kitchen to your Google Preferred Sources.
It helps Google show you more of our recipes.
📧 Subscribe for new recipes delivered to your inbox.
🎥 Follow us for more recipes


I’m going to pass this on to someone in my FB group who was thinking of making easter eggs.
so many amazing tips here. The chocolate looks so perfectly shiny.
Thank you so much for this super helpful guide to tempering chocolate!! As a novice dessert maker, I could really use this the next time I try to make any baked treat that requires melted/tempered chocolate!
This was so helpful and makes it easier! Can’t wait to make a recipe with this!
Your chocolate is absolute perfection! You had the best instructions for this! Easy to follow along! Thank you!
I love chocolates a lot, and this one looks easy. I’ll be saving this recipe and will definitely try this at home this weekend.
Thank you! I love how you give instructions for different methods, I prefer the double broiler but when I’m in a hurry the microwave is my best friend.
I have had so many fails and this is awesome instructions thanks so much!
This is a great post with such great tips. I love using chocolate and it’s made me feel more able to produce beautiful results.
I just tried this today and it turns out great! Thanks for this guide!