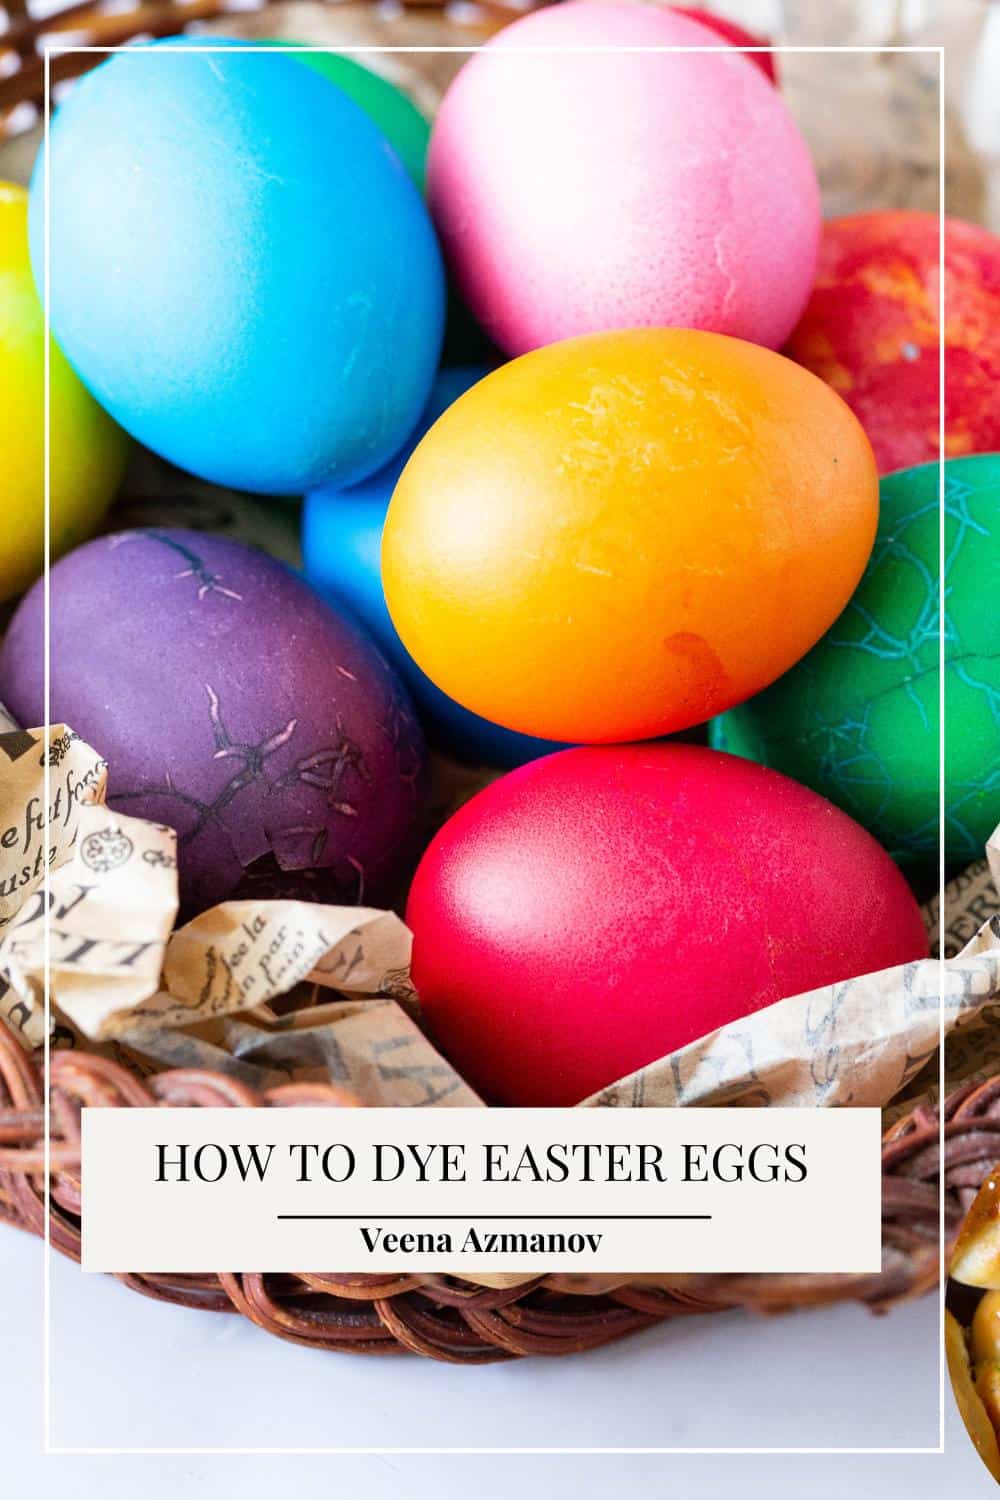
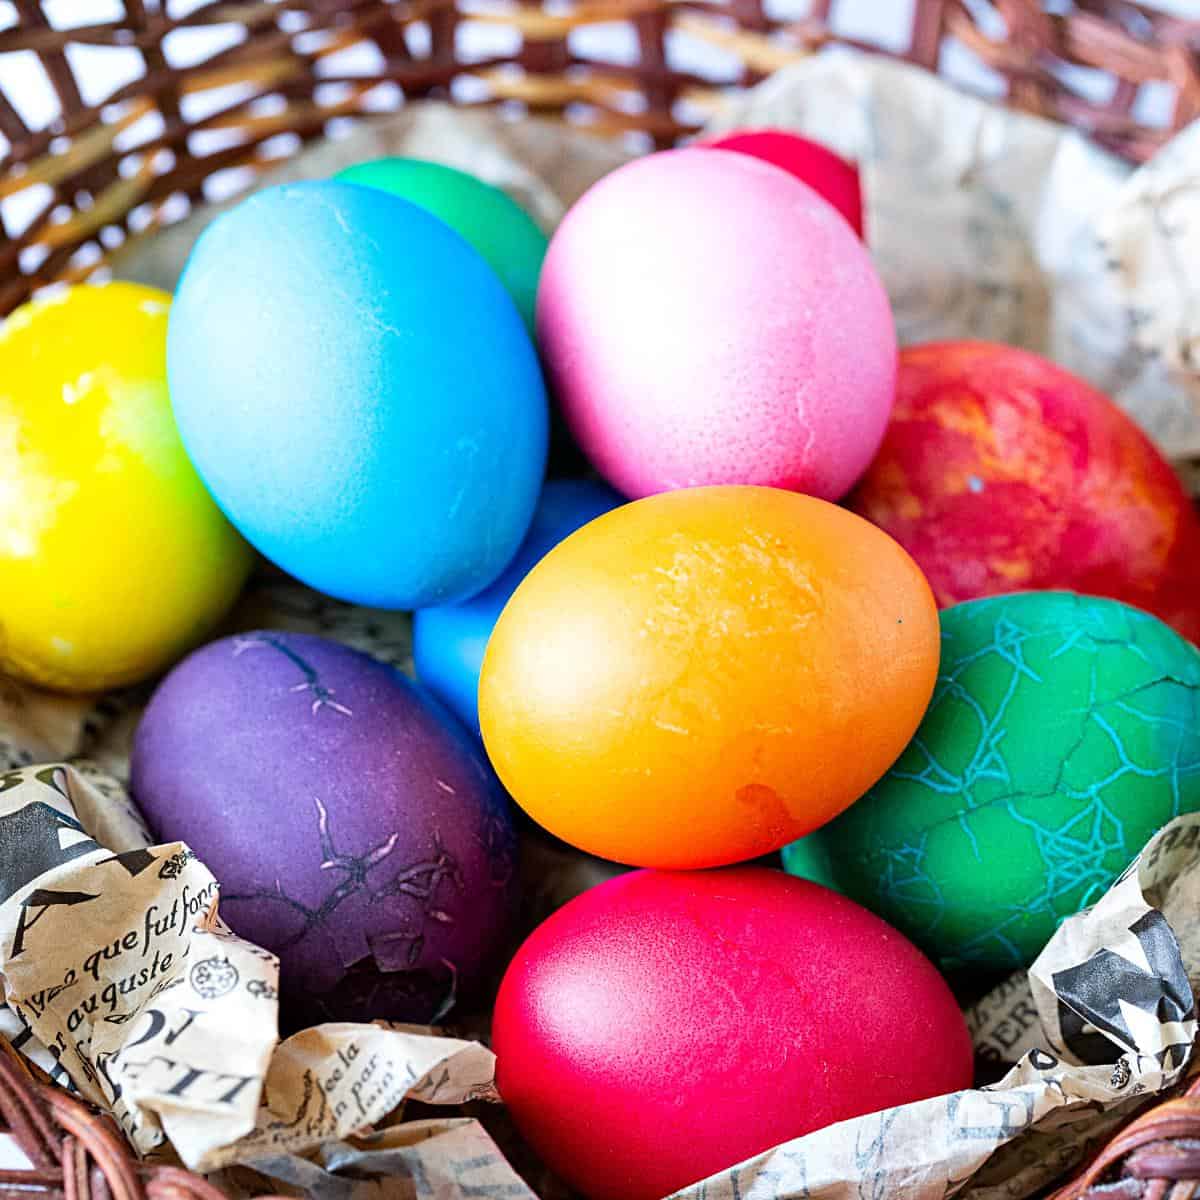
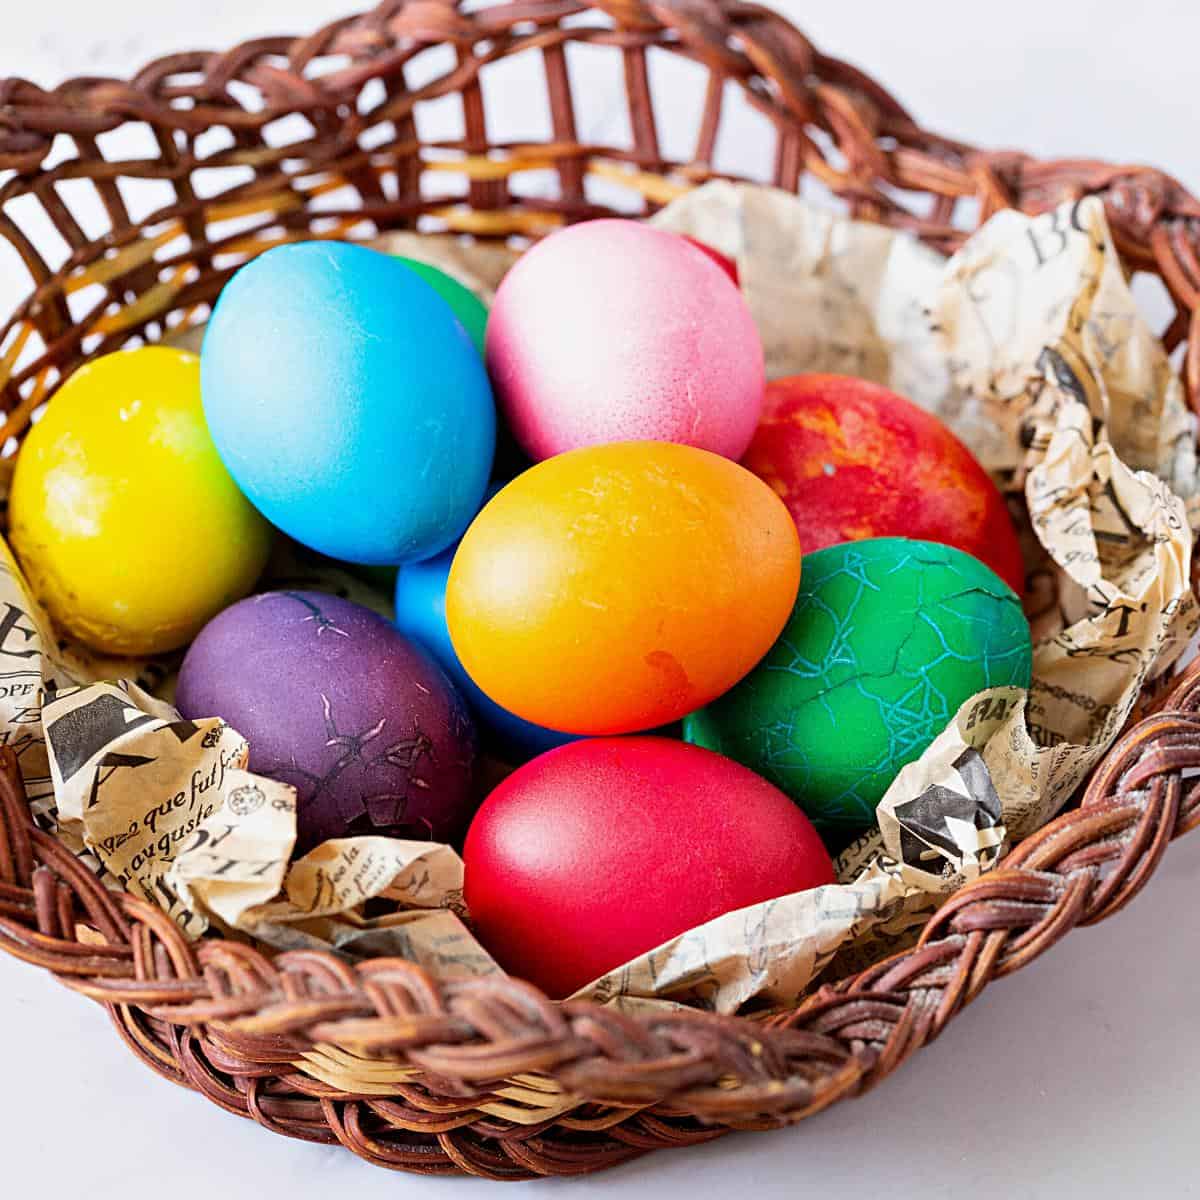
Beautiful Dyed Easter Eggs


Colored Easter eggs are a popular Easter tradition in which raw or boiled eggs are dyed with colored food dyes. But did you know that it takes only 10 minutes and two ingredients to make dyed Easter eggs?
In many cultures, Easter eggs have been used as symbols of life and rebirth. For Christianity, it meant the resurrection of Christ. The hard shell represented the tomb and the new life starting from within it. Traditionally, eggs were used to celebrate new life and fertility or the arrival of spring.
Every year, our family tradition is an egg hunt. Of course, I hid the colored eggs all over the house, and the kids had to find them. My Aadi was a real champ, so he needed more eggs to keep him busy.
Why make colored eggs?
- Who doesn’t love colored Easter eggs? Kids’ favorite, right?
- It takes only 12 minutes to boil the eggs and 10 minutes to dye them.
- And leftover Easter eggs can be used to make deviled eggs.
- If you are planning on an egg hunt, make sure to use boiled eggs. But if you plan to use them for Italian Easter bread, it is best to use dyed raw eggs.
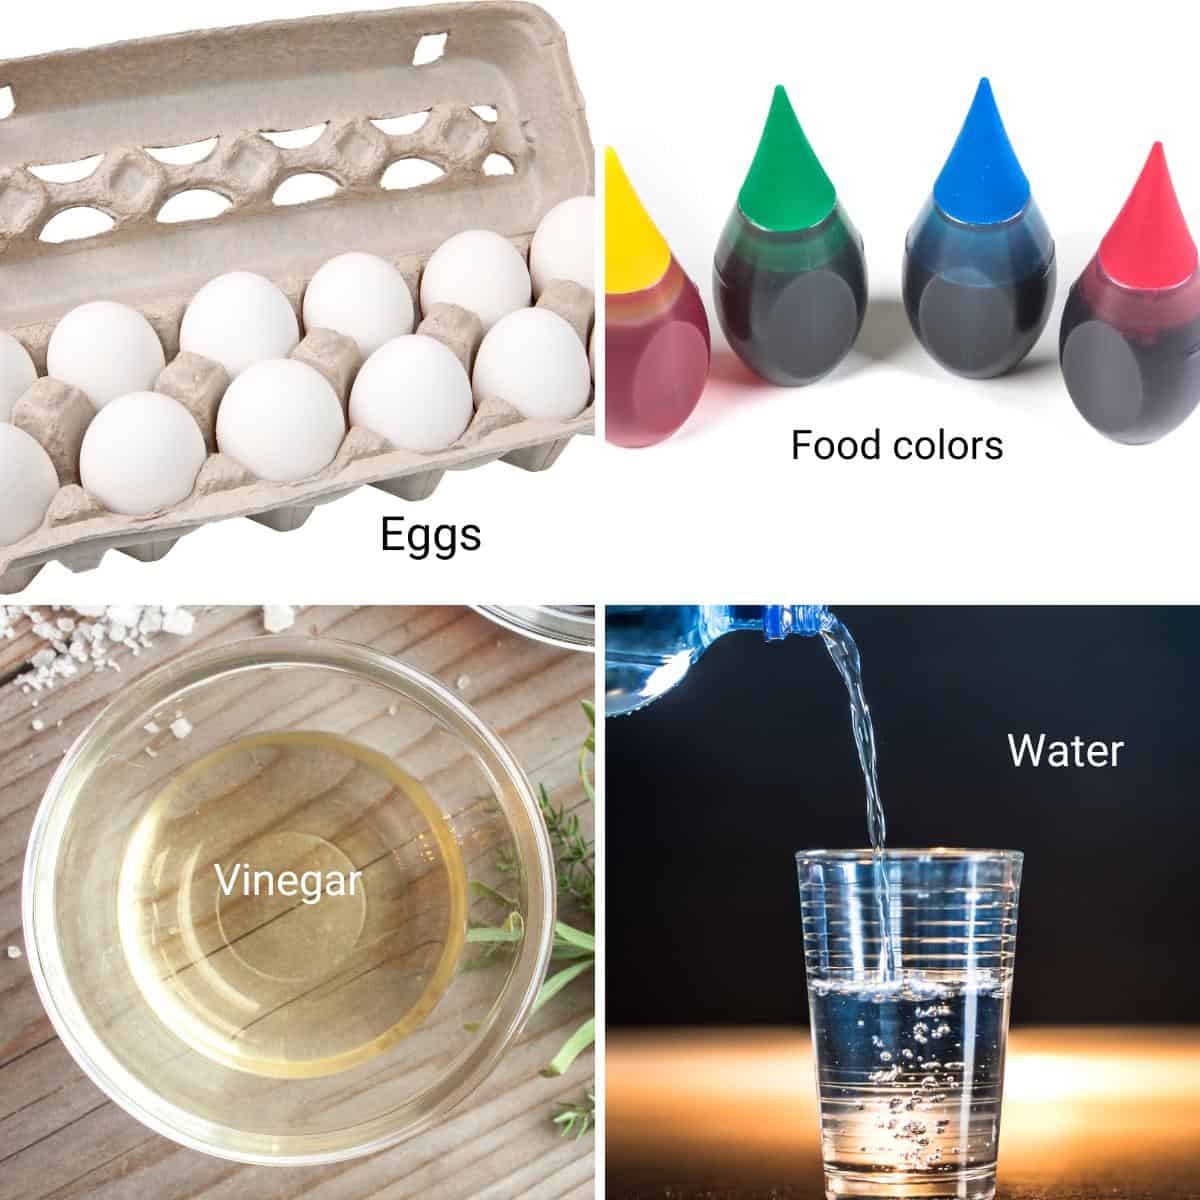
Ingredients and substitutes
- Eggs – Depending on the purpose, you can use raw or boiled eggs. I use raw eggs when I am making my popular Italian Easter bread. But boiled eggs are used when you want to serve the eggs for Easter breakfast.
- Vinegar – I used apple cider vinegar today, but any vinegar works.
- Colors – I used food color gels, but you can use any color as long as they are food-safe.
How to color Easter eggs
- If using boiled eggs – Place the eggs in a saucepan with water and bring them to a boil. Then, reduce the heat and leave to simmer for 10 to 12 minutes. Remove from the saucepan and leave to cool.
Classic Easter eggs
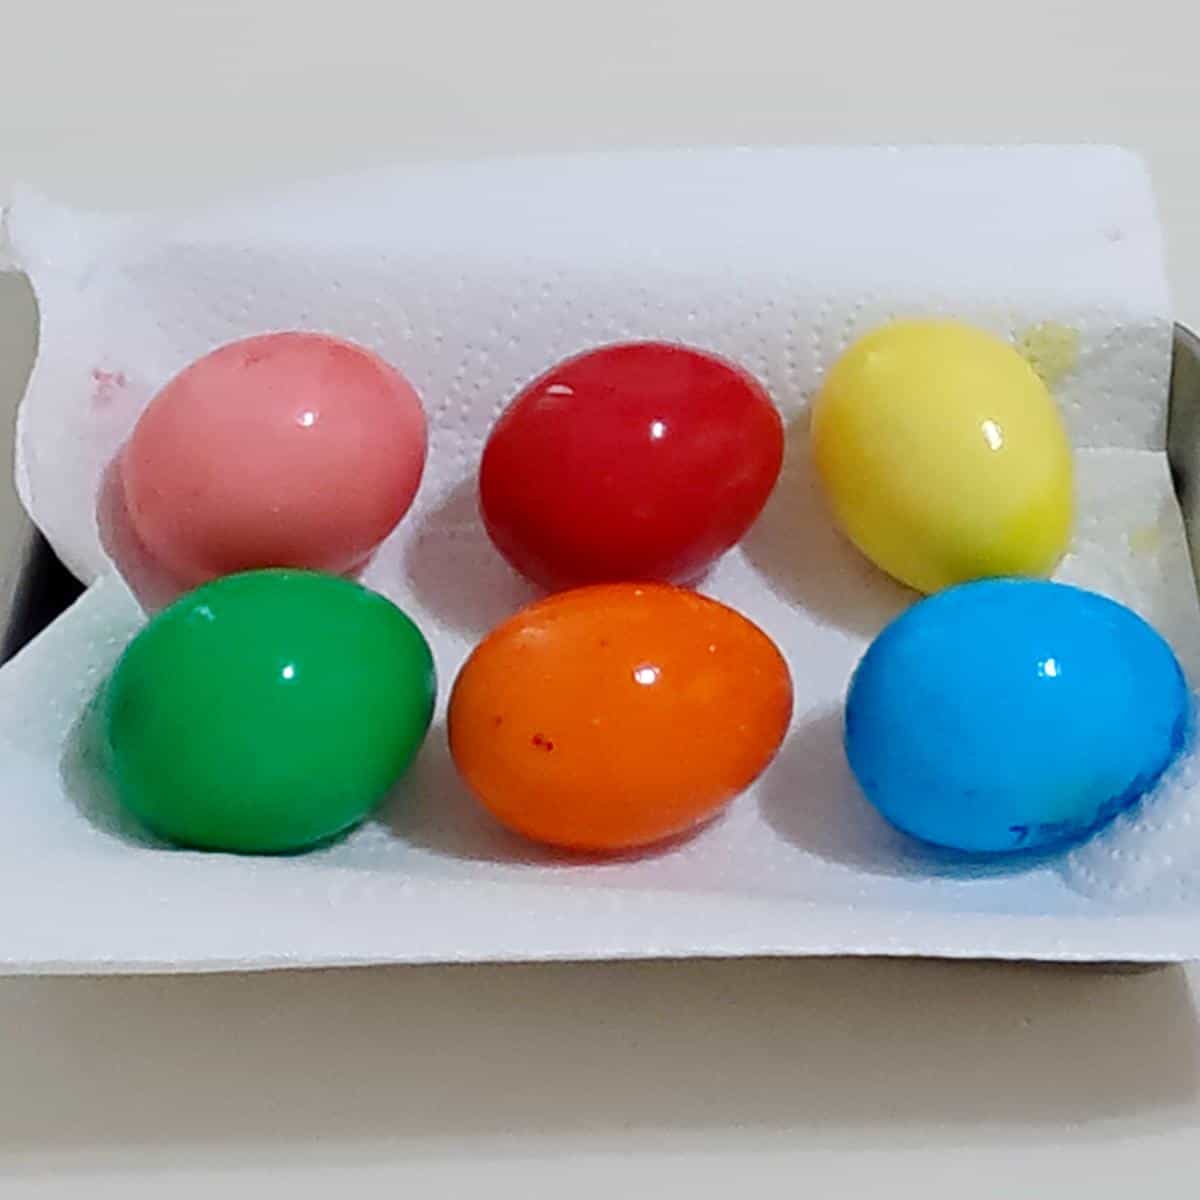
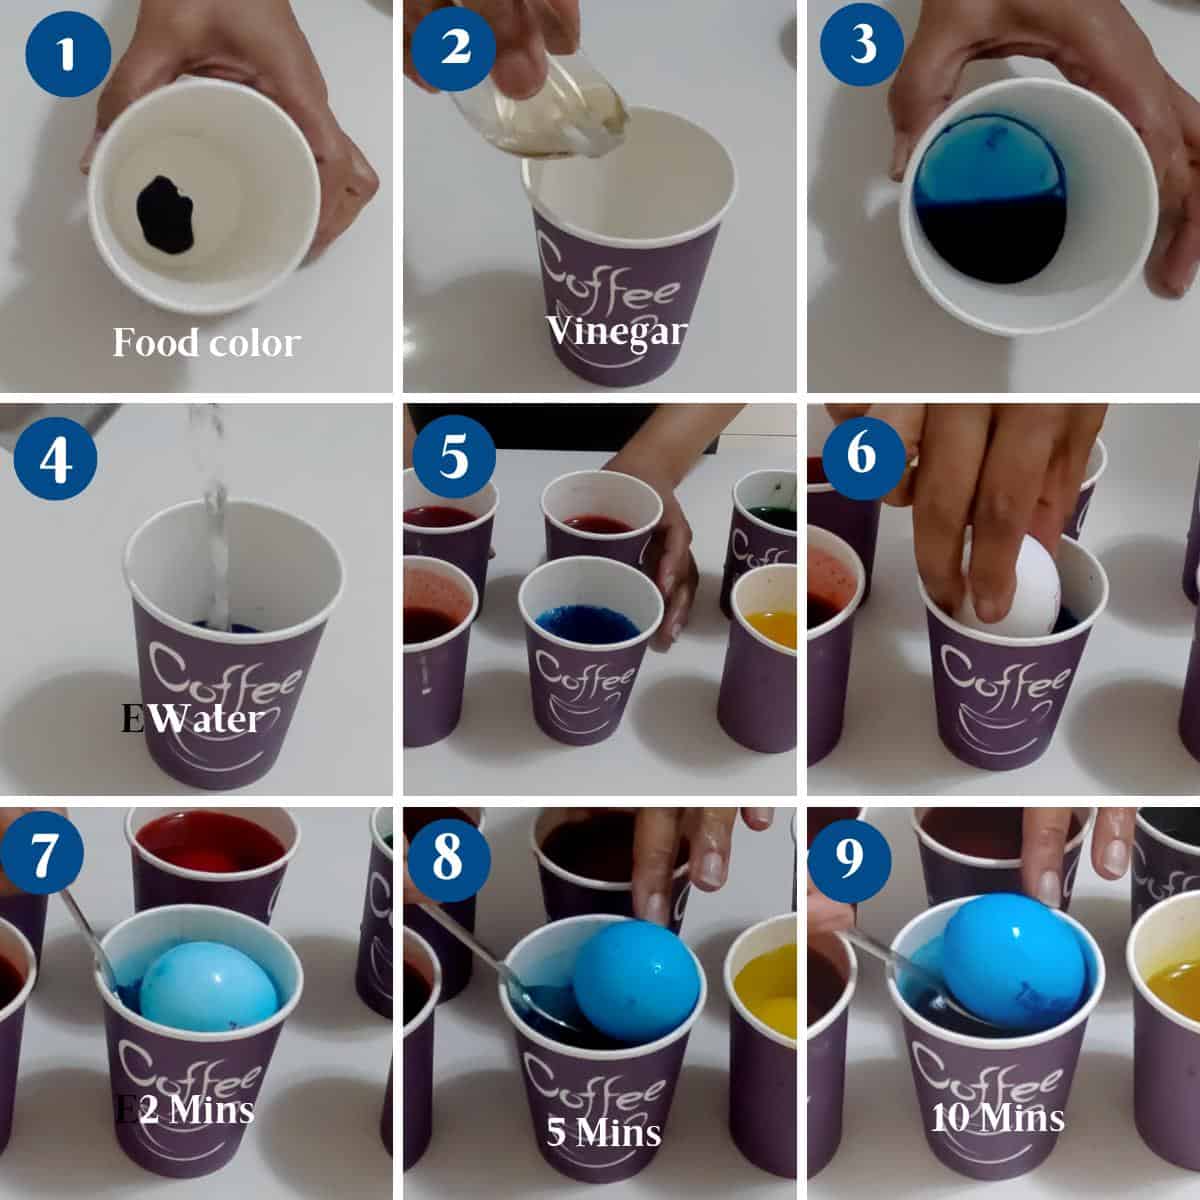
- Prepare the dye – Add 1 tsp of food color to a paper cup with 1 tsp of vinegar. Combine well. Then, top it with water, preferably hot water.
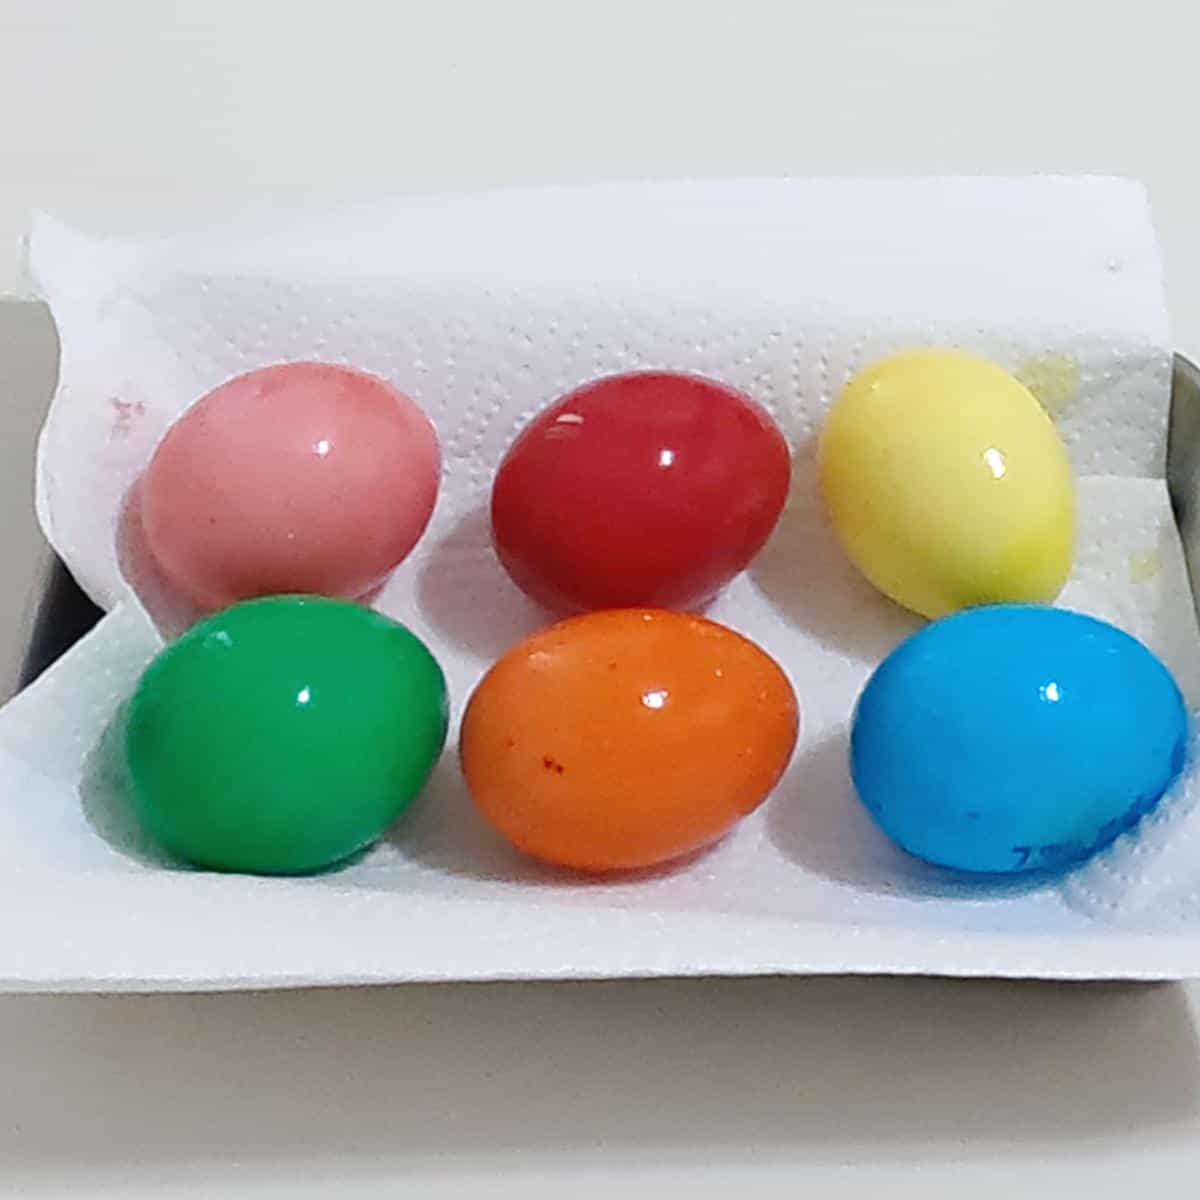
- Dye the eggs – Drop an egg in the dye and leave for 5 to 10 minutes, depending on how dark you want the color.
Pro tip – I used six paper cups with dyes and made two eggs in each, one after the other. - Dry – Using a spoon, transfer the egg to a paper towel to dry.
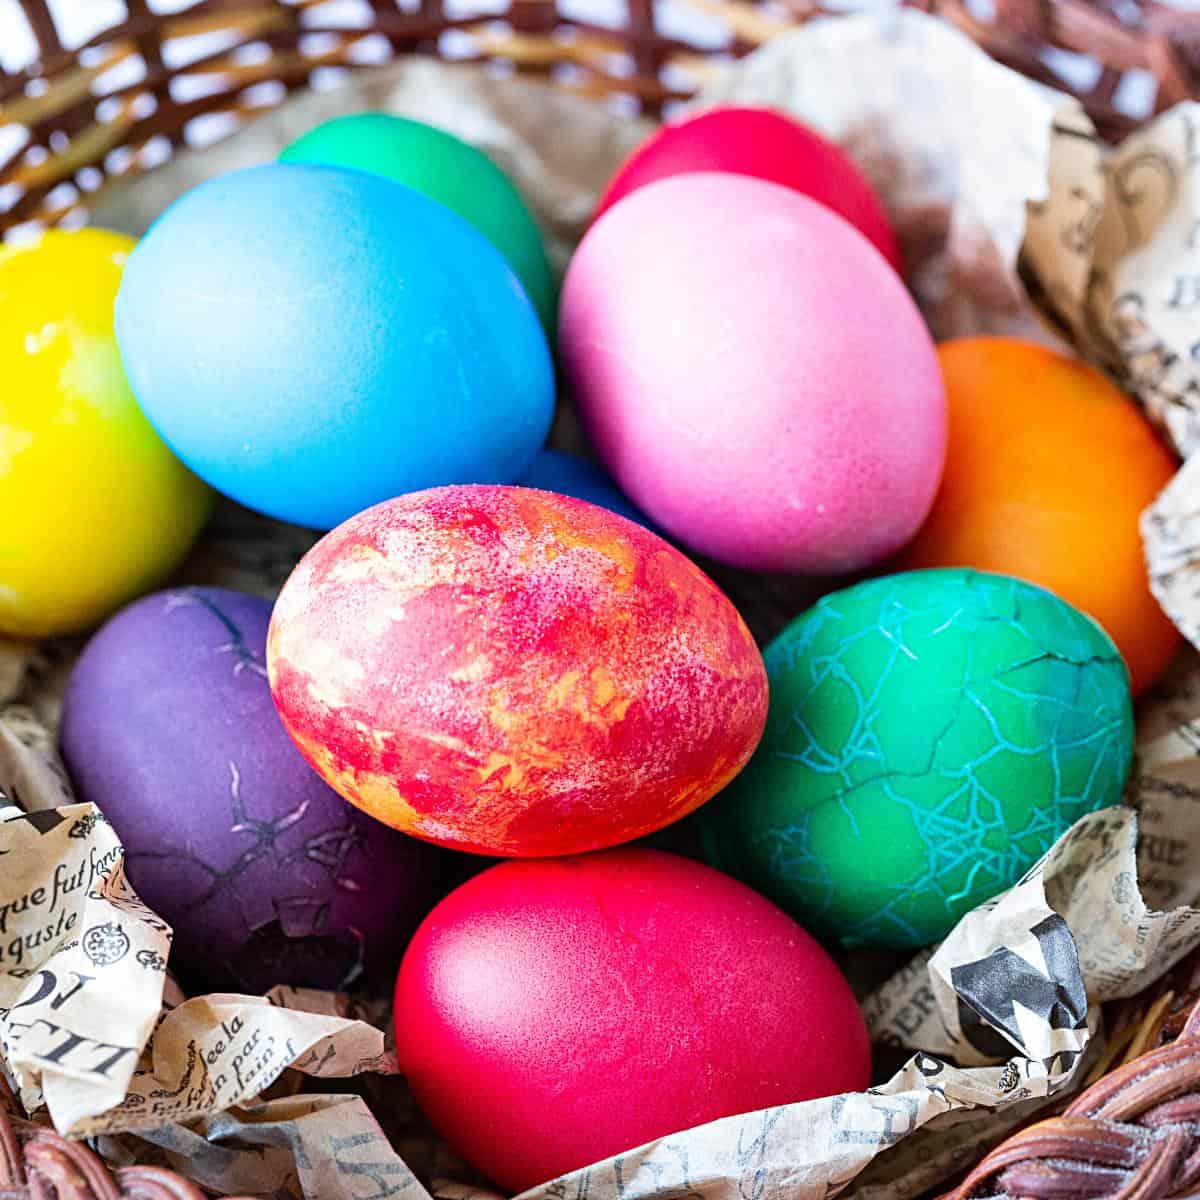
Speckled Easter eggs
- Color – On a small plate, add 1 tsp of brown food color with 1 tsp of water. Dip the bristles of a clean, unused toothbrush in the color and dab excess.
- Speckle – Once the colored eggs are dry, flick the paint off the toothbrush with your finger so it splashes on the eggs. This splashed color on the eggs gives them a speckled look.
Two-tone Easter eggs
- Rubber band – Wrap each egg with a rubber band before you drop it into the food color. Once dried, take the rubber band out.
- Two colors – Dye the eggs with the classic method and leave them to dry. Then, wrap a rubber band around each and drop it into the second color. Remove the rubber band to reveal the first color.
Decorations.
- Eggs can be decorated in several different ways – with stickers, glitter, and markers.
- Italian Easter Bread or Hot Cross Buns
- How to make a Gum Paste Easter Bunnies
- Easter bunny butt cupcakes
- Bunny ears cupcakes or Easter carrot cupcakes
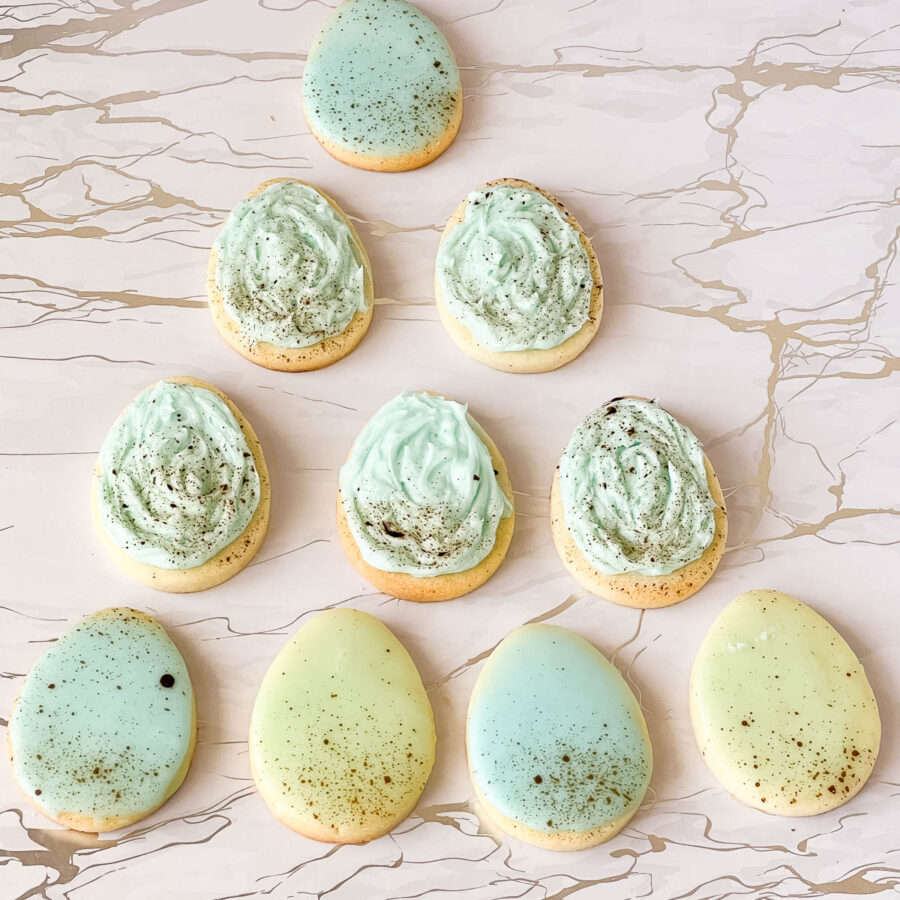
- Frosted bunny sugar cookies or frosted Easter chick cookies
- Marzipan Easter eggs
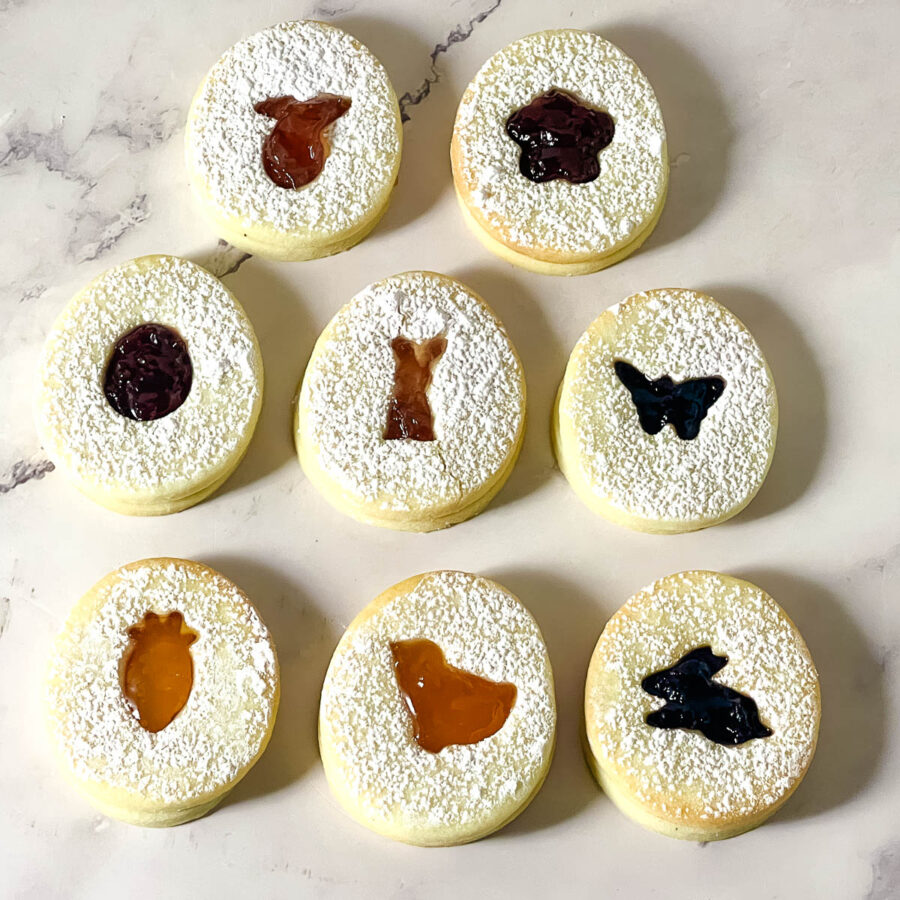
- Easter egg sandwich cookies


Frequently asked questions
Hard-boiled eggs can typically be stored in the refrigerator for up to one week.
It really depends on what you are going to use the eggs for. To use in bread, I prefer to use raw eggs because they bake beautifully with the bread. But to serve them for breakfast, I use boiled eggs to dye. Also, if I use eggs to display on the table, I use raw eggs so I can use them later in other recipes.
Yes, you can eat hard-boiled eggs that have been dyed. Just be sure to refrigerate them promptly and consume them within a week.
Yes, you can dye Easter eggs using natural ingredients such as beets, turmeric, and red cabbage. These ingredients can be boiled to create a natural dye bath.
After dyeing the eggs, you can rub them with a small amount of vegetable oil to give them a shiny finish and help set the dye.
To make marbled Easter eggs, dye the eggs a base color, then dip them in a second color using a different dipping technique (e.g., swirling or dripping) to create a marbled effect.
How to Dye Easter Eggs
Colored Easter eggs are a popular Easter tradition in which raw or boiled eggs are dropped in colored food dyes. But, did you know that it takes only 10 minutes and 2 ingredients to make dyed Easter eggs?
Video
Ingredients
- 12 large Eggs raw or boiled
- 12 Food coloring food safe colors
- 12 tsp Vinegar
Method
- Place the eggs in a saucepan with water and bring them to a boil. Then, reduce the heat and leave to simmer for 10 to 12 minutes. Remove from the saucepan and leave to cool.
- Prepare the dye – Add 1 tsp of food color in a paper cup with 1 tsp of vinegar. Combine well. Then, top it with water, preferably hot water.12 Food coloring , 12 tsp Vinegar
- Dye the eggs – Drop an egg in the dye and leave for 5 to 10 minutes depending on how dark you want the color. Pro tip – I used 6 paper cups with dyes and made two eggs in each, one after the other.12 large Eggs
- Dry – Using a spoon take the egg out and place it on the paper towel to dry.
- Color – On a small plate, add 1 tsp of brown food color with 1 tsp of water. Dip the bristles of a clean unused toothbrush in the color and dab excess.
- Speckle – Once the colored eggs are dry, flick the paint off the toothbrush with your finger so it splashed on the eggs. This splashed color on the eggs gives them a speckled look.
- Rubber band – wrap each egg with a rubber band before you drop them into the food color. Once dried, take the rubber band out.
- Two colors – Dye the eggs with the classic method and leave them to dry. Then, wrap a rubber band around each and drop it into the second color. Remove the rubber band to reveal the first color.
- Eggs can be decorated in a number of different ways – with stickers, glitter, markers.
Notes
- Start with Hard-Boiled Eggs: Use hard-boiled eggs for dyeing to prevent cracking during the dyeing process.
- Use Food-Safe Dyes: Use food coloring or egg dye specifically made for dyeing eggs. Do not use non-food-safe materials or dyes.
- Prepare the Dye Bath: Follow the instructions on the dye package to prepare the dye bath. Add vinegar to help the dye adhere to the eggshell.
- Use Warm Water: Use warm water in the dye bath to help dissolve the dye and improve color absorption.
- Dip or Submerge Eggs: Dip the eggs in the dye bath using a spoon, tongs, or egg dipper. For a more vibrant color, leave the eggs submerged for a longer time.
- Create Patterns: Use crayons, stickers, rubber bands, or other materials to create patterns or designs on the eggs before dyeing.
- Let Eggs Dry: After dyeing, place the eggs on a drying rack or paper towels to dry completely. Avoid touching or handling the eggs until they are dry.
- Add Shimmer: For a shiny finish, rub the dried eggs with a small amount of vegetable oil using a paper towel.
- Store Properly: Store dyed eggs in the refrigerator if you plan to eat them. Avoid storing them at room temperature for an extended period.
- Be Creative: Experiment with different colors, patterns, and techniques to create unique and colorful Easter eggs.
Nutrition
Tried this recipe?
Mention @veenaazmanov_kitchen or tag #veenaazmanovkitchen!


Don’t lose this recipe! Save it for Later!
📌 Save this Recipe for later on Pinterest so you can easily find it again.
⭐ Add Veena Azmanov Kitchen to your Google Preferred Sources.
It helps Google show you more of our recipes.
📧 Subscribe for new recipes delivered to your inbox.
🎥 Follow us for more recipes