Best Cameras for Cake and Food Photography (2025 Guide)

(What I Use, Why I Use It, and What’s Worth Spending On)
If you’ve ever wondered what camera or lens you need to take better pictures of your cakes or food, you’re not alone. With so many models, features, and price ranges out there, it’s easy to get overwhelmed.
In this guide, I break down the best cameras for cake decorating and food photography — including what I use myself, what I started with, and what I recommend if you’re just beginning. You’ll also learn about lenses, tripods, lighting, and editing tools that actually make a difference, plus which accessories you can skip altogether.
This post isn’t about selling you the most expensive gear — it’s about helping you understand what matters and how to use what you already have (even if that’s just your phone).
Whether you’re a food blogger, baker, or small business owner trying to photograph your creations, you’ll find simple, practical advice here to help you shoot with confidence — no tech jargon required.
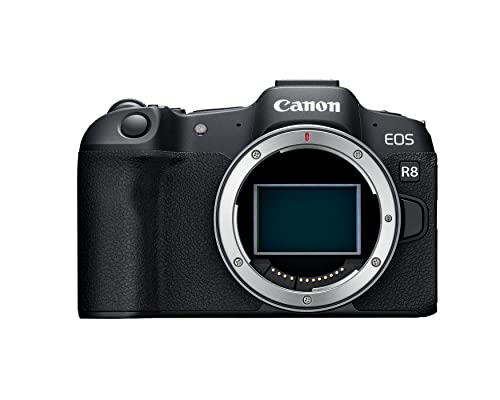
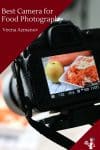
- Step up to full-frame with Canon’s lightest full-frame RF Mount mirrorless camera featuring a 24.2 million pixel CMOS image sensor and DIGIC X Image Processor.
- An affordable and compact camera with built-in 0.39” 2.36 million dots OLED EVF up to 120 fps refresh rate and 3.0” 1.62 million dots vari-angle LCD touchscreen.
- Dual Pixel CMOS AF II covering up to 100% x 100% area with 1,053 AF zones with automatic subject detection of people, animals, and vehicles using deep learning technology, now including aircraft (jet planes and helicopters), trains, and horses.
- Uncropped 4K movie at up to 60 fps that is oversampled from 6K, Full HD High-frame rate movie recording at up to 180 fps2, and Canon Log 3 or HDR PQ. Max movie record time of 2 hours3 and UVC / UAC for webcam and streaming4
- Achieves high image quality such as improved resolution at low ISO speeds and low noise at high ISO speeds, wide dynamic range of still pictures, and significant improvement in rolling shutter compared to previous Canon cameras when shooting fast-moving subjects and quick panning.
I didn’t start with a fancy camera — not even close.
When I started photographing my cakes and food, the only camera I had was my phone. Whether it was a chocolate cake or a bowl of soup, I just wanted my photos to look the way they tasted — real and delicious.”
And honestly? Those early photos were rough.
The cakes were beautiful in real life, but the pictures made them look tired — the colors flat, the frosting dull, and sometimes the angle so bad it looked like I’d photographed the table instead of the cake.
Back then, I thought, “If only I had a better camera.”
But over the years I learned that the camera isn’t magic — it’s just a tool. The magic comes from how you use it.
So, whether you’re shooting your cakes with your phone, a DSLR, or your kid’s old camera from school — this post is for you. I’ll walk you through what I use now, what I used before, and what I’ve learned about choosing gear that actually helps you — not confuses you.
Because the truth is, your phone is already the best camera you have. You just need to learn how to make it work for you. And when you’re ready to upgrade, I’ll help you understand what to look for (and what to skip).
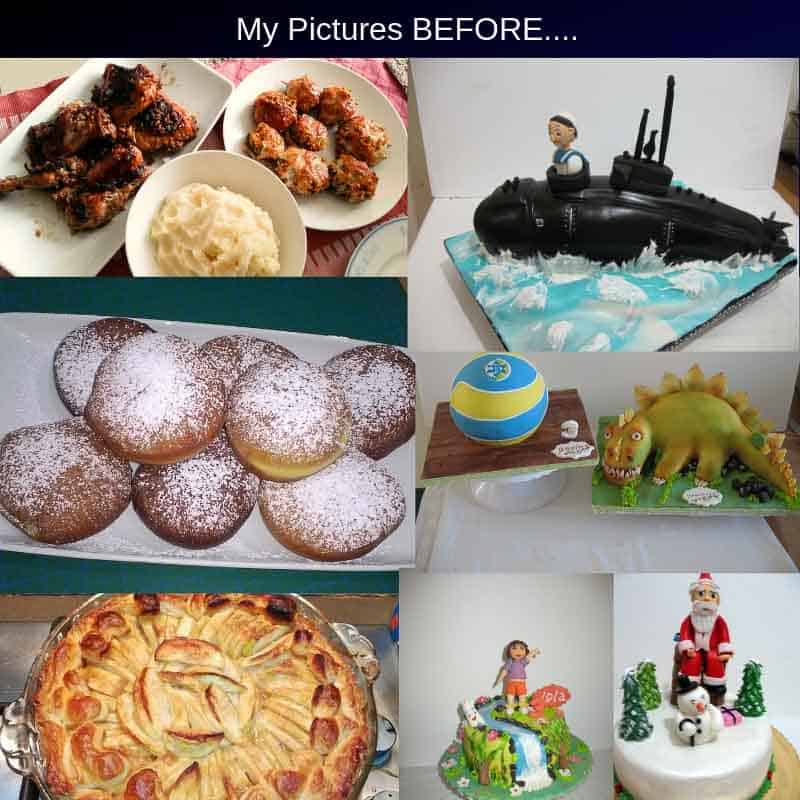
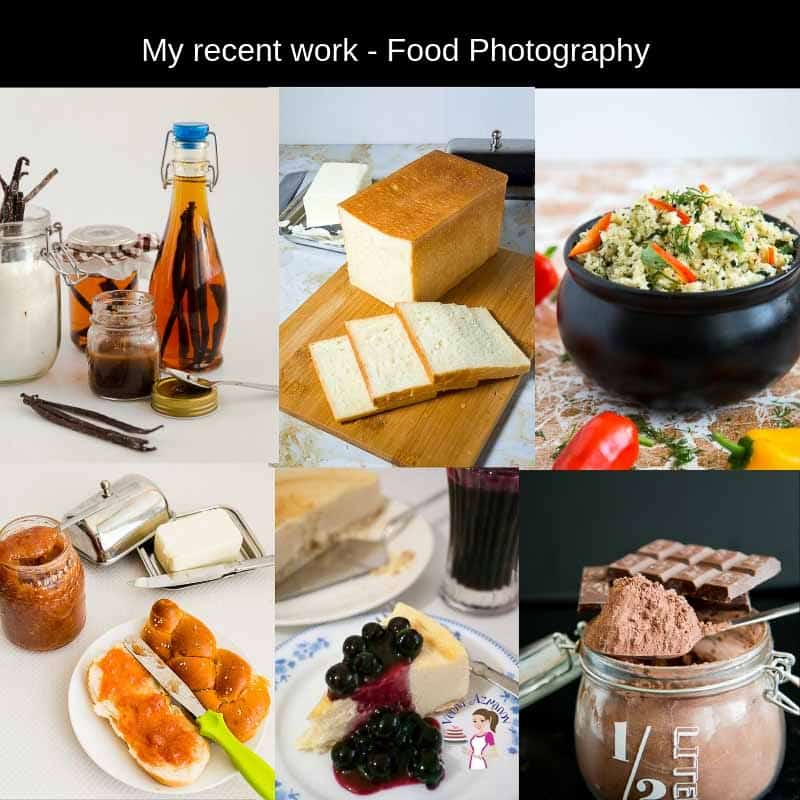
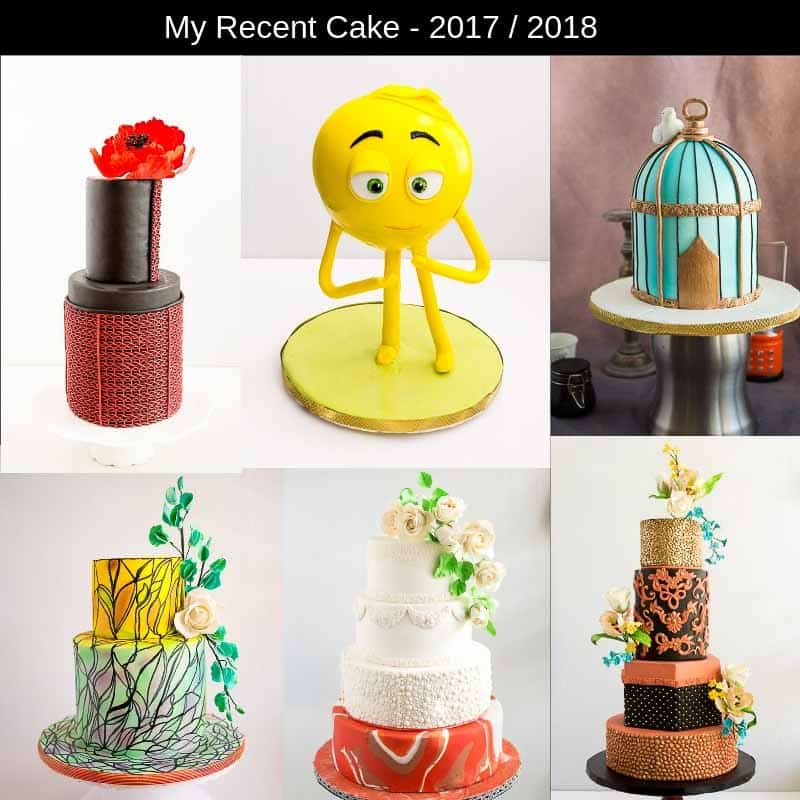
“Before You See My Camera Gear, Let’s Talk Progress”
“Everyone loves a before-and-after, so let me show you mine.
These were my cakes before I learned about light, and these are the same cakes after I understood my camera.
The difference? Not the cake — the light.”
📸 Why You Don’t Need a Fancy Camera to Start
Good photography isn’t about the price tag; it’s about understanding your light.
If you can master light, composition, and focus on your phone, you’ll take better photos than someone with a $3,000 camera and no clue. Your phone is perfect for learning — it forces you to think about:
- Where the light’s coming from.
- How shadows hit your frosting.
- What happens when you move closer or shoot lower.
Once you start noticing those little things, you’ve already become a photographer. The camera just makes your job easier later.
🎯 Pro tip: If you’re just starting, use your phone until you outgrow it. You’ll know you’re ready for a camera when your phone starts limiting your creativity, not your confidence.
🧠 What Makes a Good Camera for Food & Cake Photography
When you’re ready to move up, here’s what actually matters:
- Manual control: You want to control light — not let the camera guess.
- Interchangeable lenses: So you can switch from whole cakes to close-up textures.
- Color accuracy: Especially for frosting, fruit, and anything white or chocolate (we’ve all seen beige buttercream nightmares).
- Good low-light performance: Because most kitchens don’t come with studio lighting.
- Easy to use: If the settings make you cry, you won’t use it.
Everything else — megapixels, fancy buttons, Wi-Fi, touch screens — nice to have, not must-have.
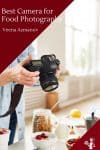
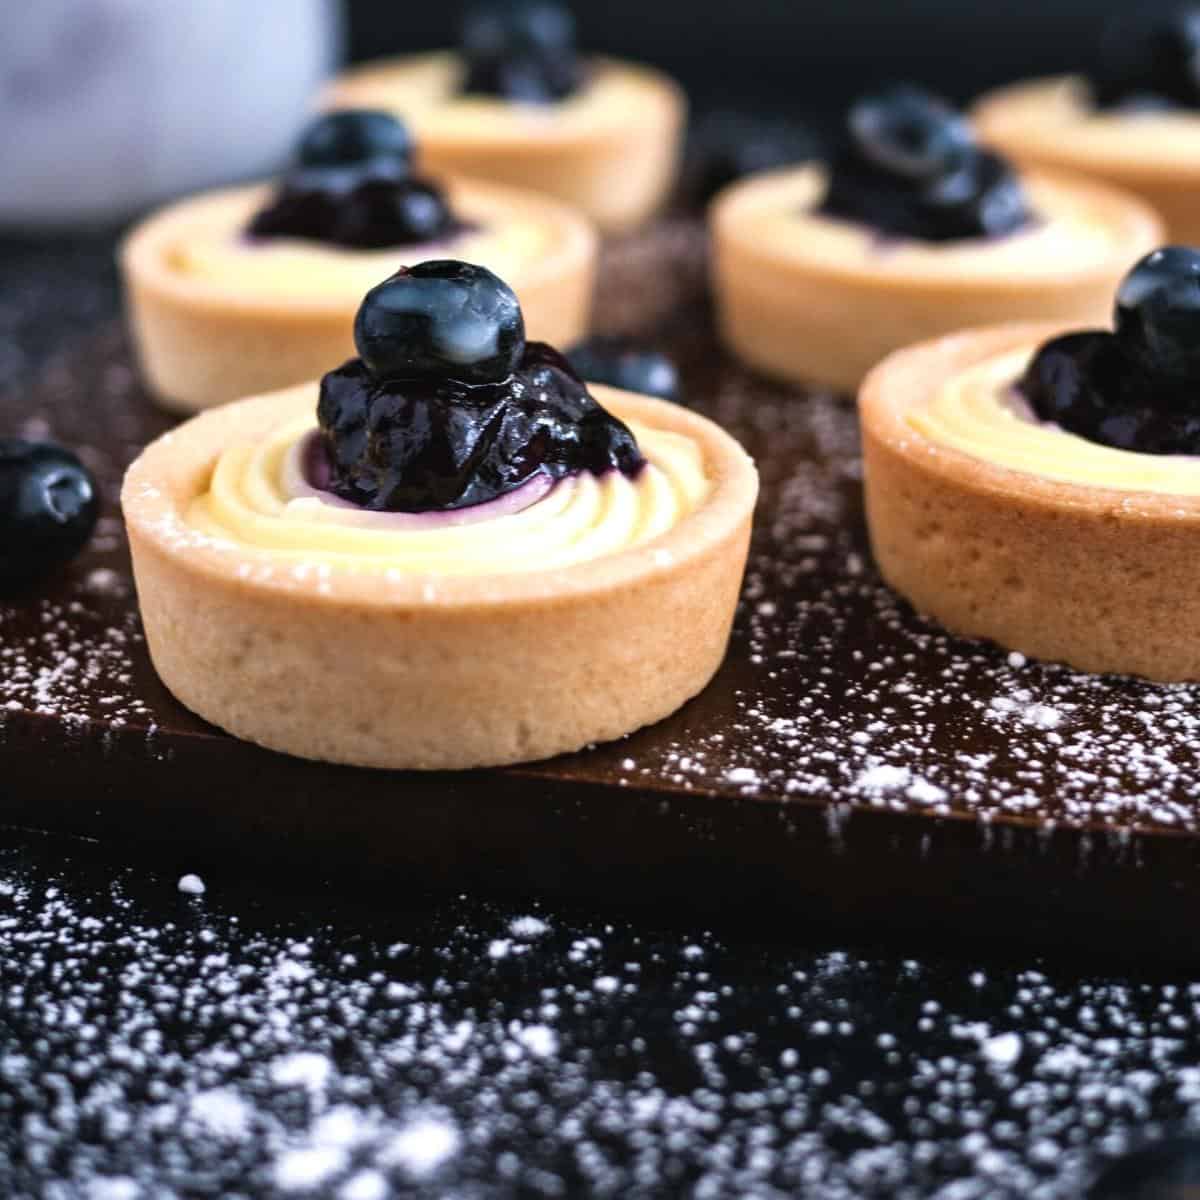
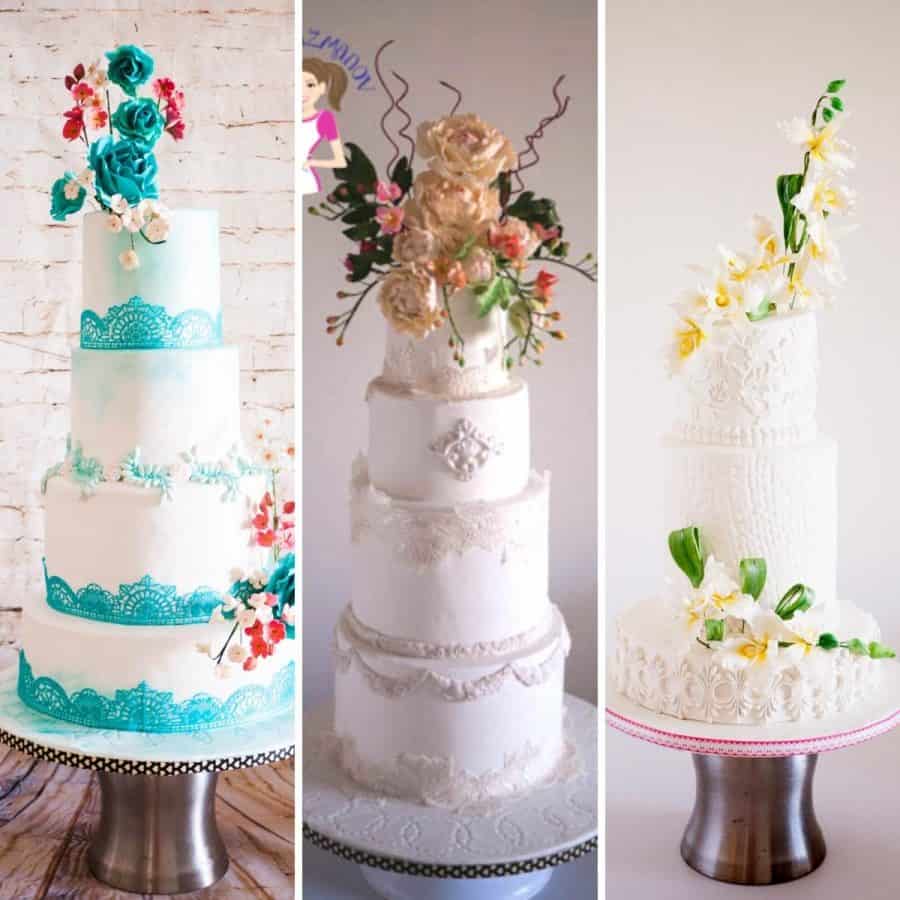
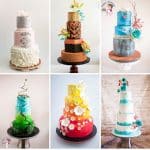
🎂 vs 🍲 Cake Photography and Food Photography – What’s Different?
Cake photography is usually about height, color, and texture — you’re shooting tall objects with smooth frosting and dramatic shapes.
Food photography, on the other hand, focuses on layers, steam, shine, and movement — things like glossy soups, glazes, or crumbs.
That’s why I use different lenses for different tasks:
- 50 mm lens for tall cakes or whole dishes.
- 100 mm macro for detailed food shots (think dripping sauce, melting chocolate, or glistening fruit).
- 24–105 mm zoom for tablescapes and step-by-steps.
So while this post leans on my cake experience, everything here applies to any kind of food you shoot — savory or sweet.
Now that you know what makes cake and food photos behave differently, let’s talk about the cameras and lenses that actually helped me capture both
📷 My Camera Journey (and What I Use Now)
Started with: My Phone
I shot everything on my iPhone for years. Instagram videos? All phone. Quick reels today? Still phone. The best camera is the one that’s already in your hand and charged.
Graduated to: DSLR
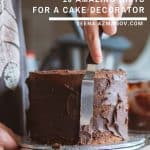
When I began taking step-by-step photos for my blog, I bought a secondhand Canon 6D Mark II. Suddenly my frosting looked like frosting and not mashed potatoes.
It gave me control — I could blur the background, make the cake pop, and finally shoot on cloudy days without everything turning blue.
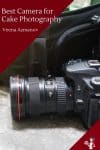
Now using: Mirrorless
These days, I use the Canon R8, and I love it. It’s lighter, faster, and the colors are gorgeous straight out of the camera. It also shoots crisp 4K video, which saves me a ton of time editing.
But honestly? The phone still does 50 % of my content. My reels, Instagram stories, and most behind-the-scenes clips — all shot on my phone.
📱 Lesson: Use your phone to learn how to shoot. Use your camera to learn why light behaves the way it does.


🔍 Choosing the Right Lens (The Part Nobody Explains Simply)
Let’s talk lenses — the thing that confused me for years.
When I bought my first camera, I had no clue what those little numbers meant. 50 mm? f/1.8?
Here’s what I eventually learned (the hard way):
- 50 mm Lens (a.k.a. “the Nifty Fifty”)
This is the lens I recommend to everyone starting out. It sees almost exactly what your eyes see — which means your cakes will look real, not warped.
The f/1.8 (that tiny number) means it lets in more light and gives you that dreamy, blurred-background look that makes frosting glow.
It’s small, sharp, and inexpensive. You could shoot an entire food blog with just this lens and never feel limited. - 100 mm Macro Lens
If you love close-ups — drips, textures, buttercream swirls — this lens is pure magic. It lets you get really close without distortion.
It’s my go-to for “hero shots” where you can almost taste the cake through the screen. - 24–105 mm Zoom Lens
My workhorse. It handles everything: step-by-steps, process shots, or tablescapes.
When I’m shooting a full spread or don’t want to keep swapping lenses mid-recipe, this one stays on my camera.
It’s heavier, yes, but reliable and tack-sharp.
🎯 Quick tip: Lenses matter more than camera bodies. You’ll upgrade cameras; your good lenses will stay with you for years.


🎥 Why You Still Need a Tripod (Even if You Hate It)
I fought the tripod for years — it felt like a mood-killer.
But once I started using one, everything changed.
- No shake = sharper images.
Even a small hand movement blurs details like sprinkles and piping. A tripod keeps your shot crisp. - Consistent framing.
Perfect for step-by-step tutorials — your cake stays in the same spot while you work. - Freedom.
I can decorate with both hands while the camera stays steady.
I use a Manfrotto 055 Aluminum tripod with a ball head, which lets me tilt and angle exactly how I want. It’s not cheap, but after breaking three “budget” ones, I learned: you really do get what you pay for.
If you’re on a tighter budget, any sturdy tripod with a ball head will do — just avoid the super-light plastic ones; they tip over faster than whipped cream on a hot day.


🌤️ Lighting & Reflectors (Your Secret Ingredient)
You don’t need fancy lights — you need good direction.
Natural light is your best friend. Shoot near a large window and use:
- White foam board to bounce light back onto the cake and soften shadows.
- Silver reflector when you need a little more punch or sparkle.
- Diffuser (sheer curtain) when the sun gets too harsh.
Lighting is like frosting — balance is everything. Too little, it’s flat; too much, it’s blown out.

💾 Memory, Editing, and Workflow
Memory Cards
Use SanDisk Extreme Pro SD cards. They’re fast and reliable — especially for video.
Cheap cards can corrupt files, and nothing hurts more than losing footage of your perfect drip shot.
Editing
I edit 90% of my photos in Lightroom. It’s clean, powerful, and lets me batch-edit multiple photos so all my images look consistent.
If I need to fix something tiny — like a crumb, a stray reflection, or a frosting blob — I jump into Photoshop.
🧁 Pro tip: Editing isn’t cheating. It’s seasoning. You’re just bringing out the flavor that’s already there.

💡 Veena’s Real-World Gear Priorities
| Spend On | Why | Skip For Now |
|---|---|---|
| Good lens (50 mm / macro) | It’s the “flavor” of your shot. | Extra lenses you’ll never use. |
| Solid tripod | Stability = sharper images. | Tiny table tripods (they’ll drive you nuts). |
| Reflectors & foam boards | Cheapest lighting upgrade ever. | Giant lighting kits before you learn daylight. |
| Editing software | Finishes the story. | Preset packs that promise “one-click magic.” |
Frequently asked questions
Both work. Mirrorless wins on weight, live preview, and video autofocus (great for reels). DSLRs are cheaper used (e.g., Canon 6D Mark II) and still produce gorgeous stills. If you’re buying today, I’d pick mirrorless (e.g., Canon R8).
APS-C is plenty for blogs and socials. Full-frame helps in low light and gives creamier background blur. If budget allows and you shoot indoors a lot, full-frame is a nice step—but not mandatory.
A 50 mm f/1.8. It’s sharp, affordable, and works for cakes, desserts, and plated meals. Add a 100 mm macro later for texture/detail shots (crumbs, drips, swirls).
If you shoot indoors, step-by-steps, or want tack-sharp images—yes. It stabilizes, keeps framing consistent, and frees your hands to style.
Upgrade when your phone limits your creativity, not your confidence. If you’ve learned light and composition on your phone and still fight noise/blur indoors, it’s time.
Whole cakes / plated mains: f/4–f/5.6, ISO as low as light allows, shutter ≥1/125s.
Close-ups / details: f/2–f/3.2 (or macro at f/4–f/5.6), focus precisely where you want attention.
Overhead tables: f/5.6–f/8 to keep more of the scene in focus.
Side-light, not front-light. Add a diffuser (sheer curtain) and bounce with a white board opposite the window. Nudge your set a few degrees until the specular highlight softens.
Not to start. Learn window light first. If your space is dark or you shoot at night, add one soft continuous LED and a diffuser.
UHS-I SanDisk Extreme Pro (V30/U3), 64–128 GB. Fast, reliable, and plenty for recipe days.
No—but shooting 4K gives you cleaner crops and stabilization when you edit verticals. If your camera has 4K 60fps, your slow-mo pours will look dreamy.
👜 Shop My Camera Bag
Add this at the bottom so readers have a tidy, linked summary:
| Product | Why I Love It |
|---|---|
| Canon R8 Mirrorless | Lightweight, color-true, perfect for video. |
| Canon RF 50 mm f/1.8 | Small, sharp, budget-friendly starter. |
| Canon RF 100 mm Macro | Magical for detail and texture. |
| Canon 24–105 mm f/4 L | My everyday all-rounder. |
| Manfrotto 055 Tripod | Rock-solid stability. |
| SanDisk Extreme Pro SD Card | Fast and reliable memory. |
| Adobe Lightroom | Essential for batch-editing consistency. |


You have the most informative blog. I love coming to read your blog when I need some information. You are always so truthful. THanks
Thank you so much, Alfred. Appreciate your kind words.