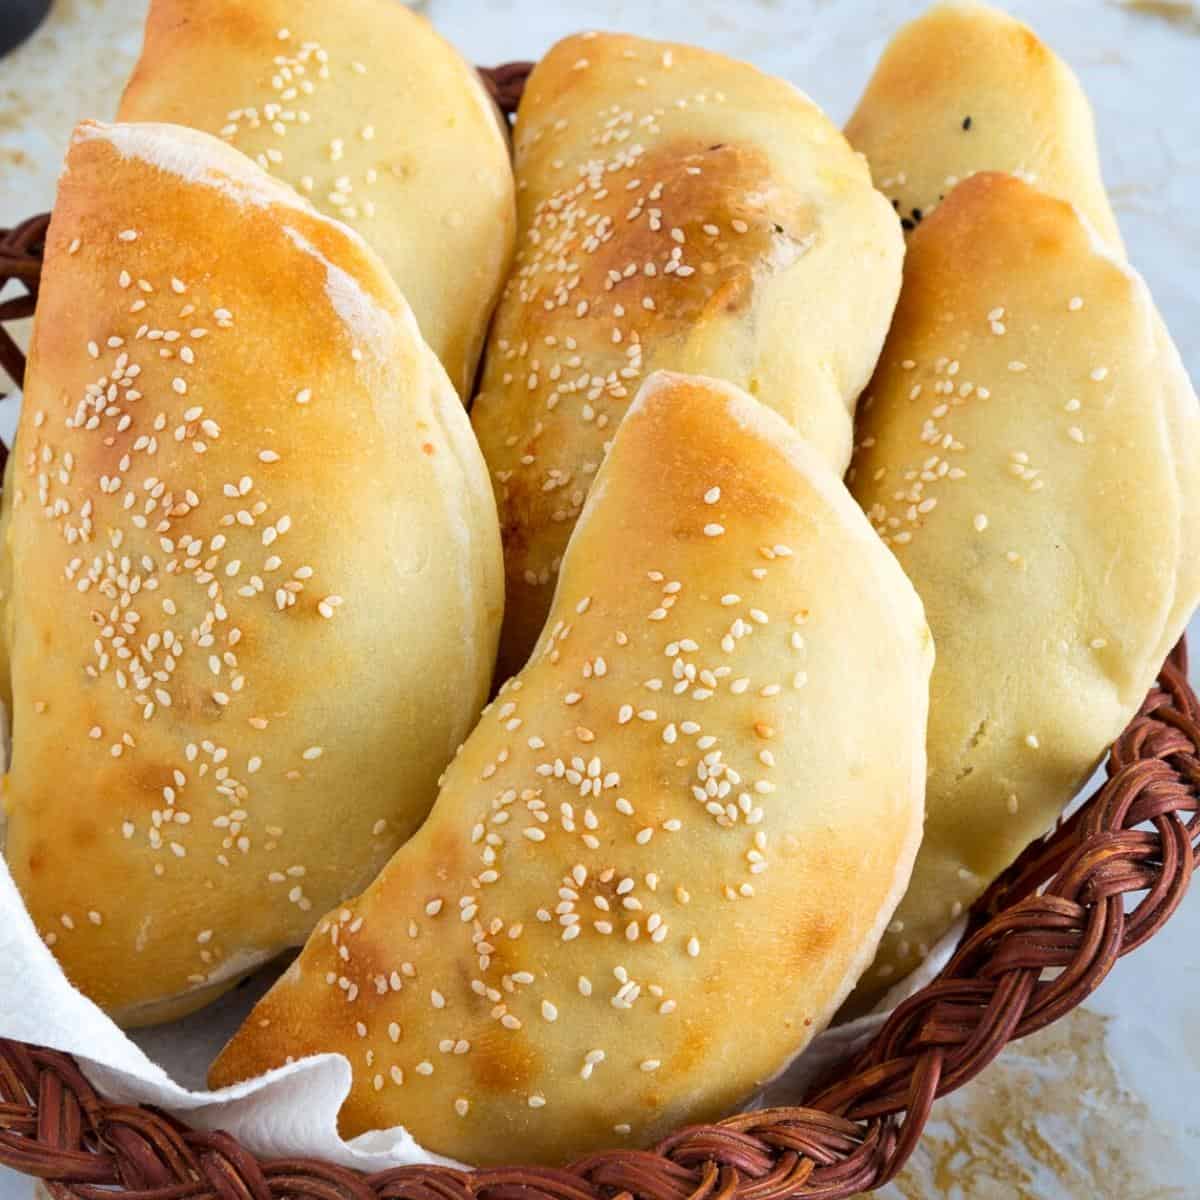
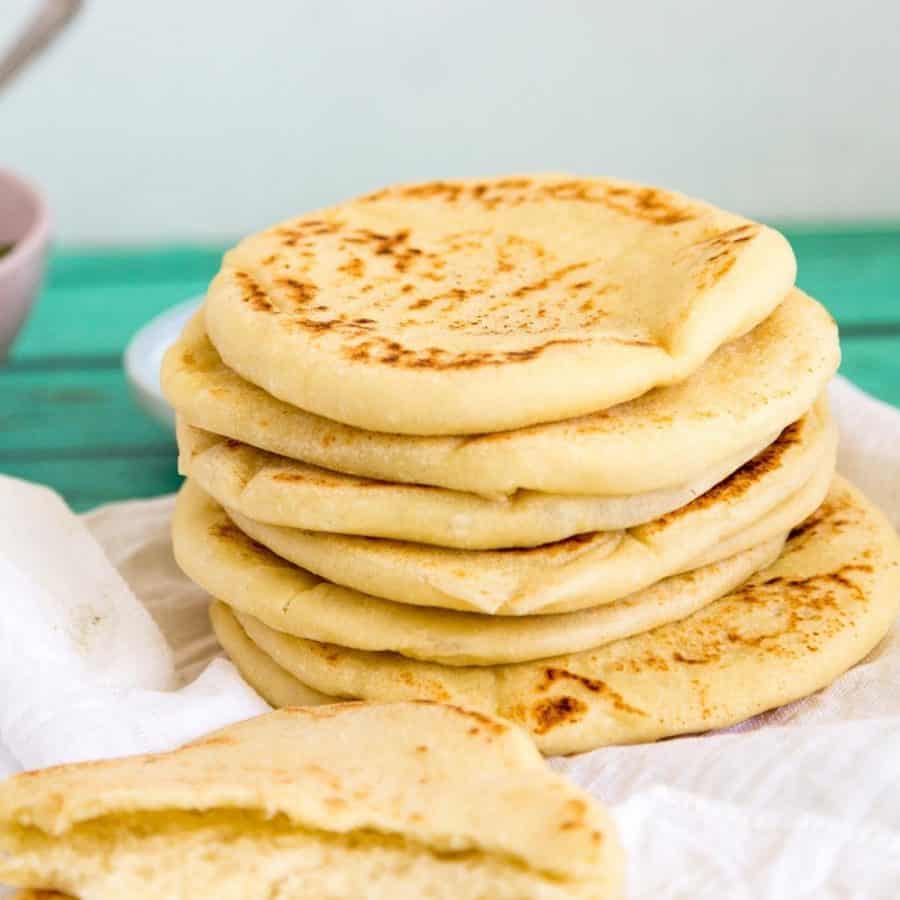
Cheese Stuffed Pita Bread

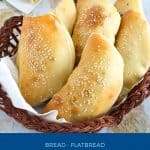
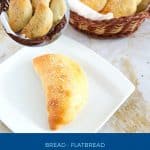
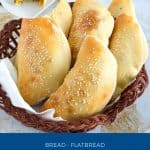
This cheese stuffed pita bread is a classic found in Middle Eastern bakeries. A generous portion of different cheeses is filled inside the pita bread before baking in the oven. The perfect treat for breakfast, snack, school lunch, or when you want a warm sandwich.

The secret to the success of this cheese-stuffed pita is the types of cheeses you use. I chose smoked Gouda, sharp mature cheddar mixed with the saltiness of feta, the nutty flavor of parmesan, and the melt-in-your-mouth mozzarella that brings it all together.
This is just a combination I like, and yet you are free to create a combination you like. Don’t forget to share your unique combination with me in the comments section below, so I can try something new as well.
The stuffed pita is a new variation of traditional pita bread. The classic pita is a Middle Eastern staple, and we eat it with almost all foods. Whether it is hummus, tahini, shakshuka for breakfast, or baba ganoush, kebabs, or falafel. When I shared my recipe on how to make easy homemade pita bread, I spoke in detail.
Why you’ll love this recipe?
- It’s the easiest recipe to make ever! Simple, easy, and fuss-free.
- The best part is that the dough is made with simple and easy-to-find ingredients that are mostly pastry staples.
- The filling is made with cheese; you can switch it for your favorite. Alternatively, you can also try my potato-stuffed pita bread, which is very popular in the Middle East.
- Today, I am using a cheese filling, but you can also use mashed potatoes
- These freeze beautifully, making them perfect to have on hand for kids’ midday snacks and lunch boxes.

Ingredients and substitutes
- Pita bread dough
- Flour – Bread flour makes the pita chewier with a softer texture. But, you can also use 50% bread with 50% all-purpose flour or just 100% all-purpose flour
- Instant dry yeast – I like to use instant dry, but you can also use fresh baker’s yeast.
- Water – The water’s temperature is critical at about 110°F.
- Honey – You can use honey or sugar to feed the yeast.
- Olive oil – Again, you can use olive, cooking, or coconut oil.
- For the Filling
- Cheese – I love to add a mixture of different types of cheeses. Some will stay whole, like feta and Gauda, as well as some that will melt like cheddar and mozzarella. Parmesan adds a nice nutty flavor, which really enhances the flavor of feta. You can also substitute the cheeses for any other that you fancy.
- Onions – you can use chopped onions, shallots, green onions, etc.
- Herbs – Use herbs that will complement the cheese you have. We use parsley, cilantro, and mint. Dill works great with smoked cheeses, too.

How to make Pita bread stuffed with cheese filling (step-by-step)
Dough
- Yeast – In a small bowl, combine lukewarm water, yeast, honey, and oil. Stir well and set aside
- Combine – In the bowl of a stand mixer with the dough hook attachment, combine the flour and salt. Add the yeast mixture and combine on medium-high speed until all the flour is incorporated. Scrape the sides of the bowl.
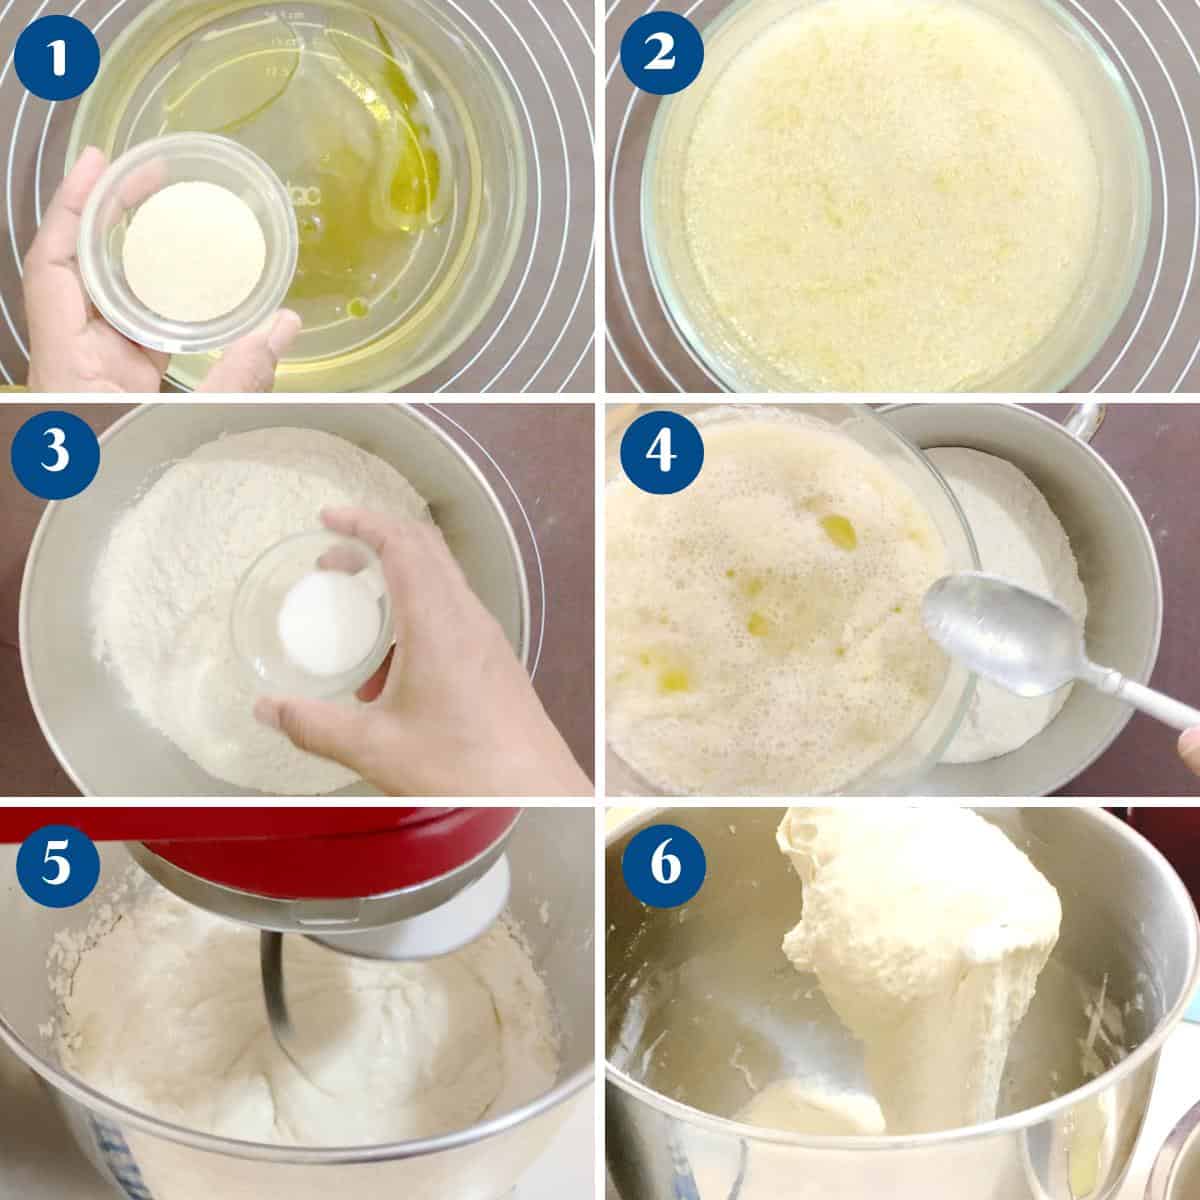
- Knead – Continue to knead on medium speed for 15 to 18 minutes until you have a soft, elastic dough.
Pro tip – You can also knead by hand on a lightly floured surface for about 20 to 25 minutes. When you press the dough with your fingers, the dough should spring back. - Rise – Shape the dough into a ball and place it in an oiled bowl. Cover with plastic wrap and rest in a warm place for about 60 to 90 minutes or until doubled in volume.
Pro tip – In winter, you may need 90 minutes or more, but in summer, the dough may double in 45 minutes. If you can’t attend to it at that moment. Punch down, reshape, and let double in volume again.

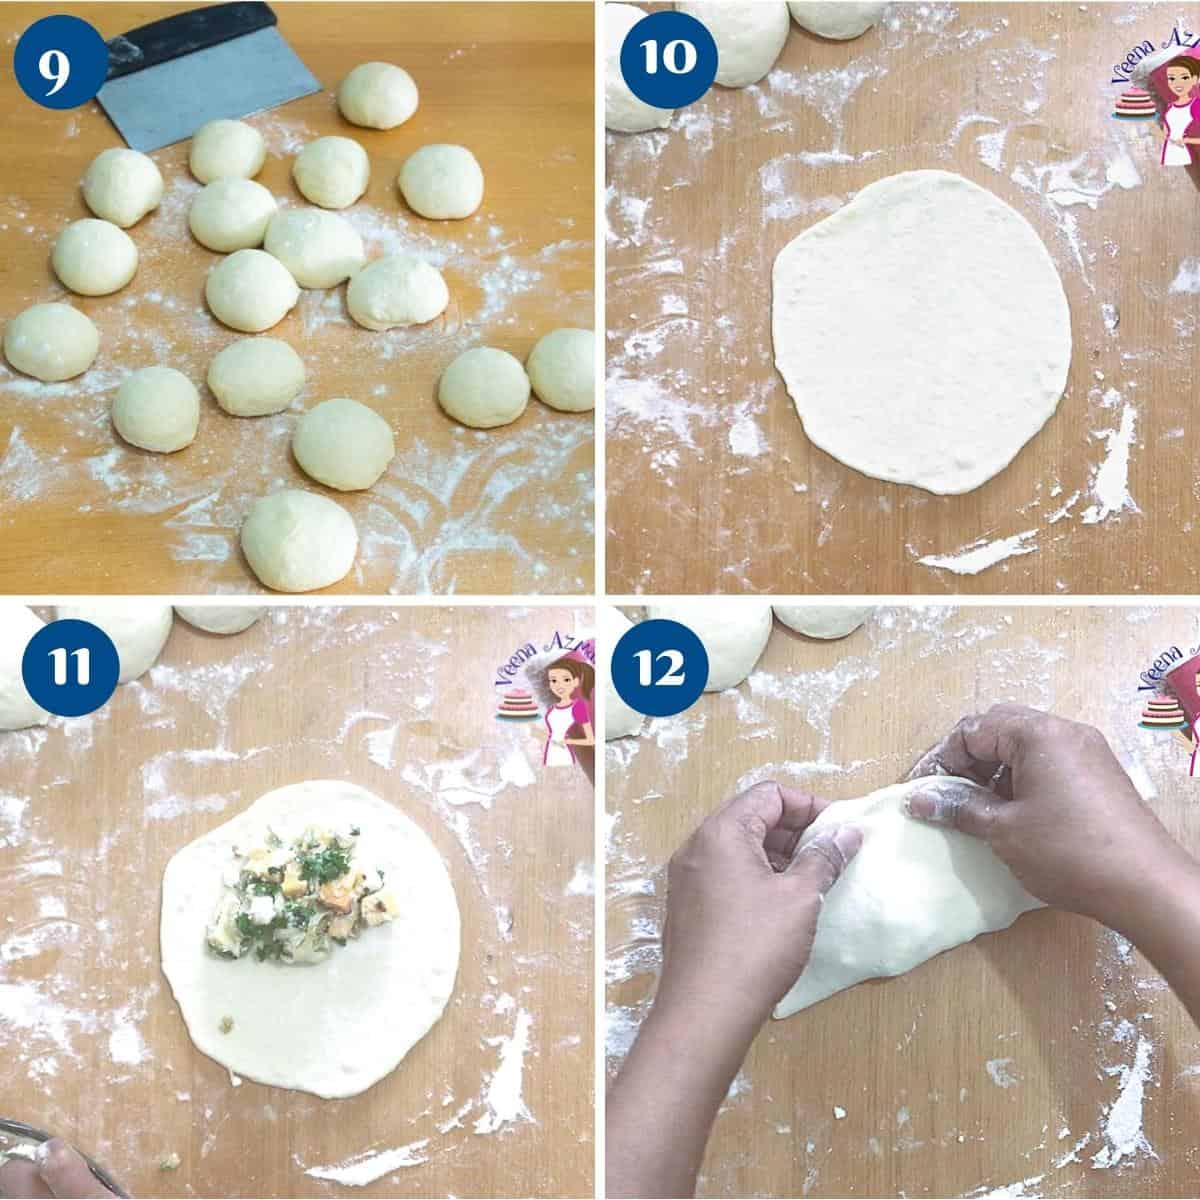
- Divide – When doubled in volume, transfer to a well-dusted floured surface. De-gas, reshape into a ball. Then roll it into a small log. Using a dough scraper, divide this log into 4 portions and then each of those portions into 3 again. This should give you 12 portions. Shape each portion into a smooth ball
Pro tip – I am making 12 pita bread, but you can make these bigger by dividing the dough into fewer portions.
Roll, fill, bake
- Cheese filling – In a medium bowl, combine all the different kinds of cheeses and mix well. Add the onions, garlic, and herbs and combine well again. Season with salt and pepper
Pro tip – Note that some cheeses like feta, mozzarella, and parmesan have salt in them. - Fill – Using a rolling pin, roll each dough ball into a 6-inch disc. Place the pita on a baking sheet lined with parchment paper. Place about 2 to 3 tbsp of the filling on one half of the pita. Lightly brush the edges with water and fold the other half over the potatoes. Press gently to hold the edges.
- Oven – Heat the oven to 425°F/220 °C/Gas mark 7 for at least 20 mins.
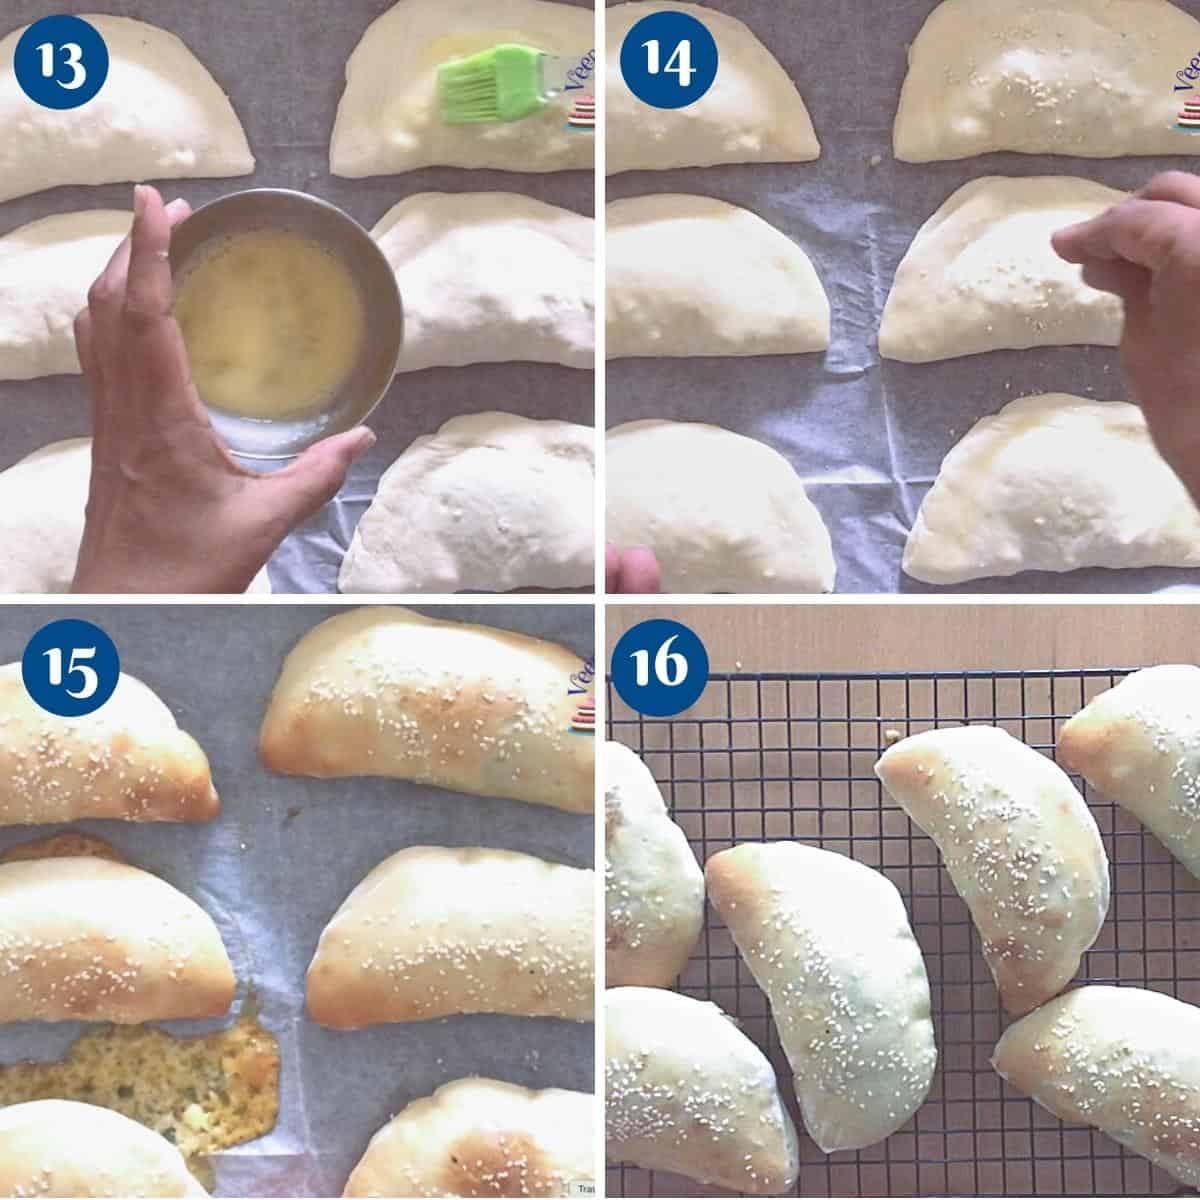
Pro tip – Baking these on a hot pizza stone will make lovely crisp edges. - Bake – Brush the proofed pitas with an egg wash. Sprinkle with black sesame seeds (white will also work). Place the baking tray on the center rack. Bake for 8 to 10 minutes until puffed up and golden.
- Cool them on a wire rack for 10 mins. Then keep them wrapped in a kitchen towel or cheesecloth to keep them soft.
Tips for Success
- Kneading the pita dough – Knead the dough until it’s soft and elastic but not dry. You do not want the firm dough. Keeping the dough soft as I have in the video will give you a super soft pita that will melt in the mouth. I promise!
- Tough pita bread – Usually, this would mean that you did not knead the dough enough. Since kneading activates gluten, it makes the pita soft, elastic, and supple.
- The thickness and thinness of the rolled pita bread – Pita needs to be rolled to just the right thickness. So the heat reached the center, you flip, and the heat reaches the center again. This is what gives the pita that pocket. If you roll it too thin, you will make flatbread. Still delicious, but a little practice is all it takes.
- Filling the pita – Do not overstuff the pita. It must be just enough so you have a good amount of bread and filling, like a sandwich in the shape of a pocket.
- Don’t overbake; otherwise, the baked pockets will be dry!
- No-Knead flatbread recipe
- Potato Flatbread Recipe
- Indian Flatbread – Chapati, Roti, Paratha
- Easy Soft Flatbread Without Yeast (no-knead)
- Healthy Tortillas Recipe – Best Homemade Tortillas
- See all flatbread or all bread recipes


Frequently asked questions
The classic pita bread is the basic everyday bread in the Middle East, so it’s a staple for breakfast, lunch, and dinner as well as in-between snacks. Which is where these stuffed pitas are often served. If you ever go to eat Middle Eastern food, they will usually serve Hummus or Tahini with pita bread, Falafel, or kebabs for pita pockets. These stuffed varieties, however, need nothing on the side.
Fresh pita – wrap in a damp paper towel and heat for 30 secs up to a minute.
Frozen pita – microwave from frozen for up to 1 minute, then lightly torch on an open flame for 30 secs on all sides.
(This method is my preferred as it gives soft pita just like freshly made pita).
Unfortunately no. These will need to be made in the oven due to the mashed potato stuffing
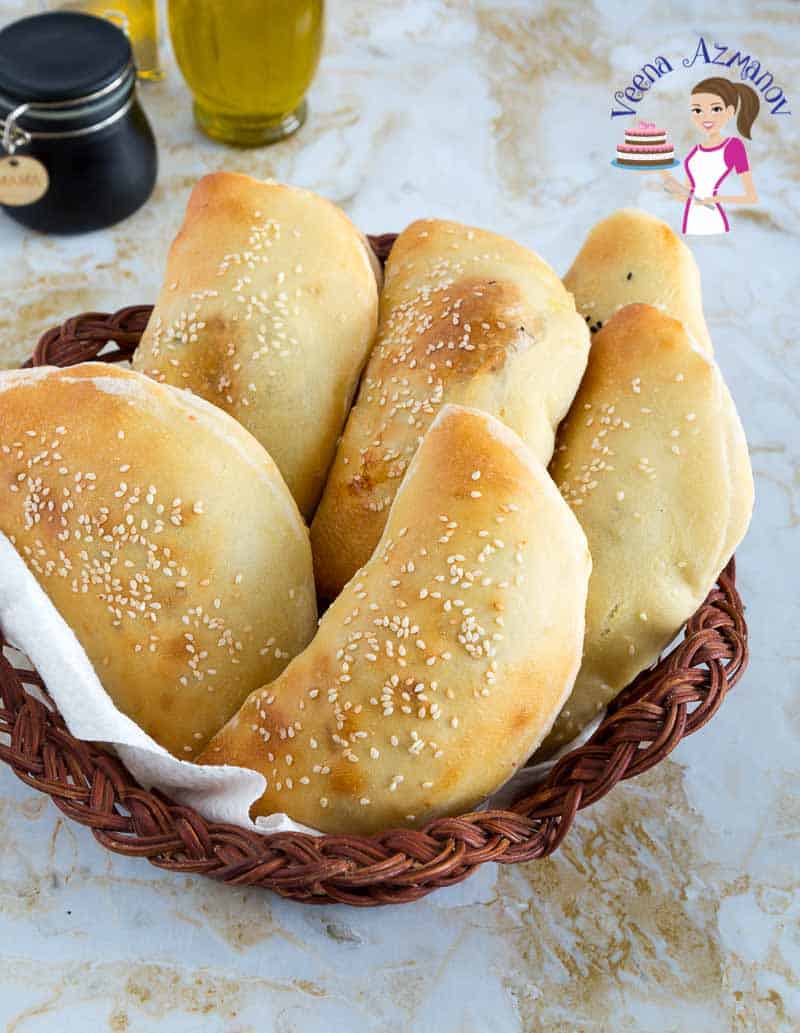
Cheese Stuffed Pita Bread
This cheese stuffed pita bread is a Middle Eastern classic found in Middle Eastern bakeries. A generous portion of different cheeses is filled inside the pita bread before baking in the oven. This simple and easy recipe works a treat for breakfast, snack or when you want a warm sandwich. These cheese-stuffed pita pockets also make great kids’ school lunch box sandwiches.
Video
Ingredients
- 320 g (1⅓ cups) Warm water
- 9 g (2¼ tsp) Instant dry yeast
- 30 g (2 tbsp) Honey
- 30 g (2 tbsp) Olive oil
- 9 g (1½ tsp) Salt
- 600 g (4¾ cups) Bread flour
- 75 g (½ cup) Feta cheese chopped into small cubes
- 50 g (⅓ cup) Smoked gouda chopped into small cubes
- 75 g (½ cup) Cheddar chopped into small cubes
- 50 g (¼ cup) Parmesan cheese Grated
- 50 g (¼ cup) Mozzarella Grated
- ¼ cup Onions chopped finely
- 1 clove Garlic minced
- ½ cup Parsley finely chopped
- ¼ tsp Black pepper
- ½ tsp Kosher salt
Method
- Yeast – In a small bowl combine lukewarm water, yeast, honey, and oil. Stir well and set aside320 g Warm water, 9 g Instant dry yeast, 30 g Honey, 30 g Olive oil
- Combine – In the bowl of a stand mixer with the dough hook attachment, combine the flour and salt. Add the yeast mixture and combine on medium-high speed until all the flour is incorporated. Scrape the sides of the bowl.9 g Salt, 600 g Bread flour
- Knead – Continue to knead on medium speed for 15 to 18 minutes until you have a soft, elastic dough. Pro tip – You can also knead by hand on a lightly floured surface for about 20 to 25 minutes. When you press the dough with your fingers – the dough should spring back.
- Rise – Shape the dough into a ball and place it in an oiled bowl. Cover with plastic wrap and rest in a warm place for about 60 to 90 minutes or until double in volume.Pro-tip – in winter you may need 90 minutes or more but in summer the dough may double in 45 minutes. If you can't attend to it at that moment. De-gas, reshape, and let double in volume again.
- Divide – When double in volume transfer to a well-dusted floured surface. De-gas, reshape into a ball. Then roll into a small log. Using a dough scraper divide this log into 4 portions and then each of those portions into 3 again. This should give you 12 portions. Shape each portion into a smooth ballPro-tip – I am making 12 pita bread but you can make these bigger by dividing the dough into fewer portions.
- Cheese filling – In a medium bowl combine all the different kinds of cheeses and mix well. Add the onions, garlic, and herbs and combine well again. Season with salt and pepper Pro tip – note that some cheeses like feta, mozzarella, and parmesan have salt in them.75 g Feta cheese, 50 g Smoked gouda, 75 g Cheddar, 50 g Parmesan cheese, 50 g Mozzarella, ¼ cup Onions, 1 clove Garlic, ½ cup Parsley , ¼ tsp Black pepper, ½ tsp Kosher salt
- Fill – Using a rolling pin, roll each dough ball into a 6-inch disc. Place the pita on a baking sheet lined with parchment paper. Place about 2 to 3 tbsp of the filling on one half of the pita. Lightly brush the edges with water and fold the other half over the potatoes. Press gently to hold the edges.
- Oven – Heat the oven to 425°F/ 220°C / Gas mark 7 for at least 20 mins. Pro tip – baking these on a hot pizza stone will make lovely crisp edges.
- Bake – Brush the proofed pitas with an egg wash. Sprinkle with black sesame seeds (white will also work). Place the baking tray on the center rack. Bake for 8 to 10 minutes until puffed up and golden.
- Cool them on a wire rack for 10 mins. Then keep them wrapped in a kitchen cloth/towel or cheesecloth to keep them soft.
Notes
- Kneading the pita dough – Knead the dough until its’ soft, and elastic but not dry. You do not want the firm dough. Keeping the dough soft as I have in the video will give you a super soft pita that will melt in the mouth. I promise!
- Tough pita bread – Usually, this would mean that you did not knead the dough enough. Since kneading activates gluten it makes the pita soft, elastic, and supple.
- The thickness and thinness of the rolled pita bread – Pita needs to be rolled to just the right thickness. So the heat reached the center, you flip and the heat reaches the center again. This is what gives the pita that pocket. If you roll it too thin, you will make flatbread. Still delicious but a little practice is all it takes.
- Filling the pita – Do not overstuff the pita. It must be just enough so you have a good amount of bread and filling similar to eating a sandwich in the shape of a pocket.
- Don’t overbake otherwise, the baked pockets will be dry!
Storage
- Pita bread can dry out quickly so always keep them wrapped.
- Since these have a filling in them, stored them in the fridge or freezer.
- If you are going to consume them in a day, the fridge will work any longer than the bread will dry out.
- I prefer not to keep them in the fridge to prevent the dough from drying out.
- You can place them in ziplock bags and freeze them for a week.
- If wrapped well in aluminum foil they will stay for up to a month in the freezer.
Equipment you will need


Nutrition
Tried this recipe?
Mention @veenaazmanov_kitchen or tag #veenaazmanovkitchen!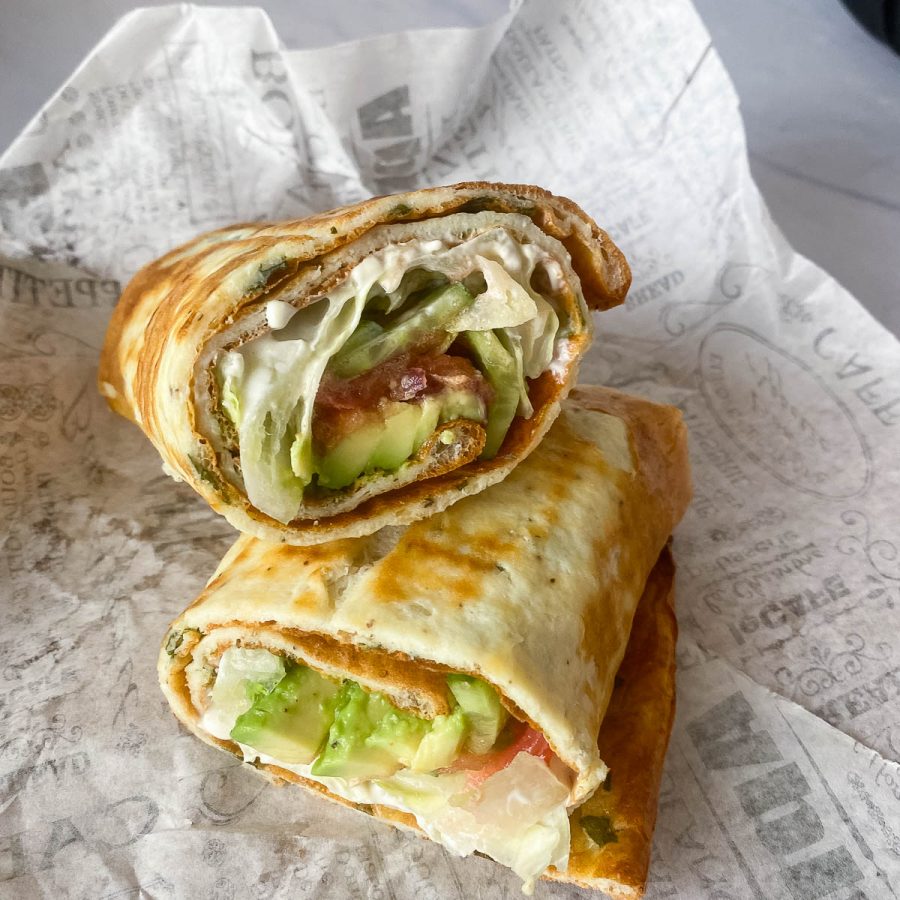


Don’t lose this recipe! Save it for Later!
📌 Save this Recipe for later on Pinterest so you can easily find it again.
⭐ Add Veena Azmanov Kitchen to your Google Preferred Sources.
It helps Google show you more of our recipes.
📧 Subscribe for new recipes delivered to your inbox.
🎥 Follow us for more recipes


I am so loving the idea of these stuffed pita pockets! I have made stuffed buns before and love stuffed breads – so I cannot wait to give these a try!
Thank you. yes, I make stuffed bread too. These are wonderful you must try.
My kids will absolutely love these! I love that they can be made ahead of time and frozen too – makes for a quick meal/snack when things get hectic!
Thank you, Lauren. Yes, I freeze them for my kids snacks.
Veena, I’ve never made pita bread before, but it happens to be one of my favorite things — especially when it’s warm. I have a kitchen aid stand mixer — thankfully — that will make it easier and with your extensive tutelage, I think I can pull it off! Thank you.
Oh I think you will enjoy making these Lisa. These are so simple and easy.
This recipe is so delicious! My whole family gobbled these up!
Thank you so much, Kim. So happy to hear that. My kids love these as well. Thanks for coming back to write this feedback.
Wow, these sound so flavorful! Love that you can make them ahead and freeze them.
Yes, definitely you make them ahead of time and freeze them. Perfect for the kids snacks.