
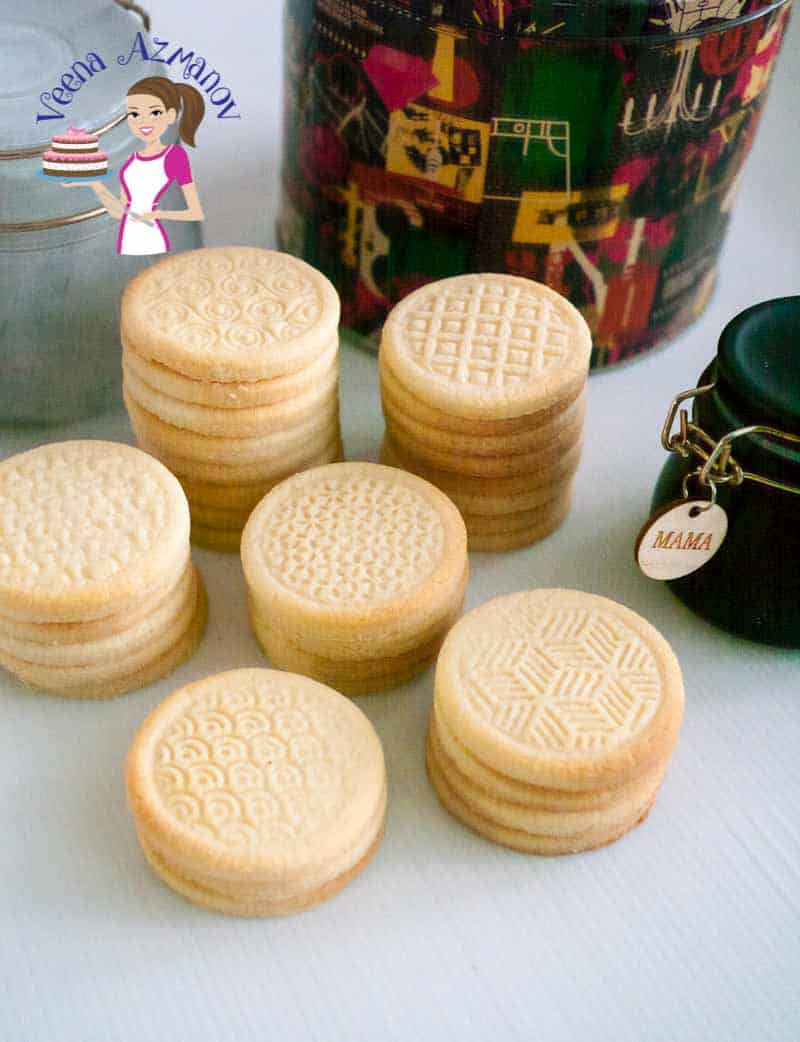
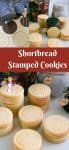
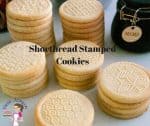
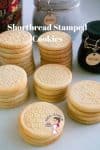
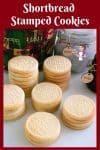
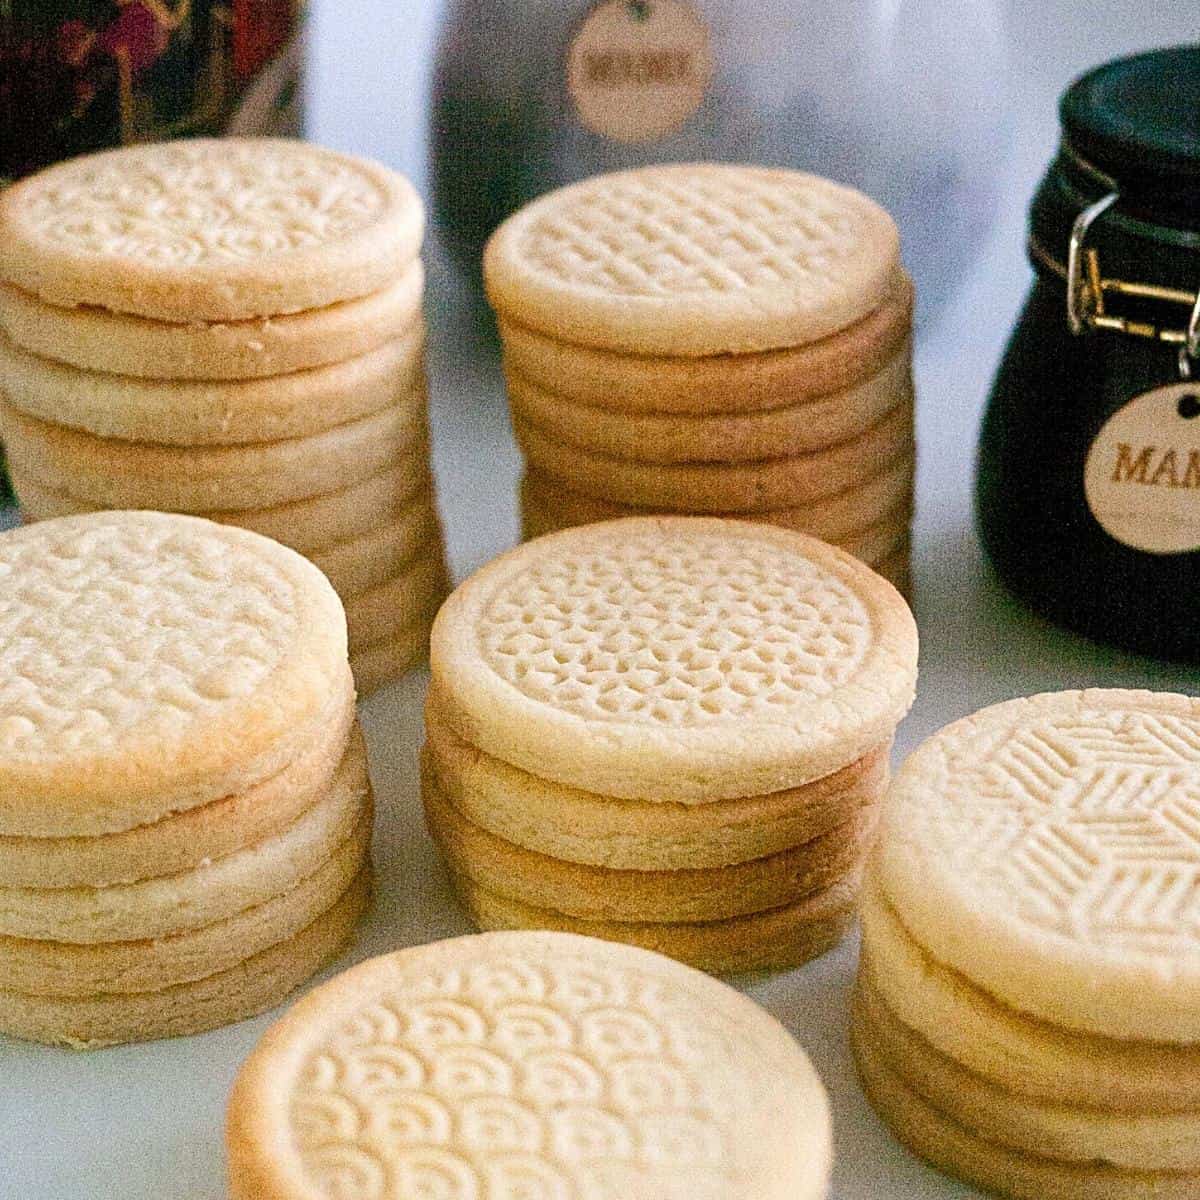
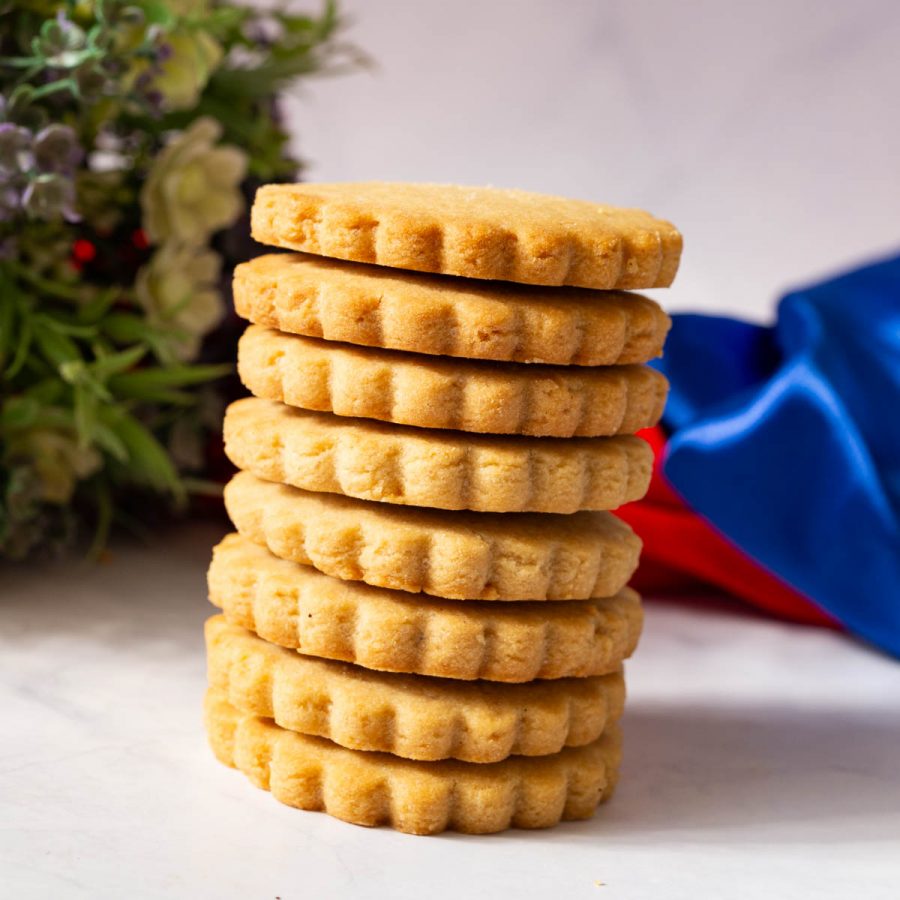
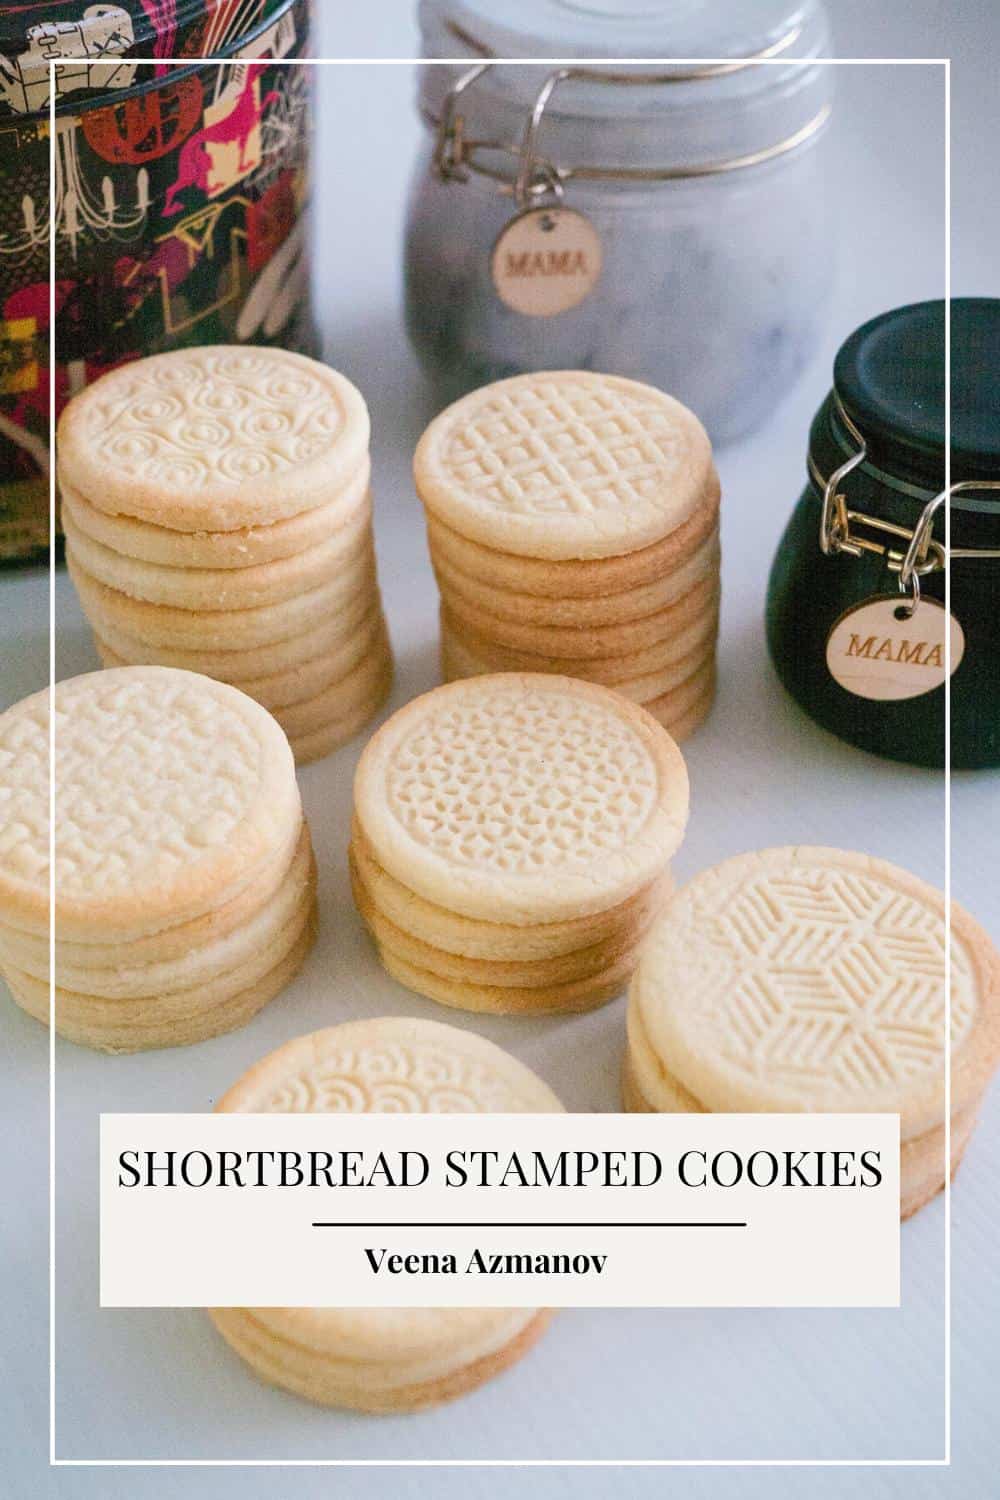
These stamped shortbread cookies are buttery, crisp, and tender with beautifully defined designs that hold their shape when baked. The dough is easy to roll and stamp, making it perfect for cookie stamps, embossed rolling pins, or patterned cookie cutters.

Growing up, stamped cookies were a special Christmas treat in our house. My mom made them as part of the little Christmas hampers she sold, along with fudge, coconut macaroons, Linzer cookies, and marzipan fruits. My sister and I always helped with the holiday baking.
Back then, Mom had only a few treasured cookie stamps and Christmas designs. These days there are so many beautiful stamps available, and my kids love helping me press the designs into the dough just as much as I did.
Why You’ll Love These Stamped Shortbread Cookies
- Holds the design – The dough keeps stamped and embossed patterns clearly defined during baking.
- Classic shortbread texture – Buttery and crisp with a tender, crumbly bite.
- Easy to stamp – The chilled dough rolls cleanly and works with cookie stamps, embossed rolling pins, and patterned cutters.
- Perfect for gifting – Beautiful enough for holidays, cookie boxes, afternoon tea, or homemade gifts.
Ingredients and substitutes
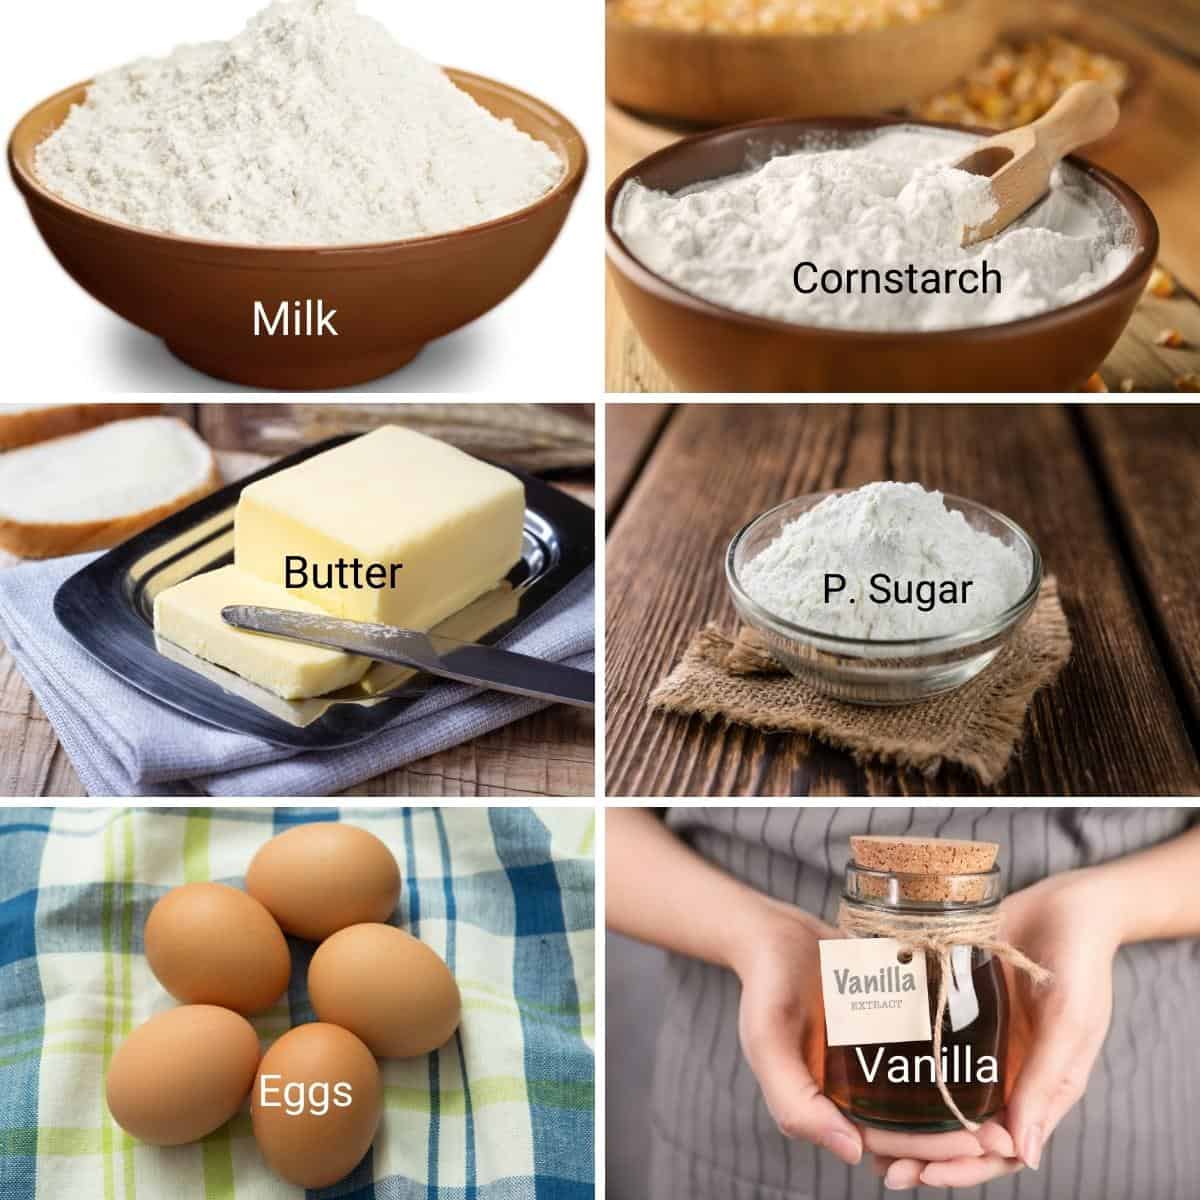
- All-purpose flour – Regular all-purpose flour gives these cookies enough structure to hold the stamped design. Avoid self-rising flour, which can cause the cookies to puff and lose definition.
- Cornstarch – Helps create that tender, crumbly shortbread texture while keeping the dough easy to work with. Rice flour can be used instead for a slightly crisper texture.
- Butter – Use unsalted butter softened to room temperature, but not overly soft or warm. If using salted butter, omit the added salt.
- Sugar – Granulated sugar is creamed with the butter and helps give the cookies their crisp texture.
- Powdered sugar – Adds tenderness and gives the dough a finer texture, which works particularly well for stamped cookies.
- Egg – Binds the dough and makes it easier to roll and stamp without crumbling.
- Vanilla – Adds flavor to the buttery shortbread. Vanilla extract or vanilla bean paste both work well.
- Salt – Balances the sweetness and enhances the butter and vanilla flavors.
How to Make Stamped Shortbread Cookies
Make the dough
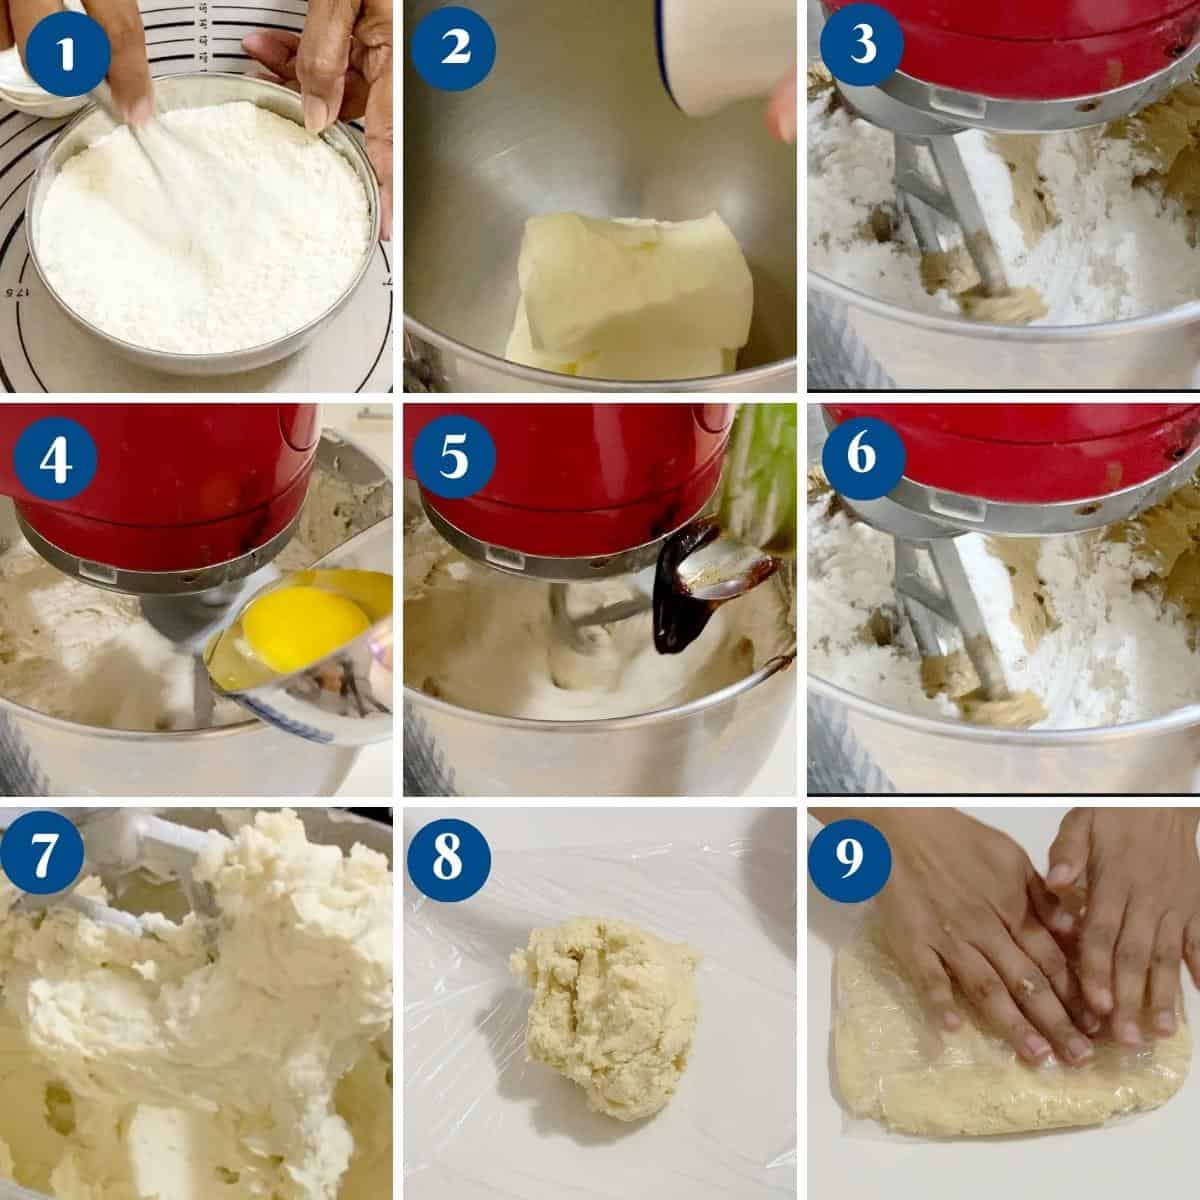
Combine the flour, cornstarch, and salt in a bowl.
In a separate bowl, cream the softened butter, granulated sugar, and powdered sugar until light and smooth. Add the egg and vanilla and mix until combined.
Add the flour mixture and mix just until the dough comes together. Do not overmix.
Chill the dough
Divide the dough into two portions and shape each into a flat disc. Wrap in plastic and chill for about 1 to 2 hours, or until firm but still easy to roll.
Roll and stamp
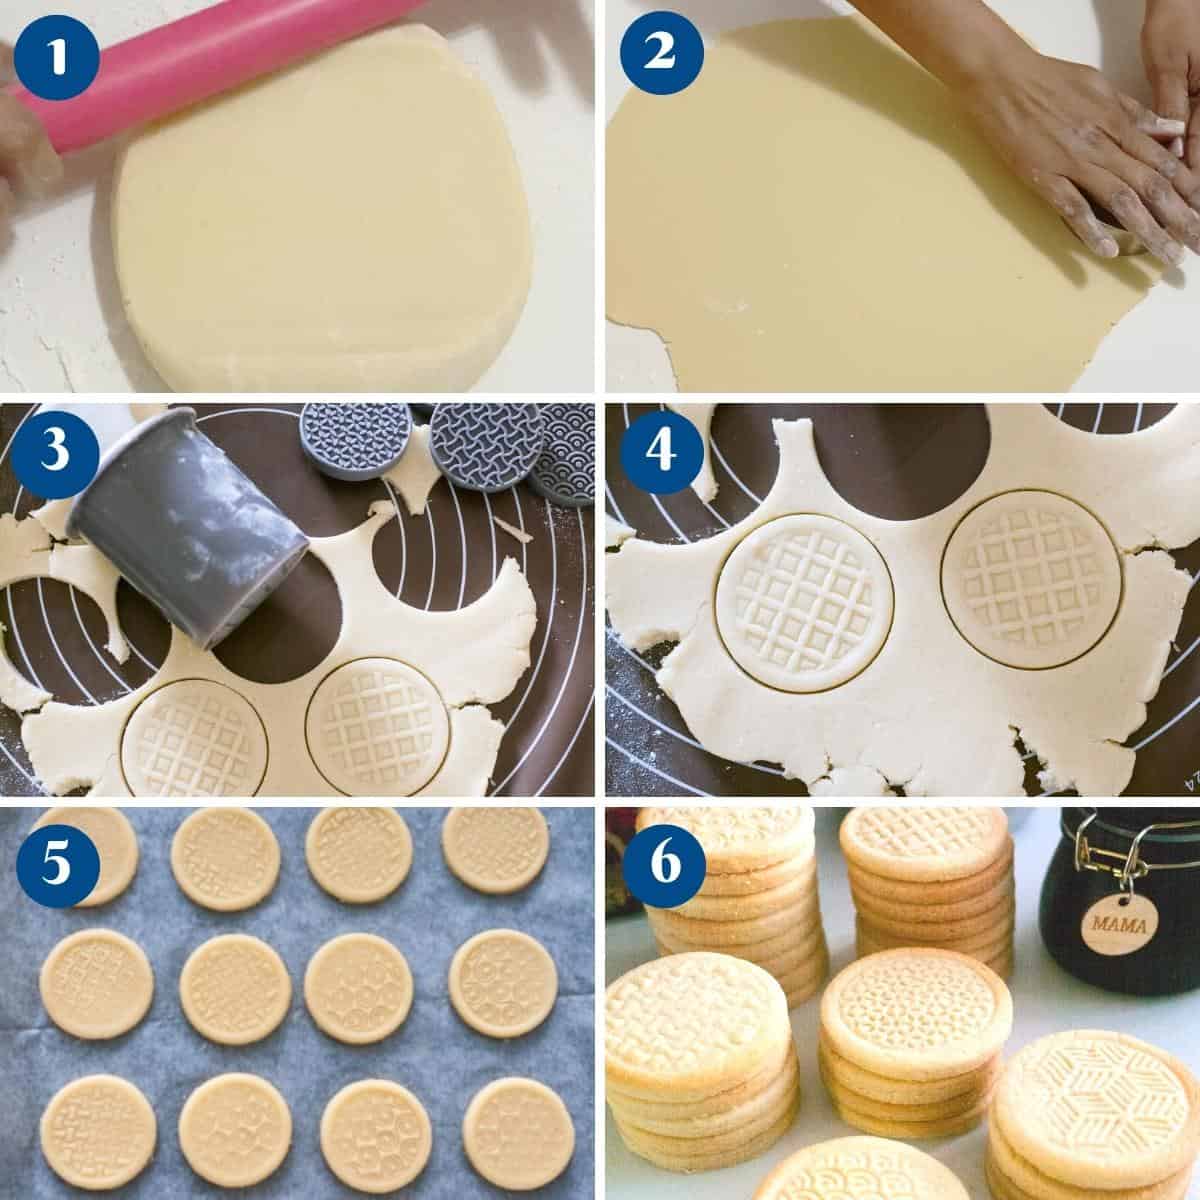
Working with one disc at a time, roll the dough on a lightly floured surface to about ¼ inch (6 mm) thick.
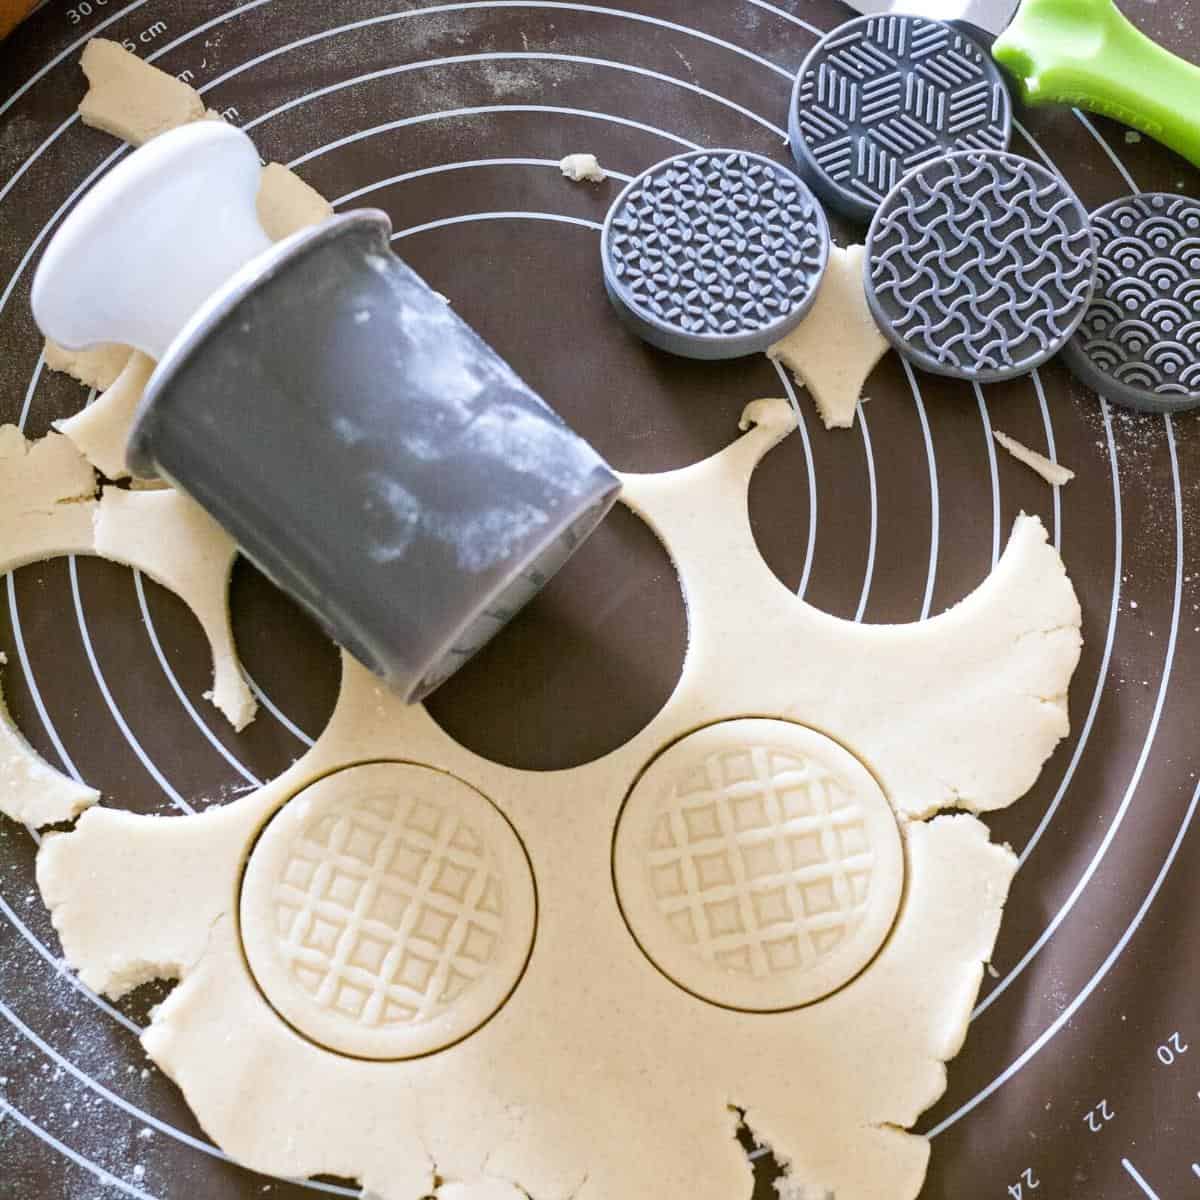
Lightly dip the cookie stamp in flour and tap off the excess. Press firmly and evenly into the dough to create the design, then cut out the cookie if your stamp and cutter are separate.
If the chilled dough cracks when rolling or stamping, let it sit at room temperature for a few minutes to soften slightly.
Chill the stamped cookies
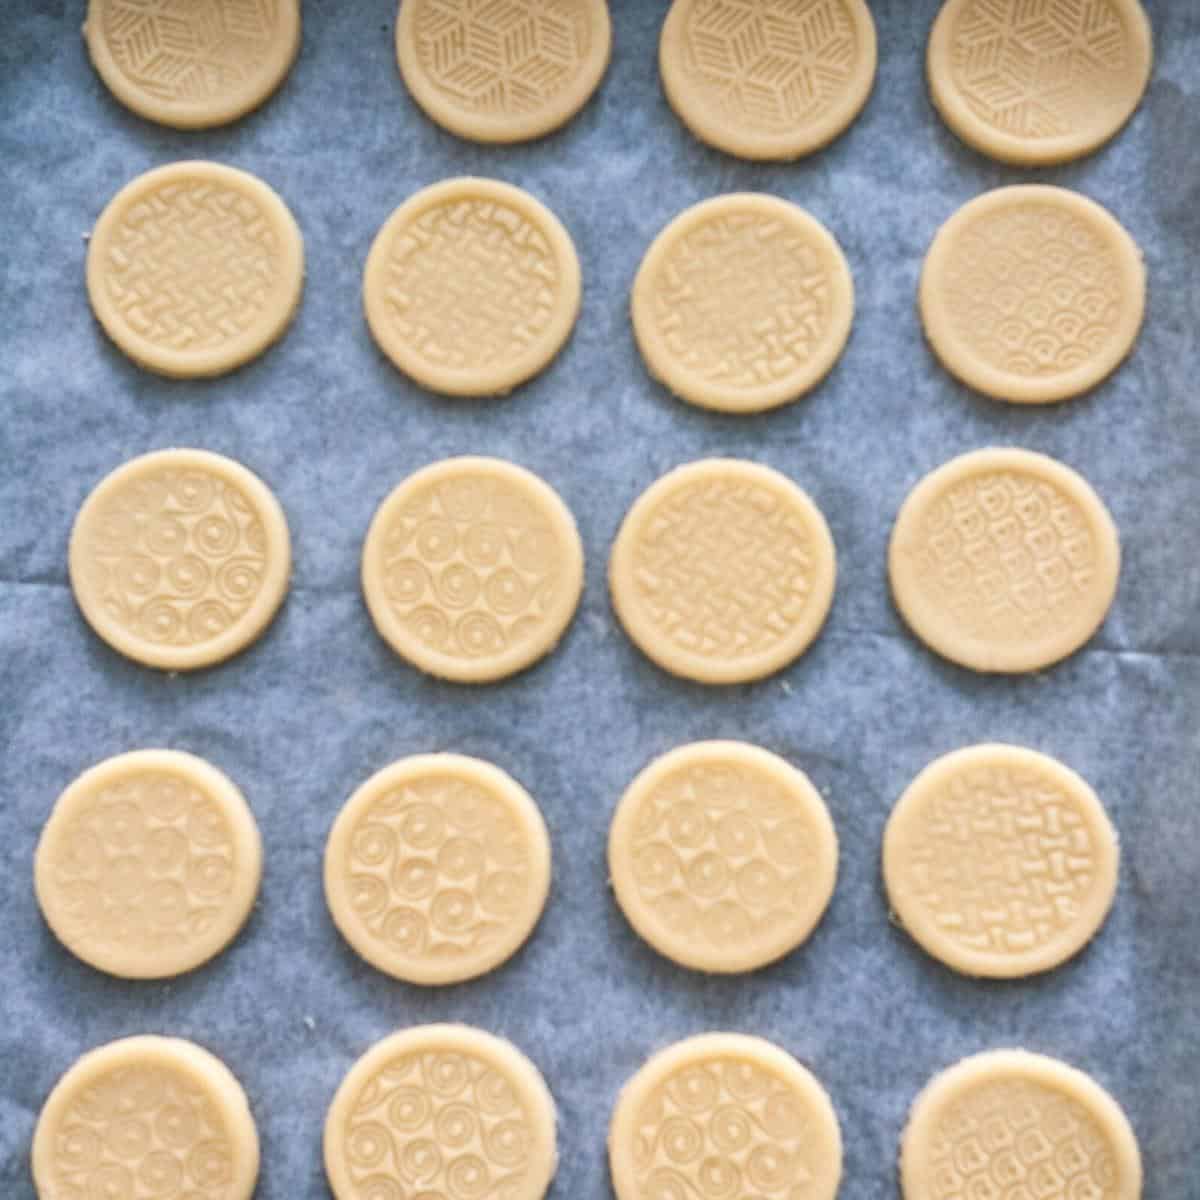
Arrange the cookies on a parchment-lined baking sheet and refrigerate for 10 to 15 minutes. Meanwhile, preheat the oven to 350°F / 180°C / Gas Mark 4.
Bake
Bake the cookies on the center rack for 10 to 12 minutes, depending on their size and thickness. The tops should look dry and set, and the edges should just begin to turn very lightly golden. Avoid overbaking, but don’t remove them while the centers still look soft or doughy.
Cool
Let the cookies cool on the baking sheet for about 10 minutes before transferring them to a wire rack. They are delicate while warm and become crisp as they cool.

Shortbread Stamped Cookies Recipe
Learn how to make stamped shortbread cookies that hold their shape and don’t spread! This easy recipe makes buttery, crisp cookies perfect for cookie stamps or embossed rolling pins.
Ingredients
- 335 g (2⅔ cups) All-purpose flour
- 2 tbsp Cornstarch
- ½ tsp Salt
- 226 g (1 cup) Unsalted butter room temperature
- 100 g (½ cup) Sugar
- 60 g (½ cup) Powdered sugar confectioners
- 1 large Egg
- 1 tsp Vanilla extract
Method
- Dry ingredients – In a bowl, combine the flour, cornstarch, and salt.335 g All-purpose flour, 2 tbsp Cornstarch, ½ tsp Salt
- Dough – In the bowl of a stand mixer with the paddle attachment cream butter, sugar, and powdered sugar until light and fluffy. Add the egg and vanilla extract. Followed by the flour mixture. This is a soft dough.226 g Unsalted butter, 100 g Sugar, 60 g Powdered sugar, 1 large Egg, 1 tsp Vanilla extract
- Chill – Divide the dough into two discs and wrap them in plastic wrap. Refrigerate for at least 1 to 2 hours or until cold enough to roll.
- Roll – Working with one disc at a time, roll the dough on a lightly floured surface to about ¼ inch (6 mm) thick. Lightly flour the cookie stamp, tap off the excess, then press firmly and evenly into the dough. Cut out the cookies and transfer them to a parchment-lined baking sheet.
- Oven and Pan – Preheat the oven to 350 °F /180 °C / Gas Mark 4. Line two baking trays with parchment paper.
- Bake – Bake the cookies on the center rack for 10 to 12 minutes, depending on their size and thickness. The tops should look dry and set, and the edges should just begin to turn very lightly golden. Avoid overbaking, but don't remove them while the centers still look soft or doughy.
- Cool – Once baked cool on the cookie sheet for 10 mins then transfer them to a cooling rack to cool completely.
Notes
- Butter should be softened but still cool. If it is very soft or warm, the cookies may spread and the stamped designs can lose definition.
- Chill the dough until firm but pliable. If it cracks when rolling, let it sit at room temperature for a few minutes before continuing.
- Roll the dough about ¼ inch (6 mm) thick so the stamped pattern remains visible after baking.
- Lightly flour the cookie stamp and tap off the excess before pressing it firmly and evenly into the dough.
- Chill the stamped cookies for 10 to 15 minutes before baking to help them hold their shape.
- Bake at 350°F / 180°C for about 8 to 10 minutes, just until set and beginning to color around the edges.
- Let the cookies cool on the baking sheet for about 10 minutes before moving them; they are delicate while warm.
- Store completely cooled cookies in an airtight container at room temperature for about 1 week. The dough can also be refrigerated for up to 3 days or frozen for up to 1 month.
Equipment you will need


Nutrition
Tried this recipe?
Mention @veenaazmanov_kitchen or tag #veenaazmanovkitchen!Tips for Success
- Use softened, not warm butter. The butter should be soft enough to cream but still cool. Very soft butter can make the cookies spread.
- Chill the dough before rolling. It should be firm but pliable. If it cracks, let it sit at room temperature for a few minutes.
- Keep the dough about ¼ inch (6 mm) thick. Thin cookies are more likely to lose the stamped design.
- Flour the stamp lightly. Dip it in flour and tap off the excess before pressing into the dough.
- Press firmly and evenly. You need enough pressure for a clear impression without pressing so deeply that the dough cracks.
- Chill again before baking. Refrigerating the stamped cookies for 10 to 15 minutes helps the designs stay defined.
- Don’t overbake. Remove the cookies when set and just beginning to color around the edges.
more shortbread recipes
- Brown Sugar Shortbread
- Cranberry Shortbread Bars
- Ginger Shortbread with Molasses
- Brown Sugar Shortbread Cookies
- Irresistible Rose Shortbread Cookies
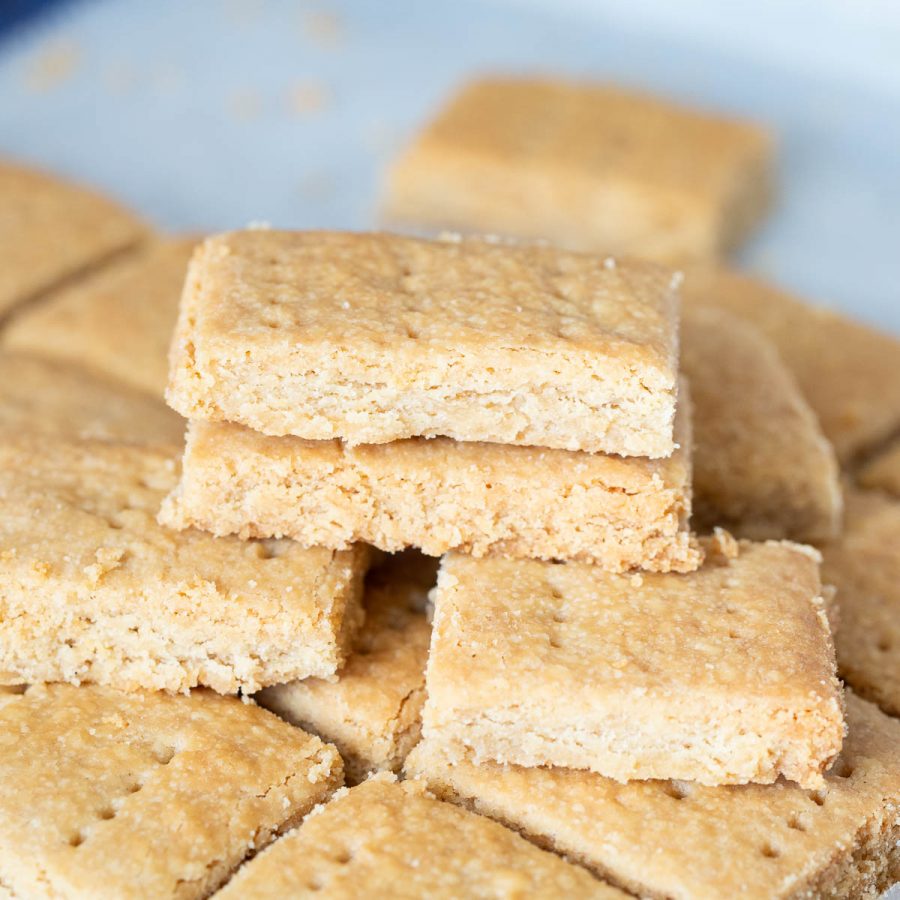


Troubleshooting Stamped Shortbread Cookies
| Problem | Possible cause | Solution |
|---|---|---|
| Cookies spread and lose the design | Dough or butter was too warm | Chill the stamped cookies before baking and place them on a cool baking sheet. |
| Stamp sticks to the dough | Dough is too soft or stamp isn’t floured | Chill the dough slightly and lightly flour the stamp before each impression. |
| Dough cracks when stamped | Dough is too cold | Let it sit at room temperature for a few minutes until pliable, then stamp again. |
| Stamped pattern isn’t clear after baking | Dough was rolled too thin or impression was too shallow | Roll about ¼ inch (6 mm) thick and press the stamp firmly and evenly. |
Frequently Asked Questions
Stamped shortbread cookies can be stored in an airtight container at room temperature for up to 10 days. If you want to keep them longer, you can freeze them in an airtight box for up to 2 months.
To prevent stamped cookies from spreading, use room-temperature butter (not too soft), measure flour accurately, and chill the dough before stamping and baking. Also, ensure your oven is preheated to the correct temperature.
Yes, chilling helps the stamped design hold shape during baking and prevents spreading.
Yes, you can chill the dough overnight. In fact, chilling stamped cookie dough overnight helps deepen flavor and improve the stamped design during baking.
Yes! Shape and stamp your cookies, then freeze them in a single layer on a tray. Once frozen, transfer to a zip-top bag and bake from frozen, adding 1-2 extra minutes to the baking time.
Absolutely! Try adding lemon zest, orange zest, almond extract, or even spices like cinnamon to give your cookies a festive flavor while using your cookie stamps.
The design may fade if the dough is too warm, rolled too thin, or if you don’t press firmly enough when stamping. Always chill stamped cookies before baking and keep the dough thickness at ¼ inch for best results.
Yes, this shortbread stamped cookie dough works well with an embossed rolling pin or cookie stamp set. Roll the dough to ¼ inch thickness, emboss, and cut out your shapes.
Definitely! This is a perfect holiday stamped cookie recipe for Christmas, Easter, or any festive occasion. Just swap out the stamps according to the season.
This recipe is specifically developed to hold the shape of cookie stamps and embossed designs, making it one of the best recipes for cookie stamps and embossed cookies.
more cookie recipes
- Soft Amish Cinnamon Sugar Cookies
- Soft Amish Cookies
- Eggless Chocolate Sugar Cookies or
- Eggless Vanilla Sugar Cookies
- Delicious Pistachio Cookies
- See all cookie recipes
Don’t lose this recipe! Save it for Later!
📌 Save this Recipe for later on Pinterest so you can easily find it again.
⭐ Add Veena Azmanov Kitchen to your Google Preferred Sources.
It helps Google show you more of our recipes.
📧 Subscribe for new recipes delivered to your inbox.
🎥 Follow us for more recipes

Hi, I’m Veena
I’m the recipe developer, baker, and food photographer behind Veena Azmanov Kitchen.
I’ve spent years developing and testing recipes, from everyday meals and homemade breads to cakes and desserts.
I share the practical tips and little details I’ve learned along the way so you can get great results in your own kitchen.









I have not tried the recipe yet, but have a question… I have not used corn flour before and while I was looking for info it indicated that corn flour is similar to cornstarch, but definitely not the same. Do you know if it would change the consistency and/or flavor of the shortbread cookies if I were to use cornstarch? Would cornmeal be another option?
Sallie – cornstarch, and cornflour are the same. They are supposed to be flour consistency.
Some places do sell cornmeal as cornflour which is semolina consistency. Please do not use that.
You want cornstarch/cornflour that is a flour consistency. I hope this helps
Thank you!!
Hi, where did you get the cookie stamps.
Tks for sharing
I got them locally here. But, can’t find the same on Amazon.So,I linked similar ones.
I plan to try your recipe but before I do I need clarification on your comment about cornflour. Cornflour is not the same as cornstarch. Cornflour is made from the whole corn kernel and cornstarch is made only from the ground endosperm. So, which do I use? Cornflour has a masa-y flavor while cornstarch has no flavor and acts as a thickening agent.
Carin. I think you are talking about polenta. Cornflour and cornstarch are both flour consistency. That’s what you should use.
Thank you for clarifying. The baking adventure begins tomorrow!
What cookie stamps did you use
Hey Margaret. Sorry, I can’t find the stamps I used on Amazon. I purchased them locally. But, I linked some similar ones on the blog.
These cookies look perfect. WHERE can I get the stamp? I tried some nordic ware stamps but they are really too big, especially if I am baking cookies which will be joined with a butter / fondant filling. I tried an Amazon search and the closest I could find were moulds for moon cakes.
Hey, Allan. These stamps I picked locally. I have not been able to find them overseas or I’d leave a link. Sorry
I am so utterly disappointed in this recipe! I am a baker and have never had a cookie spread as much as these did… I followed the directions precisely and used a kitchen scale in grams to measure everything precisely as well, including the cornstarch (which is what I used in lieu of cornflour as that’s what the comments said to do?? They taste of delicious butter but are far too malformed to display 🙁
Hey Andrea. So sorry to hear that. I’m surprised but not sure I understand why. Cornstarch and cornflour are just two names for the same product. So that is definitely not the issue. I did check the recipe again and everything looks fine.
This is my very standard cookie dough recipe and I’ve used it as a base in many other cookies as well. Some have videos as well so you can see the process. I highly recommend you look at the recipe again to see what could have happened. It is a soft dough which is why we need to chill it but it should not spread in the oven at all.
I’ve added a troubleshooting section just based on your comment.
Also, if you look at the comments below you will see many have had success with this recipe and loved it.
Again, I’m sorry for your outcome. I wish I could help troubleshoot more.
Have a good day.
Hi sweets and thanks for your reply. I chilled the dough 24 hours before molding, allowed the dough to sit for only 5 minutes before molding, rolled the dough to 3/8″ between dough guides, and chilled the molded cookies 2 hours before baking at 340 degrees. I used Argo cornstarch (which is the consistency of baking powder/baking soda/AP flour), even though 30 grams didn’t seem like much compared to the 256 grams of AP flour (for which the recipe has been changed since I printed it last week to 375 grams?!)
Hey Andrea. Sorry to hear that but not sure how?
375 grams sounds about the right amount for 1 cup butter. And so many have tried this recipe before you. You can see in the positive reviews below.
I’m so sorry, not sure what happened when you printed it out. I just printed and my copy has the same as the post.
Cornstarch is definitely not an issue with this recipe but if you used 256 gram flour then yes, that could be the culprit.
I will check with the tech guys to test the print outs but this has not happened before.
Thank you so much for the feedback
Yes, that must be the culprit as I’m looking right at the recipe I printed and it says 256 grams! Phew!!! ! I’m very anxious to try these again. I also have Bird’s Custard Powder so I’ll try that in liue of the cornstarch. I’ll keep you posted – thanks again!!!
Thank you, Andrea. Yes, I do hope you try this recipe again. And again I’m sorry about your print out.
I was surprised to see your comment this morning because it was the first on this one after so many positive ones.
Thank you for being so understanding. Appreciate that.
Have a good day.
OK, I can’t post a photo, but I tried the recipe again and doubled it and have beautiful shortbread now using the proper amount of flour 🙂 Thank you so much! I’m going to try the linzers as well. Have a sweet day!
Yeey, I am so happy to hear that. Again I apologize that you had an issue with the printout before.
Thank you for being so understanding and thanks for the feedback. I’m so happy it all turned out great.
Yes, you must try Linzer cookies with this dough – my kids love it.
Have a great day Andrea.
Oh and you can tag me on any social media @veenaazmanov so I can see your photos. Alternatively, you can upload an image on Pinterest below my image (click add photo). You will find the link in the post. Thanks
Love love love this recipe and the Classic Linzer. Best I’ve ever made. I’d also be interested in the cookie stamp you used if your able to get more from your local shop. Keep these awesome recipes coming and thank you for all the hard work, it’s greatly appreciated! Annie
Hey Annie. So happy to hear you enjoyed both these recipes. I think I still do have two sets which I can send out. Message me on my Facebook page and I can check on shipping for you. Thanks
Love the recipes! I’m very interested in the cookie stamp you used,
Thank you
Rhonda
Hey Rhonda. Sorry, I don’t have any more of these cookie stamps. I don’t sell these but I did buy a few extra when they were available and sent them to the first few that asked for it. But it’s all over now. Thanks
Hi can we make these short bread cookies without egg
I believe some of the girls used 2 tbsp of yogurt instead of the egg.
Thank you for the amazing recipe! How long do these keep, and would you recommend refrigerating or freezing them?
Shortbread cookies have a good shelf life when stored in an airtight container at room temperature. They can last for up to two weeks, but they are often enjoyed within a few days due to their deliciousness!
Yes, these cookies freeze well. Place them in an airtight container or freezer bag, separating layers with parchment paper, and freeze for up to three months. Thaw at room temperature before serving.
Hi Veena.
These cookies were amazing! Going to make these again Can you make these in advance and freeze them? Either baked or unbaked?
Hey Anika. So happy you enjoyed these cookies.
Yes, you can freeze these cookies. personally, I like to freeze them unbaked and bake them fresh. You can also freeze them baked. Wrap them well in parchment then ziplock bag so the condensation will stay on the paper, not the cookies
Thank you so much! Can’ wait to make these 🙂