Clear Neutral Glaze

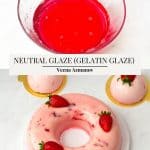
If you want to elevate your dessert game, you must know how to make a clear gelatin or neutral glaze from scratch. Whether you’re using it to glaze fruit tarts or to add shine to your cakes, pastries, or entremets, your desserts will look and taste amazing. So don’t be afraid to try it and take your baking skills to the next level!
Are you tired of lackluster desserts that don’t quite look or taste the way you want them to? Maybe it’s time to add a little glaze to your baking game. Specifically, a clear neutral glaze.
While it may sound intimidating, mastering this technique can take your desserts to the next level. In this ultimate guide, we’ll break down all the steps you need to follow, from choosing the right gelatin to troubleshooting common problems. Plus, we’ll give you creative ideas on how to use your glaze. By the end of this article, you’ll be ready to make picture-perfect desserts that taste as good as they look. So let’s dive in!,
Types of glaze for cakes and desserts
Before we delve into the details of making a clear neutral gelatin glaze, let’s talk about the different types of glaze that you can use to dress up your cakes and desserts. Glazes add a professional touch to your baked goods and can take their appearance to the next level.
- One popular type of glaze is the traditional sugar glaze. Made with powdered sugar and milk or water. This glaze is easy to make and adds a sweet, sugary finish to your cakes and cookies. It can also be flavored with extracts or citrus zest for an extra pop of flavor.
- Another option is the mirror glaze. As the name suggests, this glaze gives your desserts a reflective, mirror-like finish. It’s typically made with white chocolate, sweetened condensed milk, and gelatin. While it requires a bit more effort and skill, the result is stunning.
- For a healthier option, you can try using fruit glazes. Made with pureed fruit and either gelatin or cornstarch, these glazes add fruity flavor and a hint of sweetness to your desserts.
- No matter which type of glaze you choose, it’s important to choose the right one for your dessert. Consider the flavors and textures of your baked goods, and choose a glaze that complements them well. With a little bit of practice, you’ll be able to create beautiful, glossy finishes that will impress your guests.

What is a neutral glaze?
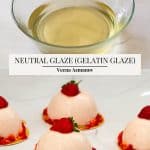
A neutral glaze is a clear glaze that we primarily use to provide a glossy finish to desserts without adding any particular flavor. It’s commonly used for cakes, pastries, fruits, and other desserts where the focus is on the visual appeal instead of the flavor.
This type of glaze is also known as a mirror glaze because of its reflective qualities. We make it from a combination of gelatin, sugar, water, and a few other ingredients. Since it has no added flavors, it allows the dessert’s natural flavors to shine through.
Using a neutral glaze requires some expertise. That’s because it needs to be applied at the right temperature and consistency to achieve the desired effect. But once you master the technique, you’ll be able to create a flawless mirror finish that will make your desserts look like they came straight out of a professional bakery.

Ingredients and substitutes
- Sugar – Use fine-grain white granulated sugar so it will dissolve easily.
- Light corn syrup – Helps to prevent crystallization when the glaze cools.
- Choosing the right gelatin – Choosing the right gelatin is an essential aspect of preparing a clear neutral gelatin glaze. When it comes to gelatin, not all types are created equal. And choosing the wrong one can lead to a subpar glaze that fails to deliver the desired results. The gelatin you choose can significantly impact the texture, clarity, and shine of your glaze.
- One of the most important factors to consider when choosing gelatin is its bloom strength. Bloom strength refers to the firmness of the gel once set. The higher the bloom strength, the firmer the gel will be. For a clear neutral glaze, it’s crucial to use gelatin with a bloom strength of 200 or higher. This will give the glaze the perfect texture and consistency needed to create a mirror-like finish.
- Another essential factor to consider is the source of the gelatin. Gelatin can be derived from various sources, including beef, pork, and fish. For the neutral glaze, it’s recommended to use gelatin derived from fish as it produces a more straightforward and more transparent glaze.
- Lastly, it’s essential to choose a reputable brand when selecting gelatin. Using a high-quality gelatin brand will ensure that your glaze turns out beautifully, without any lumps or graininess.

Neutral glaze with gelatin
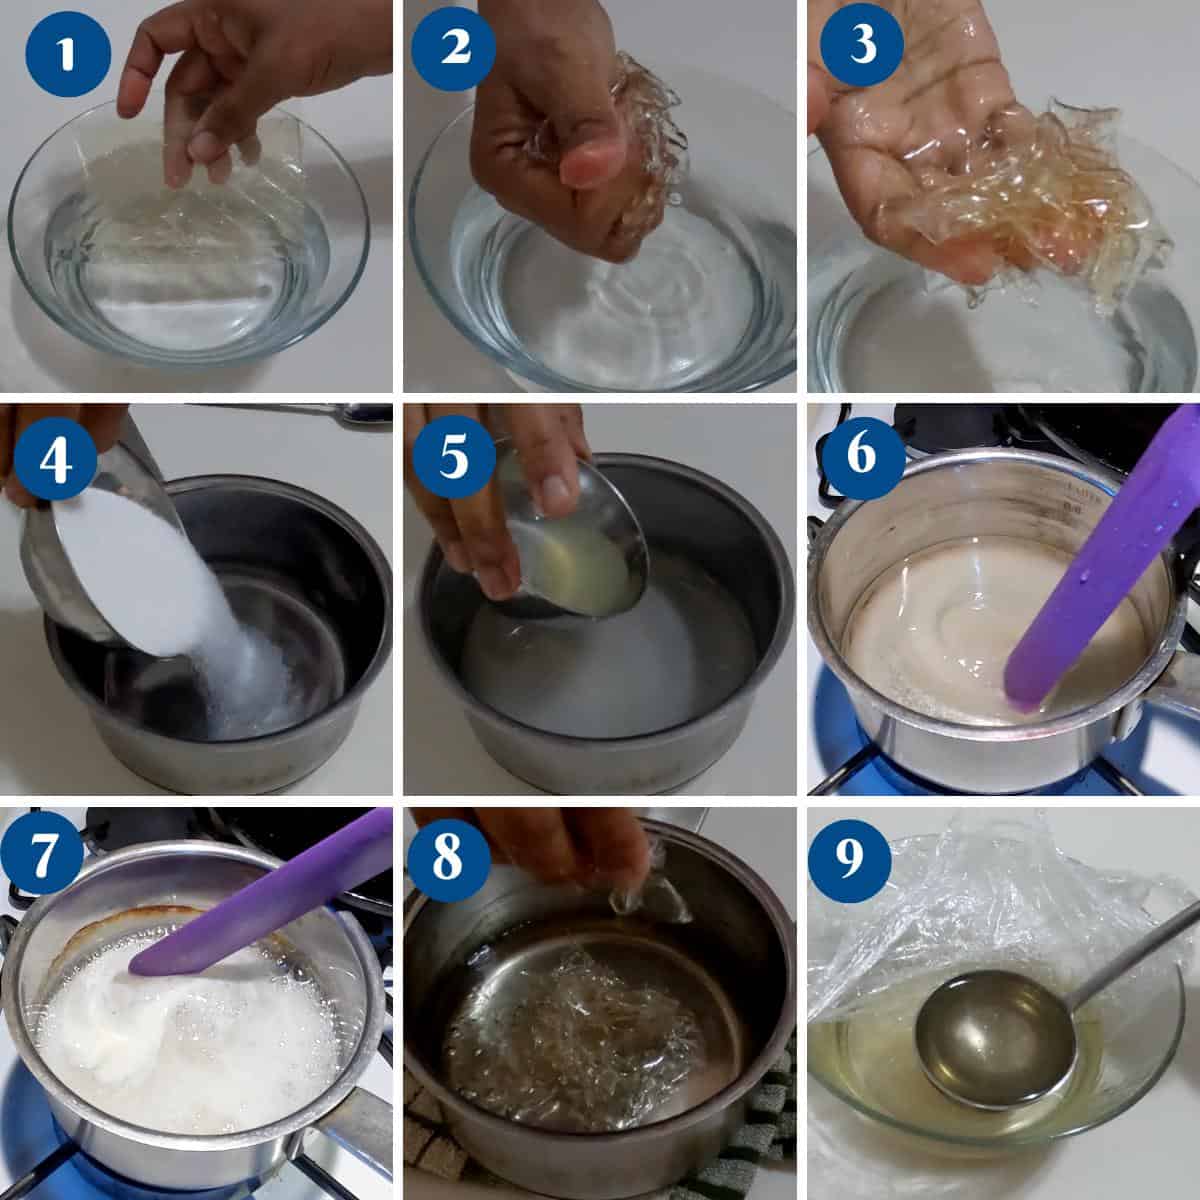
- Gelatin – Soak the gelatin leaves in cold water in a small bowl. Allow it to bloom for about 5 minutes until it becomes soft and spongy.8 grams Gelatin
- Boil – Add sugar, water, and light corn syrup in a saucepan over medium heat until it dissolves completely. Keep stirring until the mixture comes to about 105℃
- Gelatin – Remove the saucepan from the heat and add the bloomed gelatin and lemon juice. Stir well until the gelatin is fully dissolved and incorporated into the liquid. Make sure there are no lumps.
- Strain – Pass the glaze through a sieve and cover it with plastic wrap in a bowl to prevent skin from forming on the surface.
Pro tip – Straining will remove any lumps.
- Cool – Let the glaze mixture cool slightly at room temperature. Once the glaze has cooled down, it should be slightly thick but still pourable. The best temperature to use is 28 – 40℃
Pro tip – If it has become too thick, gently warm it over low heat, stirring continuously until it reaches the desired consistency. - Glaze – Pour the neutral gelatin glaze over your dessert, ensuring even coverage. You can use a spoon or a brush to spread the glaze evenly.
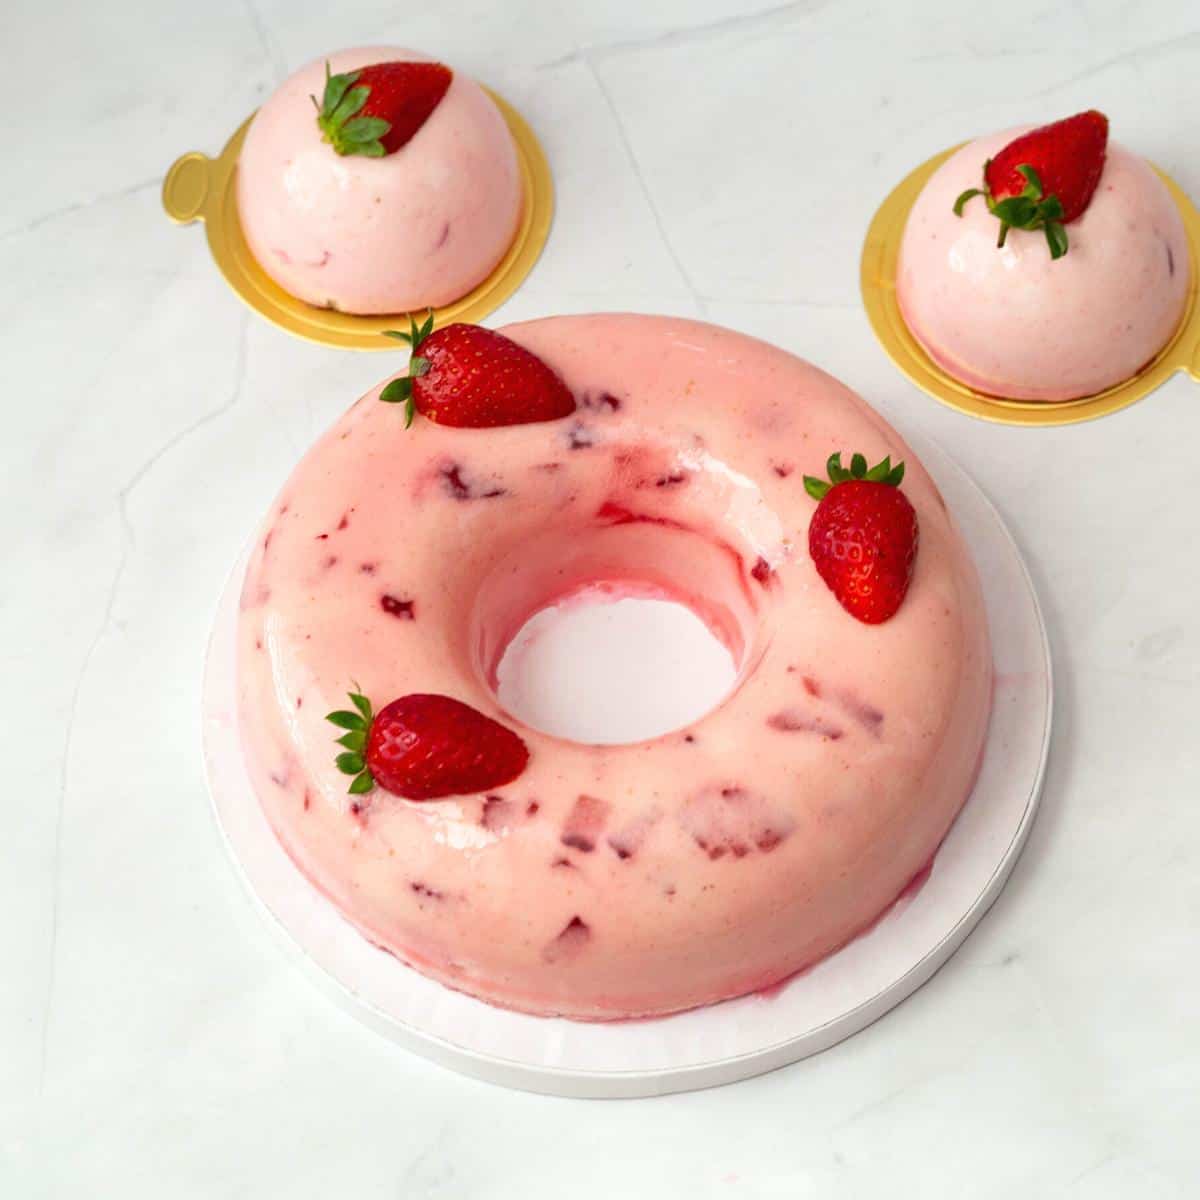
Pro tip – You can also add food gel to dye the neutral glaze or add fruit puree to make a fruit-flavored glaze. - Set – Allow the glaze to set at room temperature or place the dessert in the refrigerator to speed up the process. The glaze will solidify and create a glossy finish on your dessert.

Neutral glaze without gelatin
- Soak – Combine the water, lemon juice, and agar-agar powder in a small saucepan. Let it sit for about 5 minutes to allow the agar-agar to hydrate.
- Boil – Heat the saucepan over medium heat and stir continuously until it boils. Then, reduce the heat to low and simmer for 2-3 minutes, stirring occasionally, until the agar agar is completely dissolved.
- Cool – Next, remove the saucepan from the heat and let the glaze cool slightly. It should thicken as it cools but remains pourable.
- Glaze – Once the glaze has reached a suitable consistency, pour it over your dessert or use a spoon or brush to spread it evenly.
- Store – Allow the glaze to set at room temperature or refrigerate the dessert to speed up the process. The glaze will solidify and create a glossy finish.

Tips for making gelatin glaze
When making gelatin glaze, there are a few tips that can help ensure success.
- First, it’s important to thoroughly bloom the gelatin in cold water before adding it to hot liquid. This will give it a smoother texture and better consistency in the final glaze.
- Additionally, when adding the hot liquid to the bloomed gelatin, it’s best to do so gradually, whisking constantly to prevent clumps. And once the glaze is ready, be sure to strain it through a fine-mesh sieve to ensure a smooth, even finish on your desserts.
By following these tips, you’ll be well on your way to creating a picture-perfect neutral gelatin glaze.
Troubleshooting Common Problems
If you’re experiencing any issues while making your neutral gelatin glaze, we’ve got you covered!
- One common problem is the gelatin not dissolving completely, resulting in a lumpy texture. To avoid this, make sure you bloom your gelatin in cold water first and then add hot liquid gradually while whisking constantly.
- Another issue could be air bubbles forming in the glaze, which can create an uneven finish on your desserts. To avoid this, tap the container on a flat surface a few times to release any trapped air before pouring the glaze onto your desserts.
- Lastly, if your glaze is too thick or too thin, you can adjust the consistency by adding more liquid or more gelatin accordingly. Keep in mind that the glaze will thicken as it cools, so it’s best to adjust the consistency while it’s still warm.

Creative ways to use gelatin glaze
Now that you’ve mastered the art of making clear neutral gelatin glaze, it’s time to get creative with it. Here are some unique ways to use your glaze:
- Glaze cake: Create a stunning mirror glaze cake by pouring the glaze over a smooth, chilled cake. The ice will set to create a glossy, reflective surface that adds a professional touch to your cake.
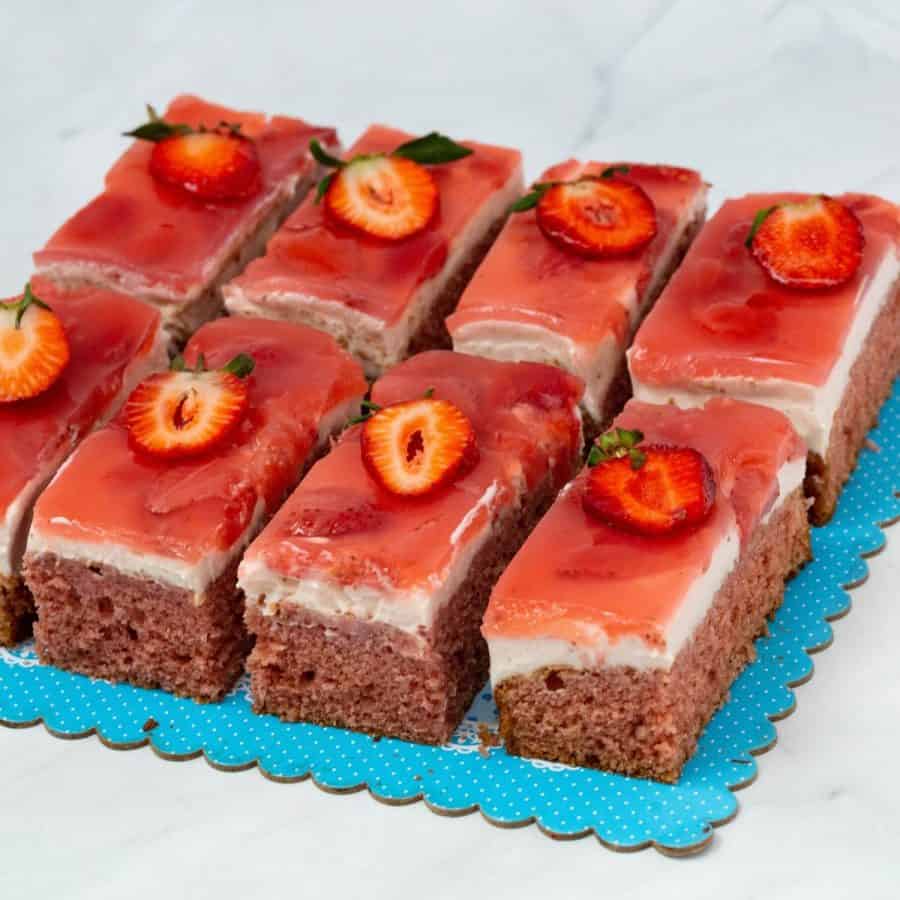
- Fruit tarts: Use a neutral gelatin glaze to coat fresh fruit tarts. The glaze will give the fruits a beautiful shine and help preserve their freshness.
- Donut glaze: Dip freshly fried or baked donuts into a sweet dessert glaze. Experiment with different flavors and colors to create a visually appealing assortment of donuts.
- Glazed fruit skewers: Thread bite-sized pieces of fresh fruit onto skewers and dip them into a neutral gelatin glaze. Allow the glaze to set before serving, creating a glossy finish that makes the fruit skewers even more enticing.
- Petit fours: Give your petit fours an elegant touch by dipping them into a neutral gelatin glaze. You can also create a marble effect by using different colored glazes and swirling them together.
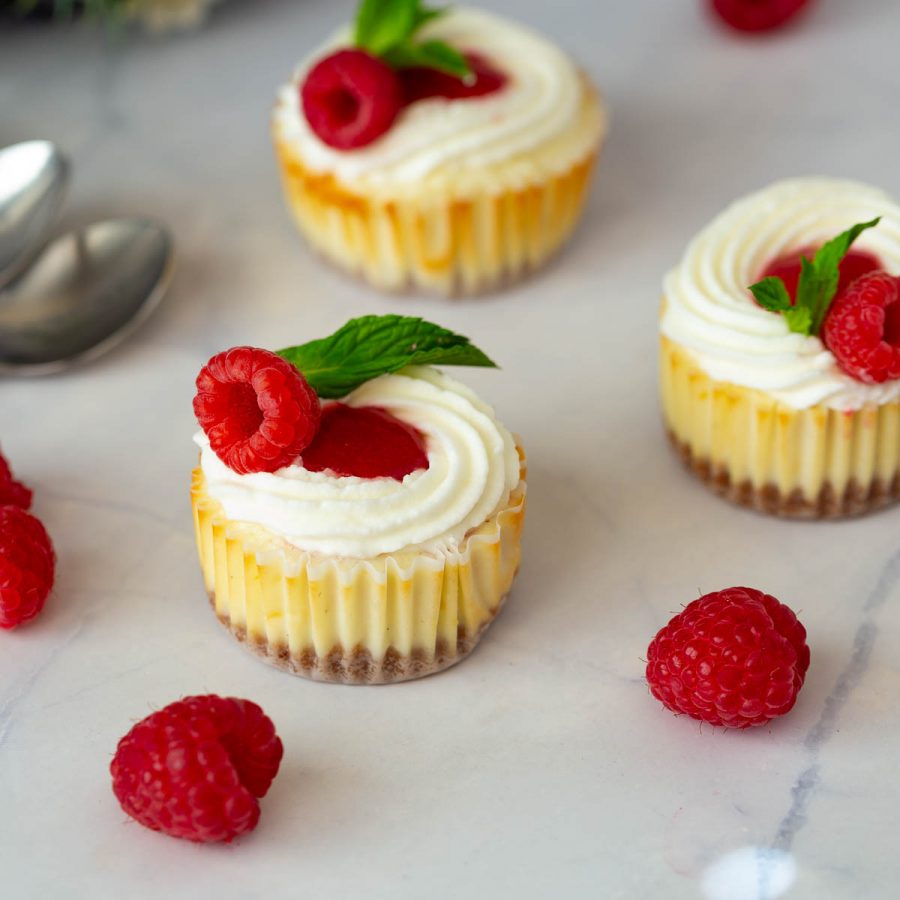
- Glazed cheesecake: Pour a dessert glaze over a chilled cheesecake to create a smooth and glossy finish. The glaze will add an extra layer of sweetness and elevate the visual appeal of the cheesecake.
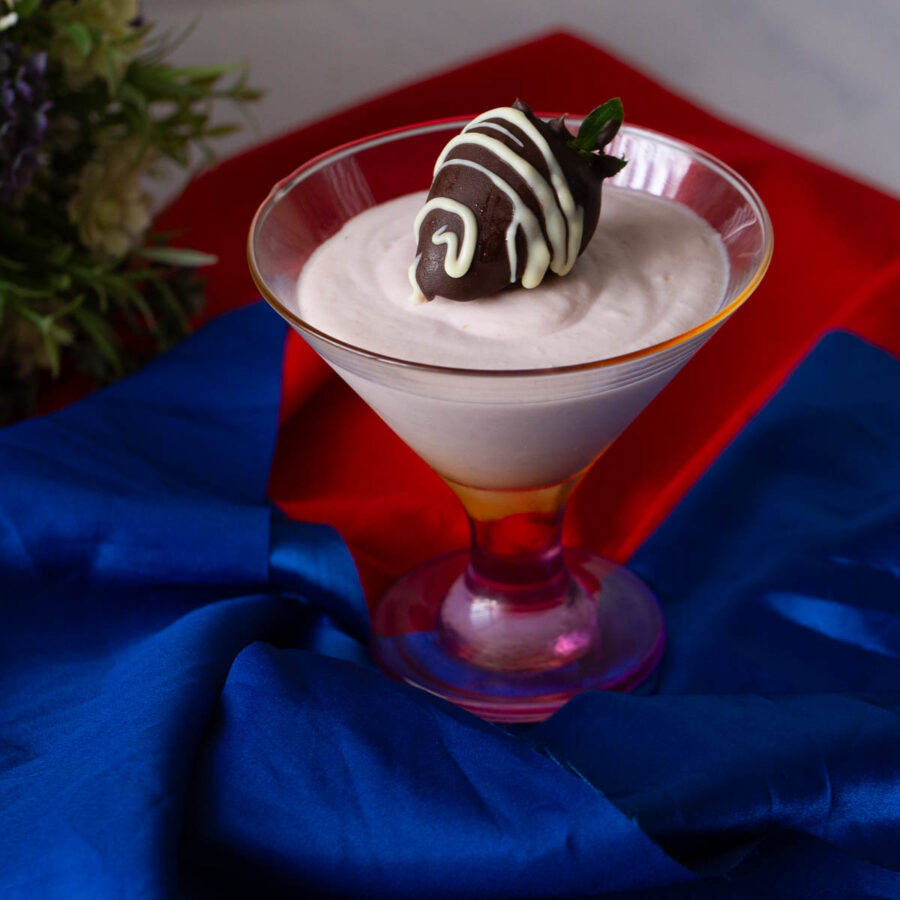
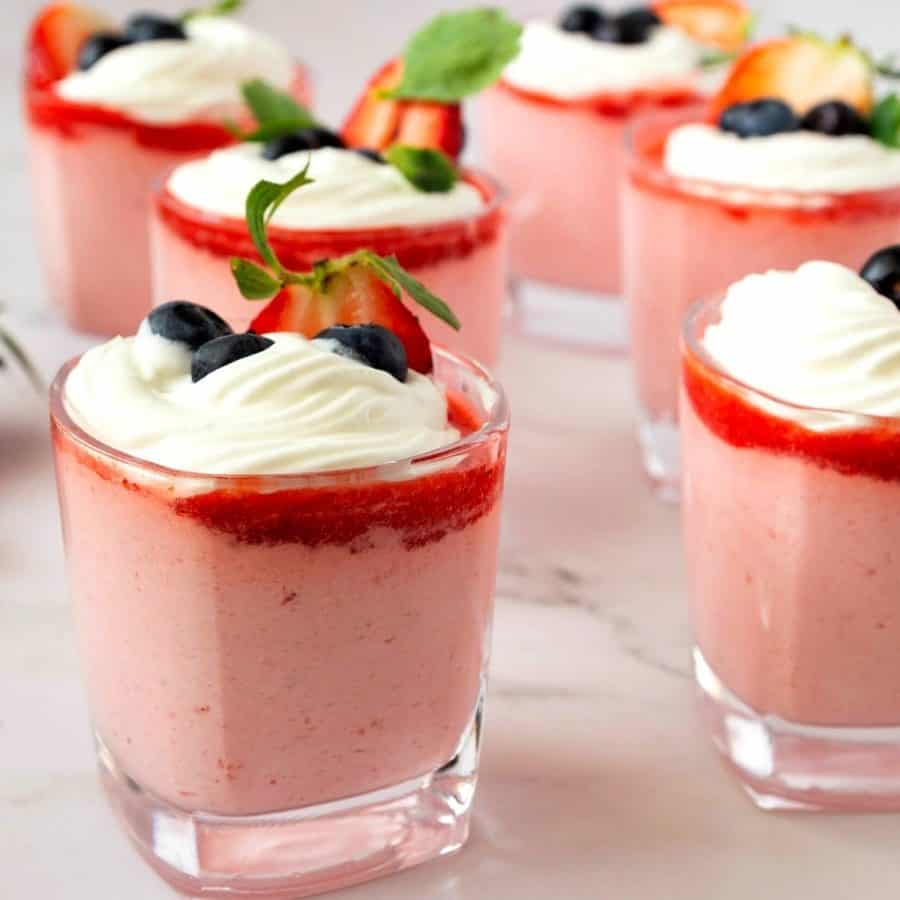
- Panna Cotta: Top your panna cotta with a neutral gelatin glaze mixed with fruit puree. The glaze will provide vibrant color and fruity flavor to complement the creamy panna cotta.
- Glazed eclairs: Fill éclairs with cream or custard and then dip the tops into a dessert glaze. The glaze will set to create a shiny, attractive coating that adds a professional touch to your éclairs.
- Glazed parfaits: Layer yogurt, fresh fruit, and granola in a glass, and then top it off with a neutral gelatin glaze. The glaze will seal the layers together and create an eye-catching finish.

Frequently asked questions
You can store the gelatin glaze in an airtight container in the refrigerator for up to two weeks. And if you want to keep it for longer, freeze it. When you are ready to use it, defrost it in the fridge and heat it gently over low heat.
Yes, you can use gelatin glaze on hot desserts. But it is important to let the desserts cool slightly before applying the glaze. Otherwise, the heat may cause the gelatin to break down, resulting in a messy and unattractive appearance.
If you want to make your gelatin glaze thicker, add more gelatin to the mixture. And if you want to make it thinner, add more water or fruit juice. However, keep in mind that adding too much liquid can affect the glaze’s stability and texture.
The neutral gelatin glaze is versatile, and you can use it on a variety of desserts, such as cakes, tarts, and fruits. You can also use it to create a shiny finish on different types of savory dishes.
The shelf life of gelatin glaze can vary depending on the ingredients used. However, storing it properly in an airtight container in the refrigerator can last up to two weeks. It is always recommended to use it within this period to ensure the best results.


Don’t lose this recipe! Save it for Later!
📌 Save this Recipe for later on Pinterest so you can easily find it again.
⭐ Add Veena Azmanov Kitchen to your Google Preferred Sources.
It helps Google show you more of our recipes.
📧 Subscribe for new recipes delivered to your inbox.
🎥 Follow us for more recipes

Neutral Gelatin Glaze
If you want to elevate your dessert game, you must know how to make a clear gelatin or neutral glaze from scratch. Whether you're using it to glaze fruit tarts or to add shine to your cakes, pastries, or entremets your desserts will look and taste amazing. So don't be afraid to try it and take your baking skills to the next level!
Video
Ingredients
- 8 grams (4 leaves) Gelatin 4 leaves soaked in 1 cup water or powder in 1/4 cup water
- 100 g (½ cups) Sugar
- 150 g (½ cups) Light corn syrup
- 50 g (¼ cups) Water
- 15 g (1 tbsp) Lemon juice or (¼ cup orange or strawberry)
- ½ cup (½ cup) Water
- 1 tsp Agar agar
- 2 tbsp Sugar
- 2 tbsp Lemon juice or ¼ cup fruit puree
Method
- Gelatin – Soak the gelatin leaves in cold water in a small bowl. Allow it to bloom for about 5 minutes until it becomes soft and spongy.8 grams Gelatin
- Boil – Add sugar, water, and light corn syrup in a saucepan over medium heat until it dissolves completely. Keep stirring until the mixture comes to about 105℃100 g Sugar , 150 g Light corn syrup, 50 g Water
- Gelatin – Remove the saucepan from the heat and add the bloomed gelatin and lemon juice. Stir well until the gelatin is fully dissolved and incorporated into the liquid. Make sure there are no lumps.15 g Lemon juice
- Strain – Pass the glaze through a sieve and cover it with plastic wrap in a bowl to prevent skin from forming a surface. Pro tip – Straining will remove any lumps.
- Cool – Let the glaze mixture cool slightly at room temperature. Once the glaze has cooled down, it should be slightly thickened but still pourable. Best temperature to use is 28 – 40℃Pro tip – If it has become too thick, gently warm it over low heat, stirring continuously until it reaches the desired consistency.
- Glaze – Pour the neutral gelatin glaze over your dessert, ensuring even coverage. You can use a spoon or a brush to spread the glaze evenly, if needed.Pro tip – you can also add food gel to dye the neutral glaze or add fruit puree to make a fruit-flavored glaze.
- Set – Allow the glaze to set at room temperature or place the dessert in the refrigerator to speed up the process. The glaze will solidify and create a glossy finish on your dessert.
- Soak – Combine the water, lemon juice, and agar agar powder in a small saucepan. Let it sit for about 5 minutes to allow the agar-agar to hydrate.½ cup Water, 1 tsp Agar agar, 2 tbsp Sugar, 2 tbsp Lemon juice
- Boil – Heat the saucepan over medium heat and stir continuously until it boils. Reduce the heat to low and simmer for 2-3 minutes, stirring occasionally, until the agar agar is completely dissolved.
- Cool – Remove the saucepan from the heat and let the glaze cool slightly. It should thicken as it cools but remains pourable.
- Glaze – Once the glaze has reached a suitable consistency, pour it over your dessert or use a spoon or brush to spread it evenly.
- Store – Allow the glaze to set at room temperature or refrigerate the dessert to speed up the process. The glaze will solidify and create a glossy finish.
Notes
- First, it’s important to thoroughly bloom the gelatin in cold water before adding it to hot liquid. This will give it a smoother texture and better consistency in the final glaze.
- Additionally, when adding the hot liquid to the bloomed gelatin, it’s best to do so gradually, whisking constantly to prevent clumps. And once the glaze is ready, be sure to strain it through a fine-mesh sieve to ensure a smooth, even finish on your desserts.
- One common problem is the gelatin not dissolving completely, resulting in a lumpy texture. To avoid this, make sure you bloom your gelatin in cold water first and then add hot liquid gradually while whisking constantly.
- Another issue could be air bubbles forming in the glaze, which can create an uneven finish on your desserts. To avoid this, tap the container on a flat surface a few times to release any trapped air before pouring the glaze onto your desserts.
- Lastly, if your glaze is too thick or too thin, you can adjust the consistency by adding more liquid or more gelatin accordingly. Keep in mind that the glaze will thicken as it cools, so it’s best to adjust the consistency while it’s still warm.
Creative ways to use glaze
Now that you’ve mastered the art of making clear neutral gelatin glaze, it’s time to get creative with it. Here are some unique ways to use your glaze:- Glaze Cake: Create a stunning mirror glaze cake by pouring the glaze over a smooth, chilled cake. The ice will set to create a glossy, reflective surface that adds a professional touch to your cake.
- Fruit Tarts: Use a neutral gelatin glaze to coat fresh fruit tarts. The glaze will give the fruits a beautiful shine and help preserve their freshness.
- Donut Glaze: Dip freshly fried or baked donuts into a sweet dessert glaze. Experiment with different flavors and colors to create a visually appealing assortment of donuts.
- Glazed Fruit Skewers: Thread bite-sized pieces of fresh fruit onto skewers and dip them into a neutral gelatin glaze. Allow the glaze to set before serving, creating a glossy finish that makes the fruit skewers even more enticing.
- Petit Fours: Give your petit fours an elegant touch by dipping them into a neutral gelatin glaze. You can also create a marble effect by using different colored glazes and swirling them together.
- Glazed Cheesecake: Pour a dessert glaze over a chilled cheesecake to create a smooth and glossy finish. The glaze will add an extra layer of sweetness and elevate the visual appeal of the cheesecake.
- Panna Cotta: Top your panna cotta with a neutral gelatin glaze mixed with fruit puree. The glaze will provide vibrant color and fruity flavor to complement the creamy panna cotta.
- Glazed Éclairs: Fill éclairs with cream or custard and then dip the tops into a dessert glaze. The glaze will set to create a shiny, attractive coating that adds a professional touch to your éclairs.
- Glazed Parfaits: Layer yogurt, fresh fruit, and granola in a glass, and then top it off with a neutral gelatin glaze. The glaze will seal the layers together and create an eye-catching finish.