
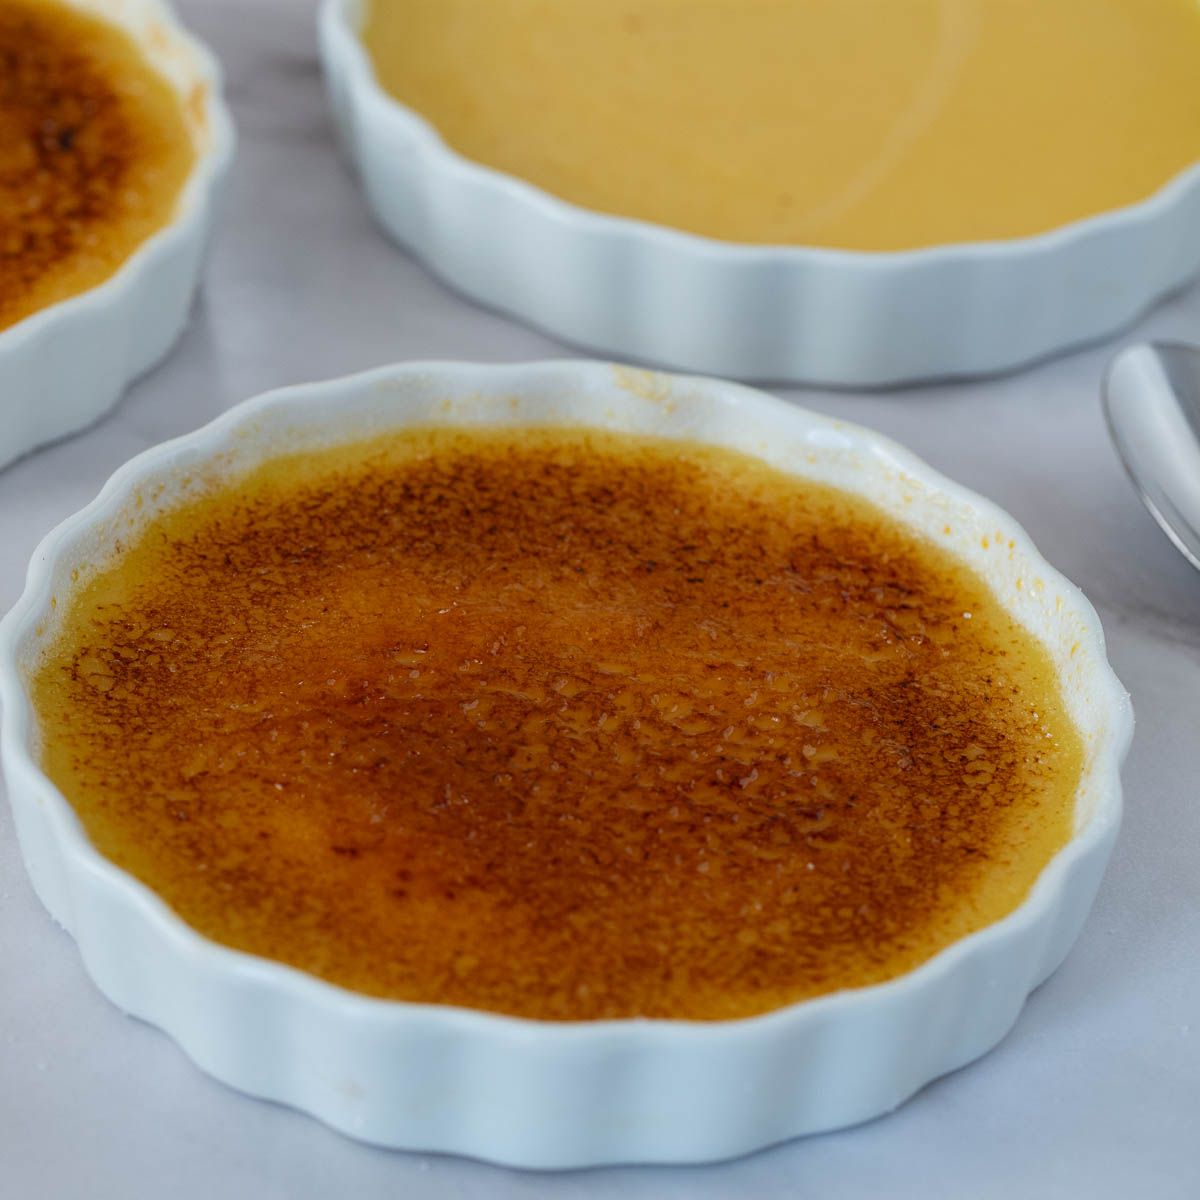






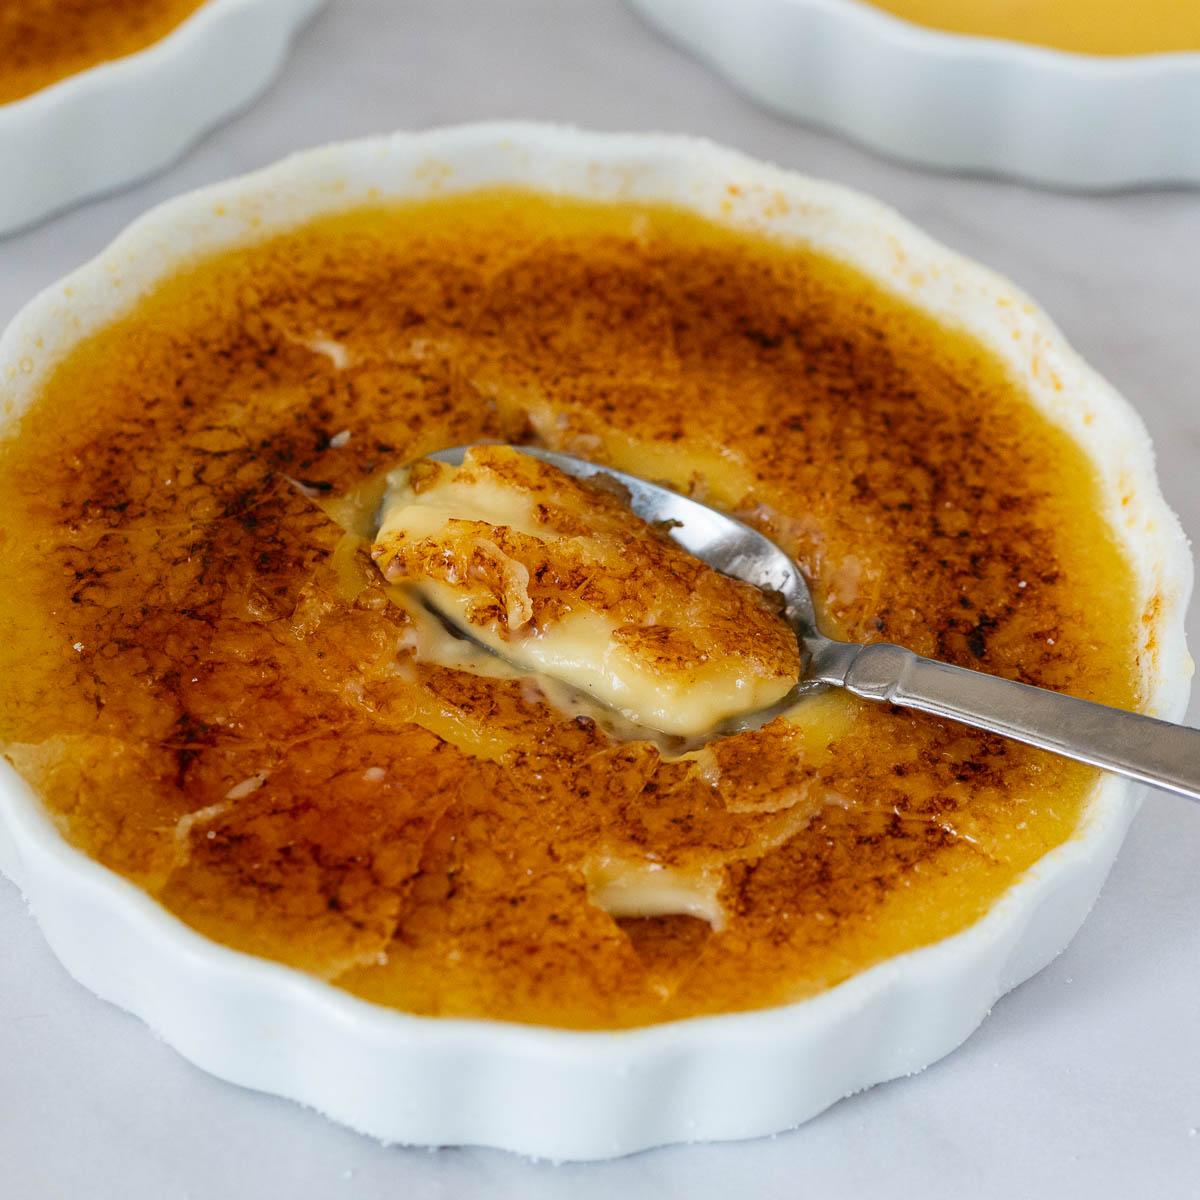
There’s something magical about breaking through the glassy caramel crust of a perfectly made crème brûlée. That sharp crack gives way to a cool, silky-smooth custard that melts on your tongue — a combination of textures and flavors that feels both luxurious and comforting.
If you’ve always thought crème brûlée was a “restaurant-only” dessert, you’re in for a treat. With just cream, egg yolks, sugar, and vanilla, you can make it at home with flawless results — no pastry degree required.
My first taste of crème brûlée wasn’t in a fancy restaurant — it was in a friend’s kitchen when I was young. Her mom made it for us, and I thought it was the best dessert I had ever eaten. The recipe she gave me was a little different from the classic: it used cream, milk, egg yolks, and even a bit of cornstarch to help it set.
Over the years, I’ve tasted many variations during my travels — some lighter, some flavored with coffee or citrus, and even one with chocolate. But it wasn’t until I had crème brûlée in a small Paris restaurant that I realized what makes it truly unforgettable: all heavy cream, extra egg yolks, and no shortcuts. The result was richer, silkier, and far more luxurious than any version I’d tried before.
This recipe is my take on that Parisian-style crème brûlée — smooth custard, deep vanilla flavor, and a perfectly caramelized sugar crust you can crack with your spoon.
What is Crème Brûlée?
Crème brûlée (pronounced krem broo-LAY) is a classic French dessert made from a rich, baked vanilla custard topped with a thin, glassy layer of caramelized sugar. The name literally means “burnt cream” in French — a nod to the golden topping, which is created by melting sugar with a kitchen torch or broiler just before serving.
The magic of crème brûlée lies in its contrast: a cold, velvety custard beneath a warm, crisp sugar shell that shatters when tapped with a spoon. While it’s a fine-dining favorite, the technique is surprisingly simple — the key is gentle baking in a water bath for that perfectly smooth texture.
Why You’ll Love This Recipe
- Foolproof texture – Smooth, creamy, and never grainy.
- Minimal ingredients – Pantry staples, nothing fancy.
- Restaurant-quality presentation – Perfect for entertaining.
- Make-ahead friendly – Prepare up to 2 days ahead.
- Pro tips included – From water bath tricks to perfect caramelization.
Ingredients and substitutes
- Heavy cream (35% fat) – No substitutions for best texture.
- Egg yolks – Large, room temperature.
- Granulated sugar – White sugar caramelizes best.
- Vanilla bean or extract – Vanilla paste also works.
- Salt – Balances sweetness.
- Optional Flavor Variations: Grated nutmeg, Citrus zest, espresso powder, or a splash of liqueur.

Step-by-step: Classic Creme Brûlée
Step 1 – Preheat the oven
Preheat to 150°C / 300°F and arrange a deep roasting pan or baking dish large enough to hold your ramekins. You’ll need it for the water bath (bain-marie), which ensures gentle, even cooking so the custard stays silky without curdling.
Step 2 – Heat the cream
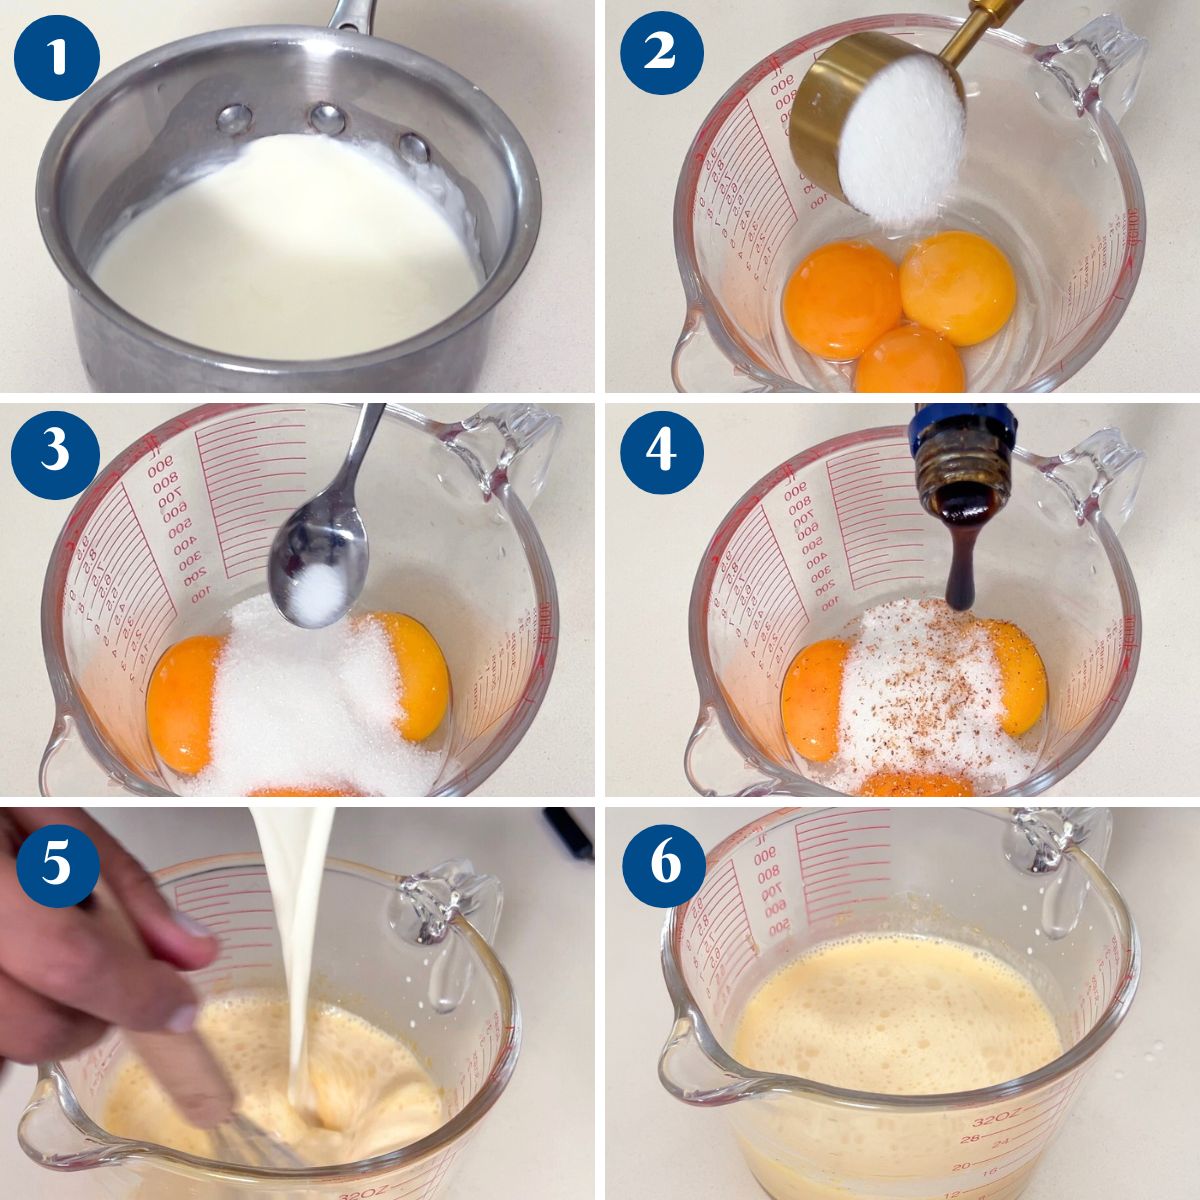
In a medium saucepan, warm the heavy cream over medium heat until it just begins to steam and you see small bubbles forming around the edges — do not boil. Boiling will cause the fat to separate and can give the custard a greasy texture.
💡 Pro tip: If using vanilla extract instead of a bean, don’t add it yet — it’s best added off the heat to preserve its flavor.
Step 3 – Make the yolk mixture
In a separate heatproof bowl, whisk the egg yolks, sugar, salt, and nutmeg together until the mixture turns pale and slightly thickened. This step dissolves the sugar and helps prevent the yolks from scrambling when you add the hot cream.
Step 4 – Temper the eggs
Slowly drizzle in about one-third of the hot cream mixture into the yolks while whisking constantly. This gradually raises the temperature of the yolks so they don’t cook too quickly.
Once incorporated, whisk in the remaining cream. You should have a smooth, pale mixture.
Step 5 – Strain the custard
Pour the mixture through a fine mesh sieve into a large measuring jug. This removes any tiny bits of cooked egg and ensures your custard will be flawlessly smooth.
💡 Pro tip: Straining also skims off any foam, which helps prevent bubbles on the surface.
Step 6 – Fill the ramekins
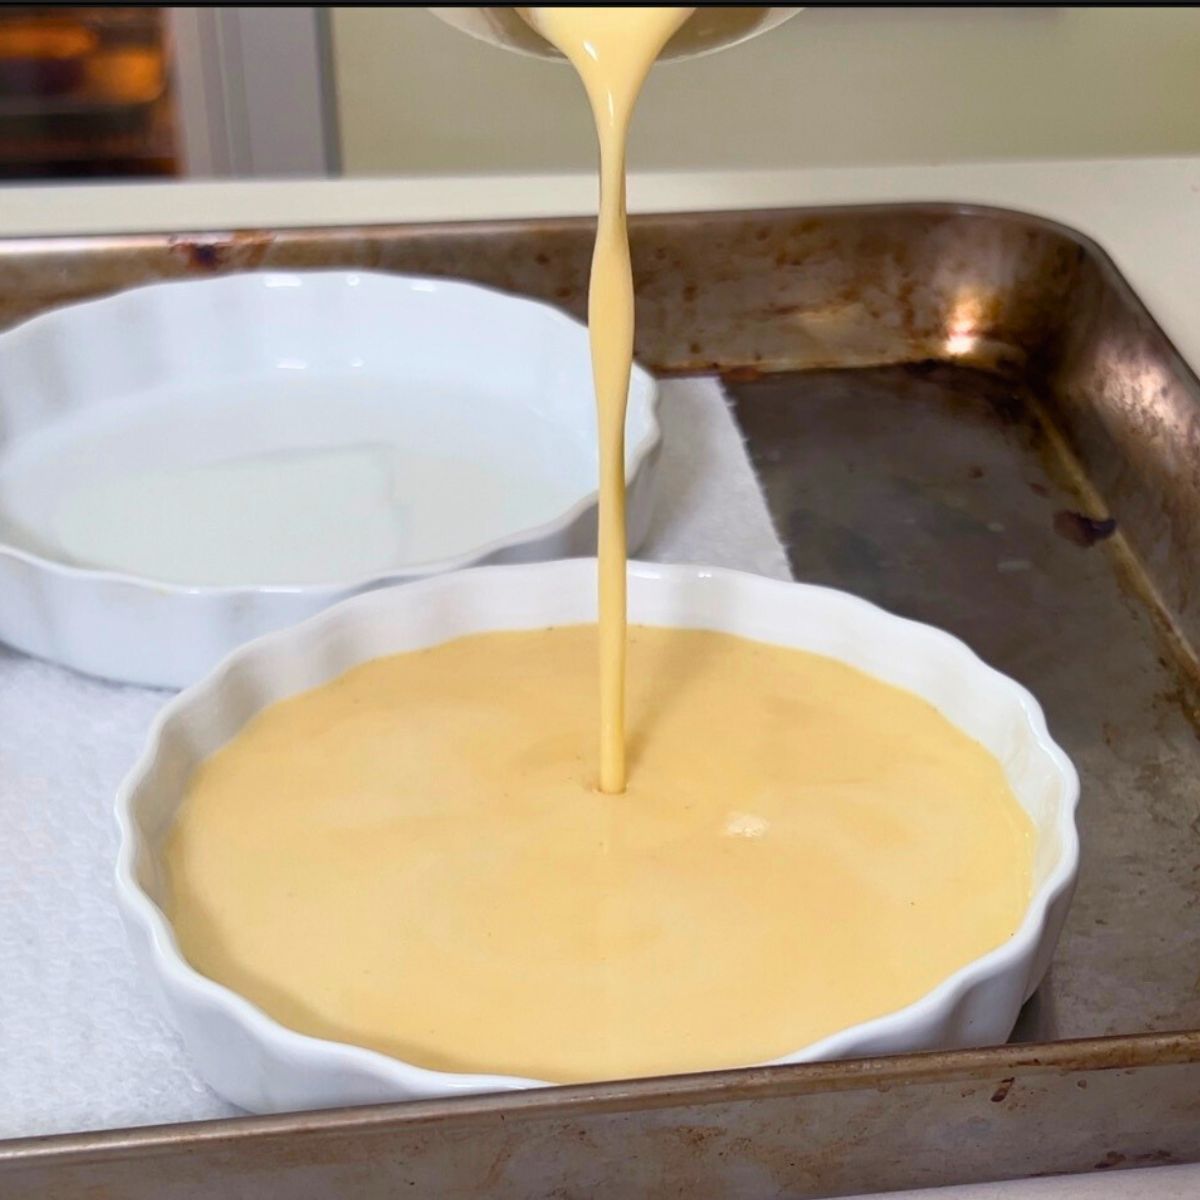
Place your ramekins in the roasting pan. Carefully pour the custard into each ramekin, filling them about three-quarters full. This leaves enough room for the sugar topping later.
Step 7 – Create the water bath
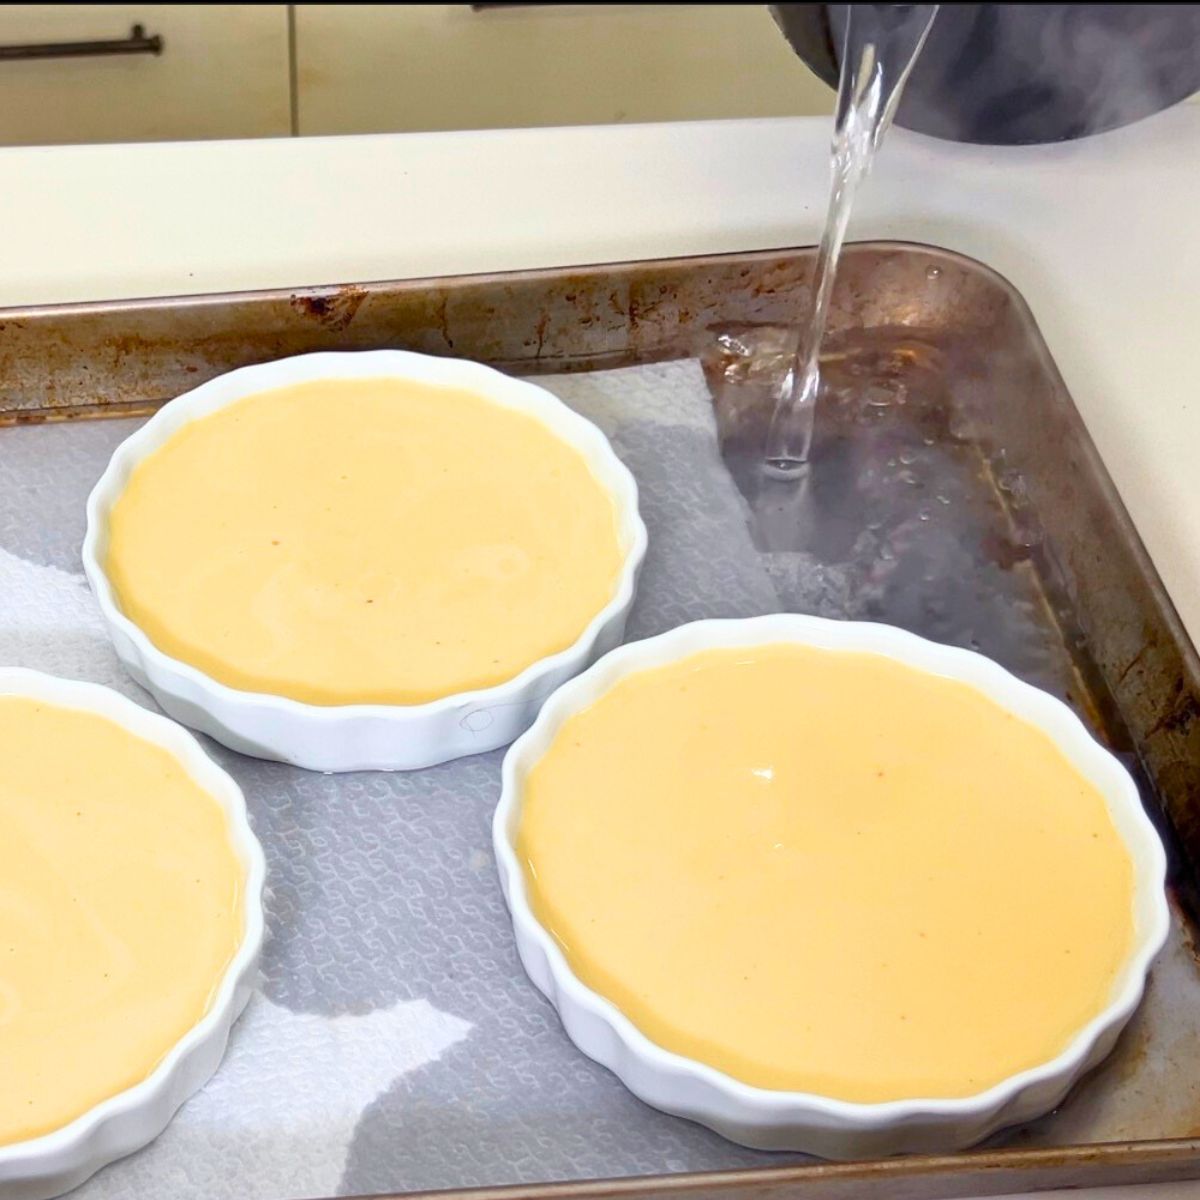
Line the bottom of the roasting pan with a folded kitchen towel or paper hand towel — this prevents the ramekins from sliding around and also cushions them against direct heat. Place ramekins on the towel, then pour hot (not boiling) water into the pan until it reaches halfway up the sides.
Pro tip: Hot but not boiling water prevents the custard from cooking too fast at the edges.
Step 8 – Bake
Transfer the pan to the oven. Bake for 30–35 minutes for standard 170–180 ml (6 oz) ramekins, or 25–28 minutes for shallow 120 ml (4 oz) ramekins, until edges are set but centers have a gentle jiggle when tapped.
💡 Pro tip: The jiggle test is critical — the custard will continue to firm up as it cools.
Step 9 – Cool and chill
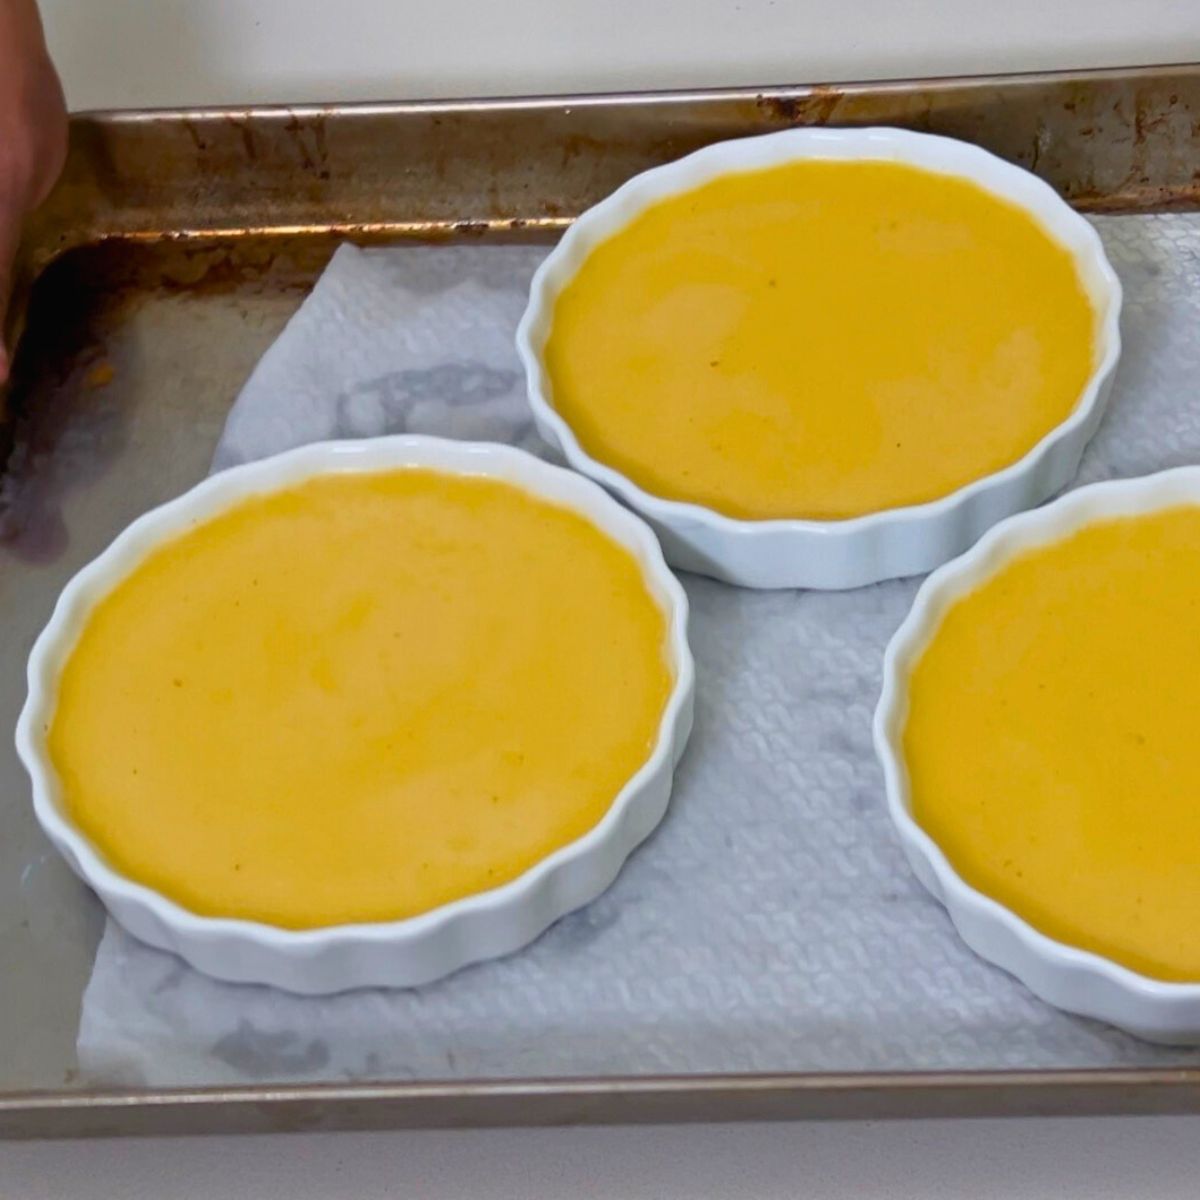
Carefully remove the ramekins from the water bath. Cool on a wire rack until they reach room temperature, then cover and refrigerate for at least 4 hours, or up to 2 days. The chilling time allows the custard to set fully and makes torching easier.
Step 10 – Caramelize the sugar topping
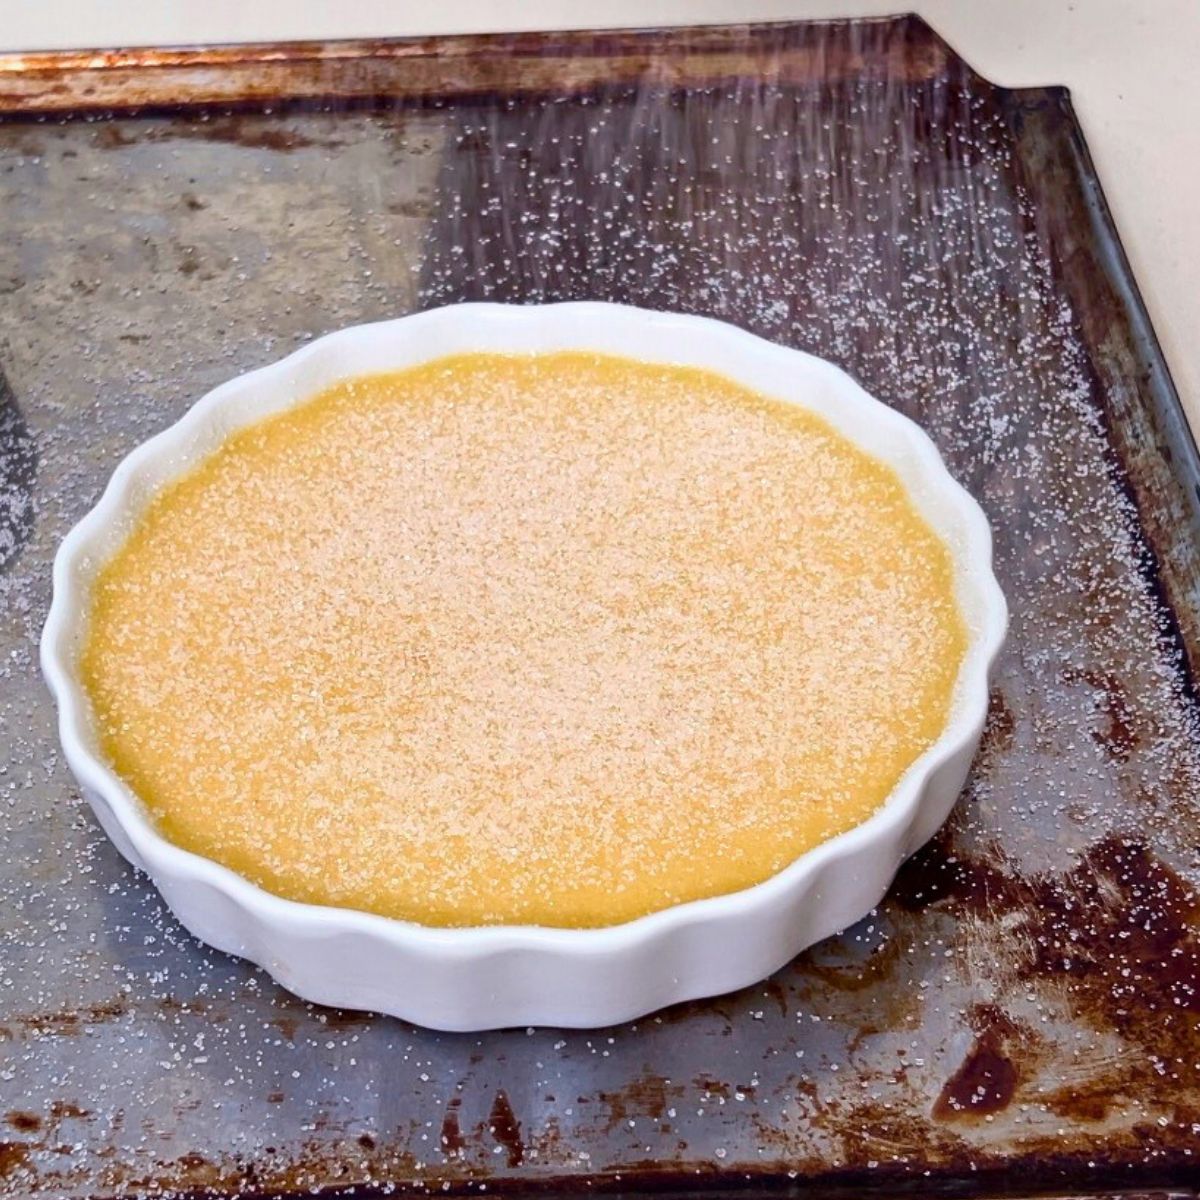
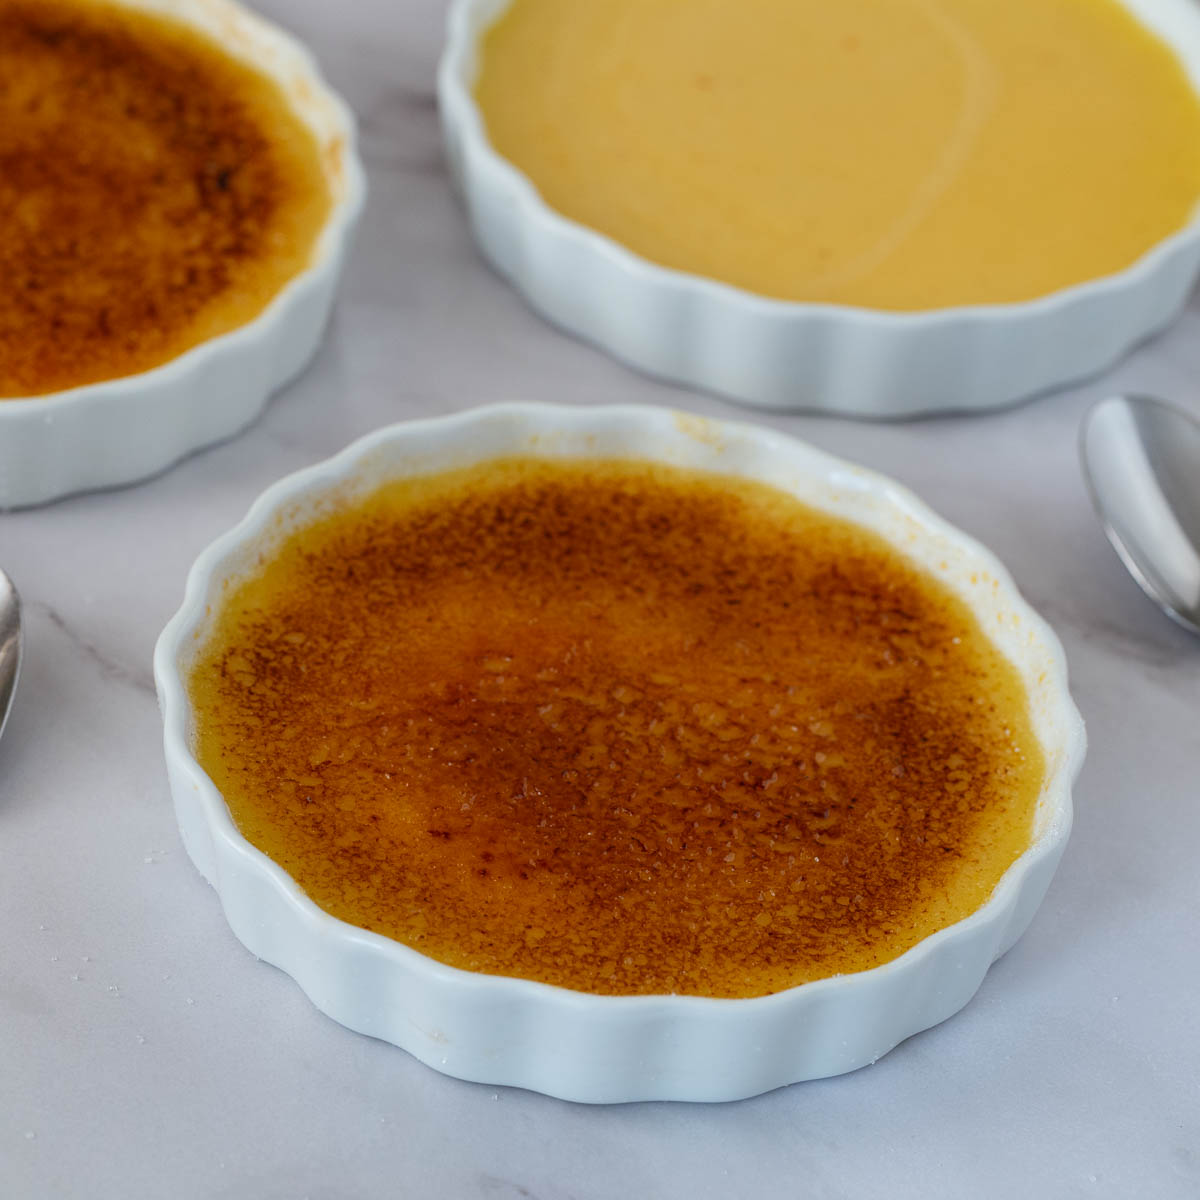
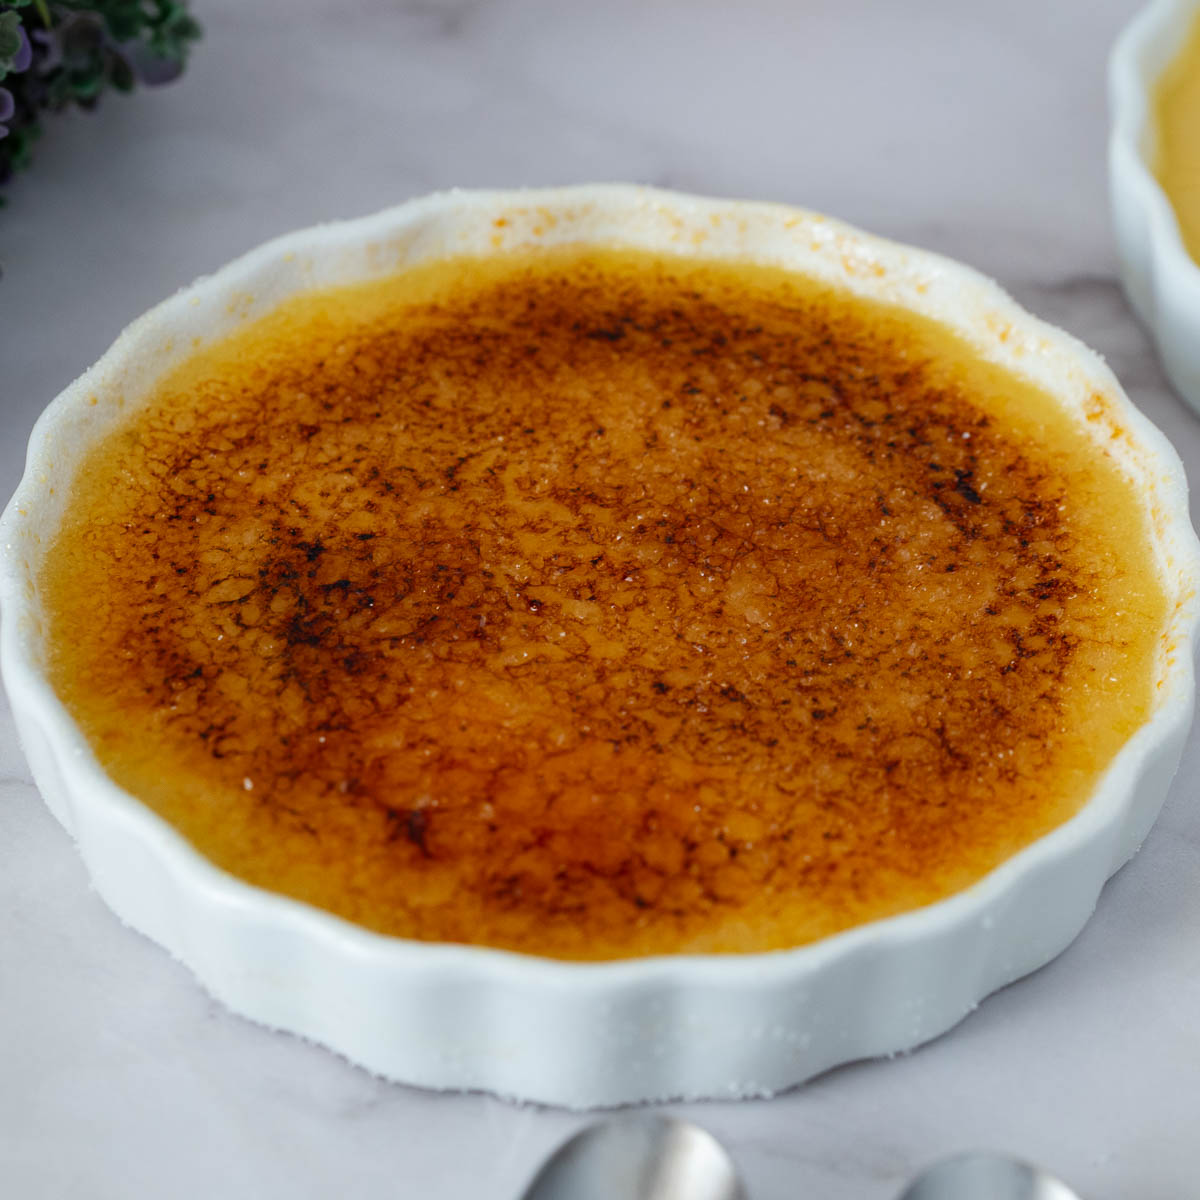
Just before serving, sprinkle 1–2 teaspoons of caster sugar evenly over the surface of each custard. Hold your kitchen torch about 2–3 inches above the surface and move it in small circles until the sugar melts, bubbles, and turns golden brown.
💡 No torch? Use your oven’s broiler on high, watching carefully to avoid burning.
Step 11 – Serve immediately
Let the caramelized tops harden for 1–2 minutes, then serve so guests get that satisfying crack when they tap the sugar shell.
Tips for Success
- Use caster sugar for even caramelization.
- Chill custards fully before torching.
- Torch in layers for a perfect golden crust.
- Avoid overbaking—custard firms up as it cools.
Troubleshooting
| Problem | Cause | Fix |
|---|---|---|
| Custard curdled | Cream too hot when tempering | Add cream slowly while whisking |
| Sugar burns | Torch too close/too long | Hold torch 2–3 inches away, keep moving |
| Custard too loose | Underbaked | Bake until edges set but center jiggles |
- Apricot Crème Brûlée – Classic French Dessert with a Fruity Twist
- Pumpkin Crème Brûlée (Elegant Fall Dessert Without the Gimmicks)
- Classic Creme Caramel Recipe
- Chocolate Creme Caramel
- Apricot Flan Recipe: Creme Caramel


Frequently asked questions
Store for up to 3 days without the caramel top. You can make these up to 3 or 4 days in advance and save them in the fridge. Make sure to wrap them well with cling/plastic wrap. Then just before serving dessert, top with the sugar and brulee the top.
Creme brulee is a custard-based dessert. The custard is made with sugar, egg yolks, and cream. And the brulee is the sugar caramelized on the top of the custard.
Flan is also a custard-based dessert often known as creme caramel. It is also made with sugar, egg yolks, cream as well as milk. And the custard is then poured over a caramel. The resulting dessert is a custard over a sauce-like caramel.
To caramelize the sugar, sprinkle a thin, even layer of granulated sugar on top of the chilled custard. Use a kitchen torch to heat the sugar until it melts and turns golden brown and crispy.
Yes—use your oven’s broiler on high for 1–2 minutes, watching closely.
You can infuse the custard with various flavors such as citrus zest, coffee, chocolate, herbs, spices, fruit puree, or liqueurs like Grand Marnier or Amaretto to create different variations.
The classic Crème Brûlée recipe is naturally gluten-free, as it doesn’t contain any wheat-based ingredients. However, always check ingredient labels for any potential sources of gluten if you have dietary restrictions.
It won’t set as rich or creamy—stick with cream for best results. While heavy cream is traditional, you can explore alternatives like half-and-half, coconut milk, or almond milk for a lighter or dairy-free version, though it may alter the flavor and texture.
Classic Creme Brûlée Recipe
This rich and decadent dessert looks impressive, but with only 6 ingredients and 10 minutes of prep time, it is surprisingly simple. Give this classic creme brûlée recipe a try, incorporating our secret ingredient your friends and family will be begging for the recipe.
Video
Method
- Preheat the oven – Set to 150°C / 300°F. Arrange a deep roasting pan large enough to hold your ramekins. Pro tip: This will be used for a water bath to ensure gentle, even cooking.
- Heat the cream: In a medium saucepan, warm the heavy cream over medium heat until steaming with small bubbles at the edges — do not boil. Remove from heat.500 ml Heavy cream
- Mix yolks & sugar – In a heatproof bowl, whisk yolks, sugar, salt, nutmeg, and vanilla bean paste until pale and slightly thickened. This dissolves the sugar and helps prevent scrambling later.6 large Egg yolks, 100 g Sugar, ¼ tsp Salt, 1 tsp Vanilla bean scrapings , ¼ tsp Freshly grated nutmeg
- Temper the yolks – Slowly drizzle one-third of the hot cream into the yolk mixture while whisking constantly. Gradually add the rest, whisking until smooth.
- Strain the custard (optional but recommended) – Pour through a fine mesh sieve into a large jug. This removes any lumps or foam for a perfectly smooth texture.
- Fill ramekins – Place ramekins in the roasting pan and pour custard in, filling to about ¾ full.
- Make a water bath – Line the bottom of the roasting pan with a folded kitchen towel or paper hand towel — this prevents the ramekins from sliding around and also cushions them against direct heat. Place ramekins on the towel, then pour hot (not boiling) water into the pan until it reaches halfway up the sides.Pro tip: Hot but not boiling water prevents the custard from cooking too fast at the edges.
- Cool & chill – Remove ramekins from water bath, cool to room temperature, then cover and refrigerate for at least 4 hours or up to 2 days.
- Caramelize the top – Just before serving, sprinkle 1–2 tsp caster sugar evenly over each custard. Use a kitchen torch, moving in small circles until the sugar melts, bubbles, and turns golden. No torch? Place under a preheated broiler for 1–2 minutes, watching closely.2 – 3 tbsp Sugar
- Serve – Let caramel harden for 1–2 minutes, then serve immediately for that satisfying crack.
Notes
Tips for Success
- Use heavy cream — milk or half-and-half won’t give the same silky texture.
- Chill completely before torching — warm custard can melt under the sugar.
- Layer the sugar — torch lightly once, let cool briefly, then torch again for a perfectly even crust.
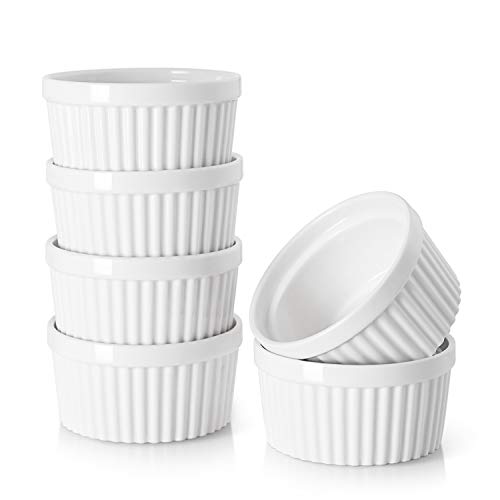
Equipment you will need

Nutrition
Tried this recipe?
Mention @veenaazmanov_kitchen or tag #veenaazmanovkitchen!No posts
Don’t lose this recipe! Save it for Later!
📌 Save this Recipe for later on Pinterest so you can easily find it again.
⭐ Add Veena Azmanov Kitchen to your Google Preferred Sources.
It helps Google show you more of our recipes.
📧 Subscribe for new recipes delivered to your inbox.
🎥 Follow us for more recipes

Hi, I’m Veena
I’m the recipe developer, baker, and food photographer behind Veena Azmanov Kitchen.
I’ve spent years developing and testing recipes, from everyday meals and homemade breads to cakes and desserts.
I share the practical tips and little details I’ve learned along the way so you can get great results in your own kitchen.







Hi can I bake in 2 oz 12 cups with the same measurements and temperature ? Thanks
2 oz is too little (1/4 cup) per person. The possibility of it getting dry is very high. You will need to reduce the time by almost half and check to see if it is done right.
Thank you
I’ve always been intimidated by creme brulee for some reason, but this recipe makes it much less scary! I never knew how simple it was. Can’t wait to give it a try!
It was my first time making creme brulee and it was such a hit with my kids! Thanks for the recipe!
So happy to hear that Michelle. Thank you for the lovely feedback.
I love creme brulee, but I haven’t made it in so long! Your recipe looks so simple and lovely!
This creme brulee looks absolutely perfect! Thanks for the recipe, my first time making it myself!
I LOVE creme brulee but never thought it was something I could make at home. This recipe sounds totally do-able and delicious! Are there any other recipes you recommend that use the mini blow torch?
What oven temp ? Room temp eggs ?
Creme Brulee is usually baked in a slow oven at 150 C/ 300 F for about 30 to 40 mins Thanks
This looks seriously amazing. I’ve been intimidated by creme brulee for so long, but you have given me confidence!
Thank you Kylee. It sounds intimidating but it’s really easy.
I love creme brulee! It’s so much easier to make than it looks too!
That is so true Sarah.
I absolutely love creme brulee, it’s the sweetest and most delicious dessert you can make. You have the perfect recipe here. I don’t have a blow torch, so l usually make the creme caramel which tastes pretty similar and does not use the torch. Although l saw a video where someone was getting the back of a spoon hot and then was slowly caramelising the sugar, l thought that was clever.
Thanks Daniel. YOu can actually caramelize the sugar in a pot then pour slowly over the pots too!