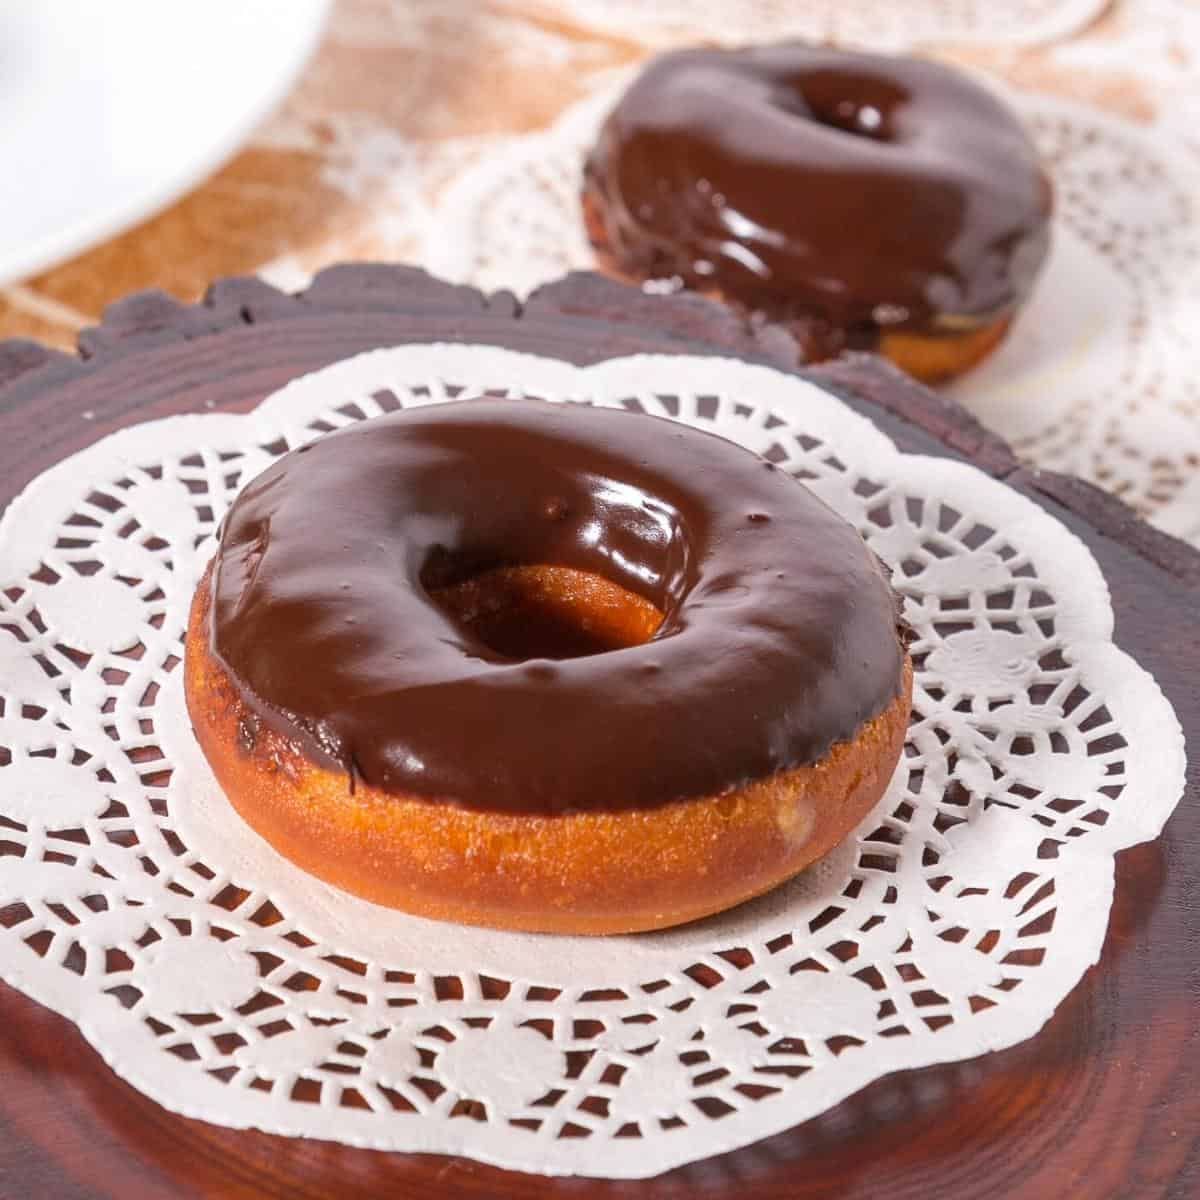
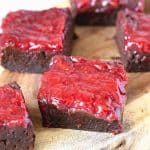
Chocolate Glazed Donuts


These homemade chocolate glazed donuts are the best thing you can ever make. They require a bit of extra work but are definitely worth the effort. These donuts are yeast-raised and then deep-fried. So, they are crisp on the outside and soft and tender on the inside.
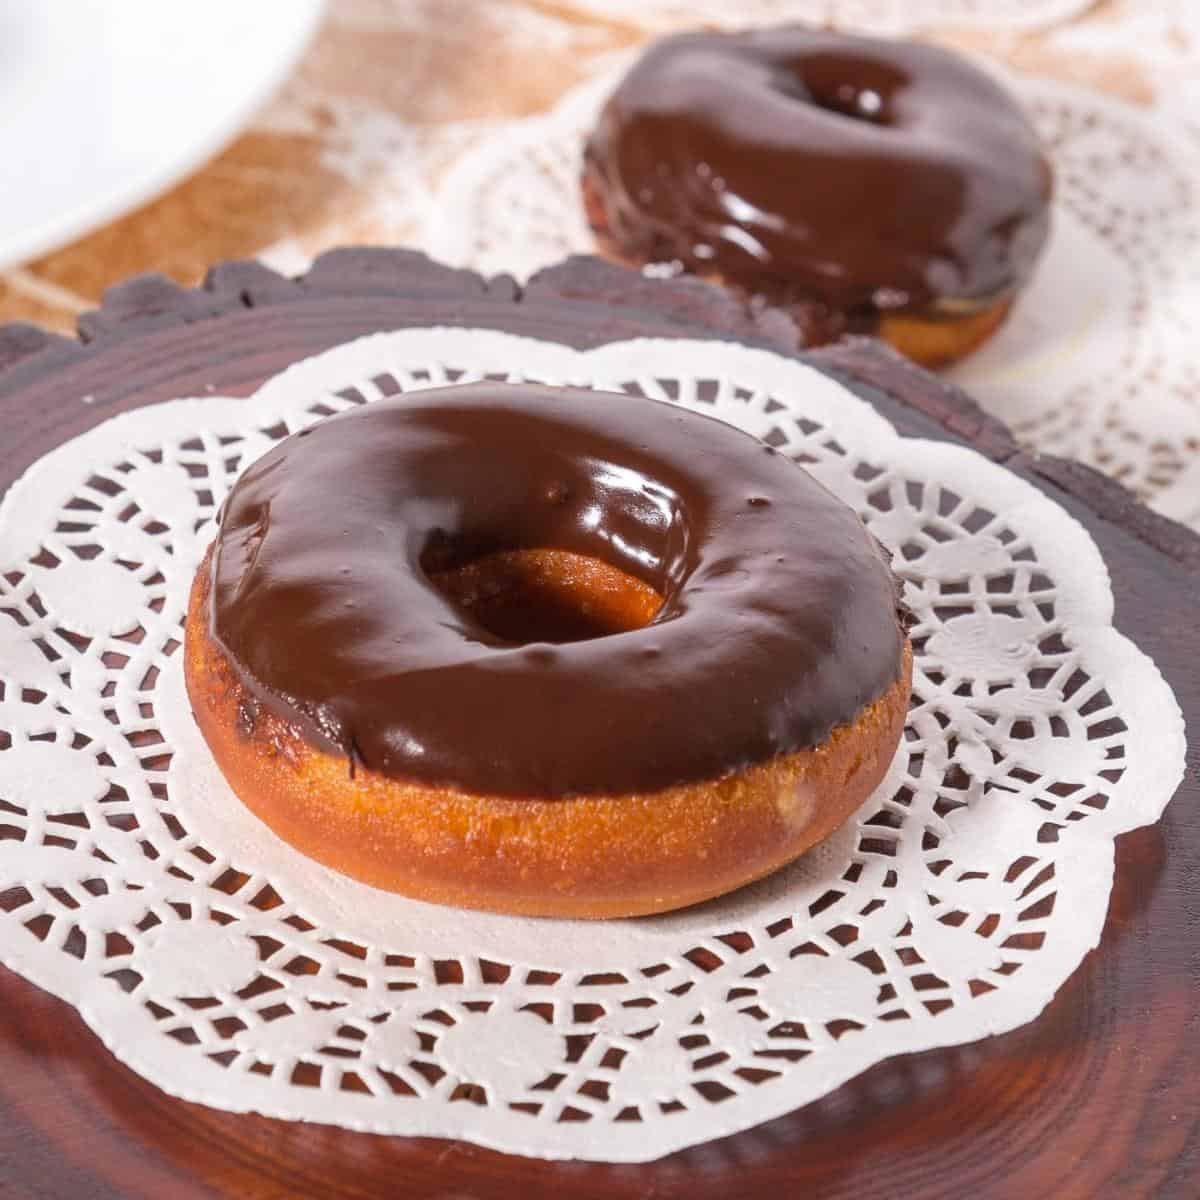
Indulge in the ultimate treat for chocolate lovers: chocolate-glazed donuts! Imagine sinking your teeth into a perfectly fried donut, its golden exterior giving way to a soft, pillowy interior that practically melts in your mouth. But the magic doesn’t stop there. A glossy coat of luscious chocolate glaze envelops each donut, adding a luxurious touch that takes them to the next level of indulgence.
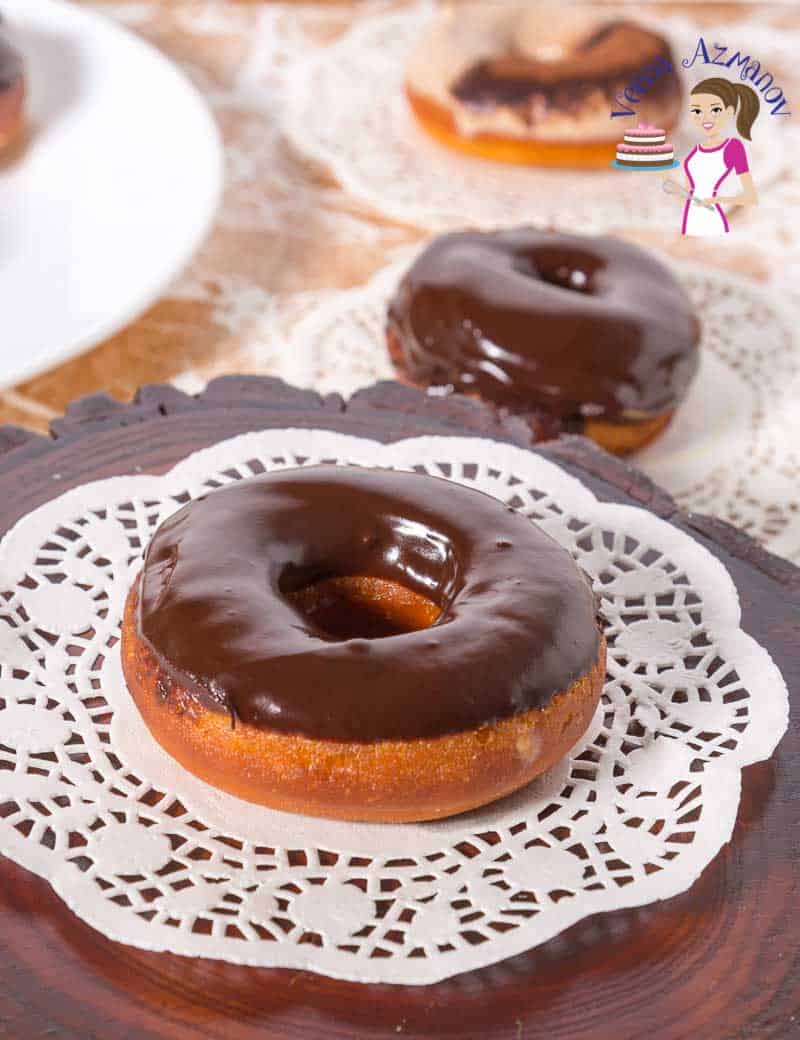
Why make these homemade donuts?
- Freshness: Homemade donuts are always fresher than store-bought ones, allowing you to enjoy them at their peak flavor and texture.
- Customization: When you make donuts at home, you have full control over the ingredients, allowing you to customize them to your preferences. You can adjust the sweetness, add your favorite flavors, or even experiment with different types of chocolate for the glaze.
- Fun and Rewarding: Making homemade donuts is a fun and rewarding experience, perfect for spending quality time in the kitchen with loved ones or indulging in a solo baking adventure. Plus, the satisfaction of biting into a freshly made donut that you crafted yourself is unmatched.
- Endless Variations: With homemade donuts, the flavor possibilities are endless. You can experiment with different toppings, fillings, and glazes to create unique and delicious flavor combinations. From classic chocolate glaze to maple bacon or raspberry-filled, the choice is yours!
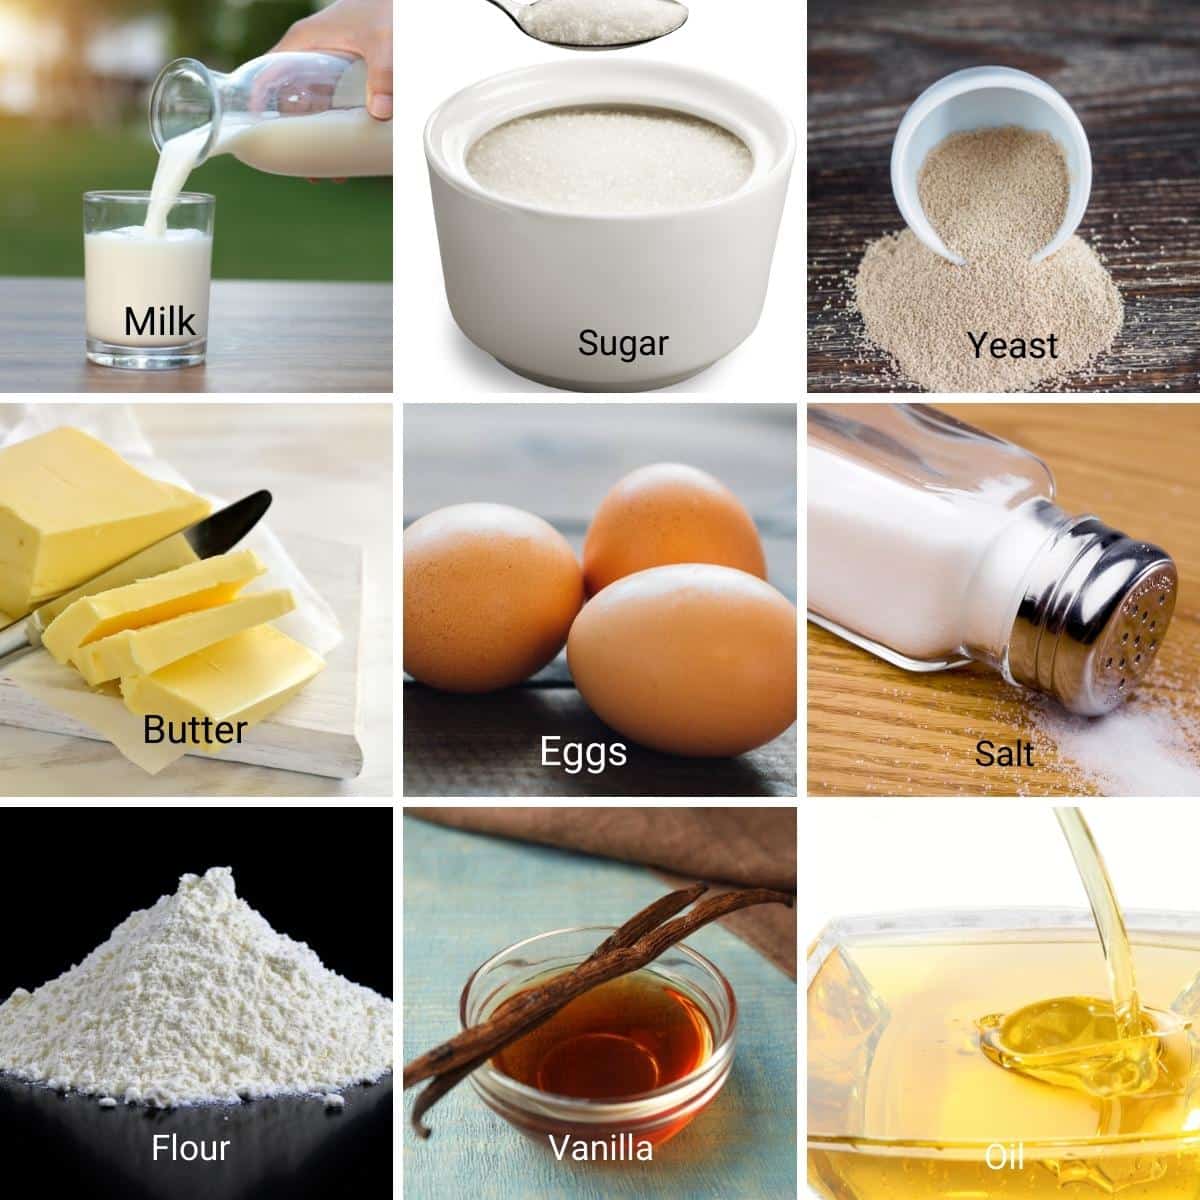
Ingredients and substitutes
- Yeast – I like to use instant dry yeast because I’ve always had great success with it. And yet, you can certainly use active dry yeast in the same quantity. And if you use fresh yeast, you will need about 21 grams
- Butter – This adds richness to the dough. However, do not add more butter as it will become very dark when frying.
- Milk – I love adding a bit of richness to the dough, and milk works great in this recipe. Water will also work well. And, if you do use water, you may need a little more flour in this recipe.
- Sugar – White sugar works excellently in this recipe. And yet, you can also try brown or any other sugar. I think the amount here is just enough for both the inside and out. But feel free to add or reduce if you want.
- Flour – Bread flour makes light and airy donuts with a soft and chewy texture. Of course, you can use all-purpose flour, but if possible, at least use 50% bread and 50% all-purpose.
- Chocolate – I like to use dark chocolate so it’s not too sweet. You can also use chocolate chips.
- Oil – I use canola oil. It has a neutral flavor and a high smoke point. Also, it works best when deep-frying bread and sweet treats like churros and doughnuts.
Step-by-step: Chocolate-glazed donuts
Dough
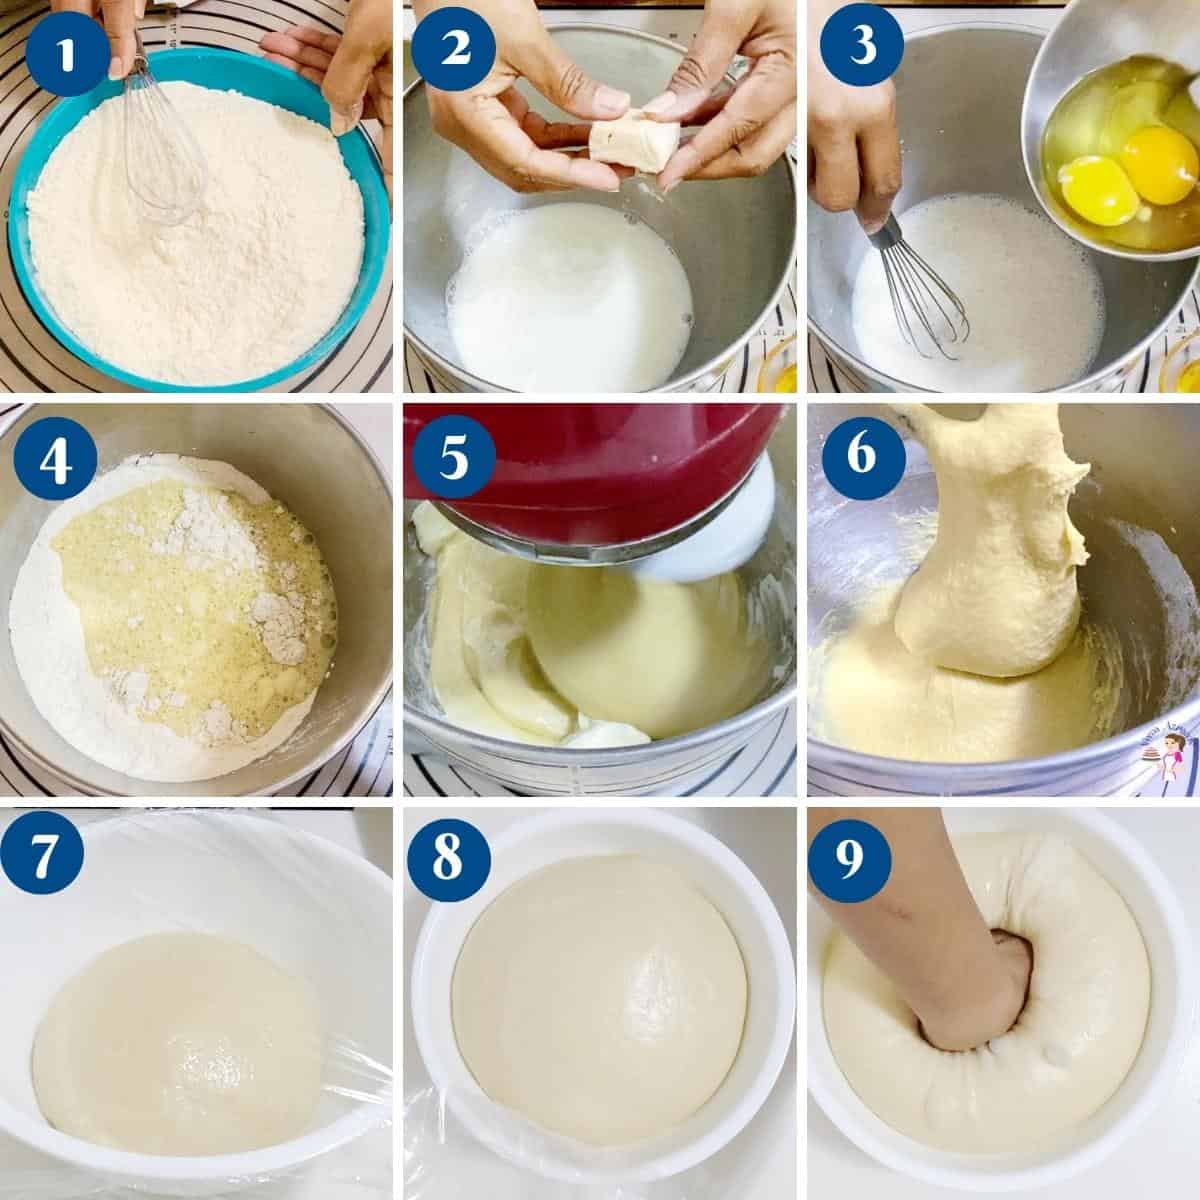
- Dry ingredients – In a medium bowl, combine flour and salt.
Pro tip – You can add spices like cinnamon, ground ginger, nutmeg, or pumpkin spice to add some fall flavor. - Wet ingredients – In a large mixing bowl of a stand mixer, with the dough hook attachment, combine warm milk, sugar, yeast, egg, and vanilla extract. Stir to combine.
- Wet to dry – Add the flour mixture to the yeast egg mixture and combine on medium-high until all the flour is incorporated. Then, knead on medium speed for 4 to 5 minutes.
- Butter – Add the room-temperature butter and continue kneading on medium-low speed for 3 to 4 minutes, until smooth, elastic, and slightly sticky.
- Bowl – Place the dough in a large greased bowl, cover it with plastic wrap, and let it rise on the counter for 60 to 90 minutes or until doubled in volume.
Roll and cut
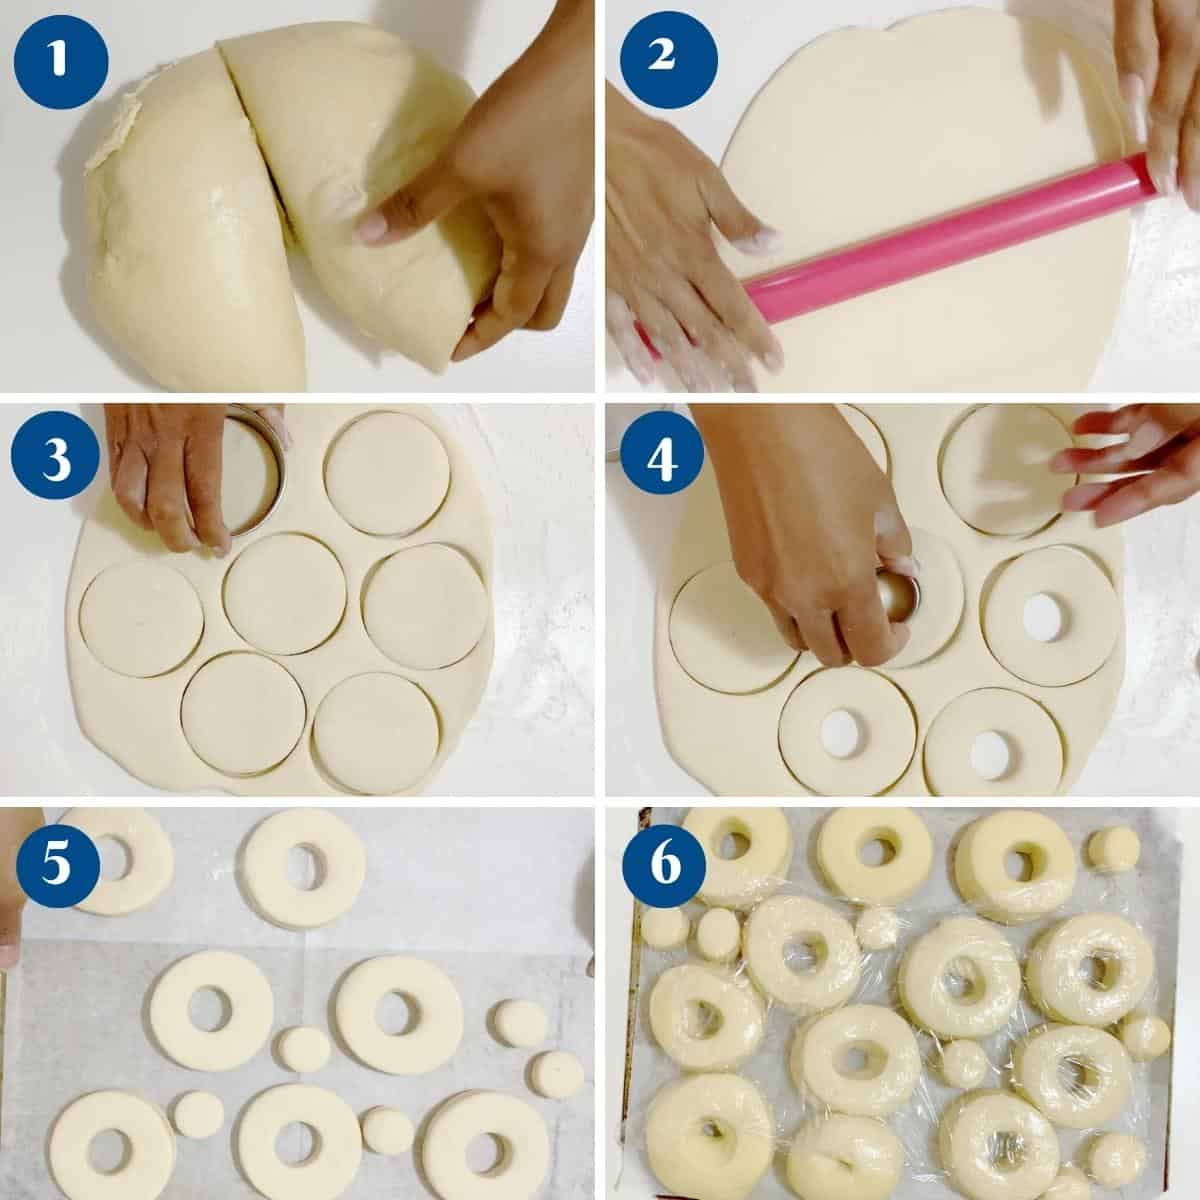
- Cut – Transfer to a well-dusted work surface. Using a rolling pin, roll to about 1/4 inch thickness. Using a 3-inch cookie cutter, cut out as many discs as you can. Then use a 1/2-inch cookie cutter to make the center hole. Alternatively, you can also use a donut cutter.
- Tray – Transfer the donuts to a baking tray that has been lined with parchment paper and dusted with flour.
- Proof – Cover with plastic wrap or clean kitchen cloth and let them proof until doubled in size, about 45 to 60 minutes.
- Deep-fry – Pour oil into a heavy pot or deep fryer and heat to about 350°F. I like to use my Dutch oven.
- Cook the donuts on each side for 2 to 3 minutes until golden. Use a slotted spoon to remove the donuts from the oil and drop them on paper towels to absorb excess oil.
- Tip 1– Make sure you have enough oil so the donuts are at least half-immersed in oil when puffed.
- Tip 2– You want the oil hot but not too hot. When you drop a donut hole, it should come up in about 30 seconds; if it comes up sooner, the oil is too hot. Too slow means the oil is too cold. Adjust accordingly.

- Gently add the cold donuts to the oil.
- Let the donut cook for 30 seconds, then flip and cook for another 30 seconds on the other side. This way, you will get an even color on both sides.
- Continue to cook gently, turning as necessary, until golden brown.
Pro tip – If the oil is too hot, the donuts will brown quickly but still be raw inside, so find the optimal temperature that works. - Remove and drain on a paper hand towel.
Chocolate glaze
- Chocolate – Melt chocolate and heavy cream in a microwave-safe bowl or double boiler. Add the light corn syrup and vanilla extract. Combine until it’s smooth and glossy.
Pro tip – The glaze should be a thick pouring consistency. If necessary, add one or two tablespoons or more of cream. - Glaze – Once cooled, dip one side of each donut in the glaze. Let the excess drip well before you place it on the platter.
Pro tip – Hold the donut upside down for a few seconds longer so the excess chocolate drips off completely. Otherwise, once you turn it over, too much excess will drip down, creating messy sides. - Set – Let the chocolate set for a few minutes before you serve.
Pro tip – If you want to add toppings such as sprinkles, nuts, chocolate shavings, or white chocolate drizzle. Now would be a good time when the chocolate is still melted. - Enjoy!
Fried Chocolate Glazed Donuts (yeast-raised)
Homemade donuts are the best thing you can ever make. They require a bit extra work, but definitely worth the effort. These chocolate glazed donuts are yeast-raised then deep-fried. So, they are crisp on the outside and soft and tender on the inside. Also known as chocolate glazed doughnuts, these are a treat in every bite. With my no-fail recipe, I bet you will be making homemade donuts more often.
Video
Ingredients
- 500 g (4 cups) Bread flour or 50% bread and 50% all-purpose flour
- ¼ tsp Nutmeg
- 7 g (1 tsp) Kosher salt
- 250 g (¾ cup) Whole milk warm (110F)
- 100 g (2 large) Eggs
- 30 g (4 tbsp) Sugar
- 7 g (2¼ tsp) Instant dry yeast
- 60 g (4 tbsp) Unsalted butter room temperature
- 1 tsp Vanilla extract
- 4 cups (1 ltr) Vegetable oil for deep frying
- 4 oz (100 g) Chocolate semi-sweet
- ¼ cup (4 tbsp) Whipping cream
- 2 tbsp Light corn syrup
Method
- Dry ingredients – In a bowl, combine flour and salt.500 g Bread flour, 7 g Kosher salt, ¼ tsp Nutmeg
- Wet ingredients – In a large mixing bowl of a stand mixer, with the dough hook attachment, combine warm milk, sugar, yeast, egg, and vanilla extract. Stir to combine.250 g Whole milk, 100 g Eggs, 30 g Sugar, 1 tsp Vanilla extract, 7 g Instant dry yeast
- Wet to dry – Add the flour mixture to the yeast egg mixture and combine on medium-high until all the flour is incorporated. Then, knead on medium speed for 4 to 5 minutes.
- Butter – Add the room temperature butter and continue to knead on medium-low speed for 3 to 4 minutes more until smooth, elastic, and slightly sticky.60 g Unsalted butter
- Bowl – Place the dough in a large greased bowl, cover it with plastic wrap and let rise on the counter for 60 to 90 minutes or until double in volume.
- Cut – Transfer to a well-dusted work surface. Using a rolling pin, roll to about 1/4 inch thickness. Using a 3-inch cookie cutter cut out as many discs as you can. Then use a 1/2-inch cookie cutter to make the center hole. Alternatively, you can also use a donut cutter.
- Tray – Transfer the donuts to a baking tray that has been lined with parchment paper and dusted with flour.
- Proof – Cover with plastic wrap or clean kitchen cloth and let them proof until double in size about 45 to 60 minutes.
- Deep fry – Pour oil into a heavy pot or deep fryer and bring to about 350°F to 360°F(170℃). I like to use my Dutch oven. Cook the donuts on each side for 2 to 3 minutes until golden. Use a slotted spoon to remove the donuts from the oil and drop them on paper towels to absorb excess oil. Tip 1– Ensure you have enough oil so the donuts will be at least half immersed in oil when puffed.Tip 2– You want the oil hot but not too hot. When you drop a donut hole, it should come up in about 30 seconds; if it comes up too soon, it means the oil is too hot. Too slow means the oil is too cold. Adjust accordingly.4 cups Vegetable oil
- Chocolate – Melt chocolate and cream in a microwave-safe bowl or double boiler. Add the light corn syrup and vanilla extract. Combine until it's smooth and glossy.4 oz Chocolate, 1/4 cup Whipping cream, 2 tbsp Light corn syrup
- Glaze – Once cooled, dunk one side of each donut in the glaze. Let the excess drip well before you place it on the platter.
- Set – Let the chocolate set for a few minutes before you serve.
Notes
- Temperature Control: Maintain the temperature of your frying oil at around 350°F (175°C) to ensure that the donuts cook evenly and develop a golden-brown exterior without becoming greasy.
- Proper Dough Handling: Handle the dough gently to prevent overworking, which can result in tough donuts. Use a lightly floured surface and rolling pin to roll out the dough to the desired thickness, then use a donut cutter or biscuit cutter to shape the donuts.
- Allow for Proper Proofing: Allow the shaped donuts to proof in a warm, draft-free environment until they have doubled in size. This step is crucial for achieving light and fluffy donuts with an airy texture.
- Monitor Frying Time: Fry the donuts in batches, being careful not to overcrowd the frying vessel, which can lower the oil temperature and result in soggy donuts. Fry each batch for about 1-2 minutes per side, or until they are golden brown and cooked through.
- Drain Excess Oil: After frying, transfer the donuts to a wire rack set over a baking sheet to drain any excess oil. This helps to prevent them from becoming greasy and ensures a crisp exterior.
- Glaze with Care: Allow the fried donuts to cool slightly before dipping them in the chocolate glaze. This prevents the glaze from melting too quickly and ensures a smooth, even coating. You can also double-dip for a thicker layer of glaze, if desired.
- Enjoy Fresh: Homemade donuts are best enjoyed fresh on the day they are made. Serve them warm for the ultimate indulgence, and watch as they disappear in moments of pure delight!
Equipment you will need

Nutrition
Tried this recipe?
Mention @veenaazmanov_kitchen or tag #veenaazmanovkitchen!More donut recipes
- Creme-filled donuts
- Tiramisu, dulce de leche
- Cinnamon sugar donuts or Cinnamon Sugar Pumpkin Donuts
- Classic Jelly Donuts or Jam Doughnuts


Frequently asked questions
Donuts are best eaten fresh the day they are made. But you can also keep them for a day or two. It is best to keep them in a paper bag rather than plastic, as plastic makes them soggy. You can freeze cooled donuts for months.
Yes, just let the dough rise in the fridge. It will continue to prove, but at a slower pace. Remove it an hour or two before you plan to roll the doughnuts, so it comes to room temperature. And then, roll them and continue with the recipe as usual.
I have tried and tested a recipe with a video for both Cinnamon Sugar Pumpkin Donuts as well as Cinnamon Sugar Donuts. I would highly recommend using that recipe.
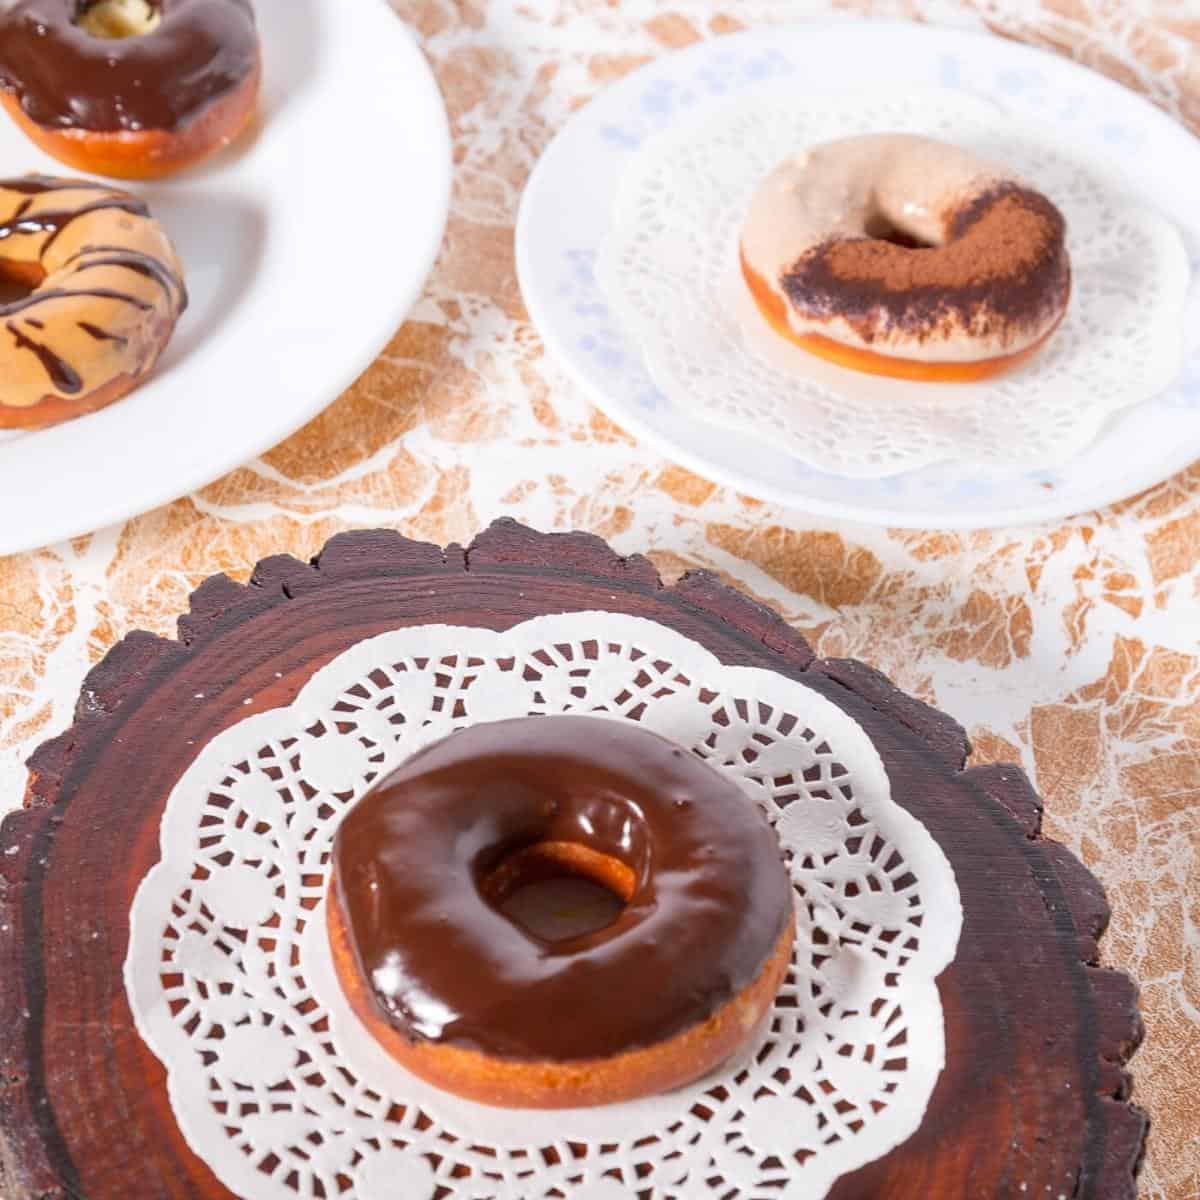
The choices for donut toppings are plenty. Try my Tiramisu glaze, dulce de leche glaze. Of course, you can also make the classic doughnut shapes without holes and fill them instead. Try my strawberry cream, raspberry cream, and tiramisu-filled.
- Dulce De Leche Donuts
- Cream-filled doughnuts – Raspberry, Blackberry, Strawberry
- Mini Pumpkin cake doughnuts
- Twisted Doughnuts
- Sourdough Donuts – 3 Glazes


Don’t lose this recipe! Save it for Later!
📌 Save this Recipe for later on Pinterest so you can easily find it again.
⭐ Add Veena Azmanov Kitchen to your Google Preferred Sources.
It helps Google show you more of our recipes.
📧 Subscribe for new recipes delivered to your inbox.
🎥 Follow us for more recipes


How would you store the donuts in the freezer and for how long?
You can store donuts in freezer-safe bags for up to a month. Thanks
How do you heat up frozen donuts?
Can you make chocolate glazed yeast donut holes? How do you store the donuts and donut holes in the freezer?
can you add Cocoa powder to make chocolate dough ? looking for a good chocolate yeast doughnut recipe
Yes, you can replace some flour with cocoa powder to make chocolate donut dough.
How would you make chocolate glazed fried sourdough donuts?
I will be posting the recipe for sourdough donuts very soon. Thanks
Can I make these fried delights using homemade yeast or sourdough?
Yes, you can use sourdough but the process is slightly different for the dough. I plan to share my recipe for sourdough donuts in the next few days.
How do you degas and delate donut dough?
You just press it down until there are no bubbles visible. If you leave those they tend to become big air pockets on the donut.
How do you delate donut dough?
You just press it down until all the air is gone. Shape into a ball again.
I’m making these right now and my dough seems really dry. I think I need to switch to measuring flour with a scale. Is there anything to correct a dry dough (likely due to user error)? I’m excited for this recipe- thank you for all the tips too!
Yes, Jenna. you can always add a little liquid such as milk, or water to any bread dough to bring it to the right consistency.
Hi veena. I want to try make doughnut. One question i hv is, if i dont hv corn syrup what cn i use instead. And what id i skip this ingriendt. Thank you
Hey Kulsum in this recipe you can substitute corn syrup with honey. Let me know how these were.
I love donuts, they are a serious weakness for me and I have always thought about making homemade ones. These look scrumptious! Thanks for sharing at Merry Monday!
Thank you, Jenny. They are so easy to make at home. Thank you for letting us share with you.