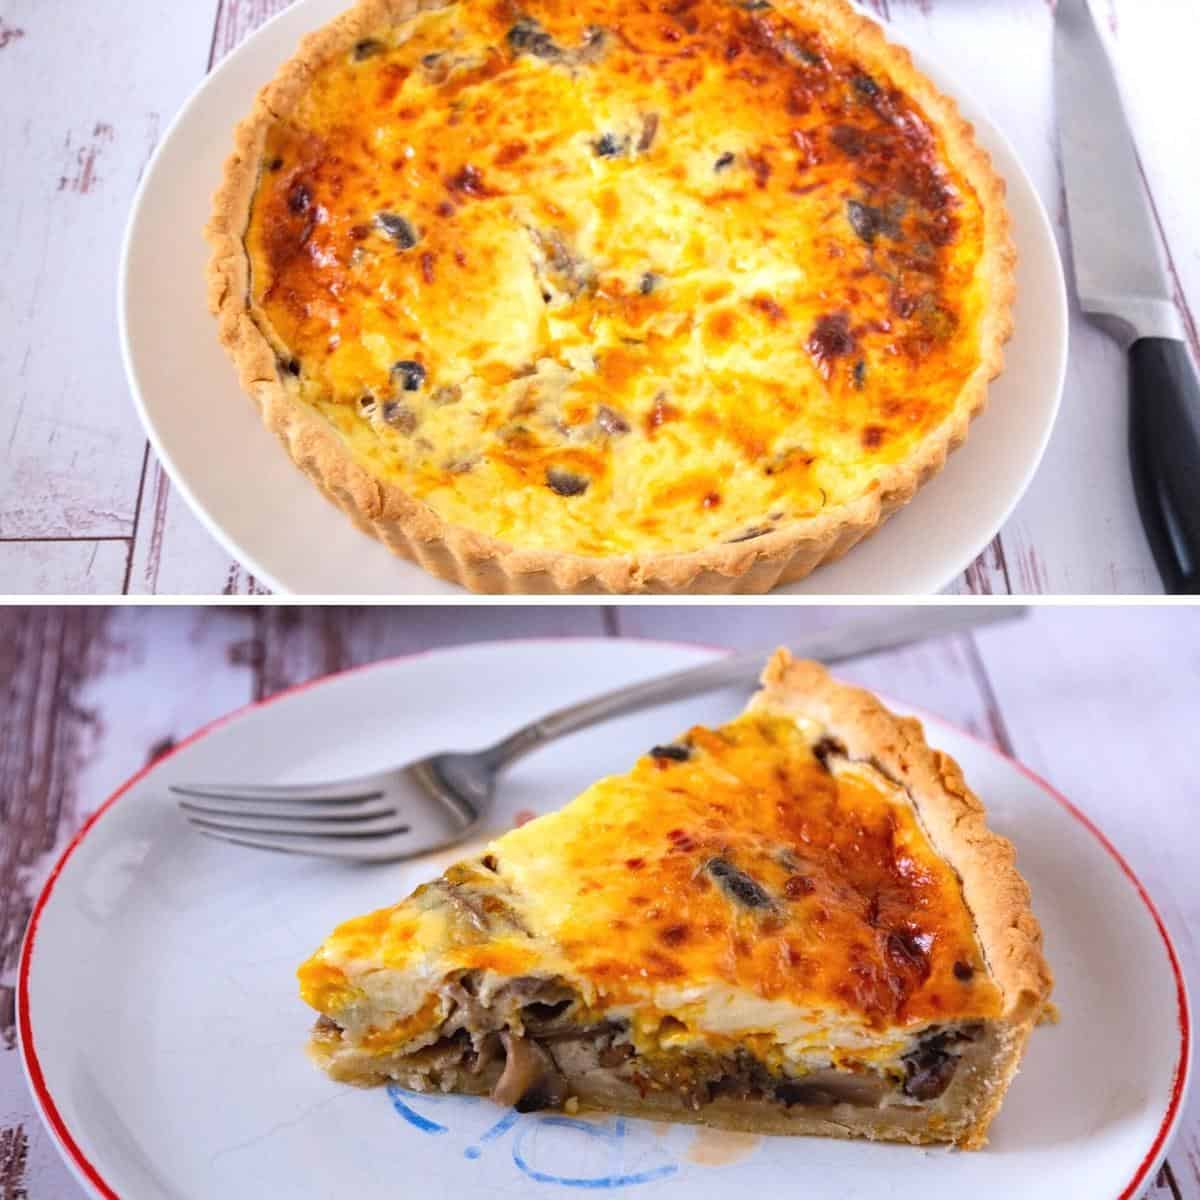
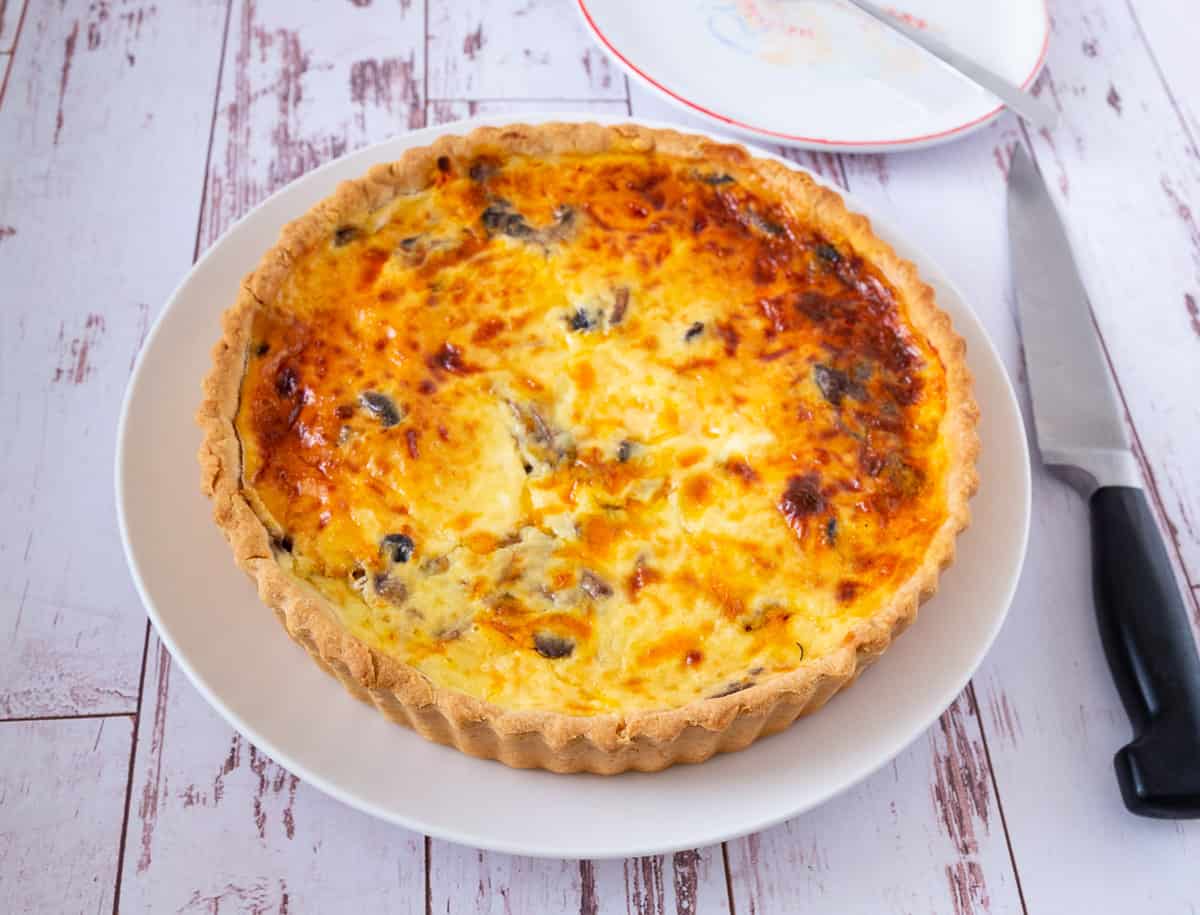
Mushroom Quiche from Scratch


This is the best mushroom quiche recipe, made from scratch using a homemade quiche crust. The filling is soft, creamy, flavored with garlic, onions, and cheese. A perfect make-ahead dish for entertaining, whether it’s breakfast, brunch, lunch, or dinner.

With the number and variety of quiche recipes I have on this blog, it’s fairly obvious that I love quiche. And this mushroom quiche, I must say, is a big family favorite. It has everything everybody in our family loves!!
And while most kids don’t warm up to mushrooms, my kids love mushrooms. In fact, this is Aadi’s favorite quiche.
Why make this quiche?
This quiche is a great make-ahead dish. It’s not just delicious, it’s also quite impressive. Many people need to make the effort to make quiche at home. And yet, if you plan it, you will impress your guests and score some points. There are three components to this mushroom quiche.
- Crust – Today, I am using my homemade quiche crust. But you can also use a pie crust. Alternatively, you can also buy the ready-to-roll store-bought pie crust. And you can also make the crust and store it in the fridge for up to 2 days. Or, freeze it for a month. Alternatively, you can also make a crustless quiche with mushrooms.
- Mushroom filling – This filling is just a simple sauté of mushrooms with onions, garlic, and parsley. This filling can be made up to 3 days in advance and kept in the fridge.
- The custard mixture – This is what gives us a rich, creamy, and delicious quiche. Made with milk, eggs, cream, and cheese, this is best made at the time of assembly, and it takes just 5 minutes.
Ingredients and substitutes
- Mushrooms – I have used white button mushrooms today. And yet, any mushroom would work wonderfully. I think a combination of mushrooms works great, too.
- Cheese – The Parmesan adds a nice nutty flavor. The cheddar, Gruyere, or Emmental adds a nice sharpness to the quiche.
- Onions – I love using onions when sautéing the mushrooms for extra flavor. It does add so much more.
- Garlic – A little goes a long way, and it does add tons of flavor.
- Herbs – I love parsley in my quiches, but fresh cilantro and thyme also work well.

Step-by-step: Easy mushroom quiche from scratch
Quiche crust
- In a food processor, add the flour, salt, and chilled cubed butter. Pulse for 30 seconds until it resembles coarse bread crumb consistency.
Pro tip – You can also do this in a bowl using a pastry blender or fork to cut the butter into the flour. It should look like a crumbly flour-butter mixture. - Combine the egg with cold water and add it to the mixture. Pulse or combine for an additional 30 seconds.
Pro tip – The mixture will still be crumbly, but when you squeeze it with your fingers, it will shape into a dough. So, don’t overmix or pulse too much. - Next, pour the mixture onto a work surface. Bring all the crumbs together and shape them into a ball. Then, flatten into a disc. Wrap in plastic wrap and chill for 20 to 30 minutes or until firm enough to roll.
Pro tip – If you flatten it into a larger disc, it will chill faster, and you will have to wait for much less time.

Roll and bake
- Once firm, roll the dough with a rolling pin onto a lightly floured surface. Use your 9-inch quiche pan or tart pan, or a 1-inch deep dish pie pan, as a guide to determine how big you need it. Gently fit it into the pie pan. Remove the excess dough and neaten the edges. Chill the quiche crust in the fridge for 15 minutes up to 48 hours.
Pro tip – If the dough cracks too much, it means that it’s too cold. Let it sit at room temperature for 5 to 7 minutes. - Preheat the oven to 400°F (200°C) or Gas Mark 6.
Pro tip – It is essential that the oven is heated to the optimal temperature. Otherwise, the crust can shrink when baking. - Next, dock the chilled pastry all over with a fork to prevent the pastry from puffing up. Line the pie with parchment paper. Then, fill the center with pie weights or baking beans.
Pro tip – This is called blind baking the crust. We do this so that the pastry will be partially cooked before we add the filling. The result is a much flakier pastry. - Bake for 15 minutes. Then, remove the pie weights and parchment paper. Set aside until you are ready to fill and bake.
Pro tip – The crust is very delicate, so do not remove it from the pan. You must continue baking it in the pan with the filling.

Mushrooms filling
- Wipe the mushrooms with a clean kitchen towel and chop them into thin slices.
Pro tip – We cut the mushrooms into thin slices so they cook down and don’t become too bulky in the quiche. - Heat oil in a large skillet over medium heat. Sauté the onions and garlic for 1 minute, until the onions are translucent.
- Add the chopped mushroom stalks and sauté for an additional minute. Next, add the sliced mushrooms. Season with salt and pepper.
- Cook the mushrooms on medium-high heat for about 7 to 8 minutes, until all the water is evaporated. Remove from heat and let cool. Add the parsley and set it aside.
Pro tip – You can prepare the mushroom filling a day ahead and keep it in the fridge until you are ready to bake the quiche.

Custard mixture
- In a mixing bowl, pour the milk and cream, and stir to combine. Add the eggs and whisk well to combine. Season with salt, pepper, and nutmeg. Set it aside.
Assemble
- Reduce the oven temperature to 350°F/177 °C/Gas Mark 3.
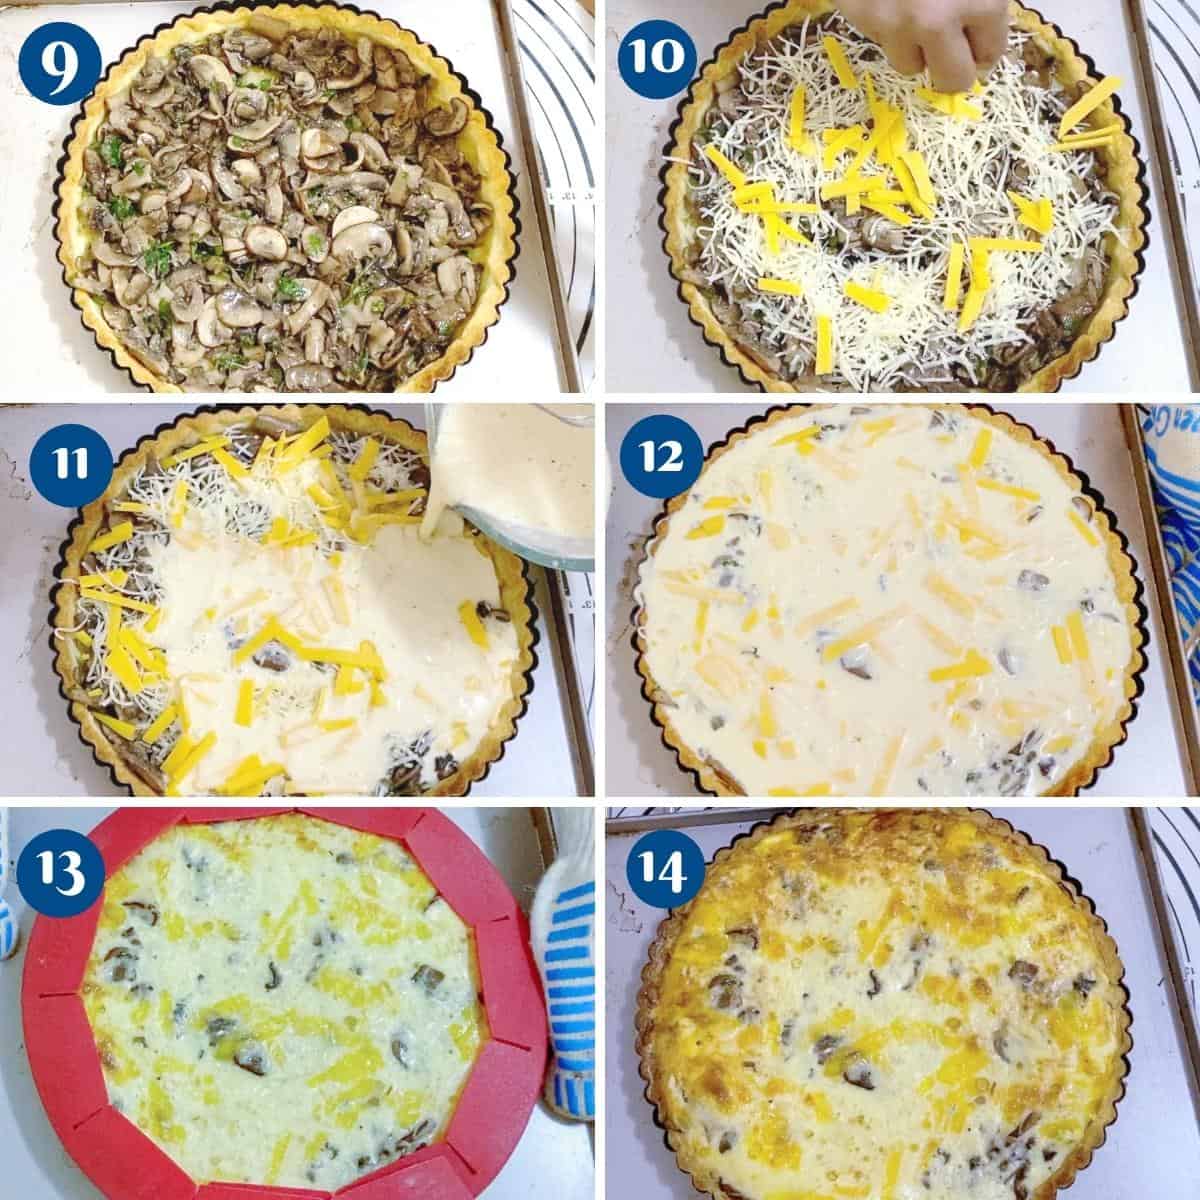
- Sprinkle 1/4 cup cheese into the bottom of the pre-baked pastry shell. Followed by the mushroom filling and the remaining cheese on top.
Pro tip – I do not add the mushroom filling to the custard, as it tends to change the color of the custard. I like my custard to be a nice bright color. - Gently pour the egg mixture over, making sure to let the custard settle in slowly. Use a spatula to move the mushroom aside so the custard seeps to the bottom.
Pro tip – The custard mixture must seep under the mushrooms, or the bottom of the quiche will be dry. - Bake for another 35 to 40 minutes or until the quiche looks set. The top will have a slight color but must not get too dark. The center might still be a bit wobbly, but that will settle with the residual heat.
- When baking, if the edges of the crust get too dark, tent the edges with aluminum foil or a pie shield.
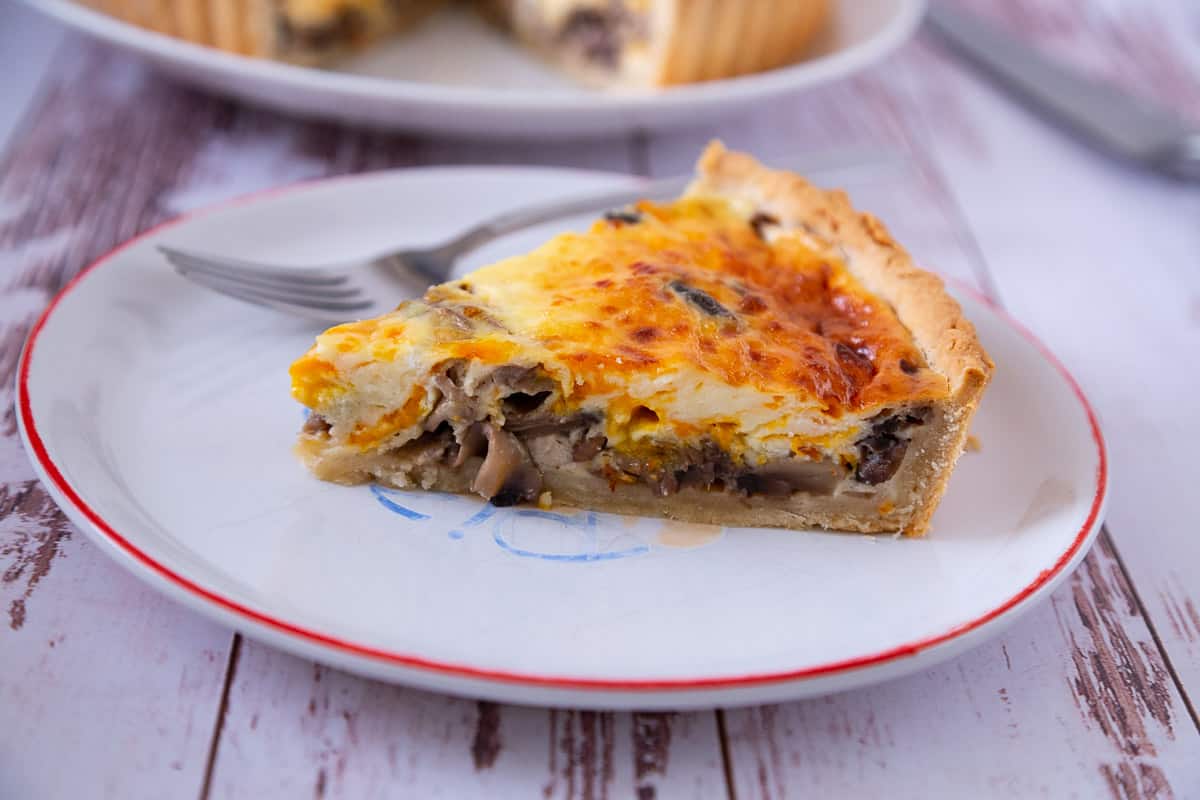
Pro tip – Make sure your cover just the edges of the tart. Otherwise, you’ll have a very pale quiche. A light golden color gives it a visual appeal. - Let it cool for at least 10 minutes before slicing.
Storage
- Once baked, let the quiche rest for at least 10 minutes before serving.
- Leftover overs will keep in the fridge for 3 to 4 days. Store leftover quiche wrapped tightly in plastic wrap to prevent it from drying out.
- This quiche can be frozen for up to a month and baked from frozen at 350°F (177 °C, Gas Mark 4) for about 20-30 minutes. If necessary, tent with foil to prevent the crust from getting too brown.
The BEST Mushroom Quiche
This is the BEST mushroom quiche recipe made from scratch using homemade quiche crust. The filling is soft, creamy, flavored with garlic, onions, and cheese. A perfect make-ahead dish for entertaining, whether it's breakfast, brunch, lunch, or dinner.
Video
Ingredients
- 1 ½ cup (190 g) All purpose flour
- 4 oz (113 g) Butter chilled, cubed
- ½ tsp Salt
- ½ Egg
- 2 tbsp Chilled water / Ice water
- 1 lb (500 g) Mushrooms
- 2 tbsp Olive oil
- 1 (½ cup) Onion chopped finely
- 1 clove (½ tsp) Garlic minced
- ½ cup Parsley finely chopped
- 1/4¼ tsp Salt or to taste
- ¼ tsp Pepper
- ½ cup (120 ml) Cream
- ½ cup (120 ml) Milk
- 3 large Eggs
- 2 tbsp Flour All-purpose or gluten free
- 2 tbsp (30 g) Parmesan cheese
- 4 oz (113 g) Cheese Gruyere or Emmantel, grated
- ¼ tsp Kosher salt or to taste
- ¼ tsp Black pepper
- 1 pinch Nutmeg optional
Method
- In a food processor, add the flour, salt, and chilled cubed butter. Pulse for 30 seconds until it resembles coarse bread crumb consistency.
- Combine the egg with cold water and add it to the mixture. Pulse or combine for 30 seconds more.
- Pour the mixture onto a work surface. Bring all the crumbs together and shape them into a ball. Then flatten into a disc. Wrap in plastic wrap and chill for 20 to 30 minutes or until firm enough to roll.
- Once firm, roll the dough with a rolling pin onto a lightly floured surface. Use your quiche pan/ tart pan (or 1-inch deep pie dish) as a guide to know how big you need it. Gently fit it into the pie pan. Remove the excess dough and neaten the edges. Chill the quiche crust in the fridge for 15 minutes up to 48 hours.
- Preheat the oven to 400°F / 200°C/ Gas Mark 6.
- Dock the chilled pastry all over with a fork to prevent the pastry from puffing up. Line the pie with parchment paper. Then, fill the center with pie weights or baking beans.
- Bake for 15 minutes. Then, remove the pie weights and parchment paper. Set aside until you are ready to fill and bake.
- Wipe the mushrooms with a clean kitchen towel and chop them into thin slices.
- Heat oil in a skillet over medium heat. Saute the onions and garlic for one minute until the onions are translucent.
- Add the chopped mushroom stalks – saute a minute more. Next, add the sliced mushrooms. Season with salt and pepper.
- Cook the mushroom on medium-high heat for about 7 to 8 minutes until all the water is evaporated. Remove from heat and let cool. Add the parsley and set it aside.
- In a mixing bowl, pour the milk and cream, and stir to combine. Add the eggs and flour. Whisk well to combine. Season with salt, pepper, and nutmeg. Set it aside.
- Reduce oven temperature to 350°F/ 177°C / Gas Mark 4.
- Sprinkle 1/4 cup cheese into the bottom of the pre-baked pastry shell. Followed by the mushroom filling and the remaining cheese on top.
- Gently pour the egg mixture over, making sure to let the custard settle in slowly. Use a spatula to move the mushroom aside so the custard seeps to the bottom.
- Bake for another 35 to 40 minutes or until the quiche looks set. The top will have a slight color but must not get too dark. The center might still be a bit wobbly, but that will set with the residual heat.
- When baking, if the edges of the crust get too dark, tent the edges with aluminum foil or a pie shield.
- Let cool for at least 10 minutes before you slice.
Notes
- You can either buy a ready-to-use pie crust, which is available in most supermarkets. You can also make your own quiche crust or pie crust from scratch.
- If possible, get a combination of different types of mushrooms. This enhances the taste of the quiche.
- When sautéing the mushrooms, it is important that all the excess liquid is evaporated. Excess liquid will make a very soggy crust.
- The filling can be made up to 3 days in advance. It can also be frozen for up to a month in the freezer.
- The custard mixture makes a rich, creamy, and delicious quiche. Use full-fat milk and cream along with eggs.
- The amount of custard made in this recipe is just right for a 9-inch quiche pan. If the crust is too thick, there will be less space for the filling, resulting in leftover custard mixture.
- The cheese can be substituted with your favorite variety. You can even use mozzarella, which makes it very cheesy.
- Many recipes don’t call for pre-baking the pie crust. But honestly, the crust does taste better when pre-baked. It’s crisper and melts in the mouth rather than being chewy. If you pre-bake the crust for 12 to 15 minutes and let it cool for 10 minutes before adding the rest and baking it further, you will love the result.
- You can store any leftover quiche wrapped well in the fridge. You can also heat it in the microwave, but the crust tends to get soggy. This is okay for the remaining few slices. If I have a large piece of quiche left over, I prefer to heat it in the microwave for a minute, then place it in a hot oven for 8 to 10 minutes, until the crust is crisp again.
Frozen quiche can be baked in the oven from frozen for about 45 minutes to an hour at 350°F/ 177°C / Gas Mark 4
Storage
- Once baked, let the quiche rest for at least 10 minutes before serving.
- Leftover overs will keep in the fridge for 3 to 4 days. Store leftover quiche wrapped tightly in plastic wrap to prevent it from drying out.
- This quiche can be frozen for a month and baked from frozen at 350°F (177 °C, Gas Mark 4) for about 20-30 minutes. If necessary, tent with foil to prevent the crust from getting too brown.
Equipment you will need


Nutrition
Tried this recipe?
Mention @veenaazmanov_kitchen or tag #veenaazmanovkitchen!more quiche recipes
- Quiche Lorraine Recipe
- Crustless Mushroom Quiche
- Chicken with mushroom sauce
- Crustless Mushroom Quiche
- Leek Asparagus Quiche
- 13+ Slow Cooker and Stew Recipes


Frequently asked questions
Most quiches, including this one, can be made a day or two ahead of time and kept in the refrigerator. Alternatively, you can make the different components, such as pie crust, mushroom filling, and custard filling, and keep them in the fridge. On the day or morning, an hour or two before brunch, assemble the quiche and bake it fresh. It is impressive to bring a freshly baked quiche out of the oven in front of guests.
I usually serve all my quiches warm because I don’t like fridge-cold quiche. And yet, oven-hot quiche won’t make impressive wedges either. As a guide, I let the quiche cool for about half an hour before serving. The egg mixture cools just enough so it cuts into beautiful and impressive servings.
Freezing quiche is a great way to save a make-ahead meal. A quiche is made of crust and filling, both of which need different cooking times. So, I prefer to bake the quiche first, then freeze it. Wrap well in double plastic wrap to prevent freezer burns. Thaw in the fridge overnight for best results.
It’s best to partially bake the crust and cook the filling separately. This way, everything cooks at the same time when you assemble it. Once assembled, the quiche should take between 30 and 40 minutes to set.
more quiche recipes
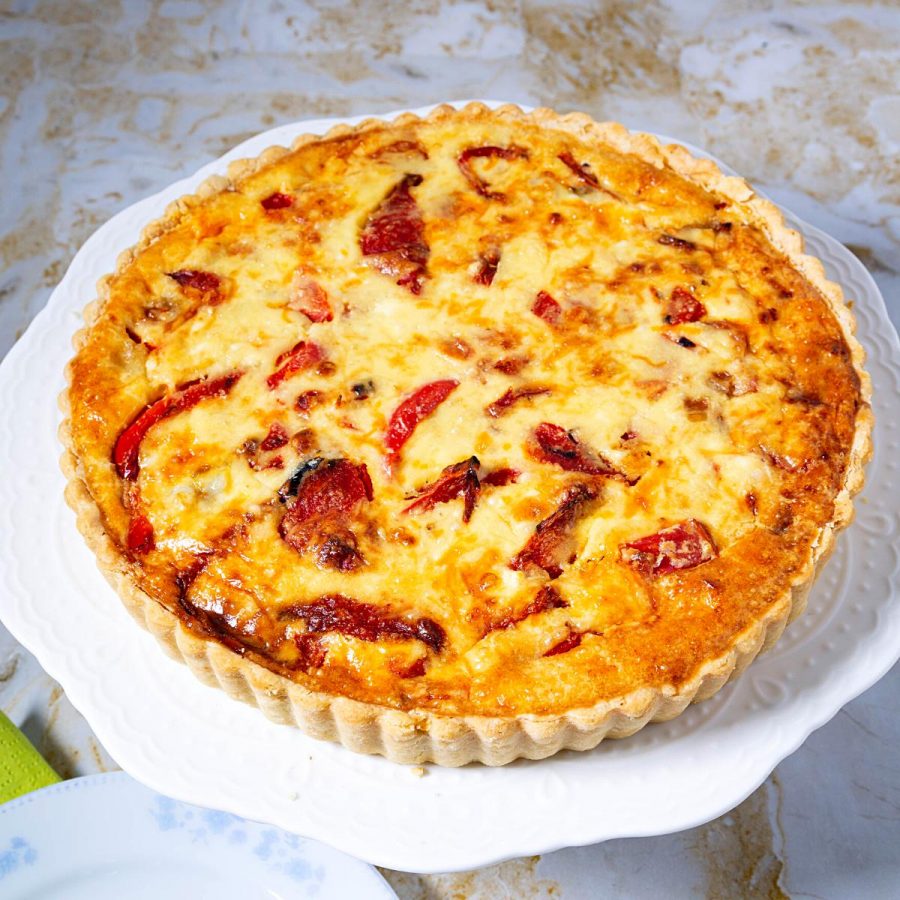
- Caramelized Onions Roasted Red Peppers Quiche
- How to Make Quiche From Scratch
- Quiche Crust Recipe From Scratch
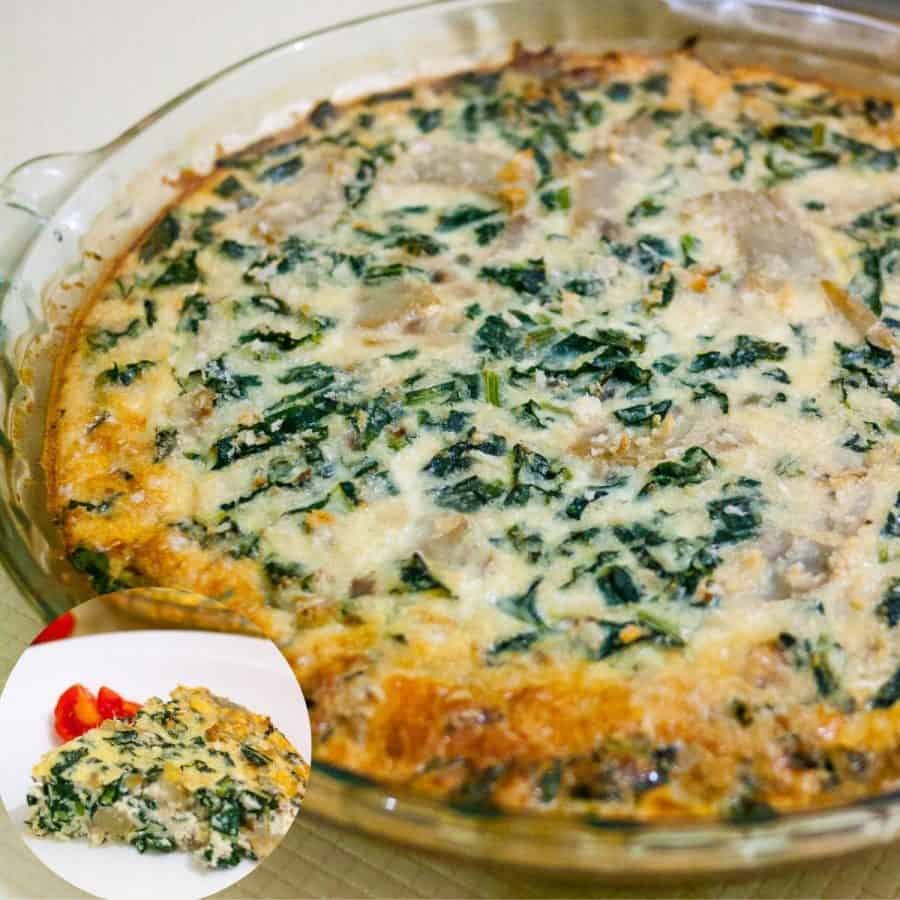
- Spinach Quiche with Goat Cheese
- Easy Muhammara Recipe
- Mini Sausage Rolls


Don’t lose this recipe! Save it for Later!
📌 Save this Recipe for later on Pinterest so you can easily find it again.
⭐ Add Veena Azmanov Kitchen to your Google Preferred Sources.
It helps Google show you more of our recipes.
📧 Subscribe for new recipes delivered to your inbox.
🎥 Follow us for more recipes


Excellent recipe turned out very well
This quiche is delicious! I’ve made it 4 times now and all have enjoyed it! Great recipe! Thank you
Thank you so much for the lovely feedback, Claire.
Loved the recipe for Mushroom Quiche! The soft, creamy, and eye-soothing look can easily steal the show. I am not a fan of olive oil. Can I use ghee butter instead? I think ghee will also help in safe baking due to its high smoke point.
Yes, you can use chilled ghee instead of butter.
When you bake from frozen at 350 is it for 20-30 minutes or 45 to 60 minutes?
When baking from frozen it will take longer usually about 50 to 55 mins
Best quiche ever
Thank you so much for the lovely feedback, M.
I do not see where you. add the gruyere or mozzarella cheeses!
I assumed they are blended in with the egg mixture. Please explain.
Barbara – you can add the cheeses over the mushrooms and then pour the eggs or pour the eggs and then add the cheese as I have. Both work well.
Could you tell me when you add the 1/2 cup herbs you have listed with the mushroom filling? And what herbs do you usually add Thanks
As soon as you take it out of the stovetop, Gail. Thanks