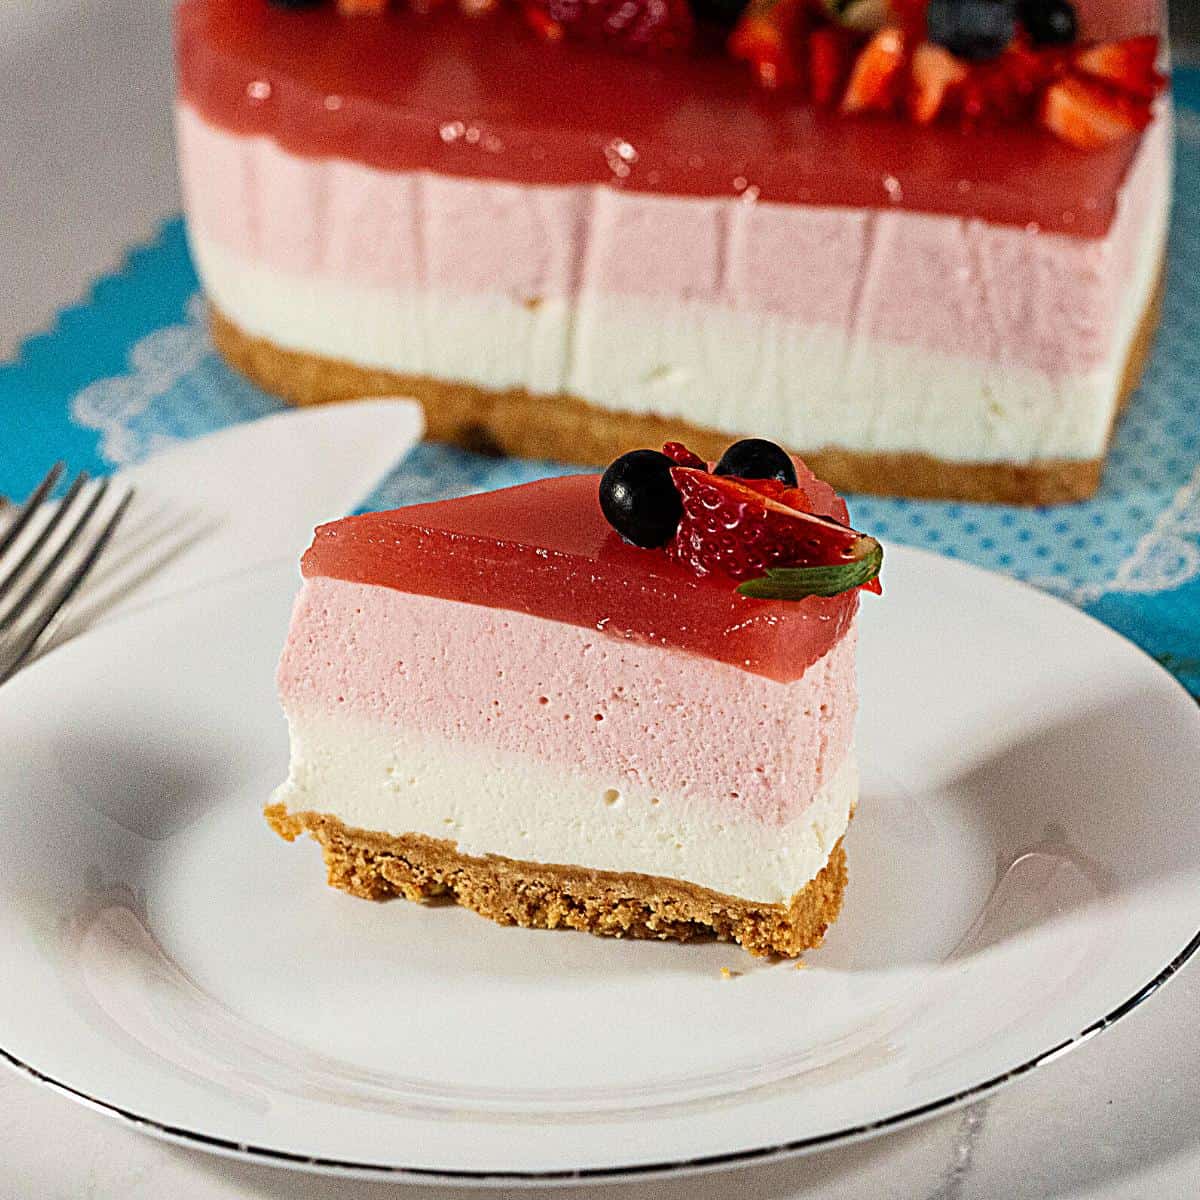
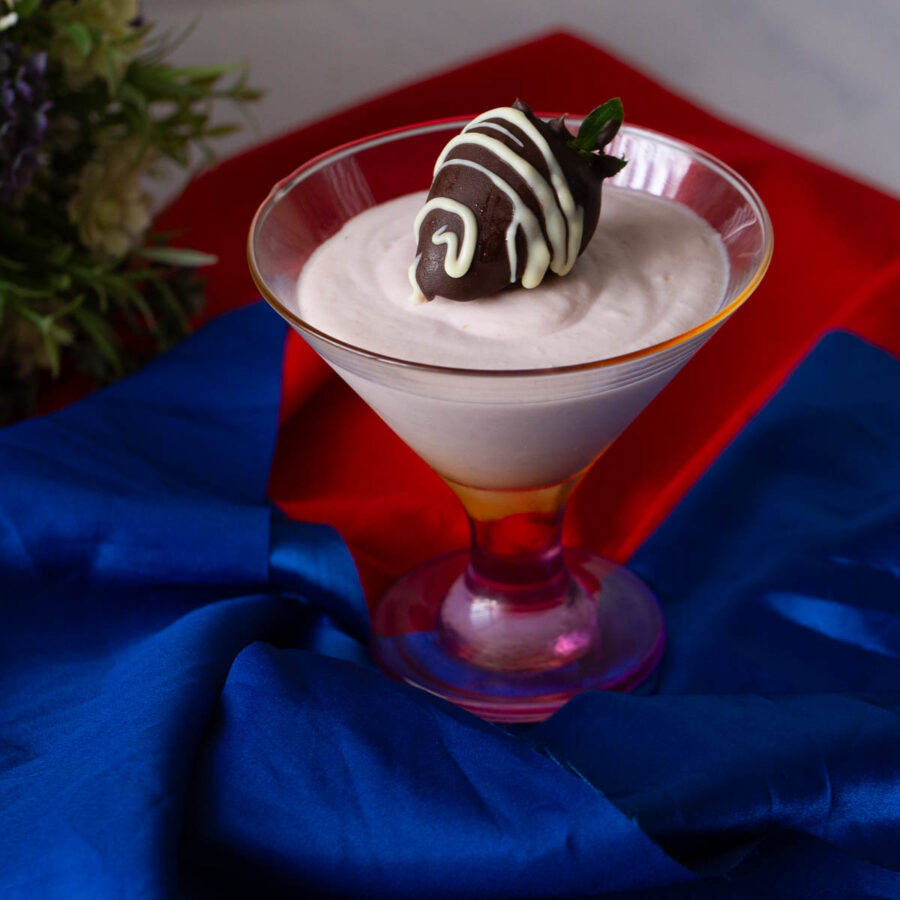
Strawberry Cream Cheese Mousse


Fresh strawberries and cream cheese are a classic combination. And these sweet-and-sour flavors work well in this delicious strawberry cream cheese mousse heart dessert. The perfect Valentine’s Day cake.

This romantic strawberry heart cake is perfect for Valentine’s Day or a special birthday celebration. It doesn’t have to be heart-shaped, but it is delicious.
Why make this dessert
- This is a no-bake dessert. Therefore, no turning on the oven.
- In addition, most of the ingredients in this dessert are simple pantry staples or easy to find.
- Also, the process does not take long, but there is a few minutes of waiting between each step.
- I am making a heart shape, but you can also make a circle or square shape.
Ingredients and substitutes
- Strawberries—I am using fresh, but frozen works just as well. Of course, you can use other berries, such as raspberries, blackberries, blueberries, or a combination of them.
- Sour cream – Adds a nice touch of tang to the sweetness of the cream cheese and heavy cream.
- Cream cheese – I am using full-fat 38% mascarpone or Philadelphia cream cheese. While the gelatin will set the low-fat cream cheese, I highly recommend no less than 32% fat for richness.
- Sugar – I use white sugar, and I don’t use too much.

Step-by-step: Valentine’s Day Cake
Cookie base
- Pan – Line the base of an 8-inch heart-shaped pan with parchment paper and the sides with parchment paper or dessert sleeves.
Pro tip – I used a 7-inch heart ring for height, but you can also use the round or square pan for this dessert.
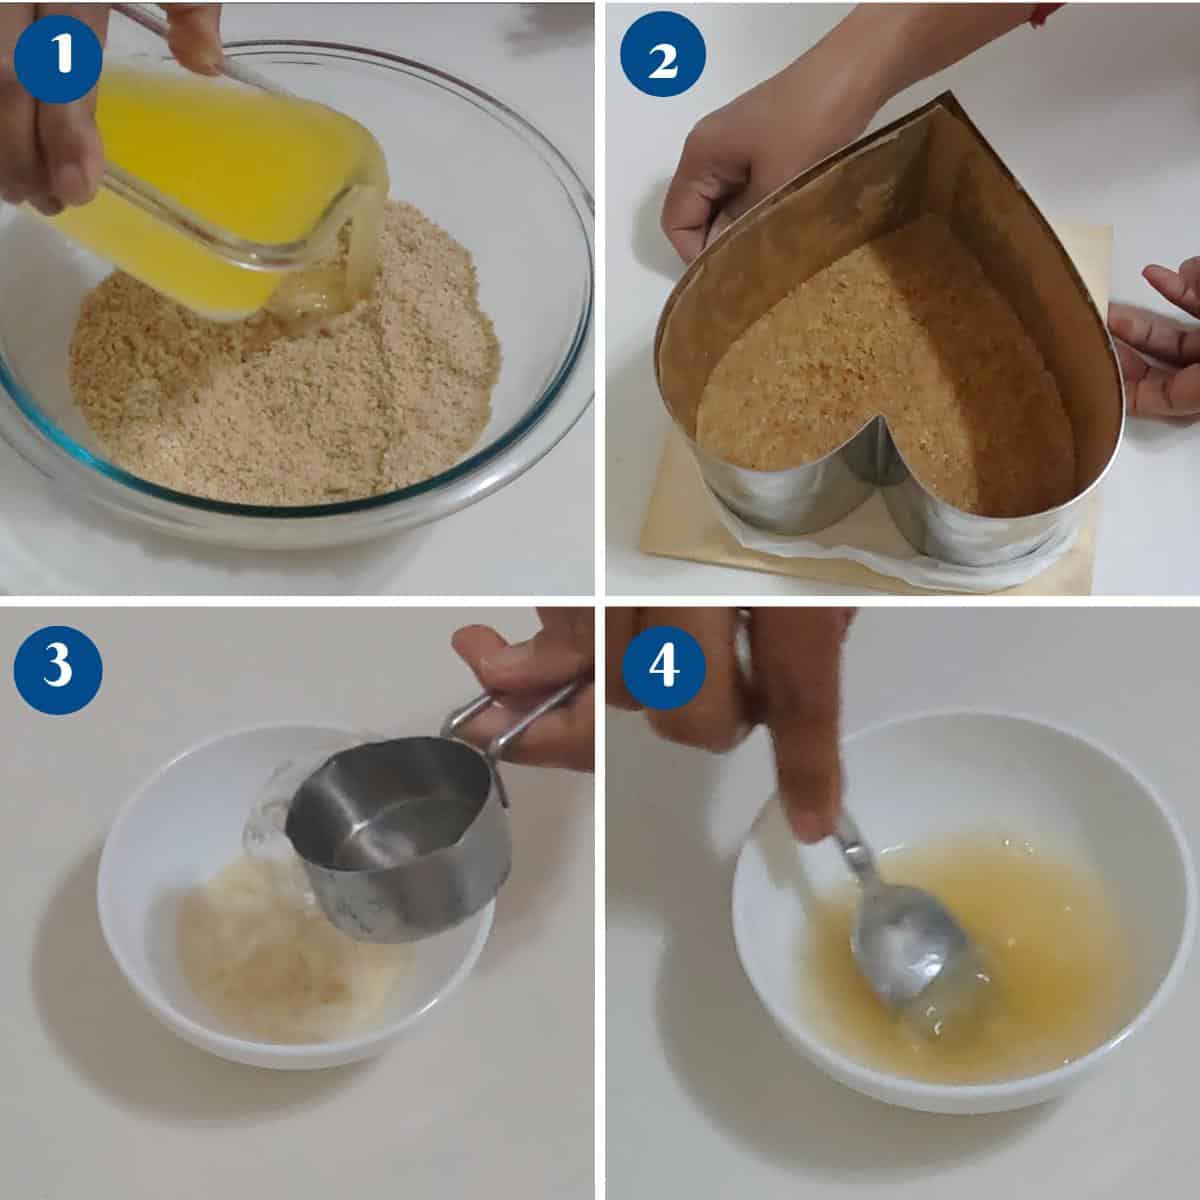
- Process – In a bowl of a food processor, process the cookies until you have a bread consistency. Next, in a small bowl, combine the cookie crumbs and melted butter.
- Press – Pour the crumbs into the base of the prepared baking pan. Then, press down with the bottom of a tall glass or measuring cup. Press firmly and chill in the fridge for 10 minutes.

White layer
- Combine – In the bowl of a stand mixer with the whisk attachment, combine the cream cheese, sour cream, sugar, and heavy cream until you have very soft peaks.
Pro tip – The mixture has to be a pouring consistency so it flows into the pan and sets without air pockets. - Gelatin – In a small microwave-safe bowl, soak the gelatin in water. Heat at 50% power until completely dissolved. Next, add 2 tbsp of the cream mixture to the gelatin to temper it. Then, return it to the bowl and combine well, but do not over-mix.
Pro tip – Overmixing will create gelatin threads. - Chill – Pour the white mixture over the chilled cookie crust. Tap to help it settle down. Then, transfer to the freezer for 10 minutes or to the fridge for 30 minutes.

Strawberry layer
- Combine – In the bowl of a stand mixer with the whisk attachment, combine the cream cheese, sour cream, sugar, and heavy cream until you have soft peaks. Then, add the strawberry puree and combine well.
Pro tip – The mixture has to be a pouring consistency so it flows into the pan and sets without air pockets.
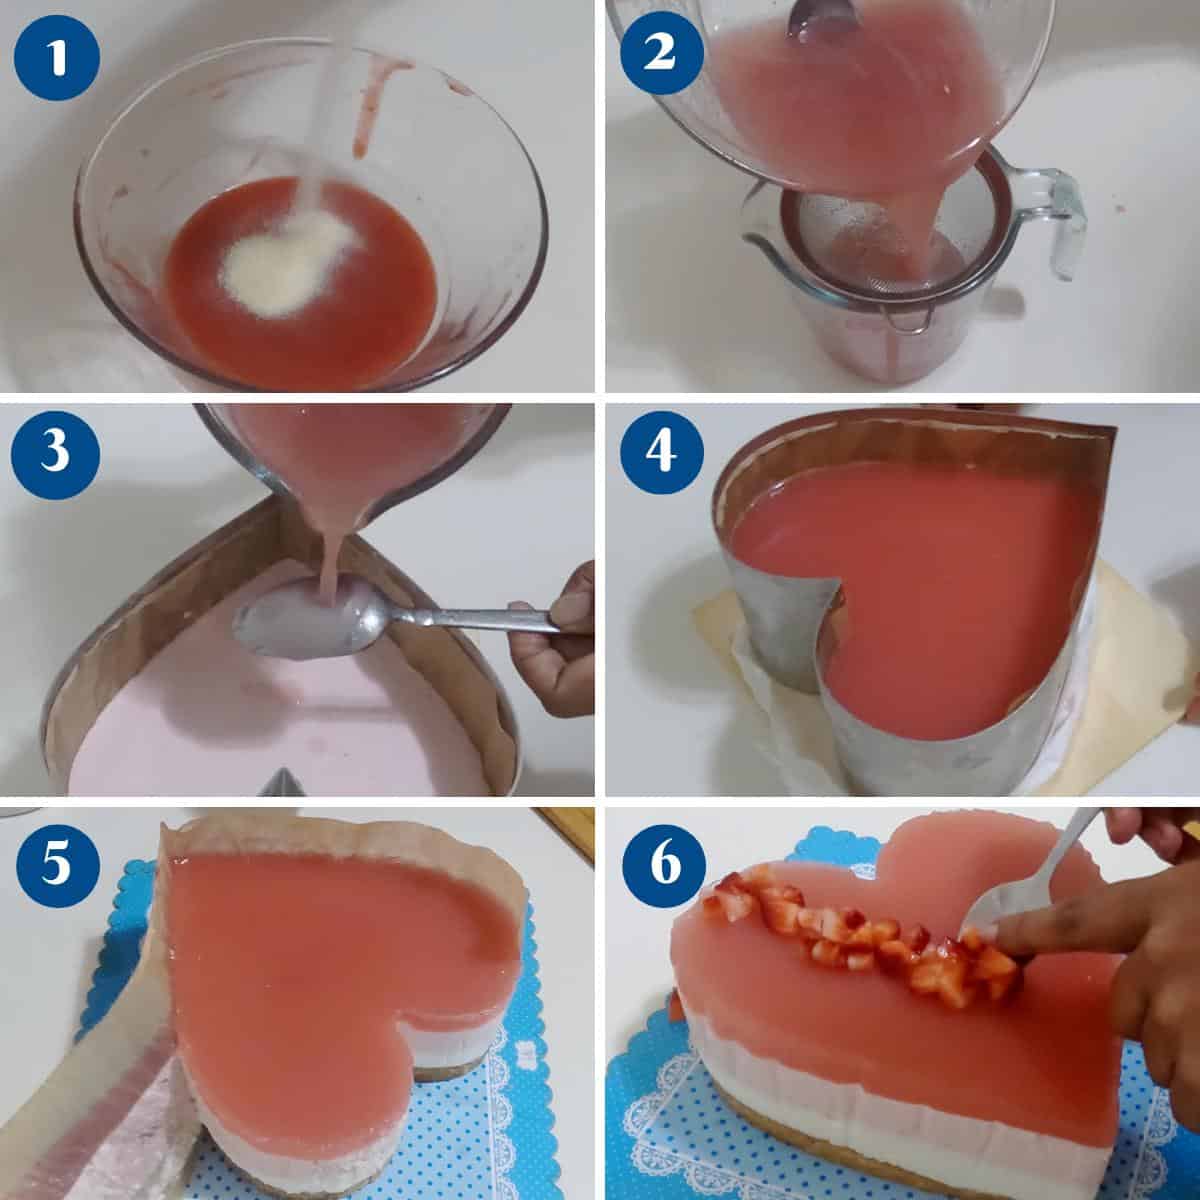
- Gelatin – In a small microwave-safe bowl, soak the gelatin in water. Heat at 50% power until completely dissolved. Next, add 2 tbsp of the strawberry cream mixture to the gelatin to temper it. Then, return it to the bowl and combine well, but do not over-mix.
Pro tip – Overmixing will create gelatin threads. - Chill – Pour the pink mixture over the chilled white layer. Tap to help it settle down. Then, transfer to the freezer for 10 minutes or to the fridge for 30 minutes.
Strawberry Jell-O layer
- Dissolve – In a microwave-safe bowl or saucepan, over medium-low heat, combine the strawberry puree and gelatin. Next, add the water and sugar. Heat until the sugar and gelatin are dissolved. Then, cool to barely warm.
- Top—Pour the mixture over the chilled pink layer using the back of a spoon. Then, transfer to the fridge to chill for 3 hours or overnight.


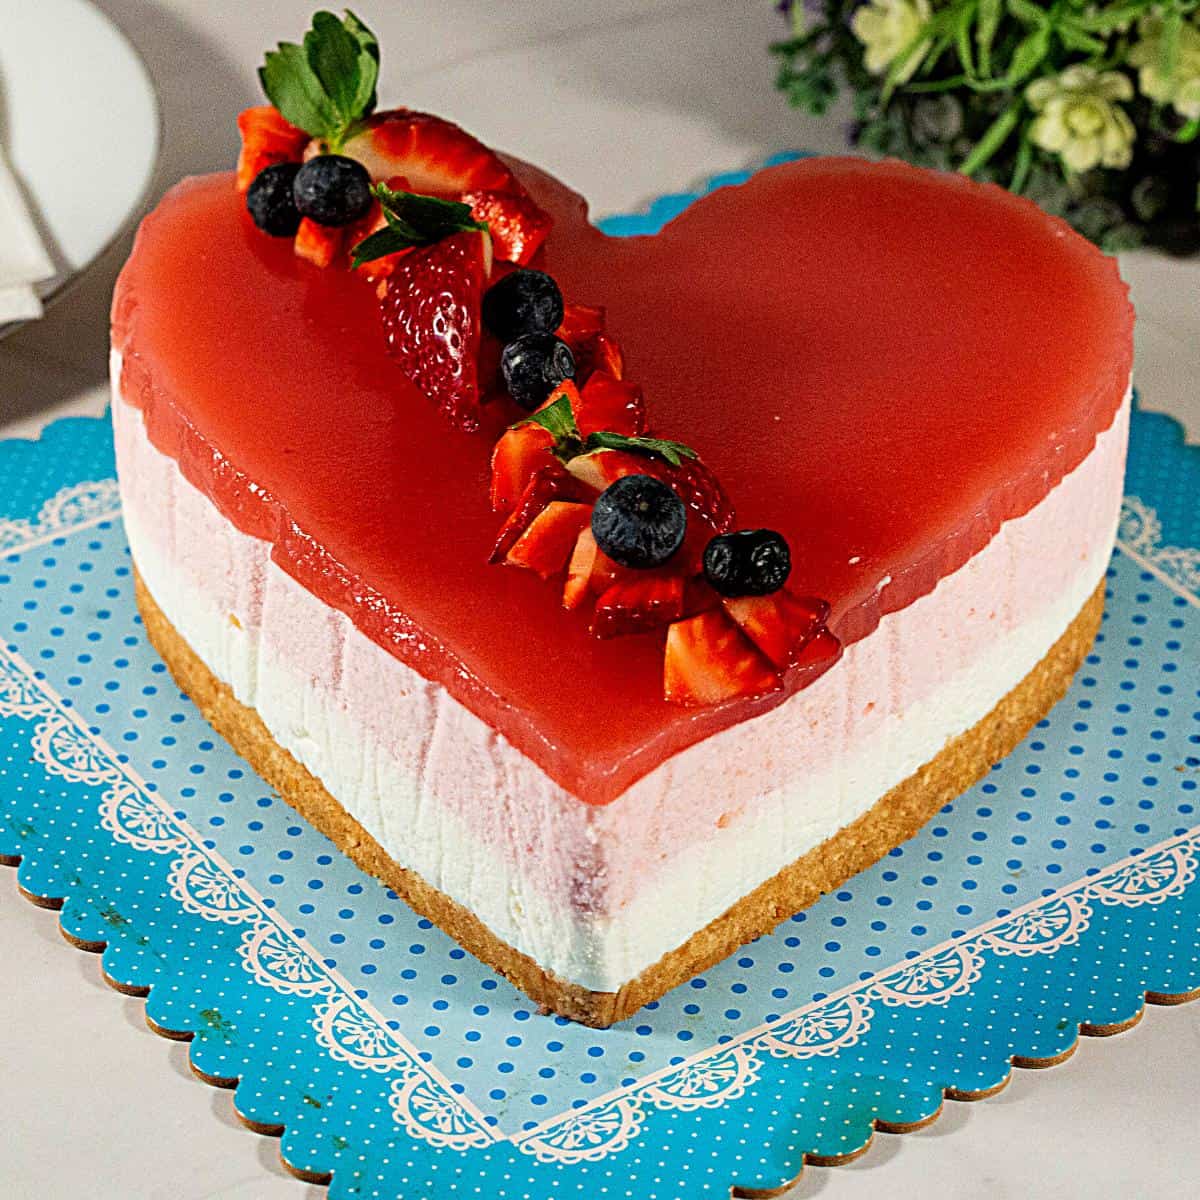
Valentine’s Day Cake
Fresh strawberries and cream cheese are a classic combination. And these sweet-and-sour flavors work well in this delicious strawberry cream cheese mousse heart dessert. The perfect Valentine's day cake.
Video
Ingredients
- 2 cups (200 g) Graham crackers
- ⅓ cup (60 g) Melted butter
- ½ cup (113 g) Cream cheese
- ½ cup (113 g) Sour cream
- 2 tbsp Sugar
- 1 tbsp Lemon juice
- ½ cup (120 g) Heavy cream 38% fat
- 5 g (1.25 tsp) Gelatin powder
- ¼ cup (60 ml) Water
- ½ cup (113 g) Cream cheese
- ½ cup (113 g) Sour cream
- 2 tbsp Sugar
- 1 tbsp Lemon juice
- ½ cup (120 g) Heavy cream
- ½ cup (125 g) Strawberry puree
- 5 g (1¼ tsp) Gelatin
- ¼ cup (60 ml) Water
- ½ cup (116 g) Strawberry puree
- ¼ cup (50 g) Sugar
- 1 cup (240 ml) Water
- 4 g (1 tsp) Gelatin
Method
- Pan – Line the base of an 8-inch heart-shaped pan with parchment paper and the sides with parchment paper or dessert sleeves. Pro tip – I used a 7-inch heart ring for height but you can also use the round or square pan for this dessert.
- Process – In a bowl of a food processor, process the cookies until you have bread consistency. In a small bowl, combine the cookie crumbs and melted butter.2 cups Graham crackers, ⅓ cup Melted butter
- Press – Pour the crumbs into the base of the prepared baking pan. Then, press down with the bottom of a tall glass or measuring cup. Press firmly and chill in the fridge for 10 minutes.
- Combine – In the bowl of a stand mixer with the whisk attachment, combine the cream cheese, sour cream, sugar, and heavy cream until you have very soft peaks. Pro tip – The mixture has to be pouring consistency so it flows into the pan and sets without air pockets.½ cup Cream cheese, ½ cup Sour cream, 2 tbsp Sugar, 1 tbsp Lemon juice, ½ cup Heavy cream
- Gelatin – In a small microwave-safe bowl, soak the gelatin in water. Heat at 50% power until completely dissolved. Next, add 2 tbsp of the cream mixture to the gelatin to temper it. Then, return it back to the bowl and combine well but do not over mix. Pro tip – Overmixing will create gelatin threads.5 g Gelatin powder, ¼ cup Water
- Chill – Pour the white mixture over the chilled cookie crust. Tap to help it settle down. Then, transfer to the freeze for 10 minutes or into the fridge for 30 minutes.
- Combine – In the bowl of a stand mixer with the whisk attachment, combine the cream cheese, sour cream, sugar, and heavy cream until you have soft peaks. Add the strawberry puree and combine well. Pro tip – The mixture has to be pouring consistency so it flows into the pan and sets without air pockets.½ cup Cream cheese, ½ cup Sour cream, 2 tbsp Sugar, 1 tbsp Lemon juice , ½ cup Heavy cream , ½ cup Strawberry puree
- Gelatin – In a small microwave-safe bowl, soak the gelatin in water. Heat at 50% power until completely dissolved. Next, add 2 tbsp of the strawberry cream mixture to the gelatin to temper it. Then, return it back to the bowl and combine well but do not over mix. Pro tip – Overmixing will create gelatin threads.5 g Gelatin, ¼ cup Water
- Chill – Pour the pink mixture over the chilled white layer. Tap to help it settle down. Transfer to the freeze for 10 minutes or into the fridge for 30 minutes.
- Dissolve – In a microwave-safe bowl or saucepan, over medium-low heat, combine, the strawberry puree and gelatin. Add the water and sugar. Heat until the sugar and gelatin are dissolved. Then, cool to barely warm.½ cup Strawberry puree, ¼ cup Sugar, 1 cup Water, 4 g Gelatin
- Top – Pour the mixture over the chilled pink layer over the back of a spoon. Transfer to the fridge to chill for 3 hours up to overnight.
Notes
- Chilled Ingredients: Make sure that the cream cheese, heavy cream, and other dairy ingredients are well chilled before starting. Cold ingredients tend to whip up better and create a smoother mousse.
- Room Temperature Cream Cheese: While the dairy should be cold, it’s important that the cream cheese is at room temperature. This will help prevent lumps in your mousse.
- Straining Strawberry Puree: Straining the strawberry puree is crucial to remove seeds, which can negatively affect the texture of your mousse.
- Whip Cream Properly: When whipping the heavy cream, be careful not to over-whip it. Stop whipping as soon as stiff peaks form. Over-whipped cream can become grainy.
- Layering Carefully: When layering the mousse, use a spatula or the back of a spoon to gently spread each layer. Be delicate to avoid mixing the layers together.
- Chill Between Layers: It’s a good idea to chill the cake in the fridge for about 30 minutes between adding each mousse layer. This helps them set and maintain their distinct layers.
- Allow Time to Set: Once you’ve added the strawberry jelly topping, let the cake chill in the refrigerator for several hours or overnight. This ensures that all the layers set properly and the flavors meld together.
- Smooth the Jelly: After pouring the strawberry jelly topping, gently tilt the pan to spread it evenly over the top. You can also use a spatula to help smooth it out.
- Decoration: Get creative with your decoration. Consider garnishing the cake with fresh strawberries, whipped cream, or chocolate shavings for an added touch of elegance.
- Serving: To get clean slices, dip a sharp knife in hot water before each cut and wipe it clean between cuts.
- Storage: Store any leftovers in the refrigerator, preferably in an airtight container. Cheesecake-based desserts are best when consumed within a few days for optimal freshness.
Nutrition
Tried this recipe?
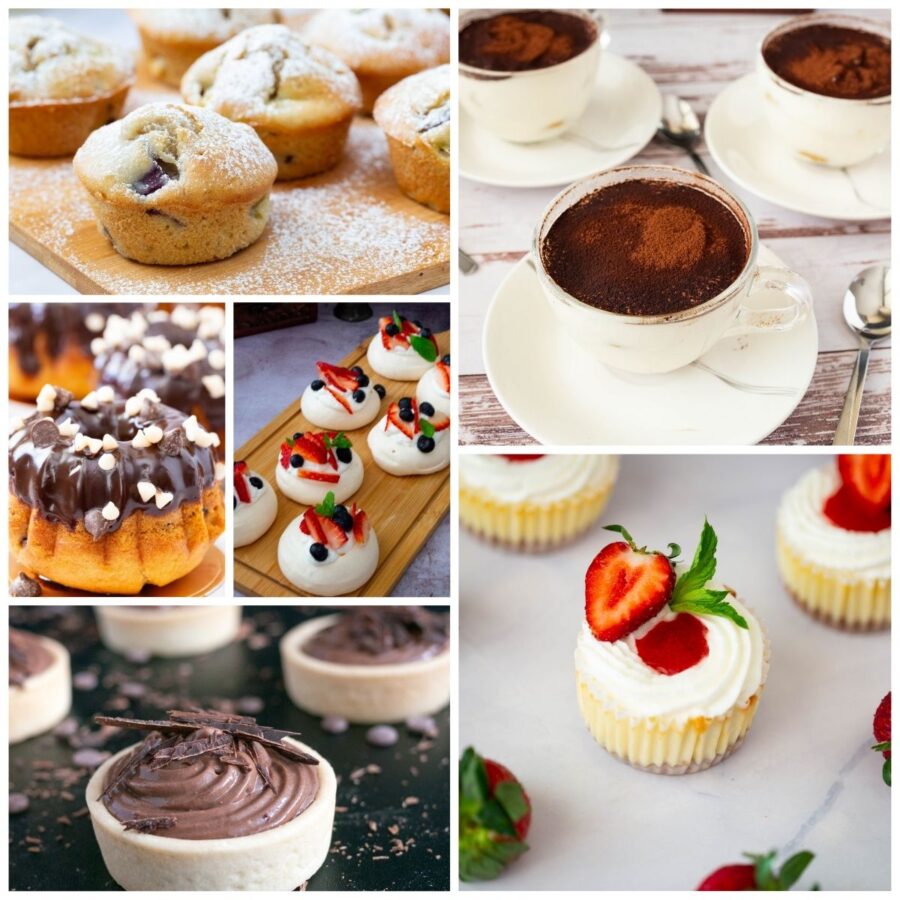
Mention @veenaazmanov_kitchen or tag #veenaazmanovkitchen!more desserts for Valentines day


Frequently asked questions
This dessert will keep in the fridge for 5 to 6 days.
This batter works best in an 8-inch heart or 9-inch springform pan (about 3 inches). You can also use an 8 x 8 square pan or 24 mini cakes.
Cheesecake is a dense, baked dessert with cream cheese, sugar, and eggs, often with a crust. Cheesecake mousse is a lighter, no-bake version that uses whipped cream or other ingredients to create a mousse-like texture.
Yes, you can use frozen strawberries for the strawberry mousse layer. Thaw them and drain excess liquid before pureeing and incorporating them into the mousse.
Gelatin is typically used to help set and stabilize the mousse. If you prefer a softer, creamier texture, you can omit the gelatin, but the mousse may be less firm.
You can prepare this cake a day or two in advance. In fact, it often benefits from some time in the refrigerator to allow the flavors to meld and the layers to set properly.
Absolutely! You can experiment with different fruit purees like raspberry, mango, or passion fruit to create various flavor variations.
To prevent the mousse layers from mixing, allow each layer to set in the refrigerator for about 30 minutes before adding the next layer. Ensure that each layer is chilled and firm before adding the next.
Instead of a cookie crust, you can use a graham cracker crust, a chocolate crust, or even a nut crust (e.g., almond or pecan) for a different flavor and texture.
Store any leftover cake in the refrigerator, covered or in an airtight container, to maintain its freshness. Consume within a few days for the best taste and texture.
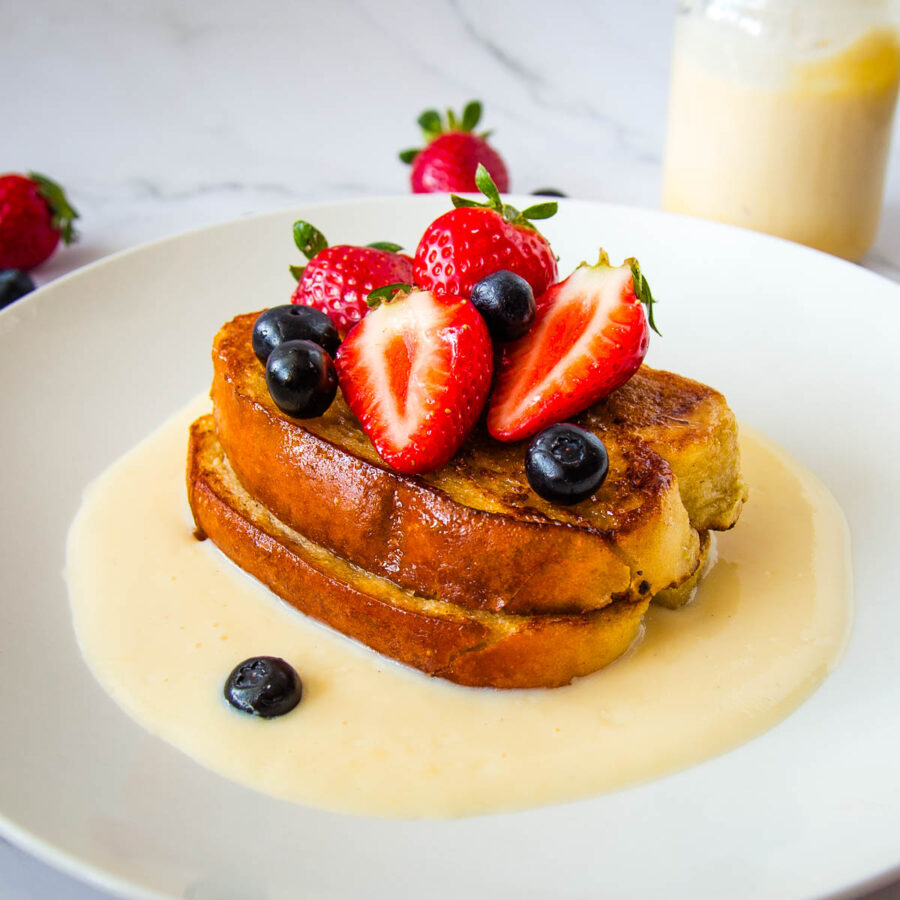
more Valentines day recipes
- 30+ Mini Valentine’s Day Treats – Bite-Size
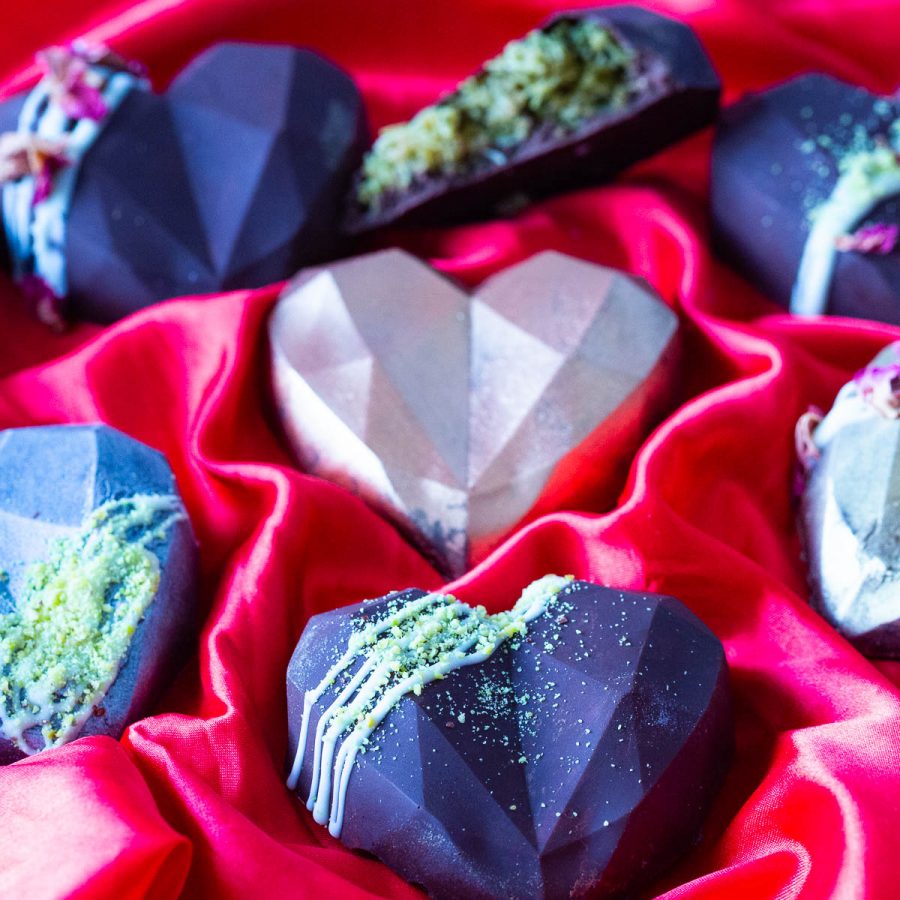
- 20+ Valentine’s Day Chocolate Desserts Worth Making
- 25+ Valentine’s Day Dinner Ideas
- 85 Valentines Day Desserts

Don’t lose this recipe! Save it for Later!
📌 Save this Recipe for later on Pinterest so you can easily find it again.
⭐ Add Veena Azmanov Kitchen to your Google Preferred Sources.
It helps Google show you more of our recipes.
📧 Subscribe for new recipes delivered to your inbox.
🎥 Follow us for more recipes


The strawberry mousse in this cake has great flavor and although there seem like a lot of steps at first glance, it was very easy! My kids loved it.
I made this for a work party and it was so good!! I might make it again next week for my family! So tasty.
Thank you Liz
Wow! Look at this precious cake! I’m definitely doing this for my Valentine this year! Thanks for sharing!
SO many textures and flavors all together and they work amazingly well. A delicious dessert for you and your love!
One of my favorites! These looks absolutely great! can’t wait to try!
I made this cake over the weekend with the kids and OMG is it gorgeous! Making another this weekend to gift to friends for Valentine’s Day!
Thank you Tayler
What a fantastic idea for a cake! It sounds delicious and it’s so so pretty! Totally making this for my kiddo next week 🙂
PINNING! What a creative Valentine’s cake!
What a cute cake. The layers on it are amazing.
I love everything about this cake. I found a heart shaped mold at the store the other day. Trying this recipe out this weekend!