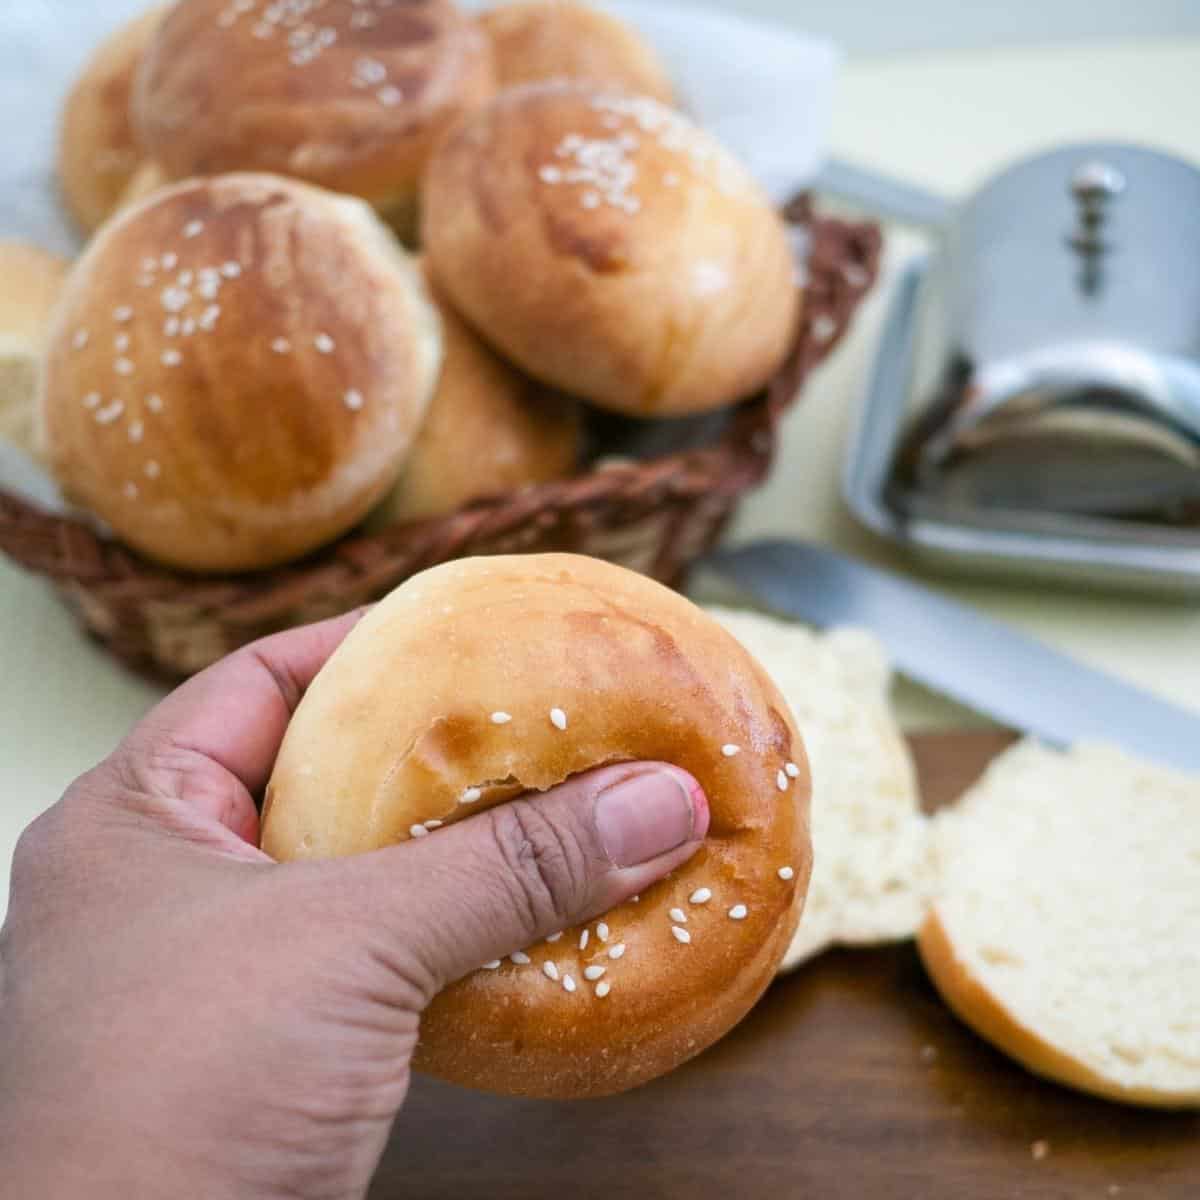
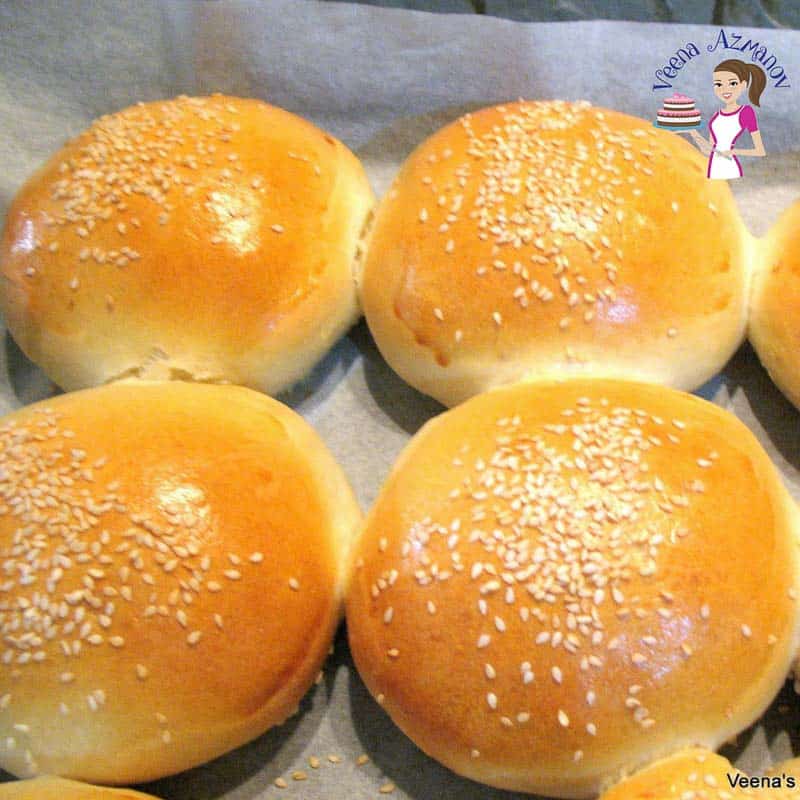
The Softest Burger Buns
 Prep Time 20 minutes Cook Time 20 minutes Total Time 2 hours 10 minutes
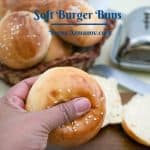
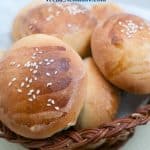
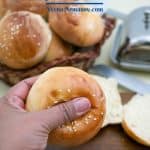


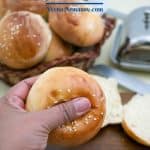
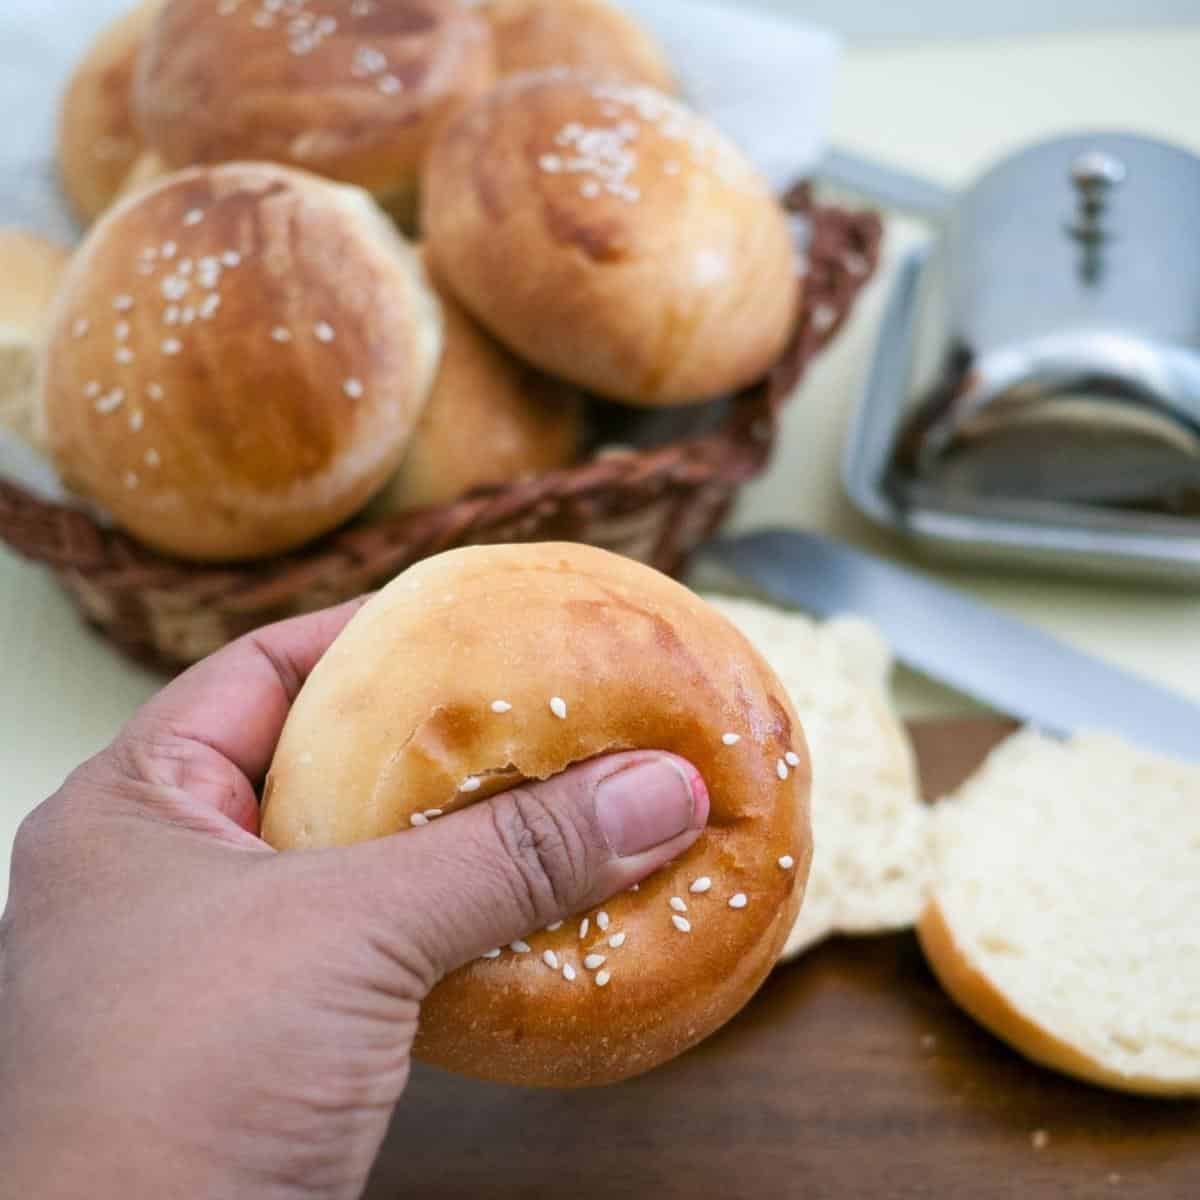
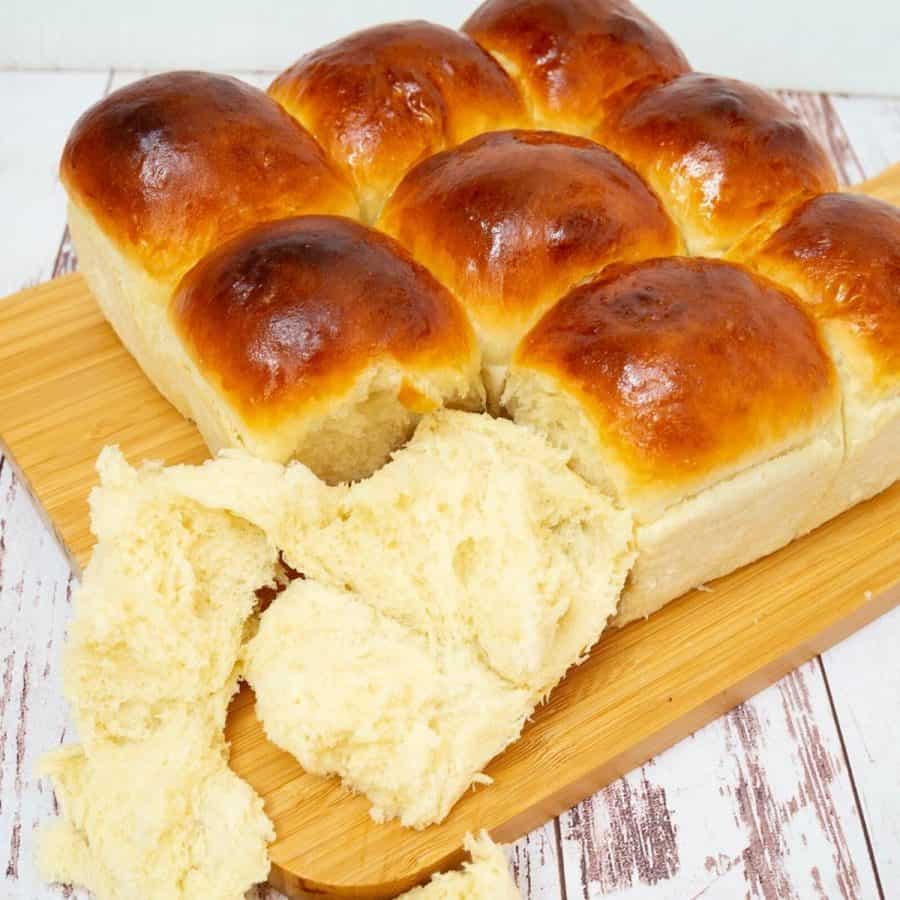
These soft burger buns are the best you will ever make. The next time you plan a hamburger feast or need buns for your BBQ party, try these. They are soft, fluffy, and golden, but so easy to make, too.

Hamburger buns are a staple in American cuisine, serving as the perfect vessel for juicy burgers and a variety of toppings. These soft, slightly sweet buns are typically made from enriched dough, giving them a tender texture that holds up well to the juiciness of the burger patties. Whether toasted on the grill or served fresh out of the package, hamburger buns are an essential part of the classic burger experience, adding just the right amount of bread to complement the savory flavors of the burger.
Why make this recipe?
- Soft and Fluffy Texture: These hamburger buns are soft and fluffy, providing the perfect base for your favorite burger toppings.
- Homemade Taste: Making your own hamburger buns allows you to control the ingredients, ensuring a fresh, homemade taste that can’t be beaten.
- Customizable Size: You can easily adjust the size of these hamburger buns to suit your preference, whether you prefer sliders or larger burgers.
- Impressive Presentation: Homemade hamburger buns add a special touch to your burgers, impressing your family and friends with your baking skills.
Ingredients and substitutes
- Flour – Bread flour gives a soft, light, and airy bread with a tender crust. But, in the past, I have always used all-purpose flour for this bread, and it works great, too. So, use either bread or AP flour.
- Warm milk – I like adding milk to this bread recipe. It gives the bread a nice, soft, tender crumb. And yet, if you want, you can substitute the milk with warm water. That would work just as well, but the dough might be a bit looser. So, adding a few handfuls of flour may be necessary.
- Butter – I like adding butter because it adds a wonderful flavor. But you can substitute the butter for 2 tablespoons of oil in this recipe.
- Instant dry yeast – I like to use instant dry because I’ve always had great success with it.
- If you have to use active dry yeast, you will need 2 ¼ tsp or one packet.
- And if you use fresh yeast, you will need about 21 grams. Also, it’s not necessary to activate the yeast, but I like to take the guesswork out and make sure my dough will rise.
- Large egg – Adds a lot of flavor to the bread, gives a tender crumb, and strengthens the texture. You can omit the egg if necessary, but you will need to use less flour than the recipe states, as the egg is a liquid ingredient.

Step-by-step: Homemade hamburger buns
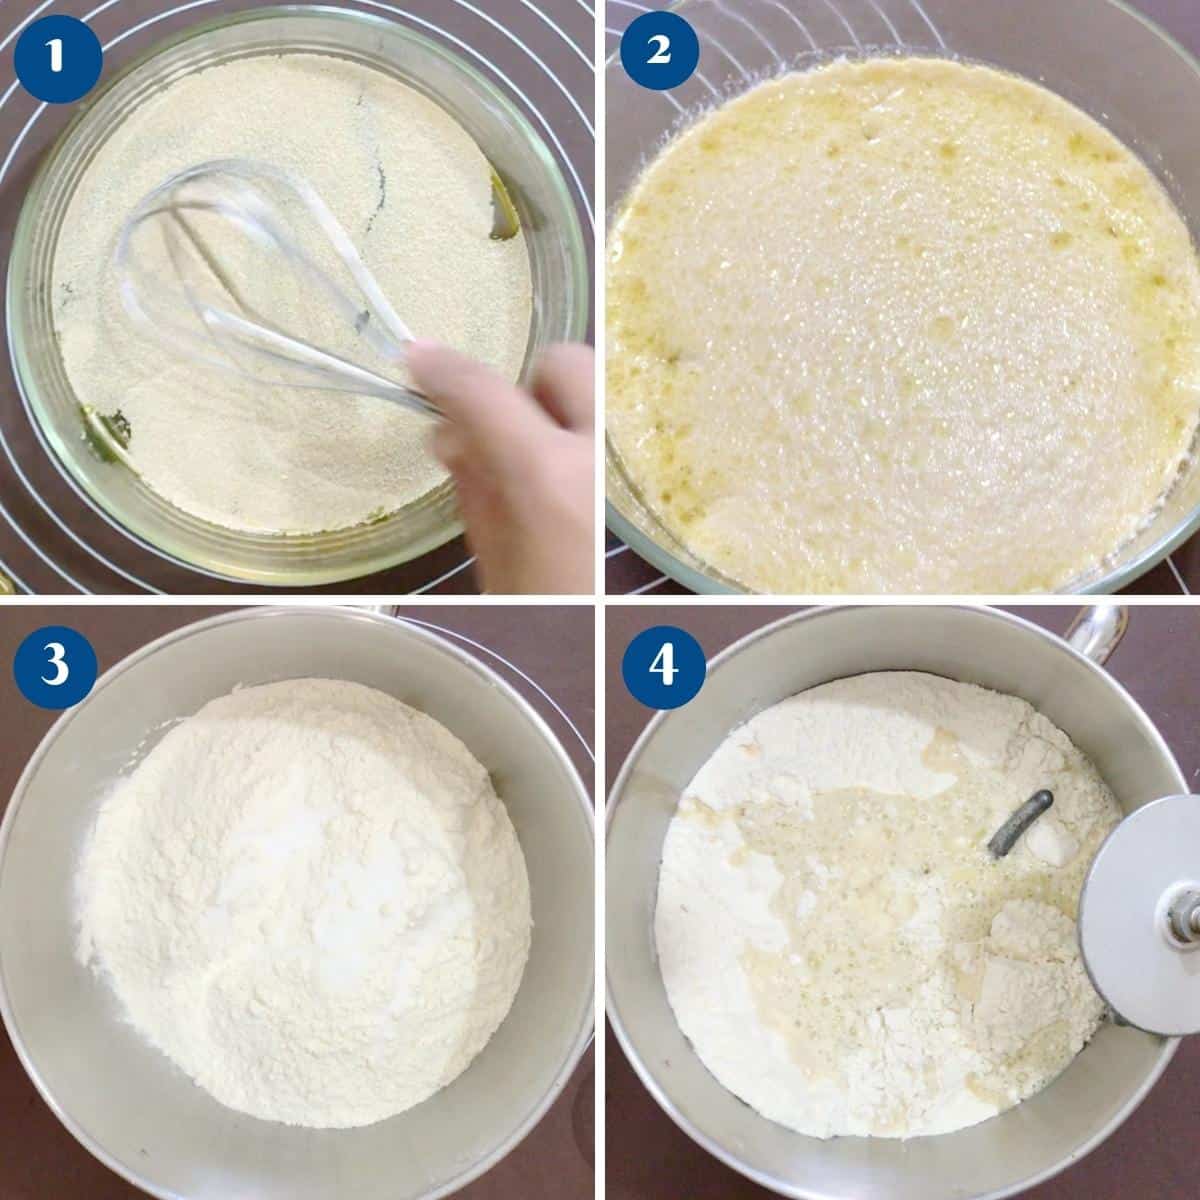
- Yeast mixture – In a large mixing bowl or measuring cup, combine the warm milk (110°F), yeast, sugar, butter, and eggs.
- Combine – Using a kitchen scale, measure the flour and salt in a mixing bowl of the stand mixer with the dough hook attachment. Add the yeast mixture and combine on medium-high speed for 2 to 3 minutes until all the flour is well incorporated.
Pro tip – If you do not like kneading, I highly recommend using a stand mixer with the hook attachment. - Knead – once all the flour is well incorporated, continue to knead on medium for 18 to 20 minutes
Pro tip – You can also knead by hand on a lightly floured surface for 20 to 25 minutes.
- Bowl – When the dough is soft and shiny but still slightly sticky, shape it into a ball. Place the dough in an oiled bowl, seam side down. Coat the surface with oil to prevent drying. Cover with a clean kitchen cloth or plastic wrap.
Pro tip – You want the dough to be really, really soft and a little sticky. But it has to be elastic! This is what will give us soft hamburgers. - Rise – Leave in a warm place. Let it rise for 60 to 90 minutes until it doubles in volume.
Pro tip – In winter, you may need 90 minutes or more. But in summer, the dough may double in 45 minutes. If you can’t attend to it at that moment, degas, reshape, and let it double in volume again. - Punch – When the dough is doubled in volume, transfer it to a well-dusted floured work surface. Punch down and reshape into a ball. Then, roll it into a small log.
Pro tip – At this point, there is no need for additional flour. So use a light dusting of flour. - Divide – Using a bench scraper, divide the dough into 12 buns (110 grams each) or 16 buns (80 grams each), depending on how big you want the burgers.
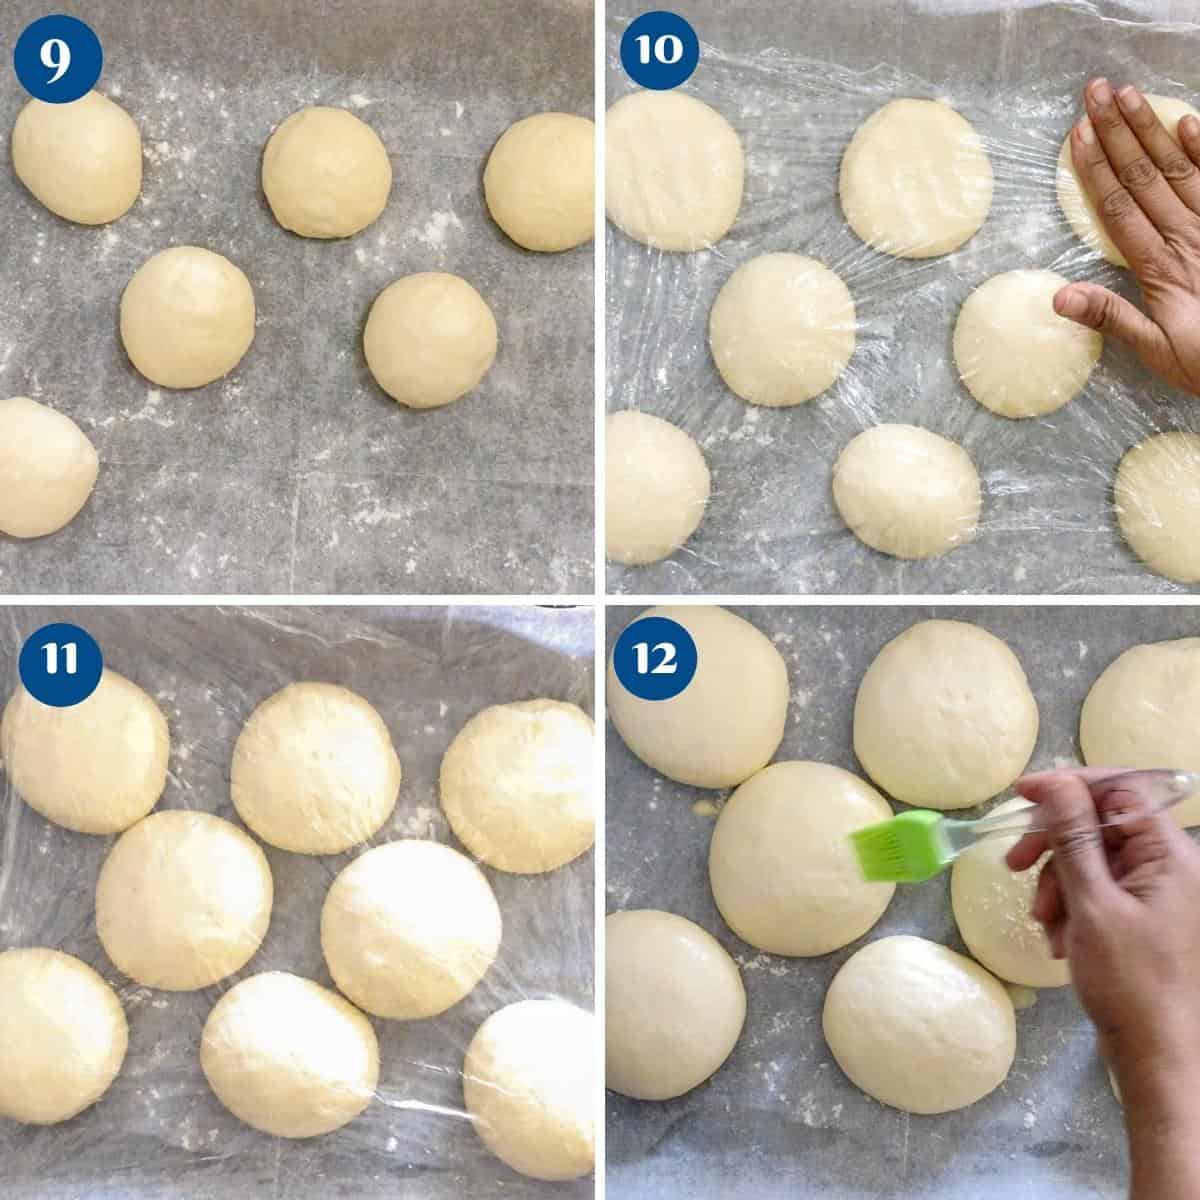
Pro tip – For 6 oz /150 grams beef patties, make 10 buns. For 9 oz/250 grams of beef patties, make only eight buns. - Shape each portion into a tight ball. To do this correctly, roll into a ball, tucking all the seams under tightly. Then, roll the ball on an unfloured surface. The unfloured surface creates the tension we need in the dough.
Pro tip – Do not over-roll these for too long, or you will rupture the top smooth skin.

- Tray – Place the buns on a baking sheet lined with parchment paper. Flatten them so they bake like flat buns rather than balls. Cover with plastic wrap or a clean kitchen cloth and let it proof for 30 to 45 minutes.
Pro tip – Spray the plastic wrap with oil to prevent it from sticking to the rolls. - Oven – When almost doubled in size, about 20 minutes before baking, preheat the oven to 375°F /190°C / Gas Mark 5
- Eggwash – Brush each bun with an egg wash and sprinkle on some sesame seeds.
Pro tip – Egg wash is a full egg with 2 tbsp of water. An egg wash will give a nice golden color. If you can’t use egg, milk or cream will work just as well. Do not use oil or butter, as it will create a crust.
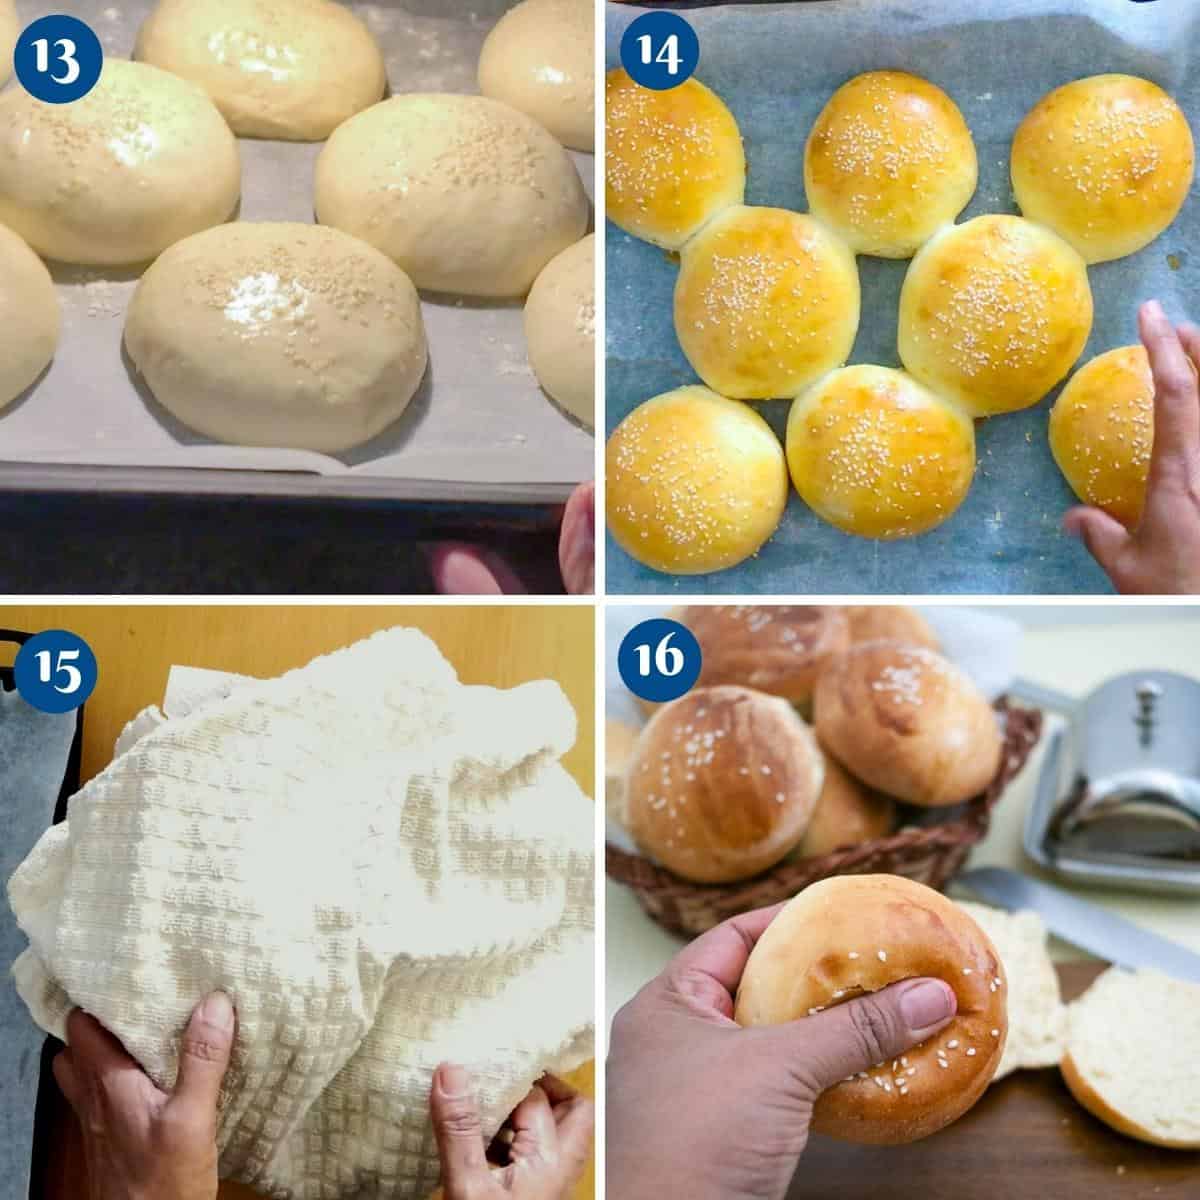
- Bake small buns for 15 to 20 minutes and larger buns for about 20 to 25 minutes or until golden brown.
Pro tip – When baked, the internal temperature of the hamburger buns should be about 195°F. The bread will have a hollow sound on the bottom when tapped. - Keep them soft – as soon as you take the burgers out of the oven, cover them with a clean kitchen cloth to keep them soft.
Pro tip – Do not leave the buns on the tray for too long, as the steam will make the bread soggy on the bottom. Covering the buns with a cloth will help them retain moisture and prevent them from drying out. - These buns can be stored at room temperature for 3 days. You can freeze them in a freezer bag for up to a month.
Troubleshooting
- Why did my dough not rise? Most often, the simplest explanation for this is that the liquid (milk) used was not warm. You need the liquid to be no more than 110°F/ 41 °C. Hotter than that will not activate the yeast. In some cases, the yeast may have been old and not good.
- My burger buns were not soft. They were dense. If you add too much flour to the dough, the buns will be dense, not soft. You want the dough to be soft, elastic, and still slightly sticky when kneading.
- My burger buns deflated when baking. Why are my burger buns flat? Proof the buns for only 45 minutes or until they have almost doubled in volume. They will continue to rise some more in the oven when baking. If you overproof the buns, they tend to rise and deflate when baking.
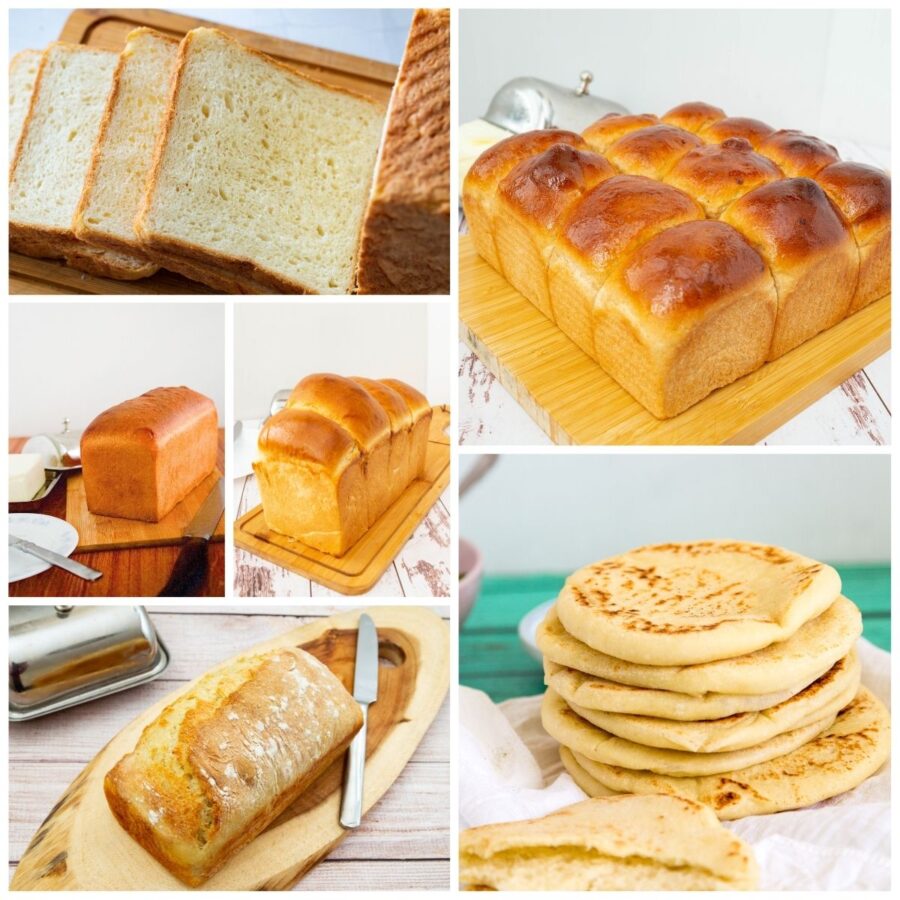
- Softest Hokkaido Hamburger Buns
- Soft Whole Wheat Burger Buns
- Homemade Soft Brioche Buns or
- Homemade Hawaiian Rolls
No posts
Frequently asked questions
The sugar is not much. It helps feed the yeast and adds a nice flavor, too.
Yes, you can freeze hamburger buns. Place them in a freezer-safe bag or container and store them in the freezer for up to three months. Thaw at room temperature before using.
To prevent hamburger buns from getting soggy, toast them lightly before assembling your burger. You can also use a layer of lettuce or a barrier (like cheese) between the bun and the moist ingredients.
The consistency of the dough.
The dough should be soft, elastic, and slightly sticky. Avoid the temptation to add more flour. Use flour on your hands when kneading, but don’t make the dough dense.
My mom used to say – A well-kneaded bread dough should be soft and jiggly like a baby’s bottom.
Absolutely, you can knead the dough the night before and let it slowly rise in the fridge overnight. Thaw them to room temperature before you shape them into buns. Then, let them rise for the second time at room temperature before baking.
Yes, and they are absolutely delicious. I have shared a step-by-step recipe with you already – Soft whole wheat burger buns.
Video
Ingredients
- 400 g (1⅔ cups) Warm milk about 41 C or 110 F
- 100 g (2 large) Egg
- 75 g (5 tbsp) Melted butter unsalted
- 40 g (3 tbsp) Sugar
- 10 g (3 tsp) Instant dry yeast
- 710 g (5¾ cups) Bread flour or all-purpose flour
- 15 g (2½ tsp) Kosher salt
- 1 Egg beaten
- 1 tbsp Water
- 2 tbsp Sesame seeds or poppy seeds
Method
- Yeast mixture – In a large mixing bowl or measuring cup, combine the warm milk (110°F), yeast, sugar, butter, and eggs.400 g Warm milk, 100 g Egg, 75 g Melted butter, 40 g Sugar, 10 g Instant dry yeast
- Combine – Using a kitchen scale, measure the flour and salt in the bowl of the stand mixer with the dough hook attachment. Add the yeast mixture and combine at medium-high speed for 2 to 3 minutes until all the flour is well incorporated.710 g Bread flour, 15 g Kosher salt
- Knead – once all the flour is well incorporated, continue to knead on medium for 18 to 20 minutes.
- Bowl – When the dough is soft and shiny but still slightly sticky, shape it into a ball. Place the dough in an oiled bowl, seam side down. Coat the surface with oil to prevent drying. Cover with a clean kitchen cloth or plastic wrap.
- Rise – Leave in a warm place. Let rise for 60 to 90 minutes until it doubles in volume.
- Punch – When the dough has doubled in volume, transfer it to a well-dusted floured surface. Punch down and reshape into a ball. Then, roll it into a small log.
- Divide – Using a bench scraper, divide the dough into 12 buns (110 grams each) or 16 buns (80 grams each), depending on how big you want the burgers.
- Shape each portion into a tight ball. To do this correctly, roll the dough into a ball, tucking all the seams under tightly. Then, roll the ball on an unfloured surface. The unfloured surface creates the tension we need in the dough.
- Tray – Place the buns on a baking tray. Flatten them so they bake like flat buns rather than balls. Cover with plastic wrap or a clean kitchen cloth and let proof for 30 to 45 minutes.
- Oven – When almost doubled in size, about 20 minutes before baking, preheat the oven to 375°F /190°C / Gas Mark 5
- Eggwash – Brush each bun with an egg wash and sprinkle on some sesame seeds.1 Egg , 1 tbsp Water, 2 tbsp Sesame seeds or poppy seeds
- Bake small buns for 15 to 20 minutes and larger buns for about 20 to 25 minutes or until golden brown.
- Keeping them soft – As soon as you remove the buns from the oven, cover them with a clean kitchen cloth to keep them soft.
Notes
- Use High-Quality Ingredients: Use high-quality flour, yeast, sugar, and butter for the best results. Fresh ingredients will yield better-tasting buns.
- Proof the Yeast: Make sure your yeast is active by proofing it in warm water with a pinch of sugar. It should become frothy within a few minutes.
- Knead the Dough Properly: Knead the dough until it is smooth and elastic. This helps develop the gluten, which gives the buns their structure and texture.
- Let the Dough Rise Properly: Allow the dough to rise in a warm, draft-free place until it has doubled in size. This can take anywhere from 1 to 2 hours, depending on the temperature of your kitchen.
- Shape the Buns Uniformly: Divide the dough into equal portions and shape them into smooth, round balls. This will ensure that the buns bake evenly.
- Use an Egg Wash: Brushing the buns with an egg wash before baking will give them a shiny, golden-brown crust.
- Don’t Overbake: Bake the buns until they are golden brown on top and sound hollow when tapped on the bottom. Overbaking can result in dry buns.
- Cool Completely: Allow the buns to cool completely on a wire rack before slicing and serving. This helps them retain their moisture.
Equipment you will need


Nutrition
Tried this recipe?
Mention @veenaazmanov_kitchen or tag #veenaazmanovkitchen!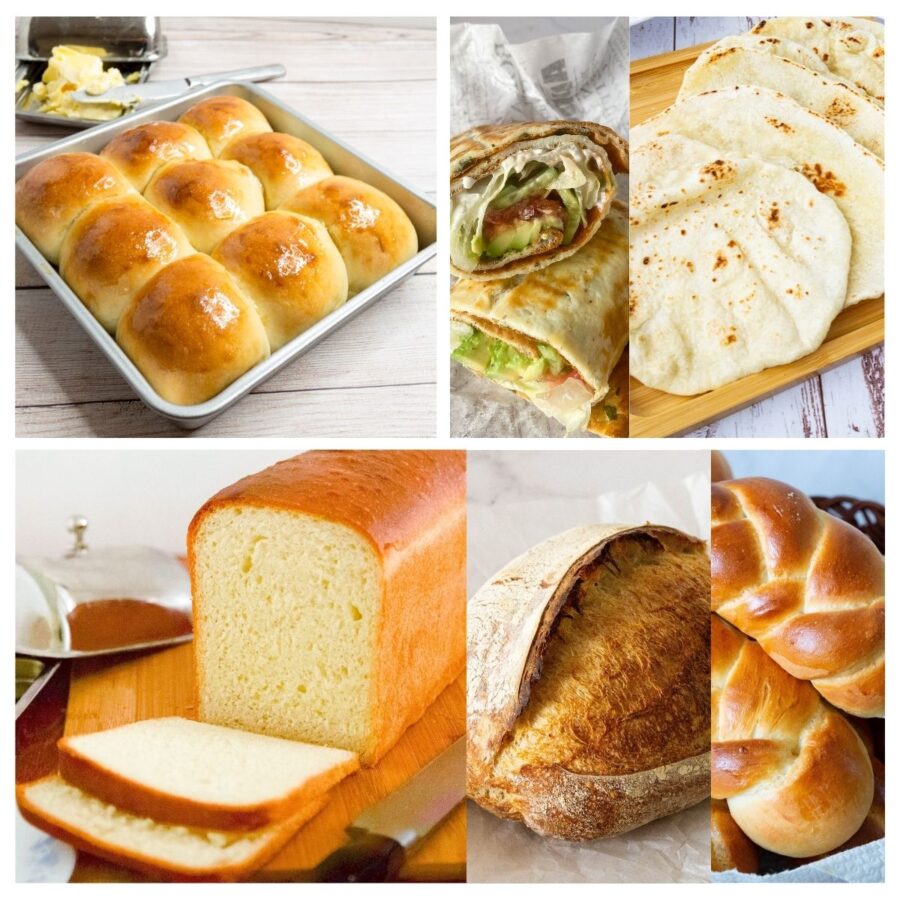


Don’t lose this recipe! Save it for Later!
📌 Save this Recipe for later on Pinterest so you can easily find it again.
⭐ Add Veena Azmanov Kitchen to your Google Preferred Sources.
It helps Google show you more of our recipes.
📧 Subscribe for new recipes delivered to your inbox.
🎥 Follow us for more recipes

- Hot Cross Buns or Soft Dinner Rolls, Whole Wheat Dinner Rolls
- Homemade Chicken Burgers or Turkey Burgers Recipe
- Best Juicy Beef Burgers
- See all Bread recipes or see all summer recipes


Jour 6 fait et réussi! Merci Veena!
Thank you
I need to try these. Loving making homemade instead of buying store bought.