
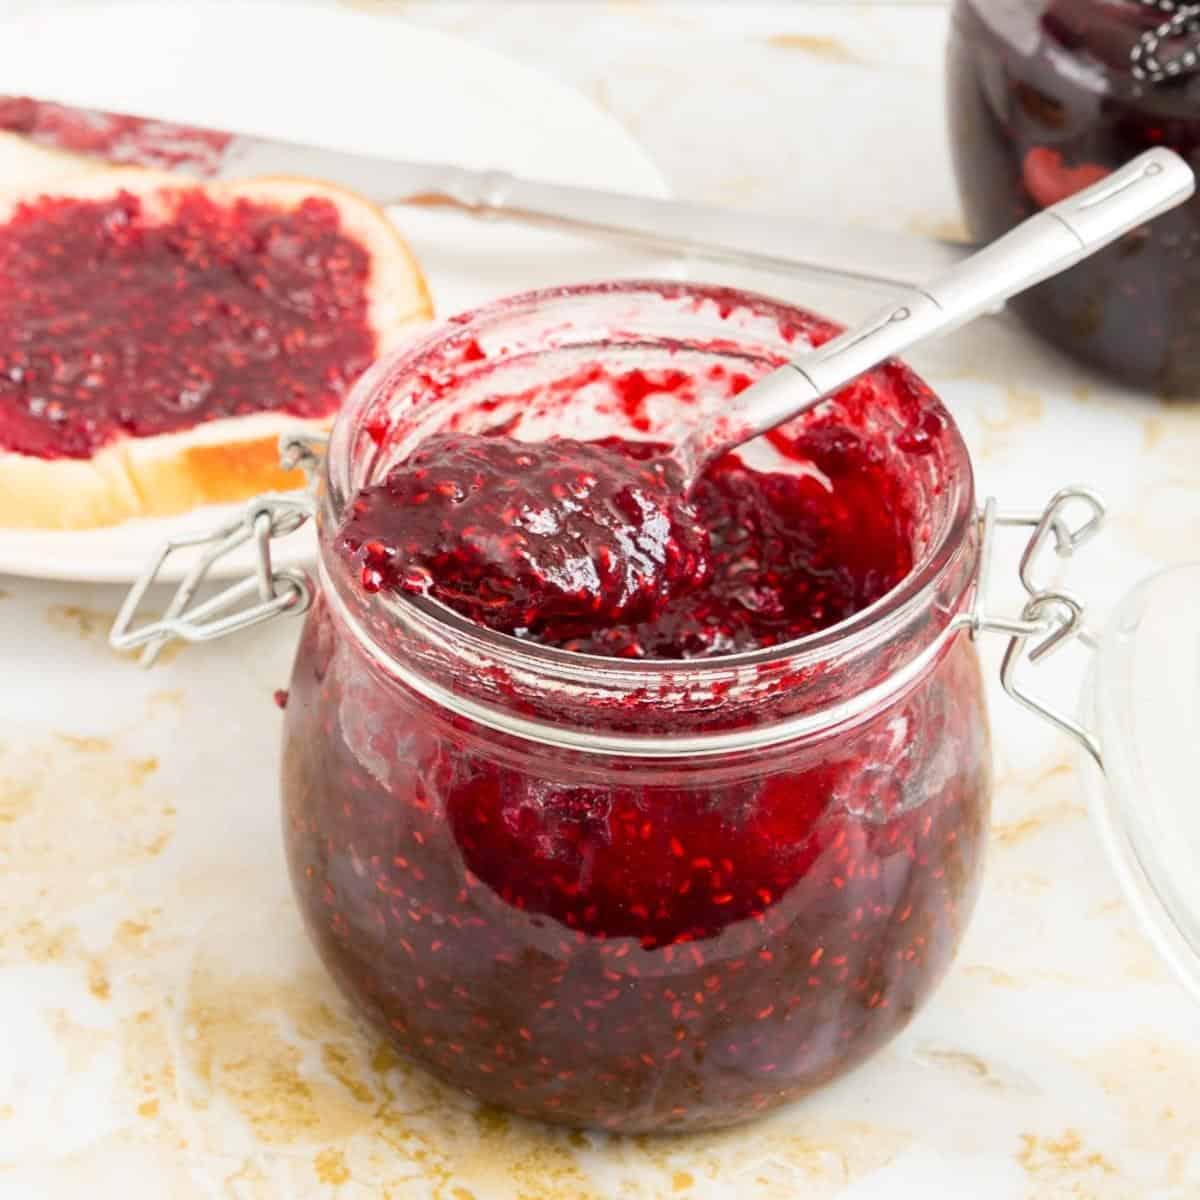
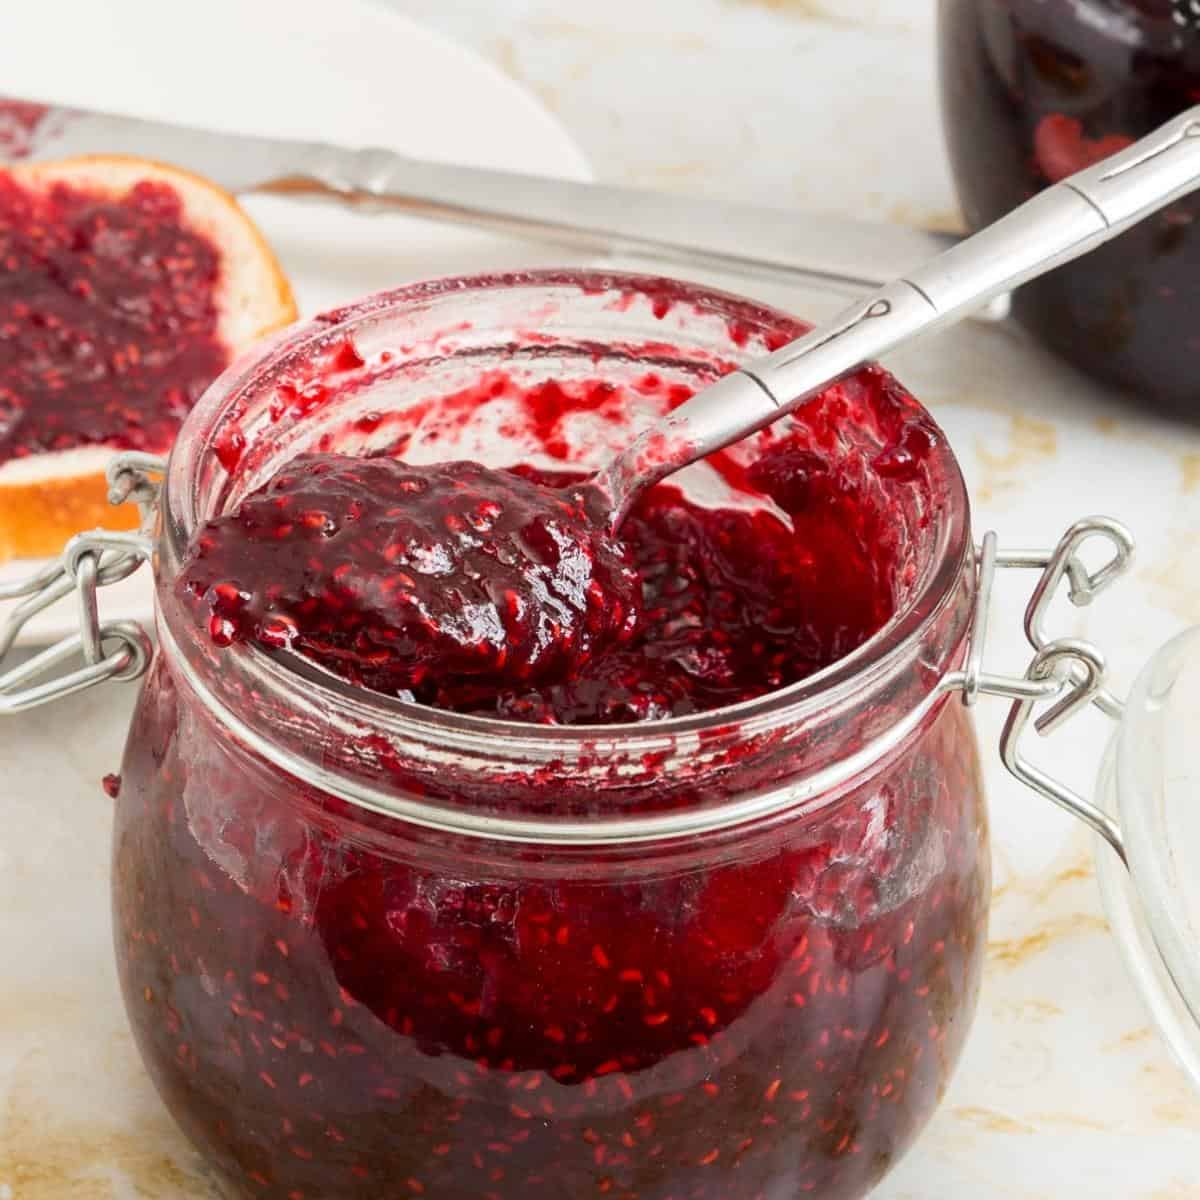
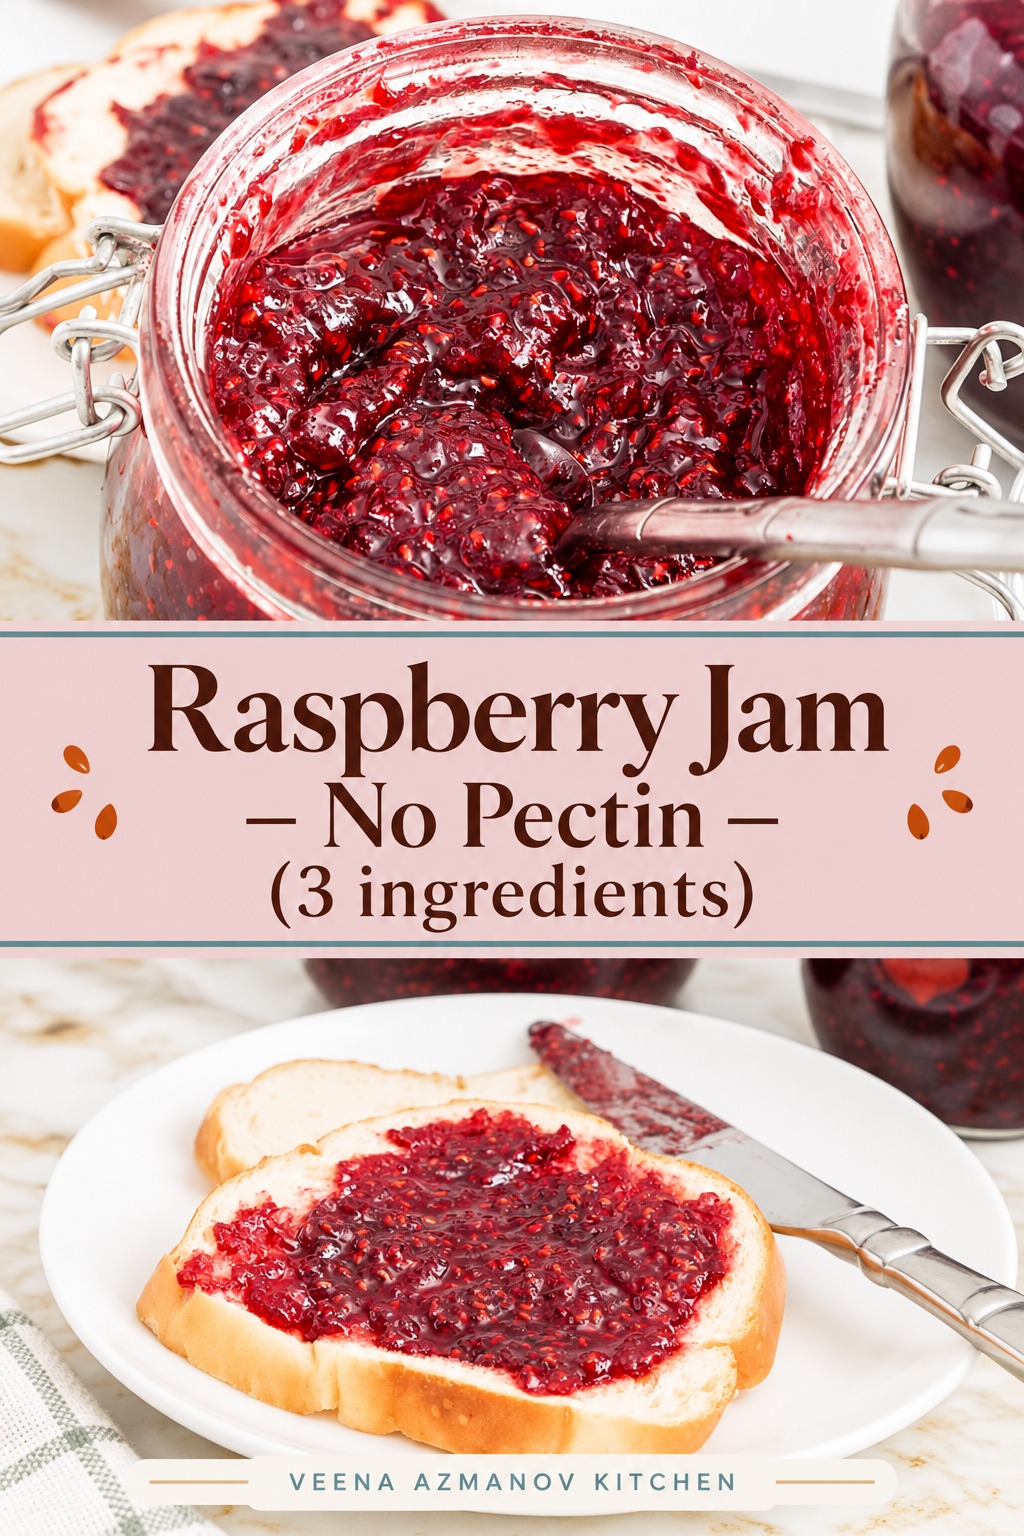
This old-fashioned raspberry jam will take you back to your childhood. It’s made in just 30 minutes, all-natural, low in sugar, and with no pectin. This jam is bursting with fruit flavor, whether you use fresh or frozen raspberries. A perfect jam over breakfast toast or over plain yogurt for dessert.
Growing up, my mom made jams all year round. Guava, mango, papaya — whatever was in season, she turned it into something delicious. And she didn’t just make a few jars for us; oh no — she made batches. Big ones. She’d cook them up, bottle them, and sell them. That’s how she supported the three of us — with her two hands, her pots and pans, and a whole lot of hustle. No fancy education, just pure grit. She cooked, she sewed, and she showed us how to survive with dignity.
But berries? Like raspberries and blueberries? Total luxury. We never saw those growing up — they just weren’t part of our world. So when I moved overseas and had kids of my own, you bet I was going to give them all the berry jams they wanted. And me? I fell hard for raspberry and blueberry. Still my favorites. I’ll happily eat them straight from the jar with a spoon. No shame.
Of course, I could never bring myself to buy store-bought jam. They’re way too sweet for me. Why drown perfectly good fruit in sugar? I want to taste the raspberry, not syrup with a fruit afterthought. That’s why my jams are always low sugar. Just enough to balance, never enough to overpower.
And no, I don’t use pectin either. My mom never had it, and honestly? You don’t need it. Let the fruit do what it’s meant to do — if it’s ripe and cooked right, it thickens naturally. Just like she did it, just like I still do.
This raspberry jam isn’t just a recipe. It’s a little piece of my past and my present — a spoonful of something real.
Why you’ll love this jam?
- No-fail method – This recipe is simple and easy. And if you’ve never made homemade jam, you will definitely start now. The taste of fresh hot jam on toast is absolutely incredible.
- No canning – This homemade recipe is without the fuss of canning. Just pour the jam into sterilized jars and save them in the fridge or freezer. However, I have given you the detailed process for canning, too.
- No pectin – Ideally, you can make jam with just two ingredients: berries and sugar, because raspberries have natural acidity and pectin in abundance. And yet, adding lemon juice helps break down on the skin.
- Low-sugar – Fresh raspberries are naturally soft and sweet. Therefore, you don’t need to add a lot of sugar to this jam. This jam is bursting with raspberry flavor.
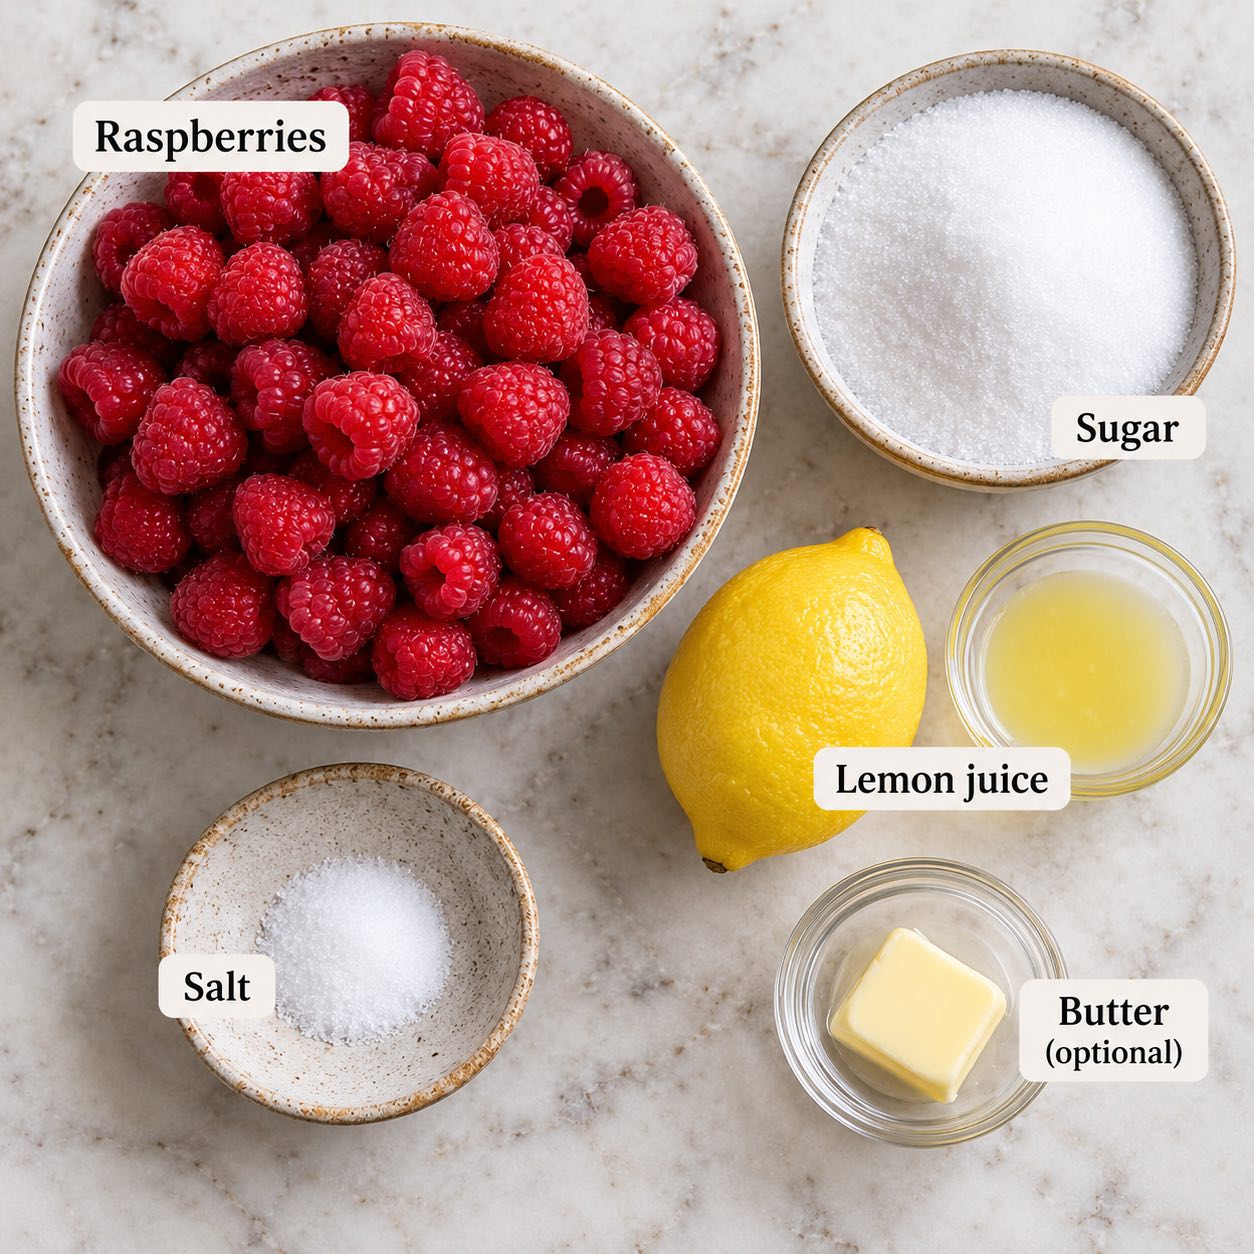
Ingredients and substitutes
- Raspberries – Use fresh plump sweet raspberries in season or frozen raspberries. Both work beautifully with this recipe.
- Sugar – Unlike commercial jams, I like to use less sugar, which is usually half the quantity of fruit. For example, if I have 1 kg of fruit, I usually add 500 grams of sugar. So my jam is more fruity rather than just sugary sweet. But if you like it sweet, you can add more. Most commercial jams are made with 3/4 of the amount of sugar, in this case, 750 grams.
- Lemon Juice – Raspberries are naturally sweet, so the lemon really helps bring out and enhance their sweetness. It also helps prevent crystallization. Lemons also have a lot of natural pectins.
Step-by-step: Homemade raspberry jam recipe (no pectin)
- Prepare for testing – Place two small ceramic plates in the freezer. You’ll use these later to check whether the jam has set. Alternatively, have a candy thermometer ready.
- Prepare the raspberries – Sort through the berries and discard any moldy or spoiled fruit. Rinse briefly in a colander and drain well.
Pro tip: Soft or slightly bruised raspberries are fine. Avoid soaking raspberries in water because they absorb moisture easily.

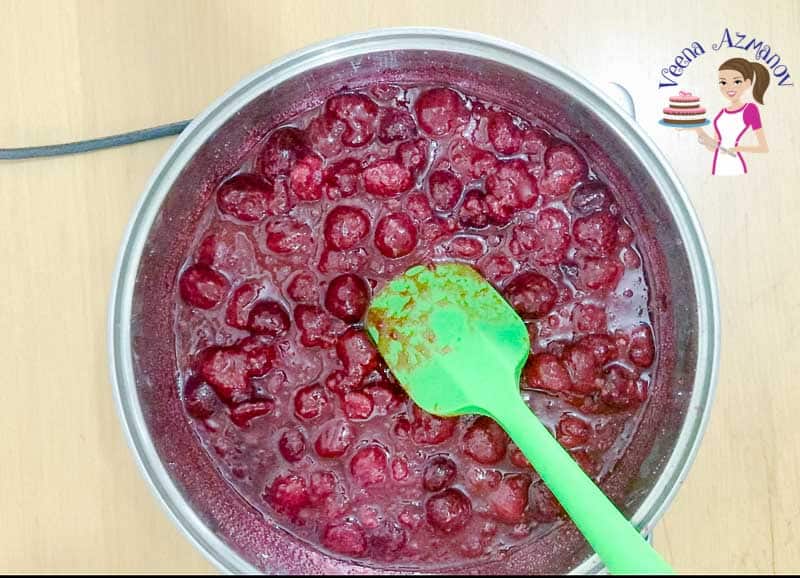
- Combine – Add the raspberries, sugar, salt, and lemon juice to a heavy-bottom saucepan. Cook over medium heat until the sugar dissolves. Increase to medium-high and bring to a boil, stirring frequently.
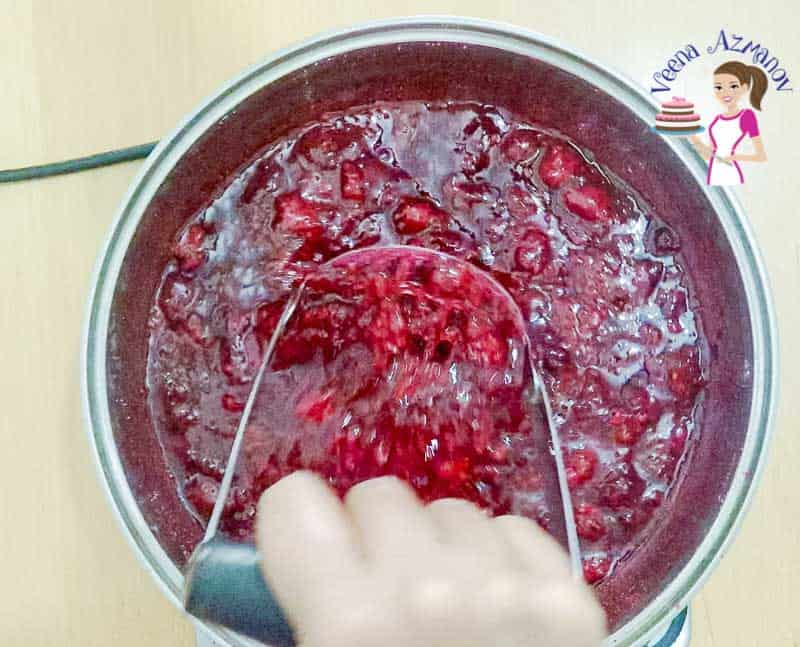
- Mash – Reduce the heat to medium-low and maintain a gentle simmer. Mash the raspberries with a potato masher until you reach the consistency you prefer.

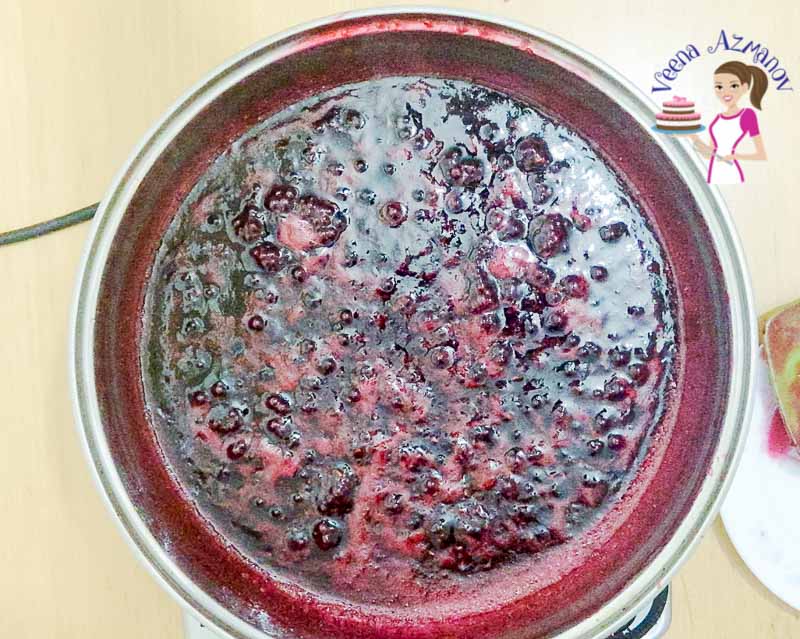
- Cook until thickened – Simmer for about 20 to 30 minutes, stirring frequently to prevent scorching. The jam will reduce, deepen in color, and begin to thicken.
Pro tip: Don’t judge doneness by time alone. Pan size, heat, and the amount of fruit can all affect cooking time.
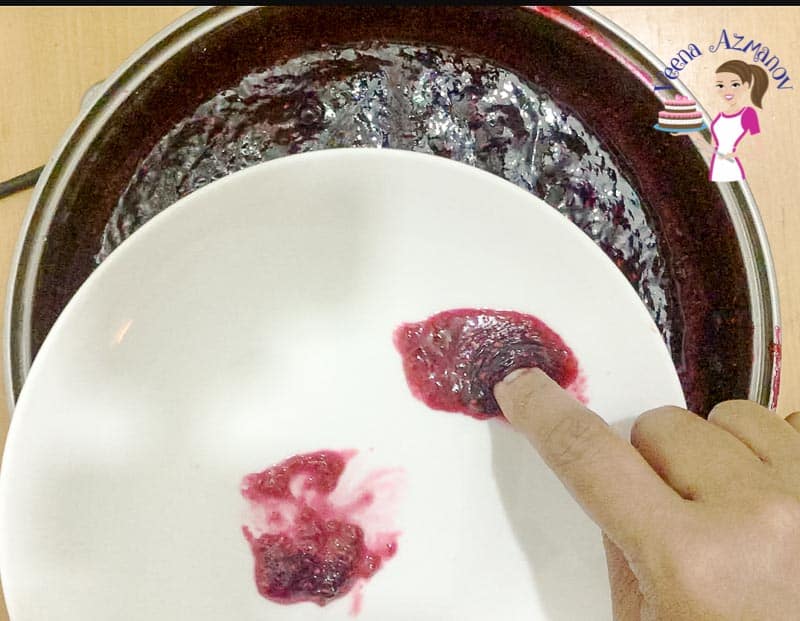
- Test the jam – Spoon a teaspoon of jam onto one of the chilled plates. Let it sit for 2 to 3 minutes, then push it gently with your finger. If the surface wrinkles and the jam doesn’t immediately flow back together, it’s ready. If not, cook for another few minutes and test again.
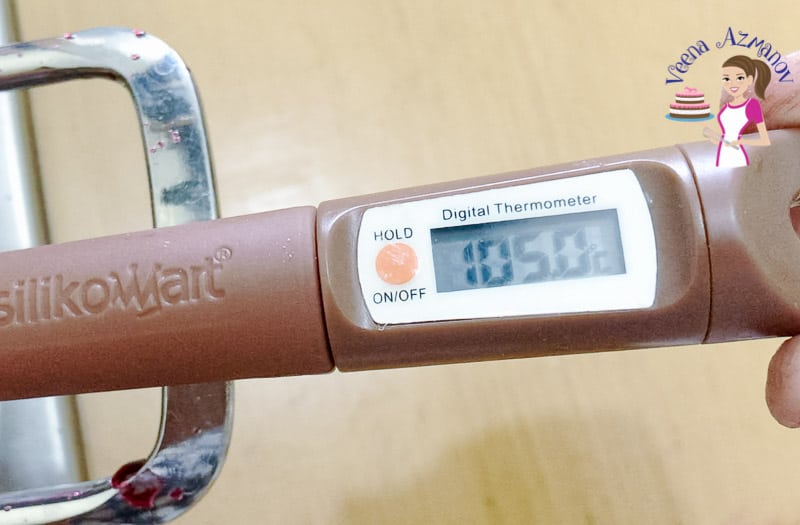
- Thermometer option – Instead of the plate test, cook until the jam reaches approximately 220°F (104°C) at sea level. The setting temperature decreases at higher elevations.
- Optional butter – Just before removing the jam from the heat, stir in a teaspoon of butter if desired. This can help reduce surface foam.

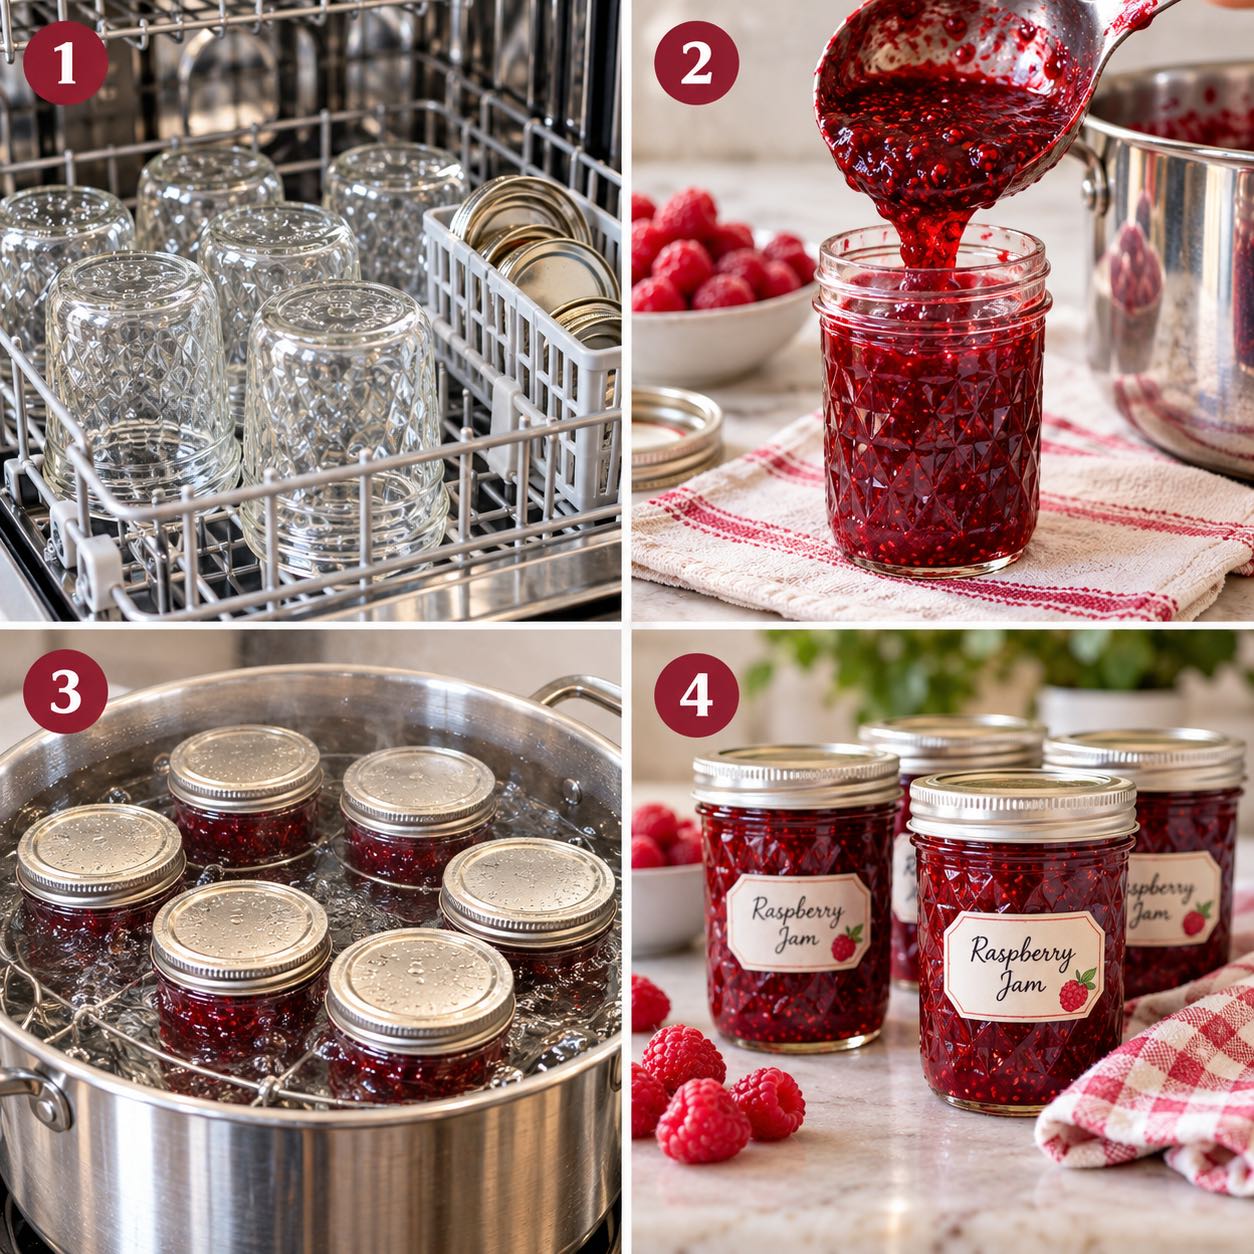
- Fill the jars – Ladle the hot jam into clean, warm jars. If you’re refrigerating the jam, let it cool before covering and refrigerating. If you’re canning it for shelf storage, leave ¼-inch headspace and continue with the water-bath canning instructions below.
Storage
- Refrigerator: Store uncanned raspberry jam in sterilized airtight jars in the refrigerator for about 3 weeks.
Freezer: Freeze in freezer-safe containers for up to 6 months, leaving room for expansion.
Canned: Properly processed and sealed jars can be stored in a cool, dark place according to safe home-canning guidelines. Refrigerate after opening.
No-Sugar Raspberry Jam & Chia Raspberry Jam
You can make raspberry jam without added sugar, but you can’t simply leave the sugar out of this recipe. Sugar helps traditional jam set and also contributes to preservation.
For a no-sugar raspberry jam, use a pectin specifically labeled “no sugar needed” or “low sugar” and follow the quantities and cooking instructions on the package. Sweeten to taste with an approved alternative sweetener if desired.
Another option is chia raspberry jam. Cook the raspberries until soft, mash them, then stir in chia seeds and sweetener to taste. Let the mixture cool until thickened.
Important: Chia jam and other untested no-sugar fruit spreads should be treated as refrigerator or freezer jam, not shelf-stable canned jam. If you want to can a no-sugar jam, use a tested recipe specifically developed for no-sugar pectin and follow its processing instructions.
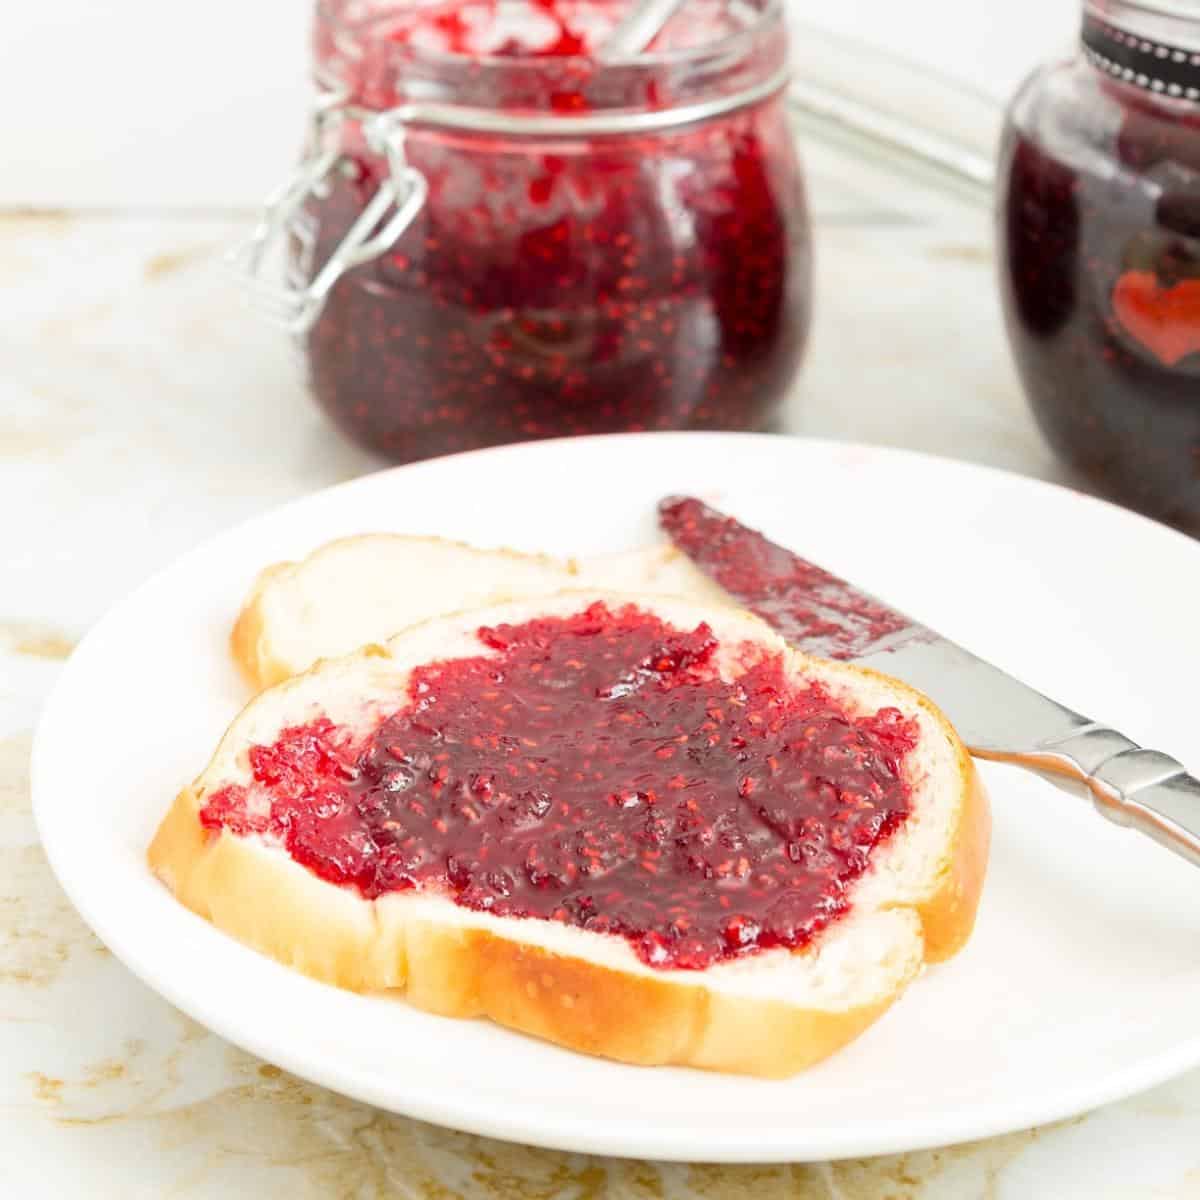
Raspberry Jam No Pectin (3 ingredients)
Instructions
- Prep the plates for testing: Place two small ceramic plates in the freezer so we can use them to test the jam later. Alternatively, you can use a candy thermometer to check the doneness of the jam.
- Prep the fruit – Check the raspberries and remove any bad, discolored, or bruised ones. Give them a quick wash and drain in a colander.Pro tip: Soft or slightly bruised raspberries are fine, but discard any moldy or spoiled berries. Rinse quickly rather than soaking them, as raspberries absorb water easily.
- Combine – In a heavy bottom pan, combine the raspberries, sugar, salt, and lemon juice. Cook on medium heat until the sugar is dissolved. Then, turn the heat up and let the mixture come to a boil. Let it boil for two minutes, stirring constantly, on medium-high heat.1 kg Raspberries, 500 g Sugar, 2 tbsp Lemon juice, ¼ tsp Salt
- Mash the fruit – Reduce the heat to medium-low so the jam maintains a gentle simmer. Mash the raspberries with a potato masher to your desired consistency.
- Simmer – Continue to simmer for about 20 to 30 minutes, stirring often so it does not stick to the bottom of the pan. The jam will continue to thicken and deepen in color as it cools.Pro tip: Cooking time can vary depending on the width of your pan, the amount of fruit, and the heat. Use the cold-plate or thermometer test rather than relying only on time.
- Testing the Jam – Remove a ceramic plate from the freezer. Place a teaspoon of jam on the cold plate. Set aside for 2 to 3 minutes. Then, test with your finger. Simply move/push the jam with your finger. If it wrinkles/crinkles, it means the jam is ready. And if not, let the jam cook a couple of minutes more and test again.
- Thermometer test: Alternatively, use a candy thermometer. The jam should reach about 220°F (104°C) at sea level. The setting temperature will be lower at higher elevations.
- Optional – Just when you are ready to take the jam off the heat, add a teaspoon of butter and stir well. Butter helps dissolve foam that accumulates on top of the jam.1 tsp Butter
- Jar – Pour the jam into warm, sterilized jars, leaving 1/4 inch space from the top. Use a clean, sterilized knife or spatula to move the jam a bit – this will remove any air pockets.
Video
Notes
- Raspberries: Fresh or frozen raspberries can be used. If frozen, do not thaw before cooking.
- Doneness: Cooking time can vary depending on the pan size and heat. Use the cold-plate test or cook to about 220°F (104°C) at sea level rather than relying only on time.
- Consistency: The jam will look slightly loose when hot and will thicken considerably as it cools.
- Foam: A teaspoon of butter stirred in at the end is optional and can help reduce surface foam.
- Storage: Store cooled jam in an airtight jar in the refrigerator. For longer shelf storage, use proper water-bath canning procedures.
- Canning: If canning, follow the detailed water-bath canning instructions in the post, including adjustments for altitude.
- Refrigerator: Store uncanned raspberry jam in sterilized airtight jars in the refrigerator for about 3 weeks.
Freezer: Freeze in freezer-safe containers for up to 6 months, leaving room for expansion.
Canned: Properly processed and sealed jars can be stored in a cool, dark place according to safe home-canning guidelines. Refrigerate after opening.


Made this recipe?
I’d love to see how yours turned out! Share a photo on Instagram and tag @veenaazmanov_kitchen or use #veenaazmanovkitchen. And don’t forget to leave a rating and review!
How to Can Raspberry Jam
The recipe above is my lower-sugar raspberry jam, using 500 g sugar for 1 kg of raspberries. I prefer this ratio because the jam isn’t overly sweet and the fresh raspberry flavor really comes through.
If you want to water-bath can raspberry jam for shelf-stable storage, use a tested canning formula rather than simply canning the lower-sugar version. For raspberry and other berry jams without added pectin, the National Center for Home Food Preservation uses: 9 cups crushed berries + 6 cups sugar
Canning process
- Increase the sugar – Prepare the jam using the tested ratio of 9 cups crushed raspberries to 6 cups sugar. Cook until the sugar has dissolved and the jam reaches its setting point.
- Prepare the jars – Use clean, hot canning jars. If you’re using the 5-minute processing time at lower elevations, the empty jars must first be sterilized.
- Fill the jars – Ladle the hot raspberry jam into the hot jars, leaving ¼-inch headspace. Wipe the rims clean, then apply the lids and bands.
- Process – Process half-pint or pint jars in a boiling-water canner for 5 minutes at 0–1,000 ft, 10 minutes at 1,001–6,000 ft, or 15 minutes above 6,000 ft.
- Cool and check – Remove the jars and let them cool undisturbed for 12–24 hours. Check that each jar has sealed before storing. Refrigerate any jars that haven’t sealed.
Important: Don’t simply reduce the sugar in the tested canning formula. If you want shelf-stable raspberry jam, follow the tested fruit-to-sugar ratio, jar size, and processing time. Your lower-sugar version is best stored in the refrigerator or freezer.
Tips for Success
- Use good-quality raspberries – Ripe berries give you the best flavor. Soft berries are fine, but discard anything moldy or spoiled.
- Use a wide, heavy-bottom pan – A wider surface helps moisture evaporate faster, while a heavy base reduces the chance of scorching.
- Don’t rely on cooking time alone – The amount of fruit, pan size, and heat all affect how quickly jam sets. Use the chilled-plate test or a thermometer to check doneness.
- Remember that jam thickens as it cools – Hot jam should still be slightly loose. Cooking until it looks very thick in the pan can leave you with an overly firm jam once cooled.
- Stir more frequently toward the end – As the jam reduces and thickens, it can catch on the bottom of the pan quickly.
- Doubling the recipe – You can double this recipe, but expect the cooking time to be longer. Use the chilled-plate or temperature test rather than relying on the stated cooking time.
More no Pectin Jam Recipes


Troubleshooting Raspberry Jam
| Problem | Possible cause | Solution |
|---|---|---|
| Jam is too runny | It wasn’t cooked long enough or hasn’t fully cooled | Let it cool completely first. If still too loose, return it to the pan and cook a little longer, then test again. |
| Jam is too thick | It was cooked too long | Warm it gently with a small amount of water or lemon juice until it reaches the consistency you want. |
| Jam didn’t set | It didn’t reach the proper setting point | Reheat and cook until it passes the chilled-plate test or reaches about 220°F/104°C at sea level. |
| Jam tastes too sweet | The berries were naturally sweet or the sugar is high for your taste | Add a little additional lemon juice to balance the sweetness. Don’t arbitrarily reduce sugar if you’re following a tested canning recipe. |
| Jam tastes too tart | The raspberries were particularly tart | For refrigerator jam, adjust with a little additional sugar while the jam is still warm. |
| Jam burned on the bottom | Heat was too high or it wasn’t stirred enough | Use medium to medium-low heat once boiling and stir frequently, especially toward the end. If it scorches, don’t scrape the burned layer into the rest of the jam. |
| Foam forms on top | Normal air bubbles created during boiling | Skim it off, or stir in the optional small amount of butter at the end. |
| Jam crystallized | Undissolved sugar remained on the sides of the pan or the jam was overcooked | Make sure the sugar dissolves completely early in cooking and avoid excessive cooking. |
Frequently asked questions
Pectin is an essential ingredient for jams, jellies, and preserves. Without pectin, our jams and jellies will not be set. Pectin is naturally found in many fruit seeds and skins, but can also be produced artificially.
Commercial pectin is usually made from the fruit rind. Using artificial pectin can reduce the jam cooking time and give you a high yield, but it lacks that intense flavor produced through longer, slower cooking by the natural production of pectin in jam.
All fruits have pectin. Some fruits have more pectin than others, like blueberries, apples, and other fruits. Especially in a raspberry jam, you don’t really need any more pectin.
Our grandmothers did not use any artificial pectin either. And yet, they’ve made us some amazing jams. Low-heat, slow cooking is the key to making a good jam because that’s when the pectin is naturally released.
An acid, like lemon juice, is necessary to keep the sugar from crystallizing, which is why all jam recipes have lemon juice. To fix crystallization, simply heat the jam in a microwave or clean saucepan over medium heat. Add lemon juice and cook until the sugar has melted again. This should fix it.
No matter what jam you make, there is so much you can do with it other than just spread it on toast. I often use jam in my macarons for a quick fruit filling. My kids love to help me make shortbread cookies so they can stick their thumbs in the center and add jam. Also, nothing beats fresh, homemade fried donuts filled with a jam that just melts in the mouth. These classic Linzer cookies are made every year for gifts.
More jam recipes
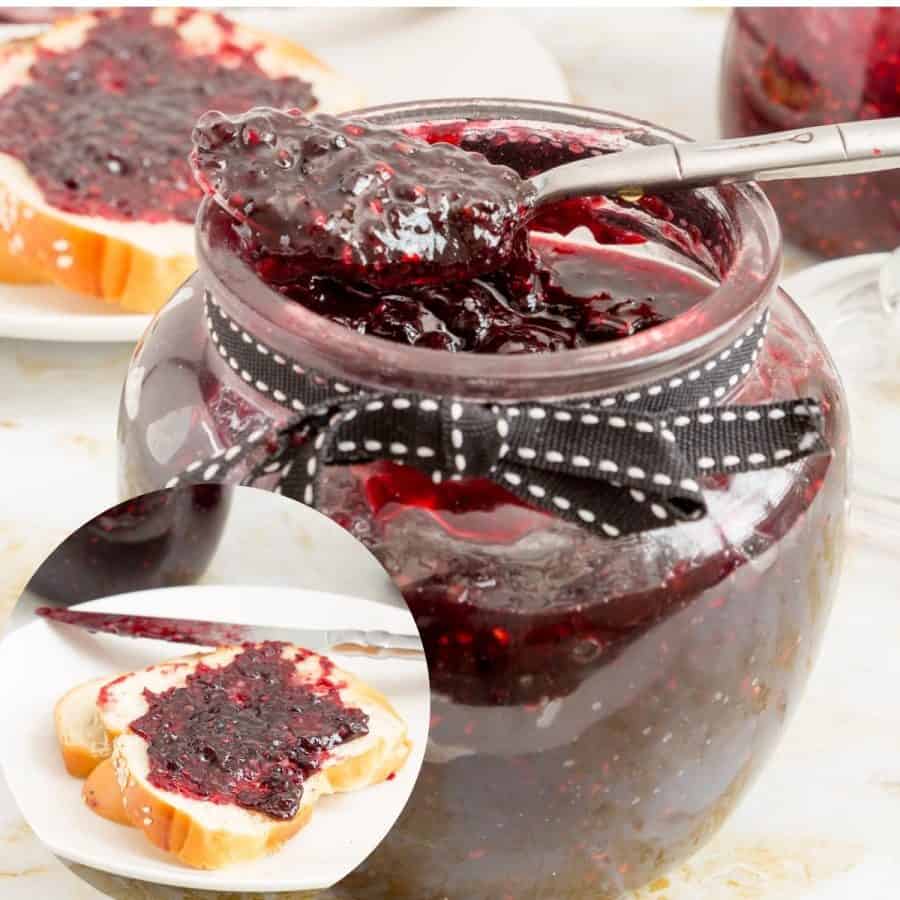
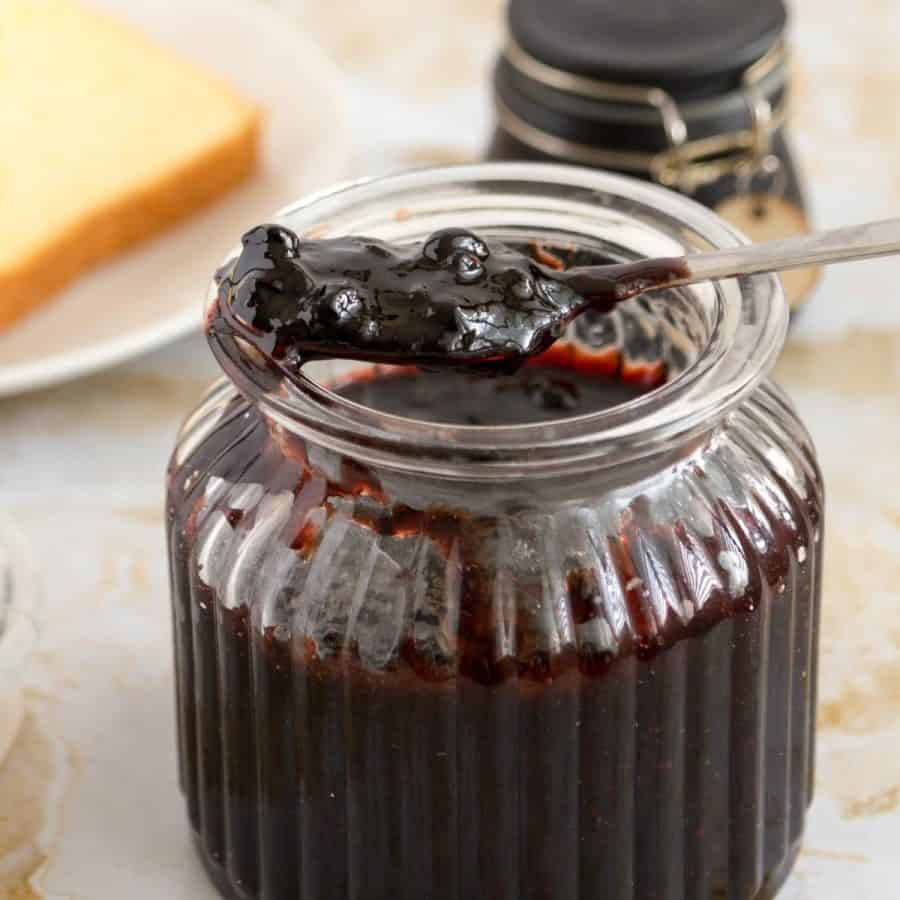
- Apricot Peach Jam
- Fresh Fig Jam
- Microwave Strawberry Jam
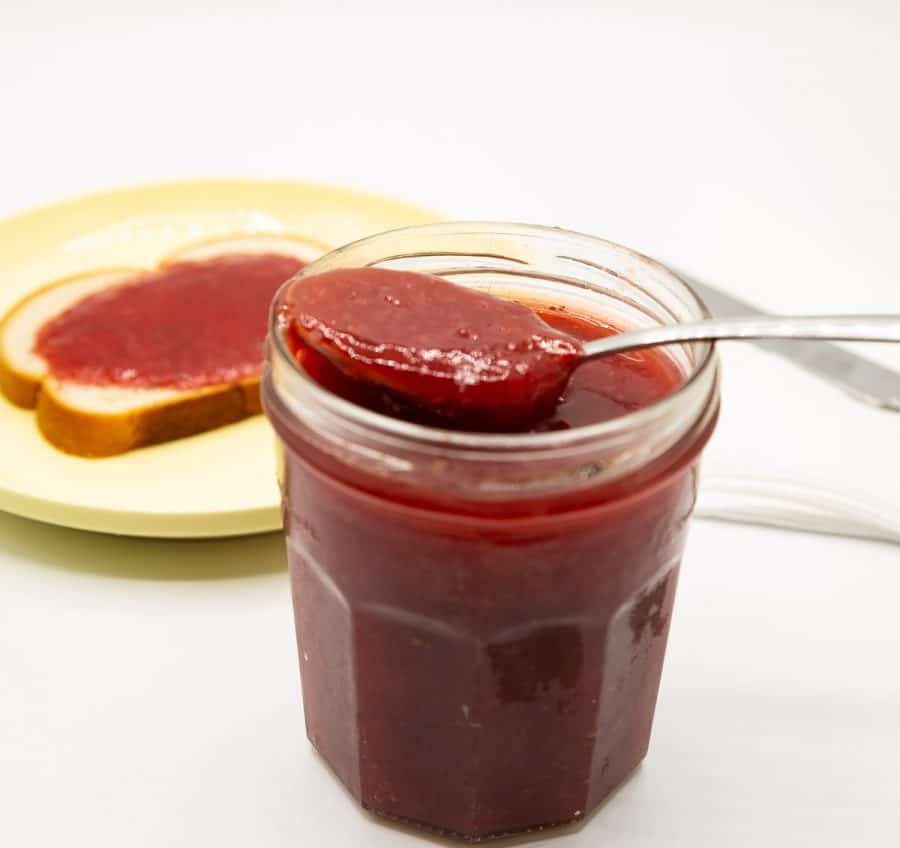
- Blueberry Jam – No Pectin
- See all jam recipes


Don’t lose this recipe! Save it for Later!
📌 Save this Recipe for later on Pinterest so you can easily find it again.
⭐ Add Veena Azmanov Kitchen to your Google Preferred Sources.
It helps Google show you more of our recipes.
📧 Subscribe for new recipes delivered to your inbox.
🎥 Follow us for more recipes

Hi, I’m Veena
I’m the recipe developer, baker, and food photographer behind Veena Azmanov Kitchen.
I’ve spent years developing and testing recipes, from everyday meals and homemade breads to cakes and desserts.
I share the practical tips and little details I’ve learned along the way so you can get great results in your own kitchen.








I followed your mom’s recipe for sugar free jam. I used 1 Tbsp of pectin and 1 Tbsp of lemon juice per cup of berries and I ended up with a pan full of rubber. I’m thinking maybe a tsp of pectin per cup would have worked much better. Maybe it was something else, but maybe you want to check the recipe. Thank you Stephanie
Sorry to hear that Stephanie. I have rephrased the recipe because I think the water and remained in the paragraph and could have been missed. Thanks for bringing it to my attention.
If I use pint jars how long do I need to process them in a hot water bath?
Linda, Sorry but I’m not so sure. It depends on the size of the jars. I know that 250 ml jars I use need about 15 minutes (takes about 10 mins for the heat to penetrate the center of the jar)
Hi Veena, could I use other berries in place of the raspberries? Such as just strawberries or blueberries?
Bess. I do have a blueberry jam as well as strawberry jam that you can use
I made this recipe today. It was very easy to make and I like the fact that it has less sugar than the typical jams. I had fresh picked farm raspberries and it turned out perfect. I did cook it about 30 minutes to get it to the consistency that I liked. Thank you!
Thank you, Sopheyla. I am so happy to hear you enjoyed this cake.
Veena, I tried your fabulous recipe today — this raspberry jam is AWESOME. Thank you so much for sharing such detailed and easy-to-follow recipe! I don’t like commercial jams (they always taste funny IMHO) but I often bought them because I didn’t know how to make jams. I couldn’t believe that making homemade jams could be this easy! Thank you!!
Thank you so much, for the lovely feedback. Yes, most people don’t realize making jam is so easy.
Can I freeze this jam instead?
Yes, you can freeze the jam in freezer-safe bags. It will last for over a year in the freezer
Loved this recipe. On my first attempt I cooked the jam for 20 minutes and it stayed very fresh tasting but didn’t fully set. I gave the second batch around 45 minutes to fully set; it became very gelatinous and turned a deep red color. Both were delicious. Thank you Veena!
Thank you, V. I am so happy you enjoyed this recipe
Beautiful results. Full raspberry flavour. The lemon juice provided the pectin needed to set the jam. Highly recommend this recipe.
Thank you, Yvonne
I want to try this recipe but in the Cook Jam section, step 5 it says “Meanwhile, place two ceramic plates in the freezer. (see note)” I am confused where is this “note”?
Hey Marisa. I’m sorry – it was supposed to read – see video
We place two ceramic plates in the freezer or fridge. These cool while the jam is cooking. When you are ready to test – bring the cold plate out. Put a spoonful of jam on the plate. The cold plate will instantly cool the jam giving you an indication of how much it has set. Simply put the jam on the plate from the corner towards the center. If it wrinkles it is set. Time to take the jam off the heat. If not, continue with a few more tests – every 3 to 5 minutes.
I hope this helps
I think there is a typo in the desired candy thermometer temperature readings: 221°F is 105°C, not 150°C (302°F).
Ah, Yes, thank you, Christina. That was a typo. Just corrected. Thanks
This looks so amazing. Perfect for giving as gifts too!
Thanks, Lois