Homemade Piping Gel Recipe – Two Methods

This homemade piping gel is so simple, quick and easy to make you will never have to go without it ever again. Piping gel has become an important aspect of cake decorating from glue to sticking flowers. In this post, I share with you two recipes one with gelatin and a vegetarian one with lots of possibilities.
If you are a cake decorator, then you must have used piping gel. You can find it in any cake decorating store. When I started cake decorating, it was not easily available, and its shelf life was always an issue.
So, I had to find a way to make my own. I found many recipes online and have gone through quite a few recipes to find one that works for me.
What do we use piping gel for
- Piping gel is often used to give cakes the glass effect, such as stained glass cakes.
- When you need to create a water effect. For example, for a swimming pool cake or a waterfall decoration.
- When working with wafer paper flowers. The piping gel works best to stick wafer paper to wafer paper.
- As a glue when working with sugar cookies. I use piping gel to get the fondant to stick my cookies.
This is not my original recipe. It’s adapted from those I found online. I’ve gone through a couple of piping gel recipes and came up with this ratio of gelatin or cornstarch that works best for me. I hope that you will also find it useful.
The difference between the two homemade piping gels
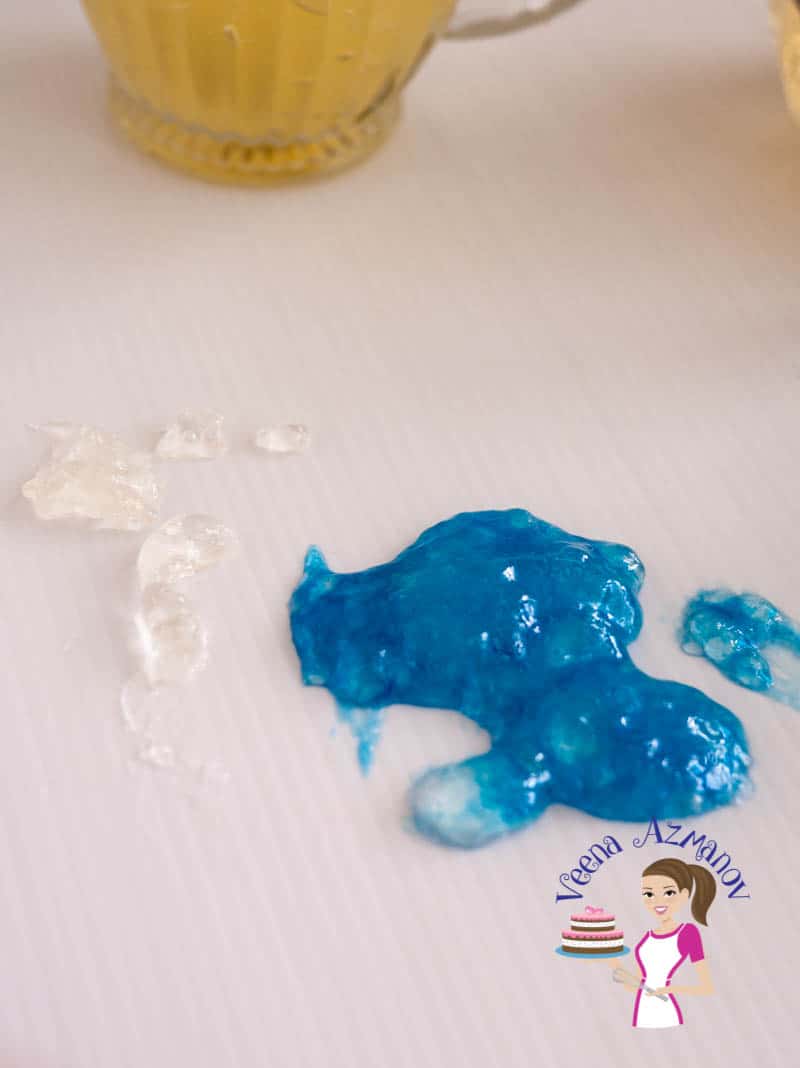
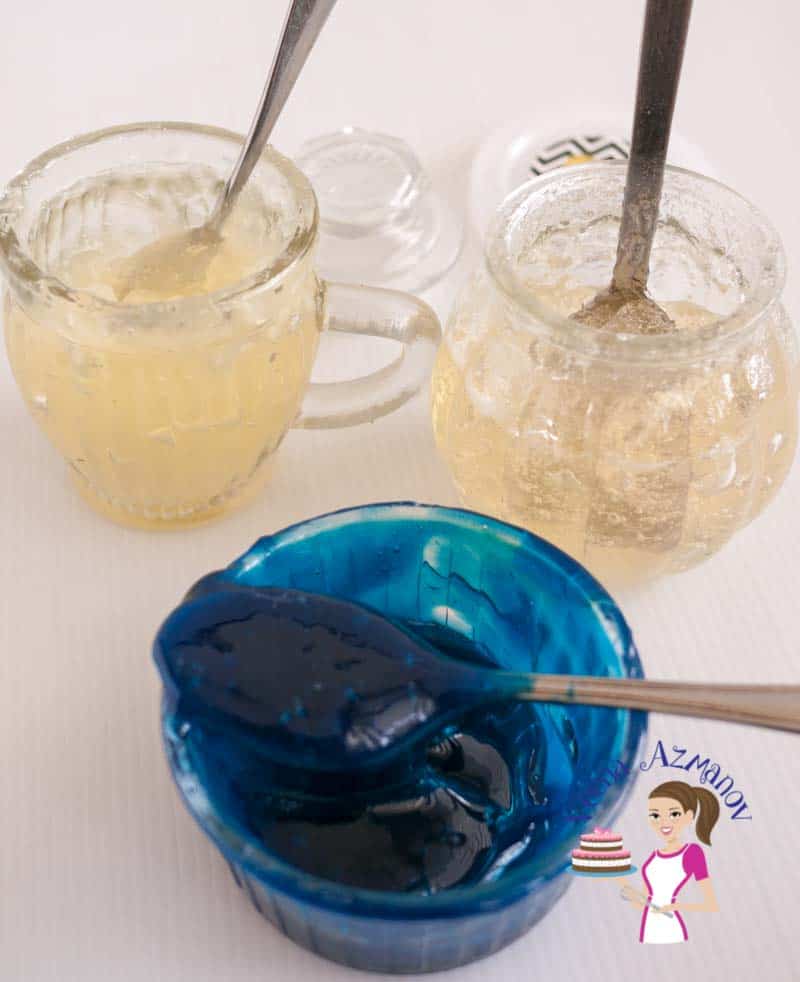
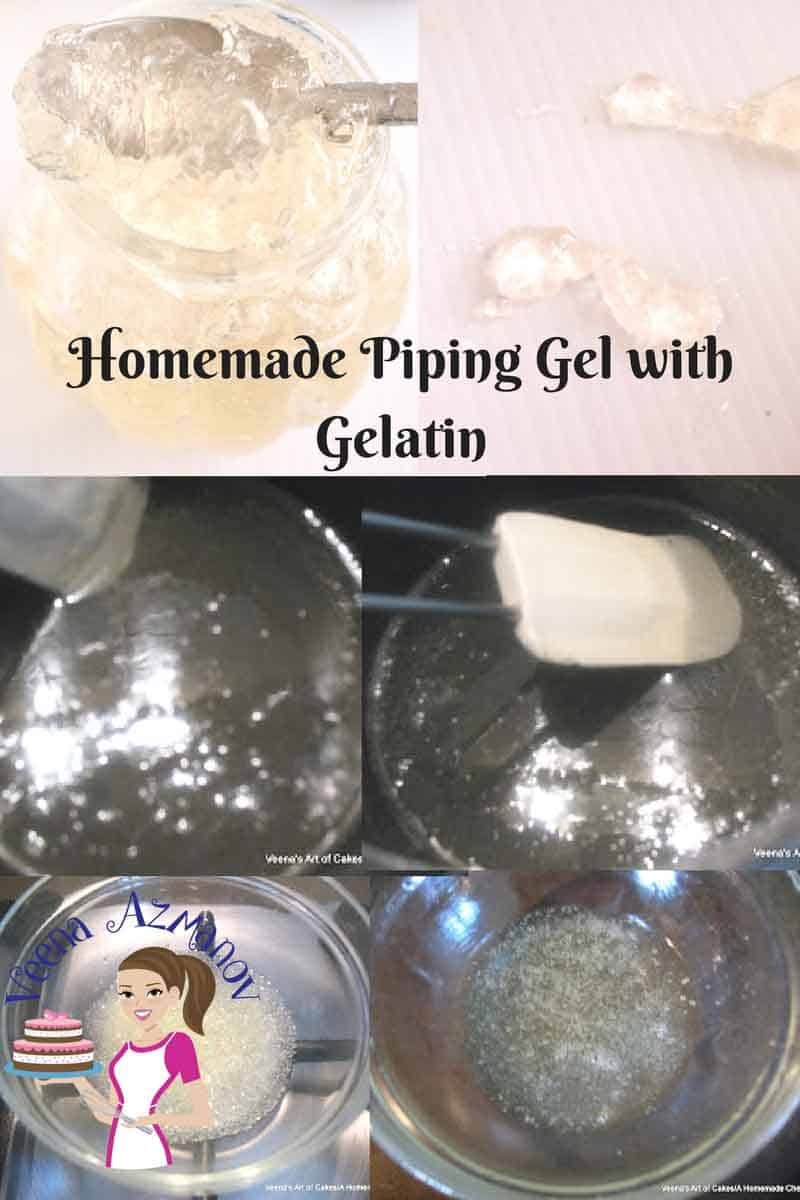
The main difference, of course, is one is made using gelatin and the other is made with cornstarch. Which means that one is vegetarian and the other is not. But as you can see, there is also a slight difference in color.
The one on the right is made with gelatin. And as you can see, it is more transparent as compared to the one on the left, which is made with cornstarch and it’s a bit more opaque. While it’s not a huge difference, I think it’s worth mentioning.
The consistency of piping gel
Understanding the consistency of the piping gel is very important. It has a soft consistency and does not dry hard. It will dry but not like royal icing. So, please do not mistake it for royal icing.
How to use this homemade piping gel
- You may need to add hot water to bring to the piping gel to the consistency you need.
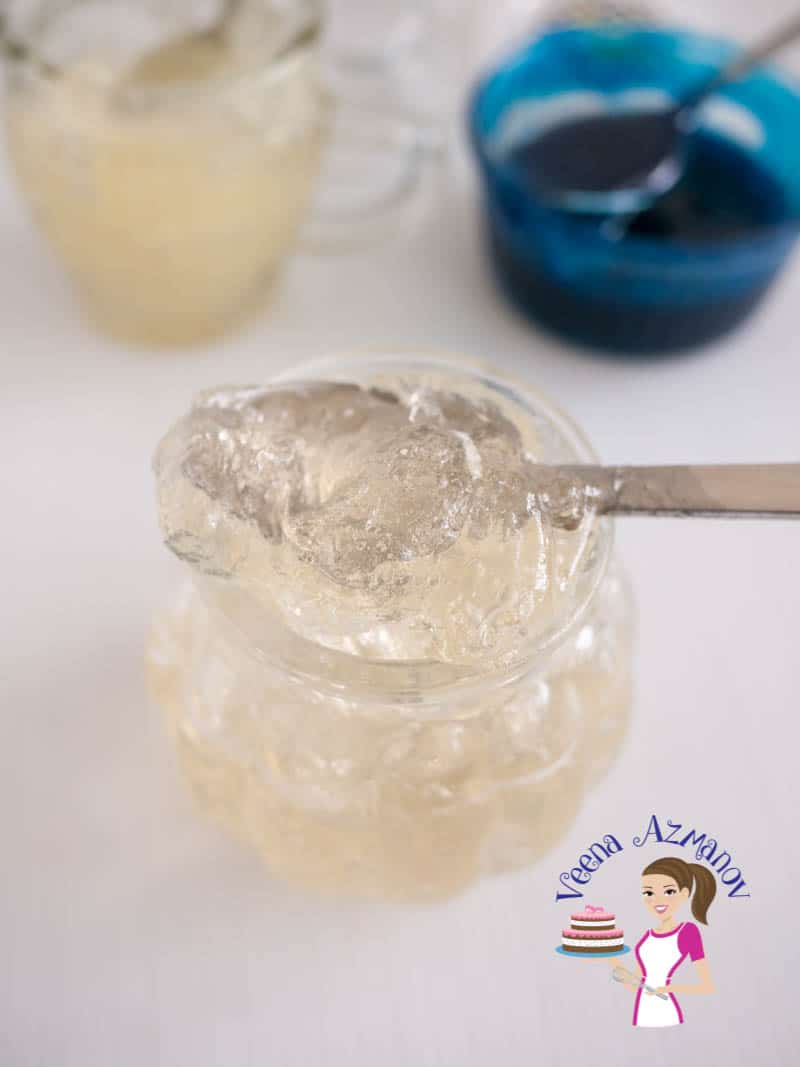
- Below is the piping gel consistency when made. It would work great to create water or waves where you need it to hold its shape.
- But if you need it as a glue, this might be too thick. So, add a few tablespoons of hot water and mix thoroughly.
Storage and shelf life
- I find that it’s best to store the piping gel in a little glass jar like the ones I show you here.
- I always keep it in the fridge to increase its shelf life.
- In general, piping gel has a short shelf life – I’d say about 2 weeks. So, I always make a small batch since I prefer to make it often.
Caution
If you are using any recipe, it best to first do a test to see if it’s the right one for the project you have in mind.
Whatever recipe you use, be it the one with gelatin or with cornstarch, if you do not make it the same way I have, it may not work for your project. Please test it to see if it can create those waves or that waterfall you want and make any necessary adjustments.
As you can see in the images above, this is how it looks when it’s ready. I hope it works for you too.
Homemade piping gel with gelatin
I personally prefer to use this recipe although it is a bit more expensive than the second recipe. It dries better than the second recipe and I personally think the gelatin and corn syrup is tastier. If you are a vegetarian, then you probably need to use the second recipe below.
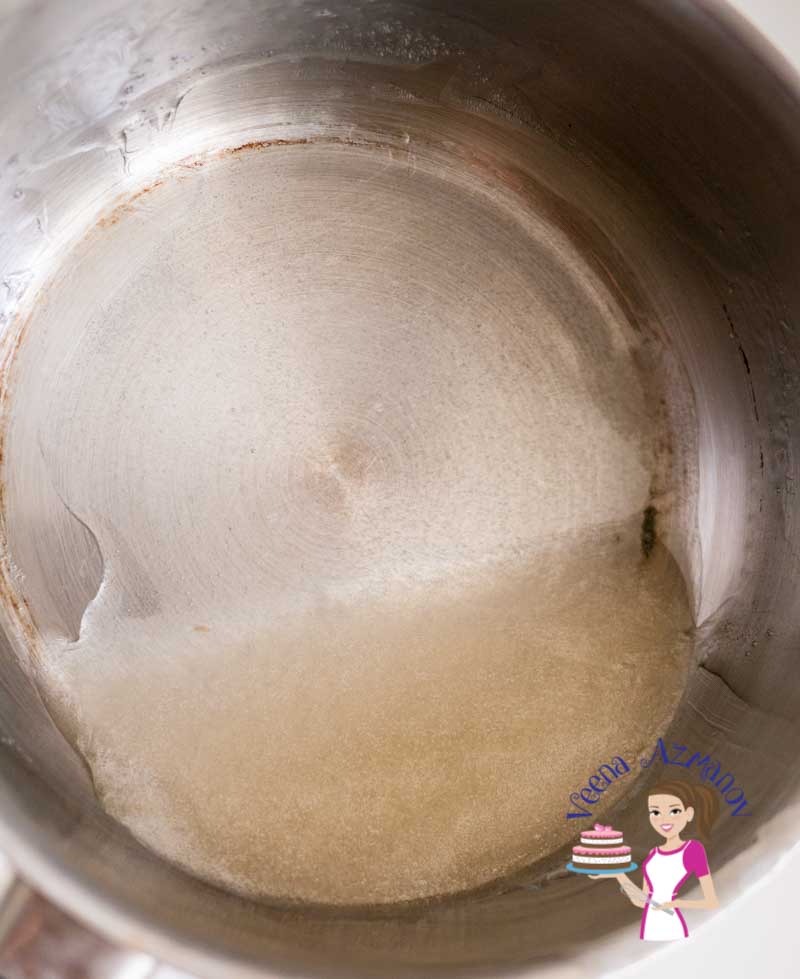
- Dissolve gelatin in the water for 2 minutes.
- Place in the microwave for 20 to 30 seconds or in a double boiler and melt the gelatin.
- Place the corn syrup and extract in a saucepan over low heat. Once the corn syrup is hot, add in the gelatin mixture.
- Stir well to combine.
- That’s it – your piping gel is ready.
- This gel will thicken as it sits.
Homemade piping gel with cornstarch
The benefit of this recipe is that it is cheaper. I personally do not like the strong lemon taste, but it does go on nice and smooth so you get a nice glass effect.
- Dissolve the cornstarch in half the water.
- Place the sugar and the remaining water on low heat and stir until all the sugar has dissolved.
- Add the lemon juice, and cornstarch mixture.
- Stir until thick and opaque.
- The cornflour should cook until it becomes opaque (see image below).
- Switch off the flame.
- Store in a glass jar or container.
- Once cooled, use as desired.
- If necessary, add hot water to bring to the right consistency.
Important – Cook this Homemade Piping Gel until cornstarch looks like this. Almost translucent.
Homemade Piping Gel – Two Recipes – Gelatin or Vegetarian
This homemade piping gel is so simple, quick and easy to make you will never have to go without it ever again. Piping gel has become an important aspect of cake decorating from glue to sticking flowers. In this post, I share with you two recipes one with gelatin and a vegetarian one with lots of possibilities.
Ingredients
- 2 tbsp Gelatin
- 2 tbsp Water
- 2 cups (470 ml) Light corn syrup
- Clear vanilla or almond extract
- ⅓ cup (80 ml) White granulated sugar
- 1 tbsp Cornstarch / cornflour
- ¼ cup (4 tbsp) Lemon juice
- ¼ cup (4 tbsp) Water
Method
- Dissolve gelatin in the water for 2 minutes.
- Place in the microwave for 20 to 30 seconds or in a double boiler and melt the gelatin.
- Place the corn syrup and extract in a saucepan over low heat. Once the corn syrup is hot, add in the gelatin mixture.
- Stir well to combine.
- That’s it – your piping gel is ready.
- This gel will thicken as it sits.
- Dissolve the cornstarch in half the water.
- Place the sugar and the remaining water on low heat and stir until all the sugar has dissolved.
- Add the lemon juice, and cornstarch mixture.
- Stir until thick and opaque.
- The cornflour should cook until it becomes opaque (see image below).
- Switch off the flame.
- Store in a glass jar or container.
- Once cooled use as desired.
- If necessary add hot water to bring to the right consistency.
Notes
Equipment you will need


Nutrition
Tried this recipe?
Mention @veenaazmanov_kitchen or tag #veenaazmanovkitchen!Don’t lose this recipe! Save it for Later!
📌 Save this Recipe for later on Pinterest so you can easily find it again.
⭐ Add Veena Azmanov Kitchen to your Google Preferred Sources.
It helps Google show you more of our recipes.
📧 Subscribe for new recipes delivered to your inbox.
🎥 Follow us for more recipes


I have to say I use this nearly every year for our oldest’s birthday cake and have since she was around five. She is turning 14 this year and has requested it again. We use the kind with the lemon juice in it since she loves sour. Thank you so much for helping to make her cakes special. 🙂
Thank you, Christine. Happy Birthday to your daughter.
The recipe looks great! Can this be mixed with gel colour to be used over cake stencil? Does it fry up?
Hi,
Can I make this ahead and store to use at a later time?
Yes, you can make it ahead and store it in the fridge for up to 10 days.
When you say gelatin, do you mean unflavored gelatin, like Knox?
Yes, unflavored gelatin like knox is perfect!
Hello! How long does it take for the gelatin piping gel to dry. I want to use it with a mesh stencil. Thank you!
Gelatin in general dries depending on the amount of liquid you add to it and on how thick or thinly you apply to it. For example, a gelatin-based piping gel used as a steam or waterfall will dry in a few hours. (It does not become hard)
question…..When do you add the color? After it’s made or while it’s warm?
You can add color while it’s warm or cold depending on what you need it for. I add blue while cool when I want to make waves. Also, you can warm it slightly if necessary.
Hello is this good to use for writing happy birthday on a ice cream cake???
Hey Paula, I don’t usually use it to write on cakes, but you could if you make it very thick, so it holds it shape. Thanks
Quick and perfect another go to recipe thank you