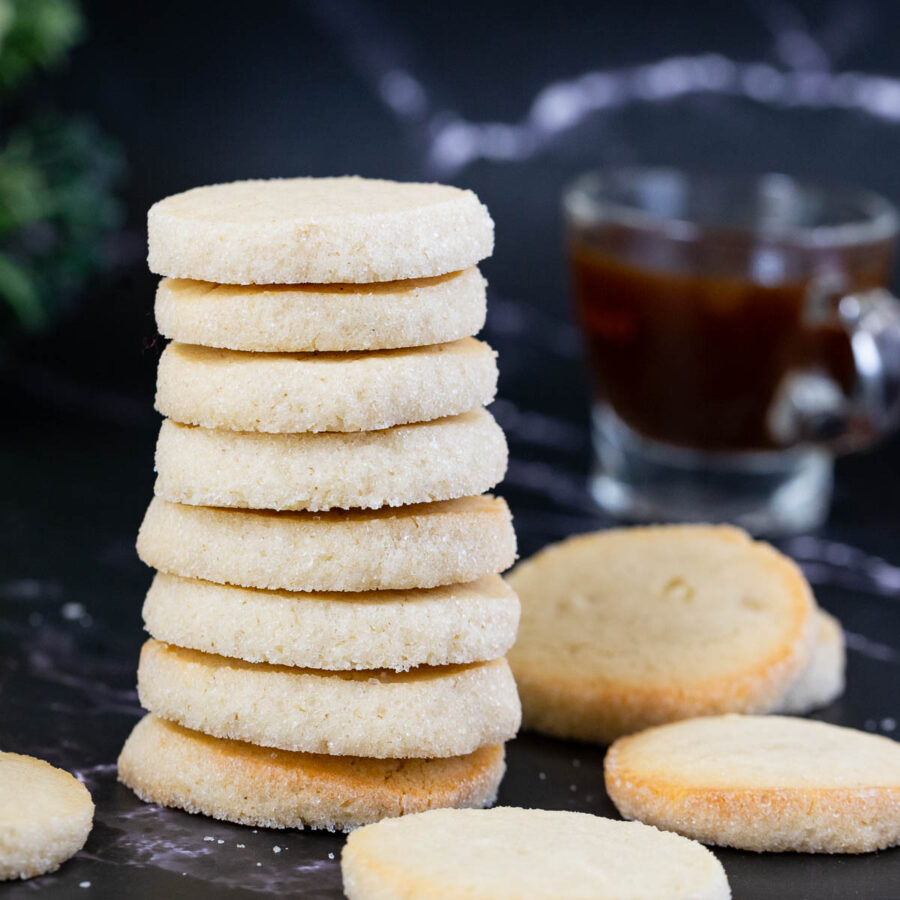
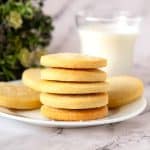
Danish Butter Cookies

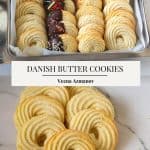
These classic Danish butter cookies are crisp, buttery, and beautifully piped into delicate swirls. They come together quickly with simple ingredients and a soft, pipeable dough. Perfect for holiday cookie tins, gifting, or anytime you want a bakery-style butter cookie at home.
Growing up, Danish butter cookies were one of my absolute favorites. My mom used to make them often, and they always disappeared faster than she could bake them. They were also one of the very first cookies I learned to make on my own because the dough is simple, the piping is fun, and the reward is instant.
In my house today, the kids would happily live on chocolate chip cookies if I let them — Ziv and Aadi can eat those every single day! But Danish butter cookies? These are my comfort cookies. They’re the kind I bake when I want something buttery, crisp, and nostalgic. And honestly… once I make a batch, everyone mysteriously drifts into the kitchen anyway.
⭐ Why you will love this recipe
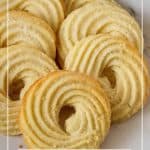
- Easy dough that pipes beautifully with a star tip for the classic rosette shape.
- Perfect buttery flavor using simple pantry ingredients.
- Quick to bake — just 10 minutes in the oven.
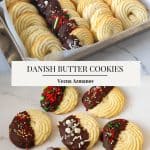
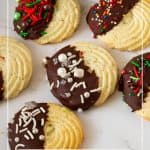
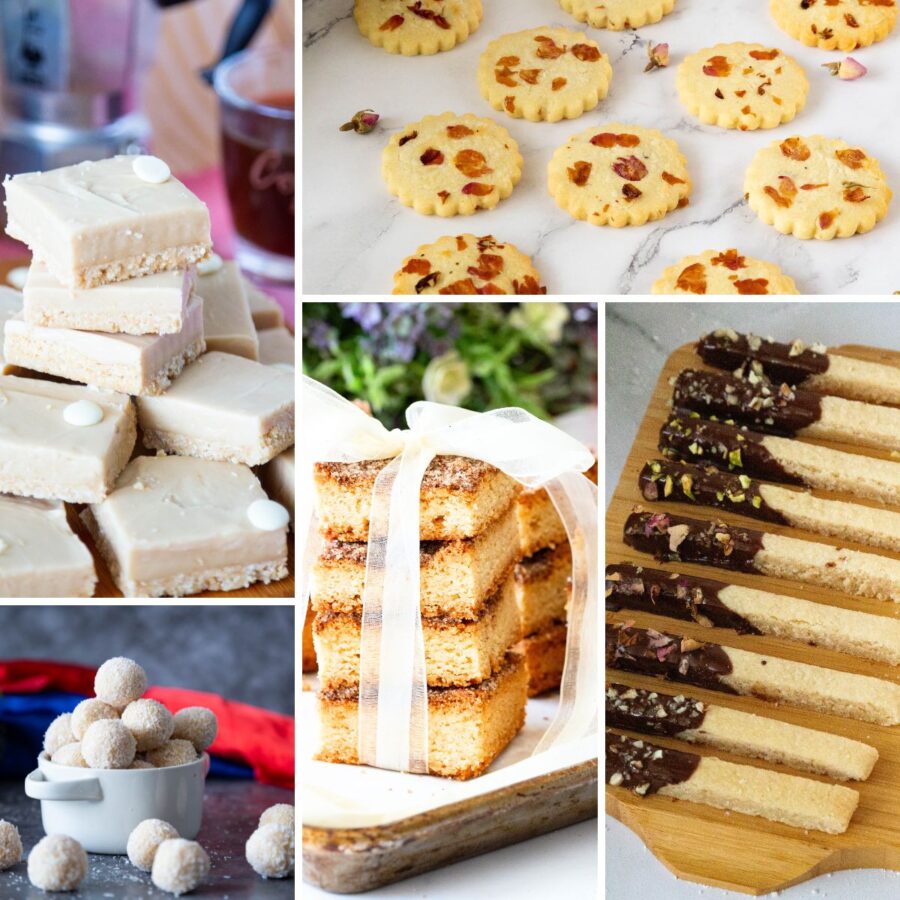
- Versatile — dip in chocolate, sprinkle with sugar, or keep them plain.
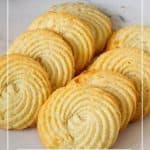
- Reliable texture — crisp edges and a tender center every time.

Ingredients and substitutes
- Butter – Use good-quality unsalted butter for the best flavor. Soften until spreadable but not greasy.
- Sugar – Granulated sugar gives structure and light crispness.
- Egg or yolks – Helps bind the dough and creates a smooth piping texture.
- Flour – All-purpose flour works perfectly. For a softer crumb, replace 2–3 tbsp with cake flour.
- Vanilla – Pure vanilla extract adds warmth; almond extract works nicely too.
- Milk – Just enough to loosen the dough for piping. Add gradually.
- Chocolate / sanding sugar (optional) – For decorating.

Step-by-step Danish butter cookies
1. Prep
Line two baking trays with parchment. Preheat oven to 375°F / 190°C.

2. Cream the dough
Beat softened butter and sugar until light and creamy. This creates the classic crisp-yet-tender texture. Mix in the egg (or yolks) and vanilla until fully incorporated.
3. Add dry ingredients
Add flour and salt. Mix until just combined — do not overmix.
Add 1–2 tbsp milk, only as needed, to achieve a smooth, pipeable dough.
Pro tip: If the dough is too stiff to pipe, add a teaspoon of milk. If it’s too soft, chill 5 minutes.

4. Pipe & Chill
Transfer dough to a piping bag fitted with a 1M star tip.
Pipe swirls or S-shapes onto the tray, leaving space between cookies. Refrigerate the tray for 15 minutes to help the cookies hold their shape.

5. Bake, Cool & decorate
Bake 8–10 minutes until edges just begin to turn golden.
Cool completely.
Dip in melted chocolate or sprinkle with sugar, if desired.

⭐ Creative Variations
- Chocolate-dipped – Half-dip and sprinkle nuts or dragees.
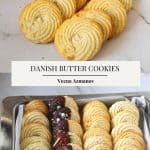
- Plain piped rosettes – Classic tin-style shape.
- Spirals or S-cookies – Pipe different shapes for variety.
- Almond version – Add ¼ tsp almond extract.
- Citrus – Add a touch of lemon zest.

Tips for success
- Butter must be soft, not melted, for correct texture.
- Add milk sparingly — just enough to pipe smoothly.
- Chill piped cookies to prevent spreading.
- Bake only until lightly golden at the edges.
- Store in an airtight tin for up to one week.

Troubleshooting
| Issue | Fix |
|---|---|
| Dough too stiff to pipe | Add 1 tsp milk at a time until smooth. |
| Dough too soft / cookies spread | Chill piped cookies 10–15 minutes. |
| Cookies too pale / soft | Bake 2–3 minutes longer until edges lightly golden. |
| Cookies crack while piping | Butter not softened enough — warm dough slightly. |
| Cookies dry | Don’t overbake; measure flour correctly. |
Frequently asked questions
Their texture — crisp edges, a tender crumb, and a rich buttery flavor. The classic piped shapes create ridges that brown beautifully and give the cookie its melt-in-your-mouth finish.Yes — freeze the dough or piped unbaked cookies for up to 2 months.
Store in an airtight metal tin or glass jar — this keeps them crisp.
Keep them in a cool, dry place, away from humidity.
If dipping in chocolate, let the chocolate set completely before storing so they don’t stick together.
Avoid plastic containers; they trap moisture and soften the cookies.
Yes — beautifully.
To freeze unbaked cookies:
Pipe the cookies onto a tray.
Freeze until firm, then transfer to a freezer bag.
Bake from frozen, adding 1–2 minutes to the bake time.
To freeze baked cookies:
Cool completely.
Layer between parchment sheets in an airtight box.
Freeze up to 2 months.
Thaw uncovered at room temp to keep them crisp.
Butter cookies can be rolled, cut, or dropped, but Danish butter cookies are traditionally piped using a star tip, giving them their signature swirl and crisp, delicate texture. They usually contain a little milk to help the dough pipe smoothly.
Shortbread uses a higher ratio of butter to flour and contains no egg, giving it a dense, sandy texture. Danish butter cookies include egg and a little milk, making them lighter, softer, and easier to pipe.
The biggest issues are:
Butter too soft → cookies spread
Dough too stiff → hard to pipe
Skipping the chilling step → shapes lose definition
Overbaking → dry, crumbly cookies
Follow the steps and chilling time and they always turn out crisp and neat.
Yes — they crisp up as they cool. Always take them out when the edges just start to turn golden; they firm up perfectly on the tray.
Danish Butter Cookies (Piped Butter Cookies)
Are you ready to unleash your inner baker and create the perfect Danish butter cookies in your kitchen? Imagine the delightful aroma of freshly baked treats wafting through your home and the satisfaction of biting into buttery, delicate cookies with an irresistible flavor.
Video
Ingredients
- 1 cup (227 g) Unsalted butter softened, room temperature
- ½ cup (100 g) Granulated sugar
- 1 large Egg or 2 egg yolks
- 2 cups (250 g) All-purpose flour
- ½ tsp Salt
- 1 tsp Vanilla extract
- 2 tbsp (30 ml) Whole milk
- ½ cup (90 g) Melted chocolate
- 2 tbsp (24 g) Granulated sugar or sanding sugar
Method
- Prep – Line your baking sheets with parchment paper or silicone mats to prevent the cookies from sticking.
- Cream – Cream the butter and sugar in a large mixing bowl. The butter should be at room temperature for easy mixing. Use an electric mixer or a wooden spoon to combine the two ingredients until they are light and fluffy.1 cup Unsalted butter, ½ cup Granulated sugar
- Egg – Once the butter and sugar are well combined, it’s time to add the egg, followed by the vanilla extract. This aromatic ingredient will give your cookies a fragrant and inviting flavor. Pour in the desired amount and continue mixing until it is evenly incorporated.1 large Egg, 1 tsp Vanilla extract
- Flour – It’s time to add the dry ingredients to the butter mixture gradually. This typically includes flour and a pinch of salt. Slowly add the dry ingredients and mix until a smooth dough forms. Be careful not to overmix, resulting in dense and tough cookies. Add just enough milk to make a piping consistency. Pro tip – Too soft, the cookies will spread. Too stiff, and it will be hard to pipe.2 cups All-purpose flour, ½ tsp Salt, 2 tbsp Whole milk
- Pipe – Load your cookie dough into a Wilton 1M piping tip or star piping bag, and gently squeeze the bag to form star-shaped cookies directly onto the baking sheet. When you pipe your cookies on a baking sheet, leave enough space between each cookie to allow for a little spread during baking.
- Chill -Transfer the baking tray with piped cookies to the refrigerator and let the cookies chill for at least 15 minutes while you preheat the oven.
- Oven – Preheat your oven to 375°F/190°C/Gas Mark 5. This will ensure your cookies bake evenly and develop that perfect golden color.
- Bake – Transfer the baking sheets to the preheated oven and let the cookies bake for the specified time in the recipe. Keep an eye on them to prevent over-browning. The baking time may vary slightly depending on your oven and the size of your cookies.
- Cool – When they turn a beautiful golden brown, remove the cookies from the oven and let them cool on a wire rack.
- Chocolate coated – Dip some of the cookies partially in the melted chocolate. Sprinkle your favorite toppings such as dragees, confetti, sprinkles, nuts, etc.½ cup Melted chocolate
- Sugar-coated – before baking, sprinkle some of the cookies with granulated sugar. Alternatively, you can dust them with powdered sugar after they bake.2 tbsp Granulated sugar
Notes
- Butter must be soft, not melted, for correct texture.
- Add milk sparingly — just enough to pipe smoothly.
- Chill piped cookies to prevent spreading.
- Bake only until lightly golden at the edges.
- Store in an airtight tin for up to one week.
Equipment you will need


Nutrition
Tried this recipe?
Mention @veenaazmanov_kitchen or tag #veenaazmanovkitchen!


Don’t lose this recipe! Save it for Later!
📌 Save this Recipe for later on Pinterest so you can easily find it again.
⭐ Add Veena Azmanov Kitchen to your Google Preferred Sources.
It helps Google show you more of our recipes.
📧 Subscribe for new recipes delivered to your inbox.
🎥 Follow us for more recipes


I made these to put into our cookie boxes to give out as gifts but I gotta make another batch because we already ate half of them lol. So good!
I baked these butter cookies yesterday for my niece, vanished in no time! Going to make another batch for my friends and family.
These butter cookies are so yummy! They remind me of the ones in the blue tins only better!!
I love butter cookies! These remind me of the ones my grandmother would get me in the blue tin.
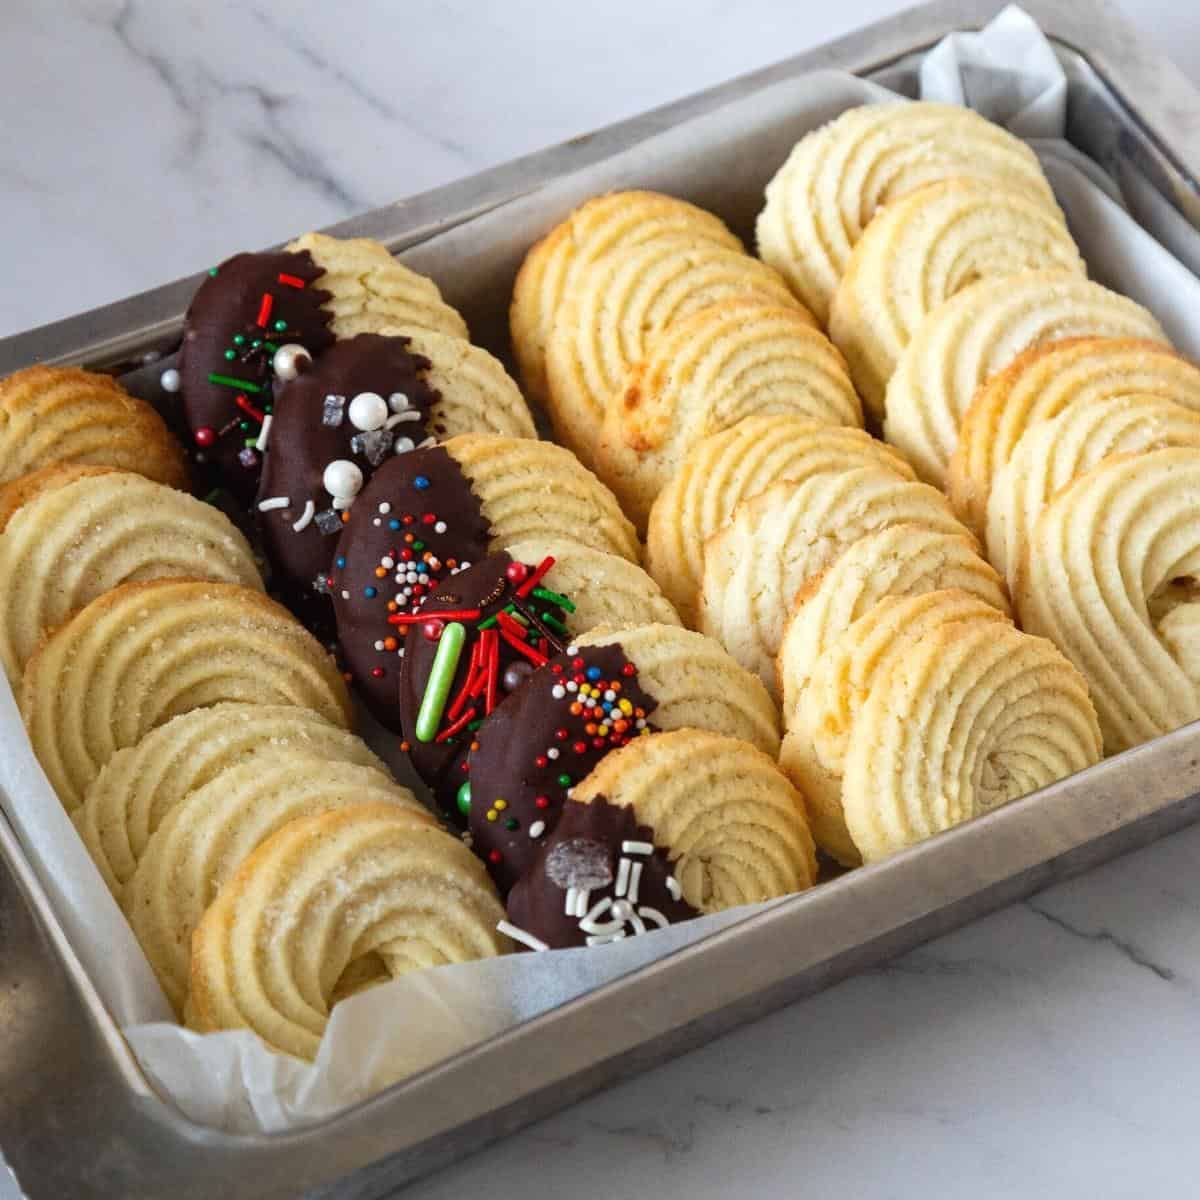
I adore butter cookies…you’ve made them look so pretty with the various toppings. What a beautiful cookie box for the holiday season!
I love this recipe, it is so delicious and so easy to make. A perfect gift to give to my friends this Christmas!
Your butter cookies recipe is so pretty and looks delicious.
I will definitely make this at home.
I made your butter cookies for my wife’s book club and everyone loved them!!
Thank you so much, Dennis, for the lovely feedback. Happy holidays.
I am definitely making these cookies!! I love those danish butter cookies, so I know that I am going to love these cookies. Thanks so much for sharing this recipe 🙂
These delicious Danish Butter Cookies are the perfect addition to our festive cookie boxes. They are easy to make and the options to decorate are endless. Beautiful!