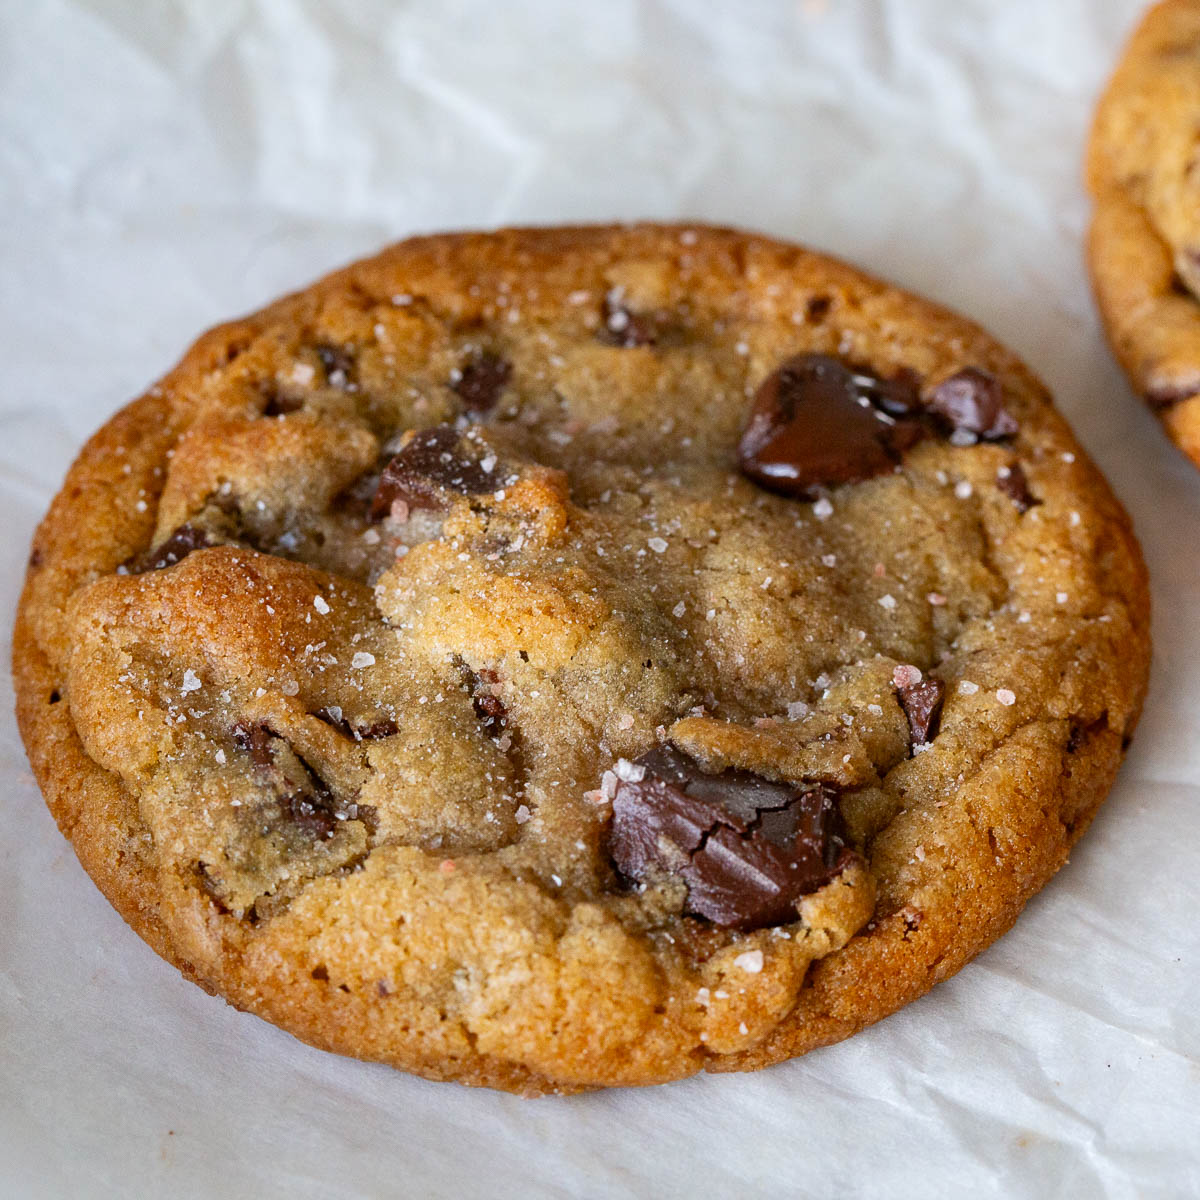
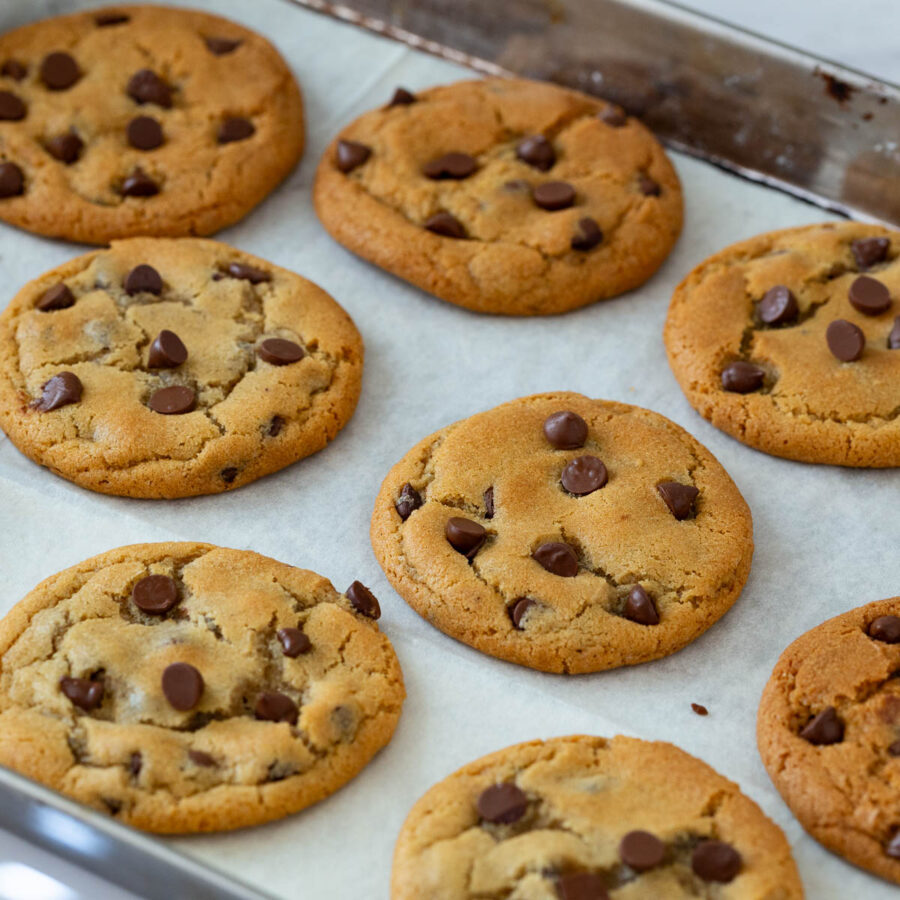
Bakery Style Chocolate Chip Cookies


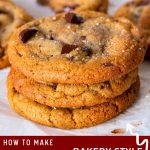

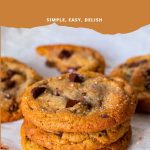
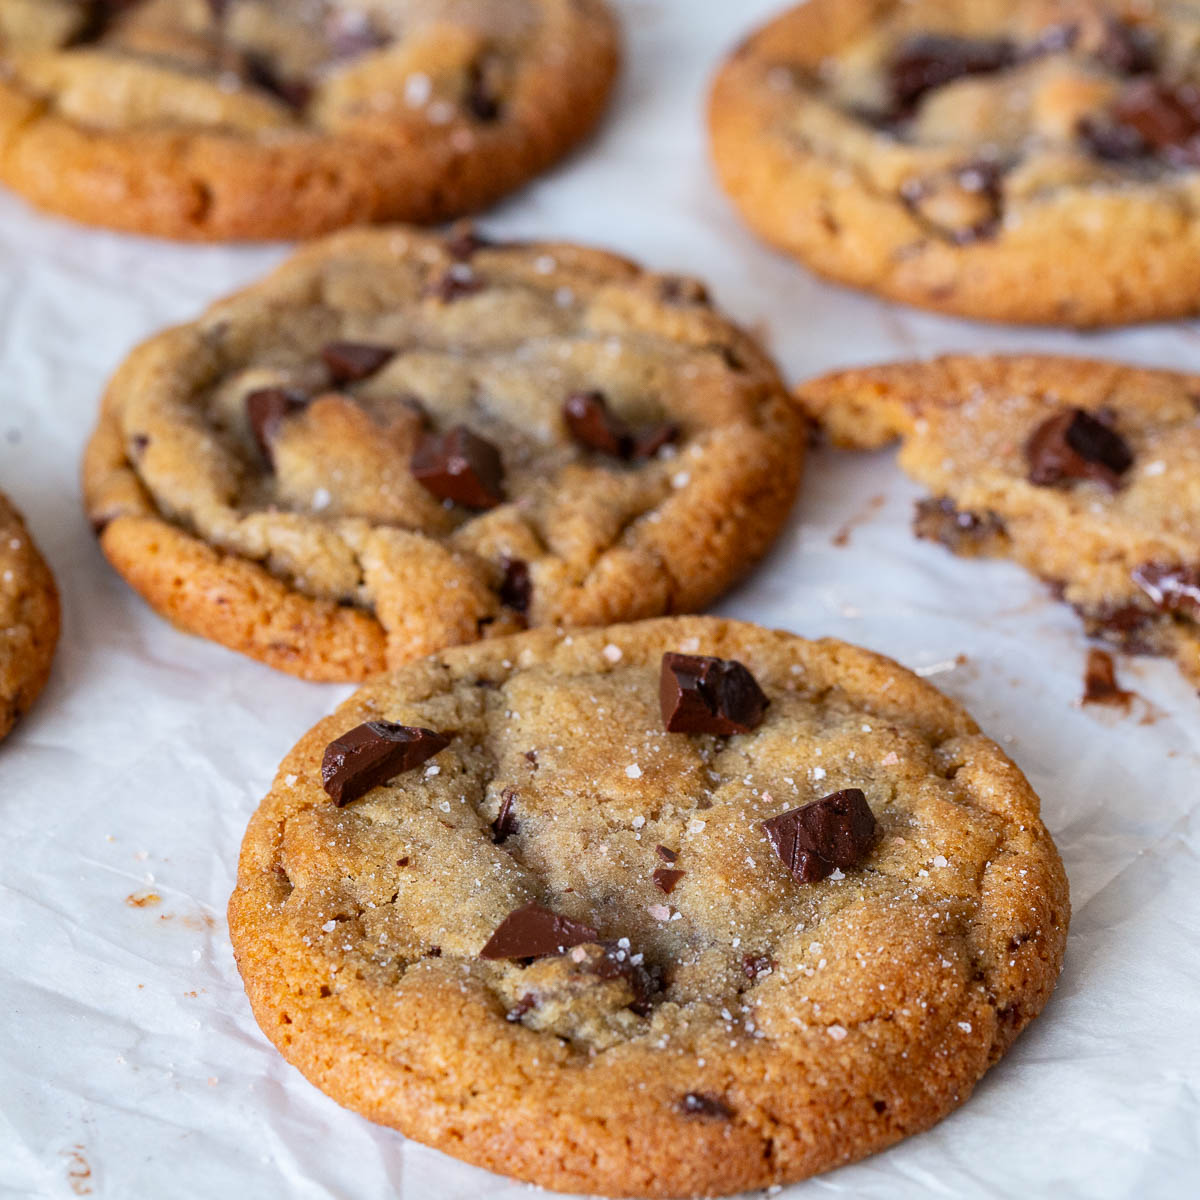
These bakery style chocolate chip cookies are thick, soft, chewy, and loaded with pools of melted chocolate. They’re easy to make, require no chilling, and taste just like the oversized cookies from your favorite bakery.
As an American family living abroad, one of the things we miss most is the simple joy of grabbing a warm, chewy chocolate chip cookie from a local bakery. You know the kind—crispy on the edges, gooey in the center, and absolutely packed with chocolate. So I started recreating those nostalgic treats at home, testing different variations until I landed on a few that really hit the mark—this bakery-style version is one of our top favorites, and now a go-to whenever those cravings strike.
Why is this the best recipe?
- No Chill Required – You can go from craving to cookie in under 30 minutes.
- Bakery-Worthy Texture – Crisp, wrinkly edges and chewy, gooey centers.
- Melted Butter Magic – No need to soften butter or pull out a mixer.
- Customizable Base – Works with chopped chocolate, chips, or even add-ins like nuts.

Ingredients & Substitutes
- Unsalted Butter: Melted for ease and chewiness. You can use salted butter—just reduce the added salt to ¼ tsp.
- Granulated Sugar: Adds structure and crispy edges. Swap with raw sugar for a touch of crunch.
- Dark Brown Sugar: The hero for chewiness and depth of flavor. Light brown sugar works too, but you’ll lose a bit of that caramel note.
- Egg: Binds everything and adds moisture. A flax egg can work for a vegan version, though the texture may change slightly.
- Vanilla Extract: Flavor booster! Use real extract, not imitation.
- All-Purpose Flour: Standard structure. For a gluten-free version, use a 1:1 gluten-free blend with xanthan gum.
- Baking Soda: Reacts with the sugar to create that signature spread and chew. Don’t substitute with baking powder—it’s not the same.
- Sea Salt: Balances sweetness. Top with flaky salt for that extra fancy finish.
- Chopped Chocolate: Melts into glorious puddles. Use high-quality bars for best results, or substitute with chocolate chips in a pinch.

Step-by-step: Bakery Chocolate Chip Cookies
- Oven & Pan – Preheat your oven to 170°C (340°F). Line a baking tray with parchment paper.
- Wet ingredients – In a mixing bowl, whisk together the melted butter, white sugar, and dark brown sugar until smooth and glossy. Add the egg and vanilla, and mix until well combined.
- Dry ingredients – Fold in the flour, baking soda, and salt until just combined. Don’t overmix! Stir in most of the chopped chocolate, saving a few chunks to press on top.
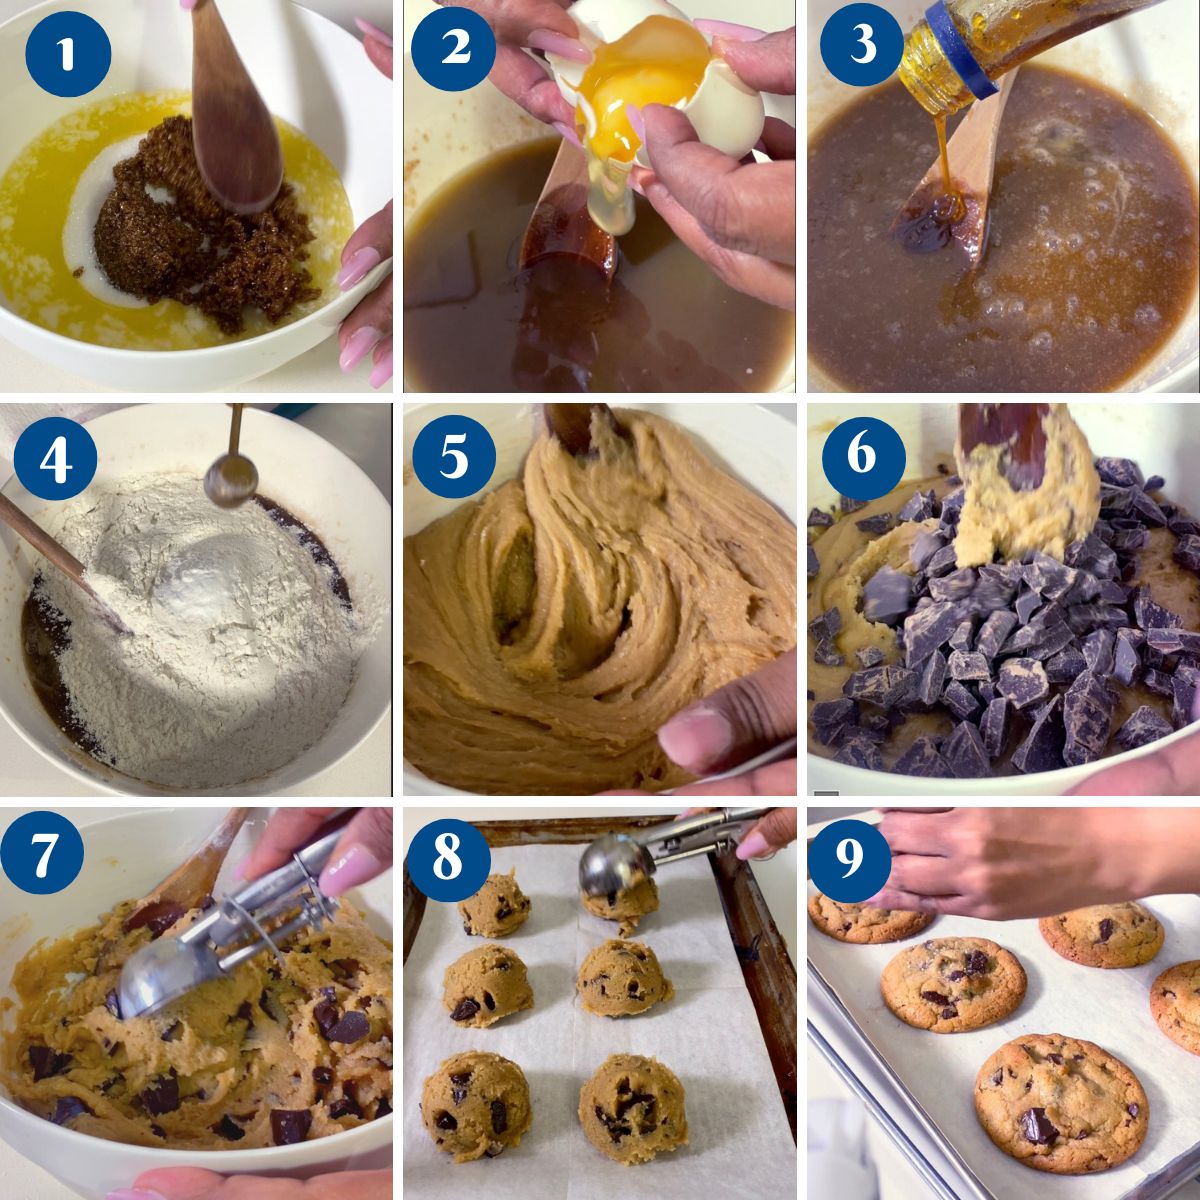
- Scoop – Use a cookie scoop or tablespoon to portion 12 dough balls (about 50–55g each). Place them on the tray with space in between. Top each with extra chocolate chunks.
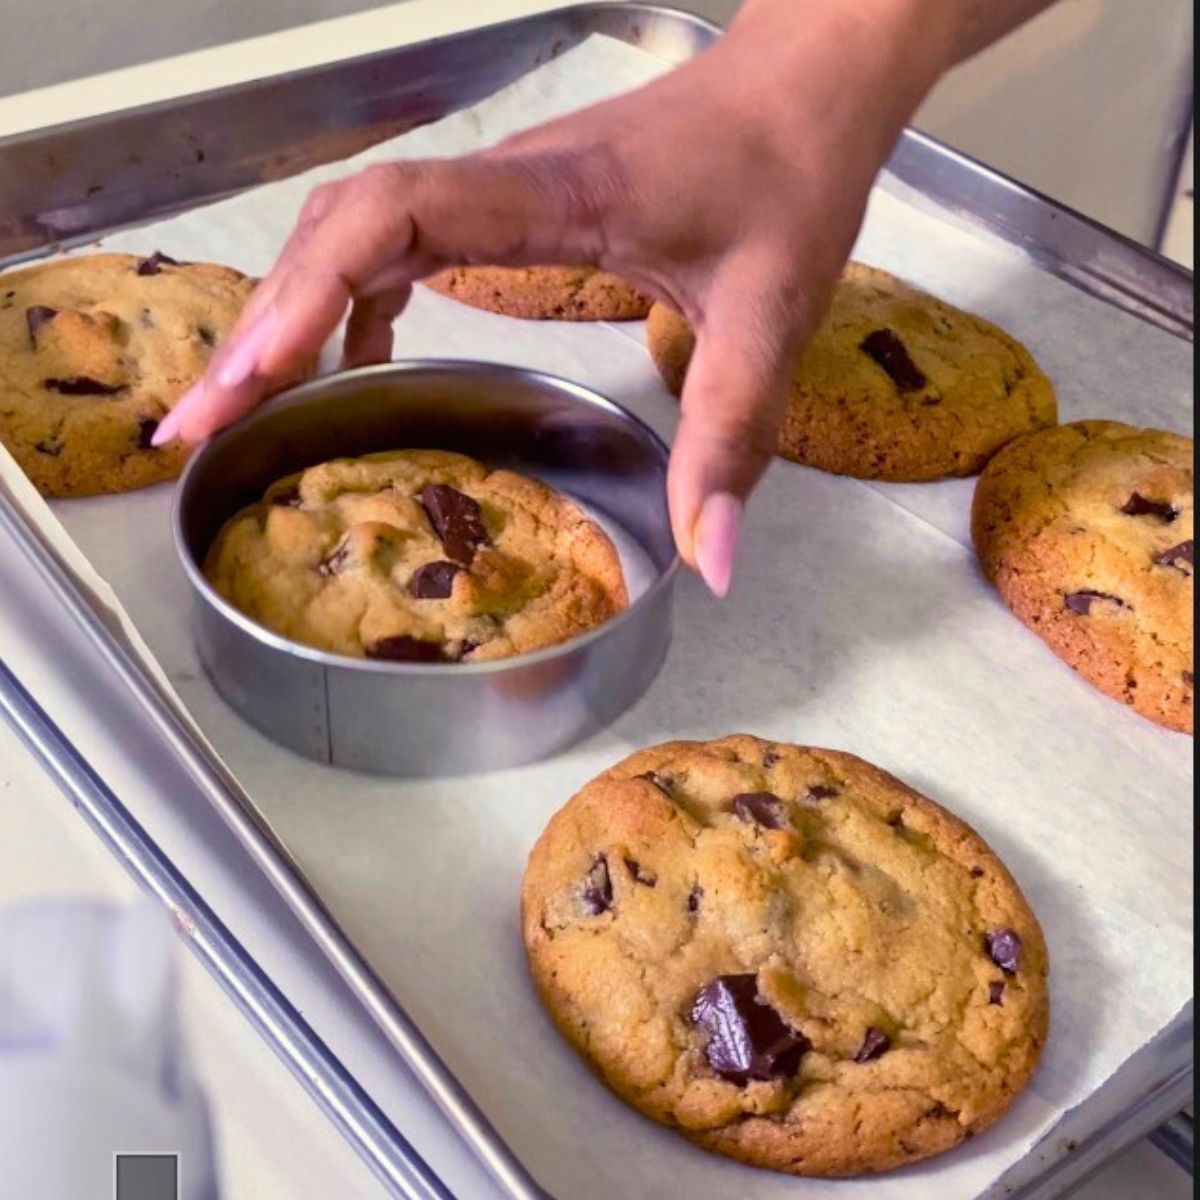
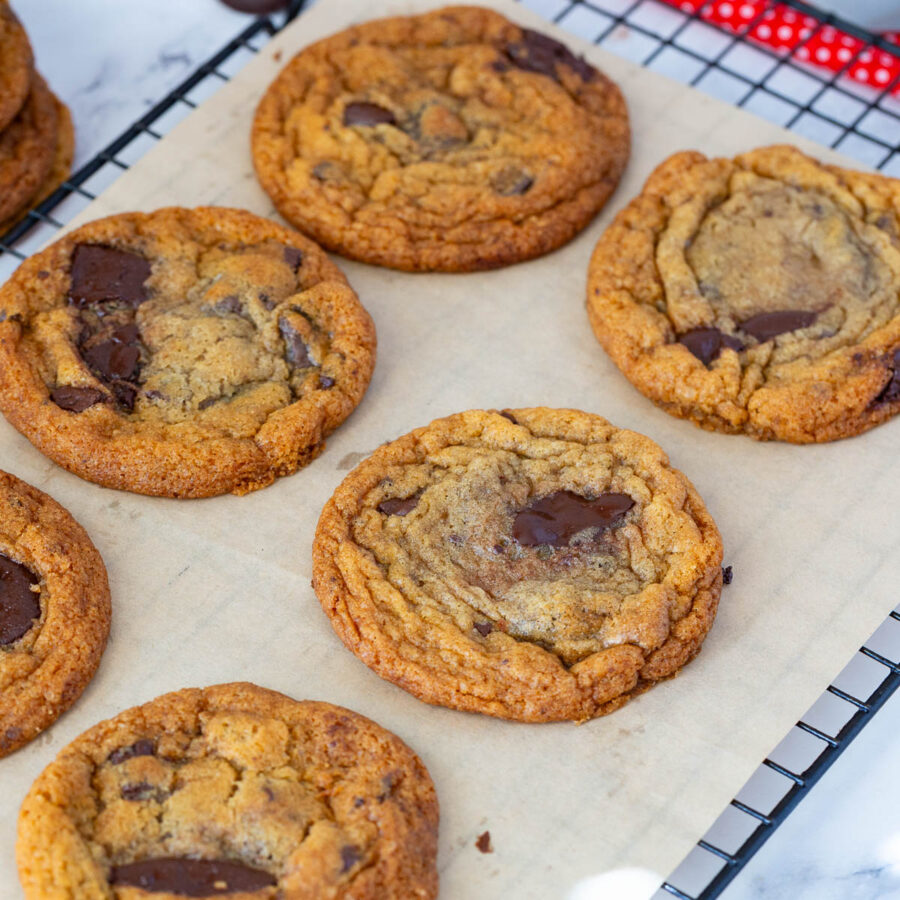
- Bake & Cool – Bake for 8–10 minutes, then bang the tray at 7 minutes to create wrinkles. When edges are golden and centers look just set, remove the tray from the oven. Use a round cookie cutter to reshape the freshly baked cookies.
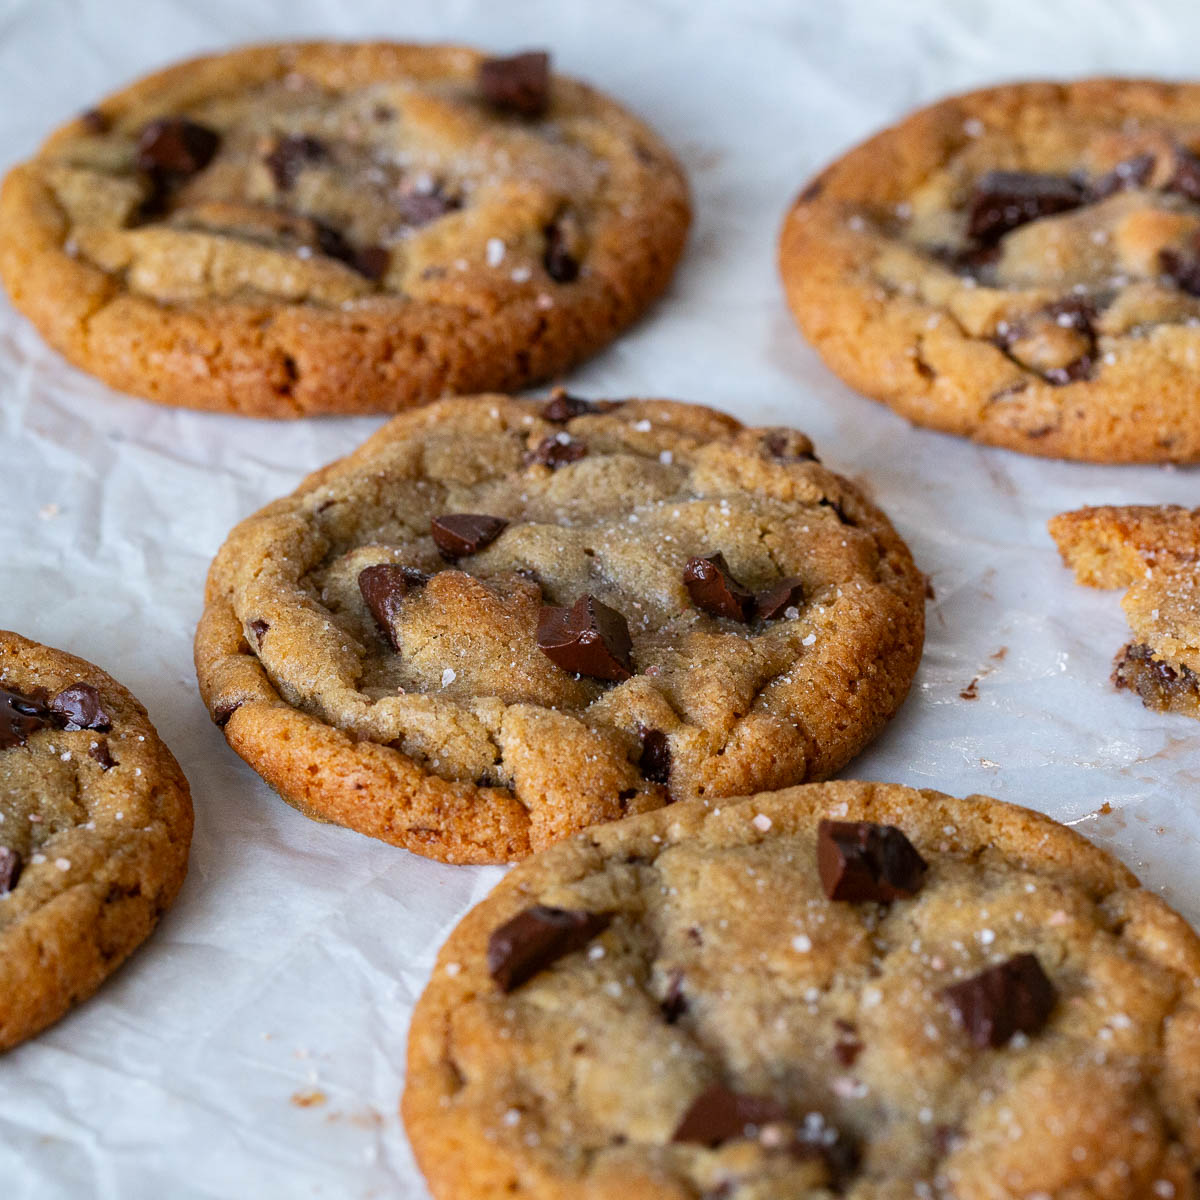
- Salt – Sprinkle with flaky sea salt while the cookies are still warm. Let cool on the tray 5 minutes before transferring.
Storage and Freezing
Store baked chocolate chip cookies in an airtight container at room temperature for up to 5 days. To keep them soft and chewy, place a slice of bread in the container—the cookies will absorb moisture from the bread and stay fresh longer.
For longer storage, freeze the baked cookies in a freezer-safe container or zip-top bag for up to 3 months. Thaw at room temperature or warm briefly in the microwave before serving.
You can also freeze the unbaked cookie dough. Scoop the dough into portions, place them on a baking sheet until firm, then transfer to a freezer bag. Freeze for up to 3 months and bake straight from frozen, adding 1 to 2 minutes to the baking time.
Bakery Style Chocolate Chip Cookies
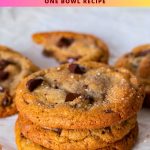
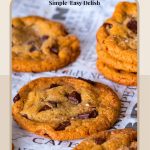
These bakery-style chocolate chip cookies are soft, chewy, and loaded with pools of rich chocolate and a sprinkle of flaky sea salt. Made with melted butter, dark brown sugar, and chopped chocolate, they come together in one bowl with no chilling required. Whether you're a cookie purist or just need a fast fix, this recipe delivers big flavor and that picture-perfect wrinkled look every time.
Video
Ingredients
- ½ cup (113.5 g) Unsalted butter melted and slightly cooled
- ¼ cup (50 g) Granulated sugar (white)
- ½ cup (110 g) Dark brown sugar packed
- 1 large Egg
- 1 tsp Vanilla extract
- 1½ cups (190 g) All-purpose flour
- ½ tsp Baking soda
- ½ tsp Sea salt
- ¾ cup (130 g) Chopped chocolate (bittersweet or semi-sweet)
- Flaky sea salt for topping
Method
- Oven & Pan – Preheat your oven to 170°C (340°F). Line a baking tray with parchment paper.
- Wet ingredients – In a mixing bowl, whisk together the melted butter, white sugar, and dark brown sugar until glossy and smooth. Add the egg and vanilla, and mix until well combined.½ cup Unsalted butter, ¼ cup Granulated sugar (white), ½ cup Dark brown sugar, 1 large Egg, 1 tsp Vanilla extract
- Dry ingredients – Fold in the flour, baking soda, and salt until just combined. Don’t overmix! Stir in most of the chopped chocolate, saving a few chunks to press on top.1½ cups All-purpose flour, ½ tsp Baking soda, ½ tsp Sea salt, ¾ cup Chopped chocolate
- Scoop – Use a cookie scoop or tablespoon to portion 12 dough balls (about 50–55g each). Place them on the tray with space in between. Top each with extra chocolate chunks.
- Bake & Cool – Bake for 8–10 minutes, then bang the tray at 7 minutes to create wrinkles. When edges are golden and centers look just set, remove the tray from the oven.
- Salt – Sprinkle with flaky sea salt while the cookies are still warm. Let cool on the tray 5 mins before transferring.Flaky sea salt for topping
Notes
- For max gooeyness, don’t overbake—pull them out when just barely set.
- Bang that tray once or twice during baking to get those wrinkly edges.
- Use good quality chocolate and chop it yourself—those random bits melt beautifully.
- These are even better the next day… if they last that long.
Equipment you will need


Nutrition
Tried this recipe?
Mention @veenaazmanov_kitchen or tag #veenaazmanovkitchen!more chocolate chip cookies
- No Chill Chocolate Chip Cookies
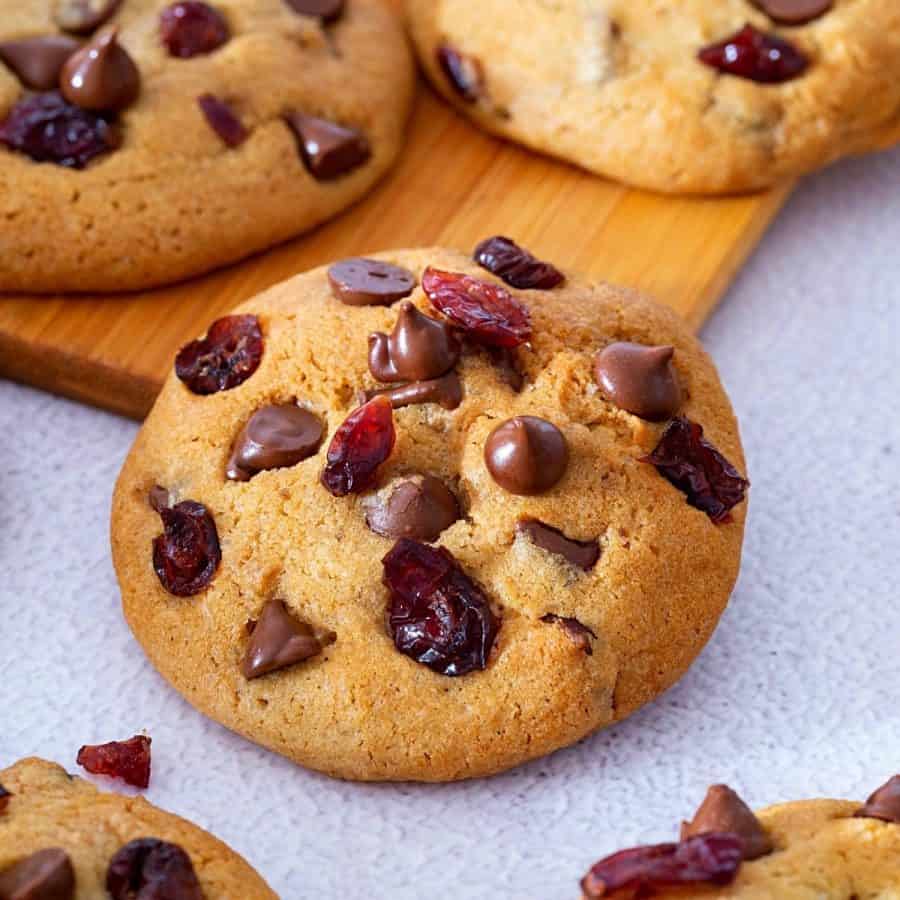
- Chocolate Chip Cranberry Cookies
- Thin and Crisp Chocolate Chip Cookies
- Thick Bakery Levain Chocolate Chip Cookies
- BEST Eggless Chocolate Chip Cookies
- Ultimate Pizookie • Skillet Chocolate Chip Cookie
- Soft Chewy Chocolate Chip Cookies

Frequently asked questions
These cookies stay soft and chewy for up to 4 or 5 days when stored in an airtight container at room temperature. To keep them extra fresh, you can add a slice of bread (it helps keep the cookies moist!). Want to make them last even longer? Freeze them! Baked cookies freeze beautifully for up to 2 months—just pop them in a zip-top bag and thaw at room temperature. You can also freeze unbaked dough balls and bake them off fresh when the craving hits.
Yes! But chopped chocolate melts into more decadent puddles. Chips work fine if that’s what you have.
Check that you’re using baking soda, not powder, and be sure to bang the tray partway through baking to help them flatten out.
Yes! Scoop into balls, freeze on a tray, then transfer to a zip-top bag. Bake from frozen, just add 1–2 extra minutes.
more recipes with chocolate chips
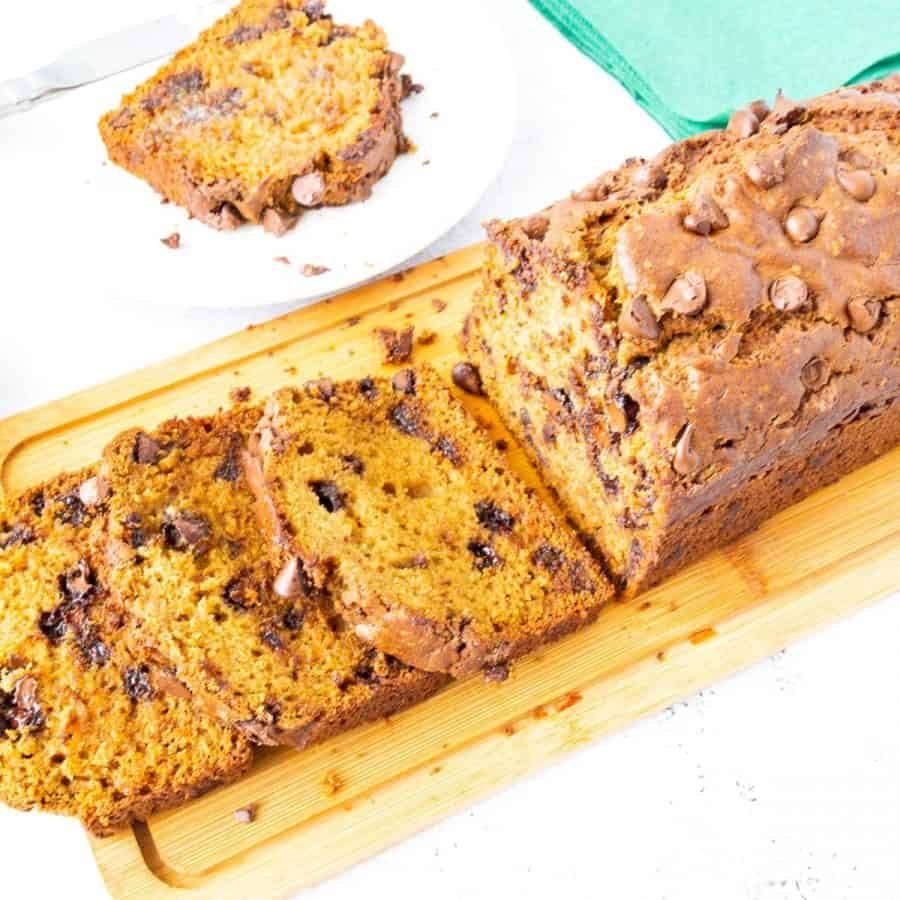
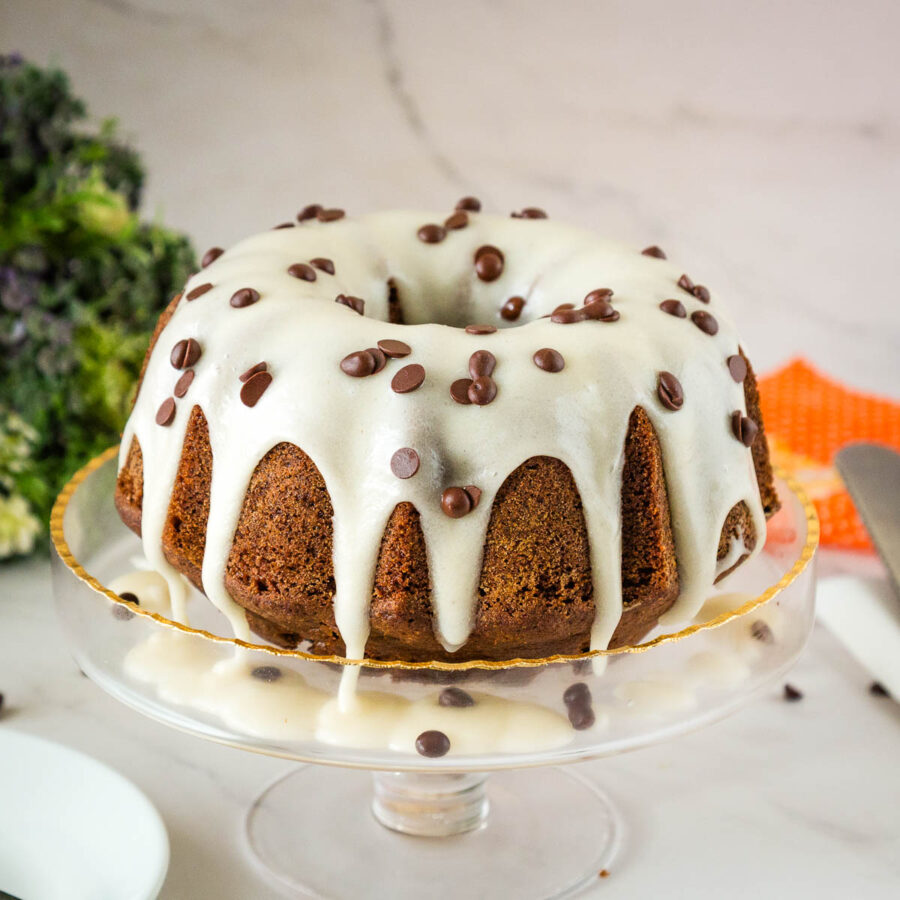
- Chocolate Chip Pumpkin Bundt Cake Recipe
- Chocolate Chip Pumpkin Cupcakes
- and Chocolate Chip Coconut Bars
- Chocolate Chip Muffins
- Chocolate Chip Banana Muffins

Don’t lose this recipe! Save it for Later!
📌 Save this Recipe for later on Pinterest so you can easily find it again.
⭐ Add Veena Azmanov Kitchen to your Google Preferred Sources.
It helps Google show you more of our recipes.
📧 Subscribe for new recipes delivered to your inbox.
🎥 Follow us for more recipes


I made the cookies and they turned out nice and soft and delicious. I made 1-1/2 batch and I made the mistake of over filling the cookie sheet so the middle wasn’t good and gooey, they puffed up nicely but when I banged the pan they were just too close together to wrinkle. Next time I make them I will leave more room between each cookie.
I really liked that I didn’t have t get out my electric beater to make the dough! It all came together nicely with a whisk and a spatula. Great recipe!
Thank you so much Nancy for the lovely feedback. Yes, I make this one very often for exactly the same reason – no mixers, no fuss and it always turns out delicious.