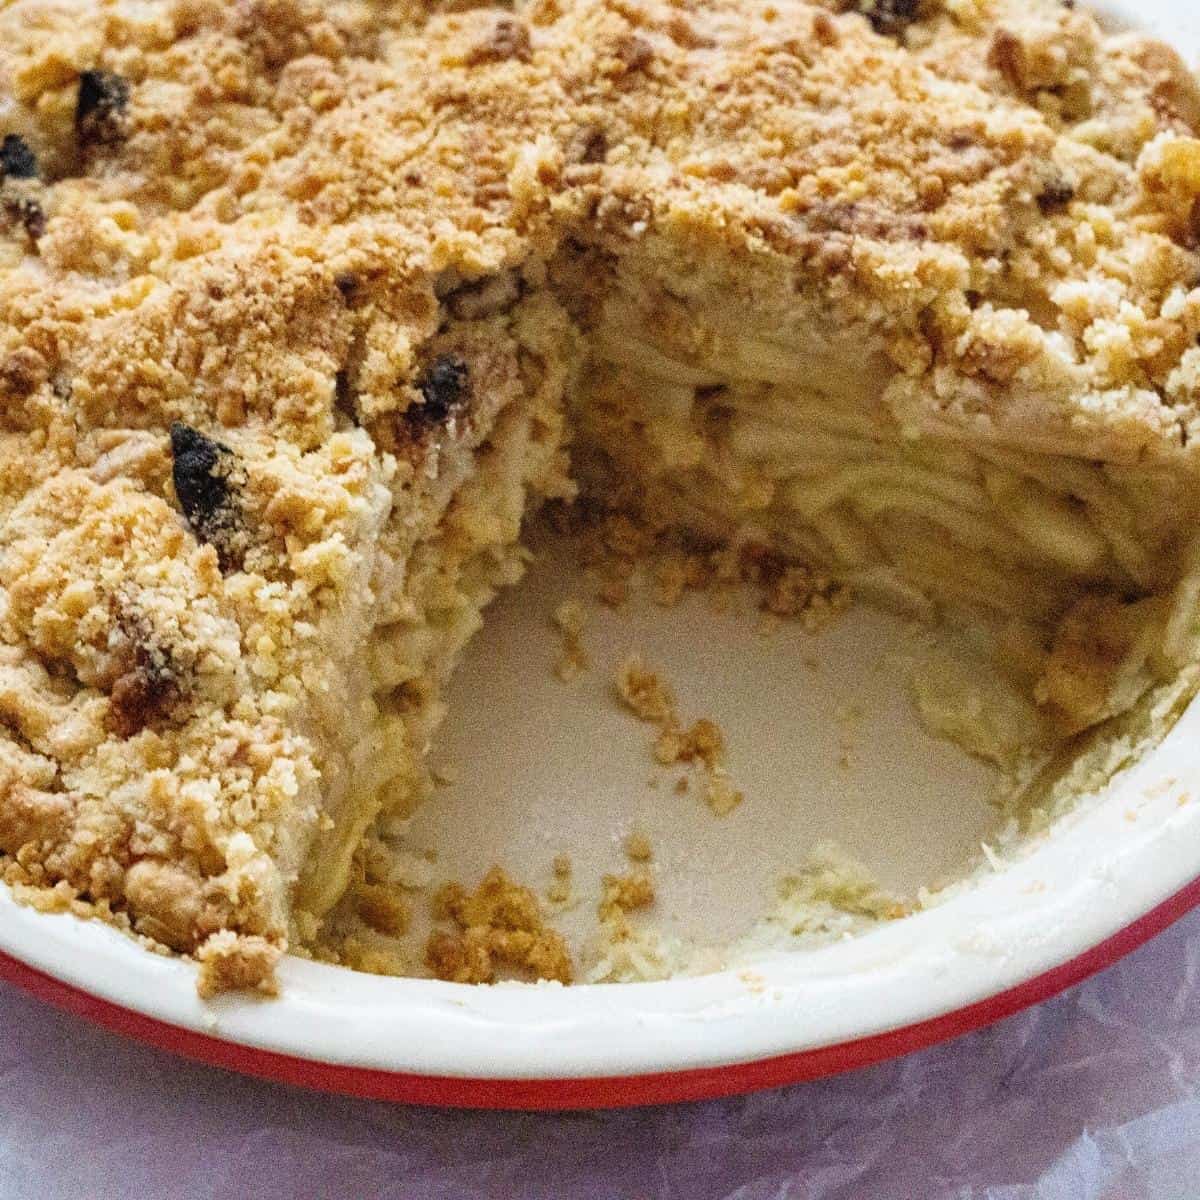
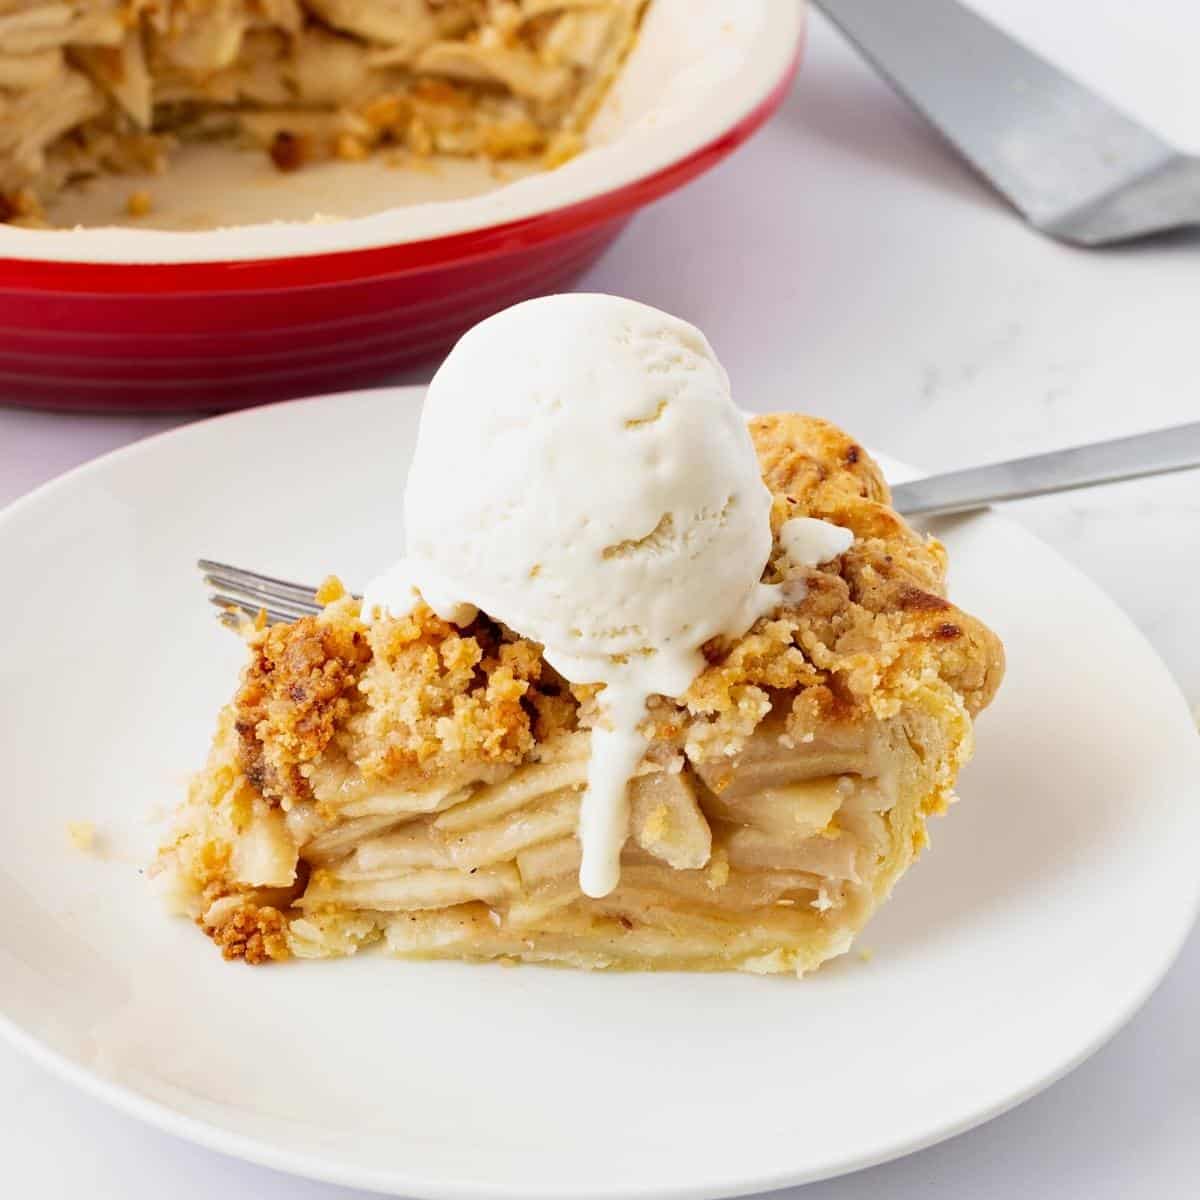
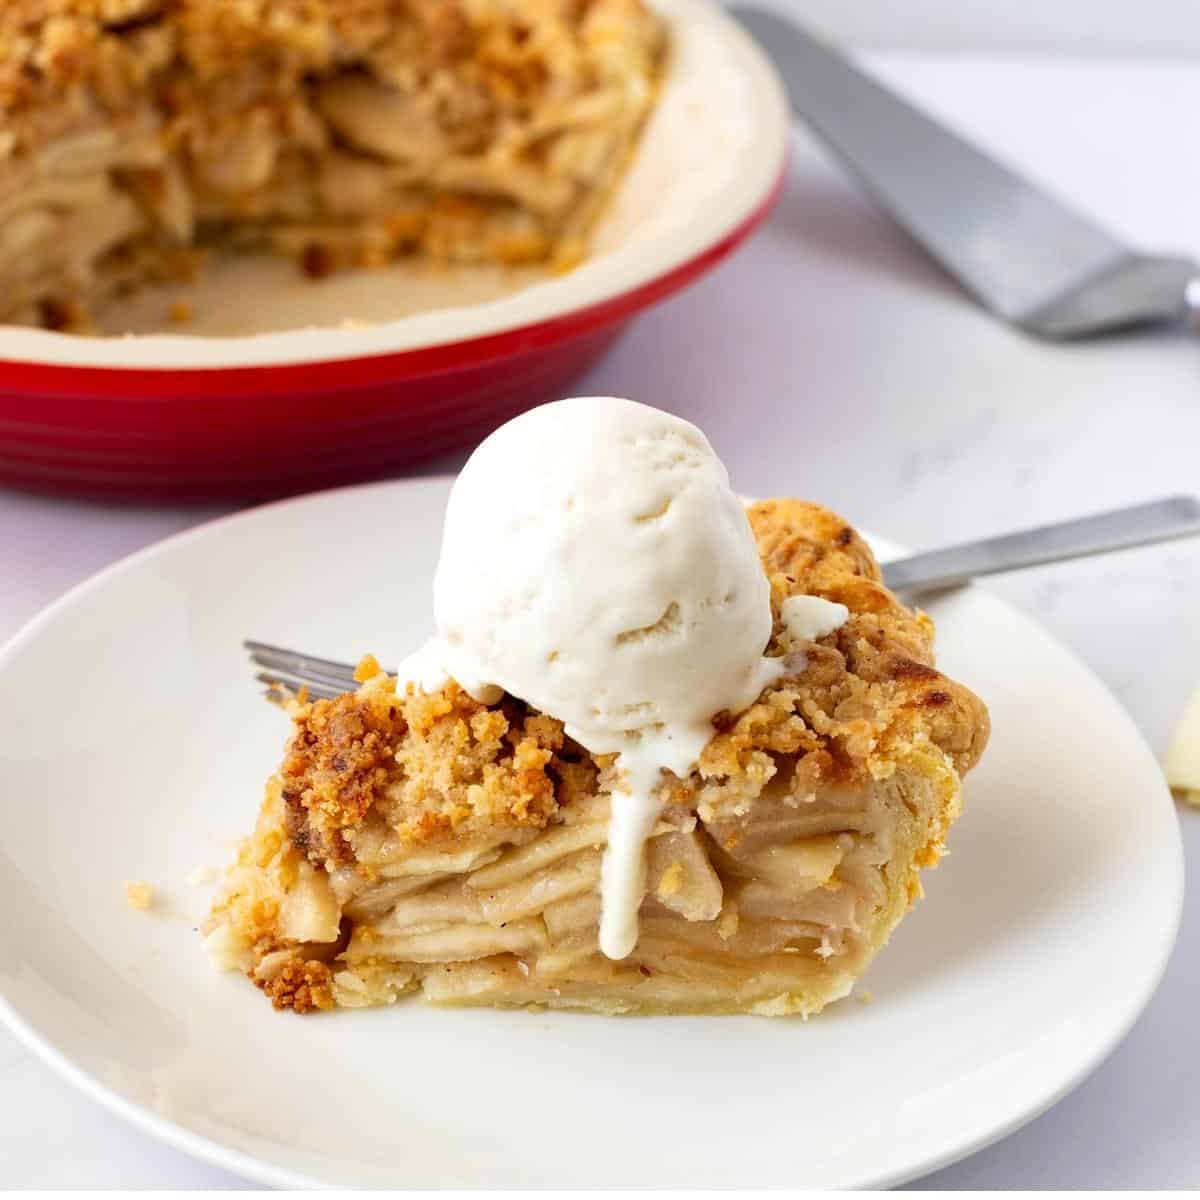
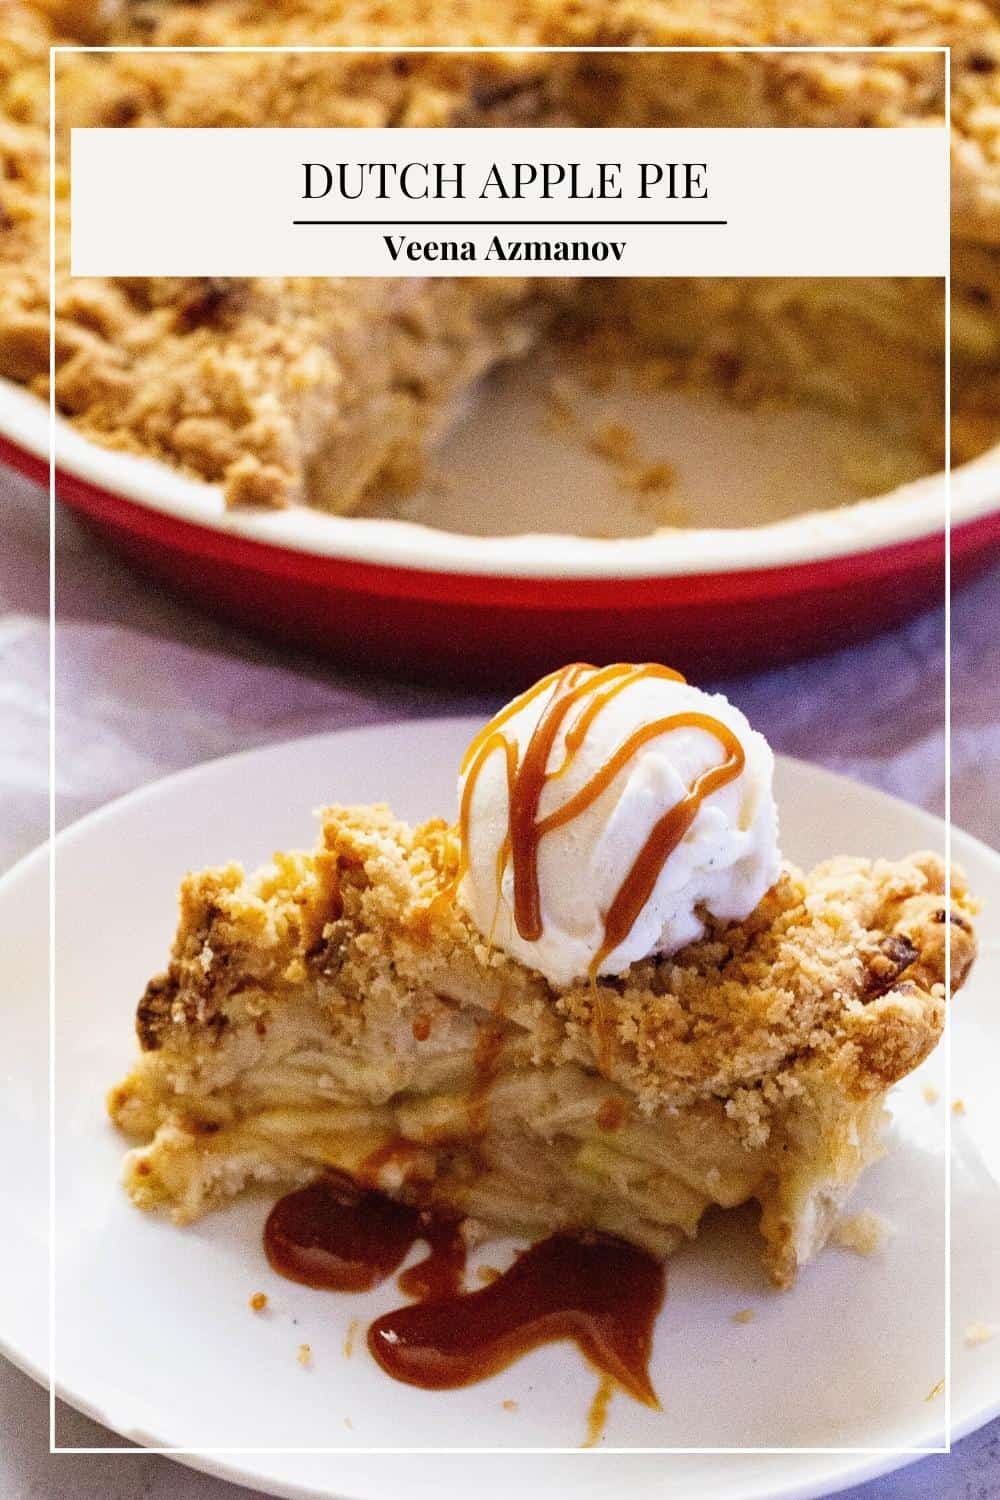
Best Dutch Apple Pie


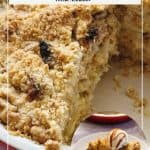


If you love apple pie and you love apple crumble, this Dutch apple pie is the best of both worlds. It’s made with a flaky homemade crust, a juicy spiced apple pie filling, and a buttery crumble topping that bakes up golden and crisp. This easy homemade version is perfect for Thanksgiving, Christmas, or any time you’re craving a cozy, make-ahead dessert.

I’ve been making classic apple pie for years, but once I tried Dutch apple pie, I was hooked. The crumble topping gives you texture, sweetness, and just the right crunch to contrast the soft apples. Plus, it’s actually easier than a double-crust pie—no rolling a second layer of dough! I often prep the crust and topping a day ahead, then make the filling and bake fresh for guests. Less work on the big day, more time to enjoy dessert.
What is Dutch Apple Pie?
Dutch apple pie, sometimes called apple crumble pie or appelkruimeltaart in the Netherlands, is a variation of classic apple pie that swaps the top crust for a sweet, buttery crumble. The base is still a traditional pie crust, but instead of sealing the apples under pastry, you sprinkle them with a streusel-style topping made of flour, butter, sugar, and spices. This creates a crisp, golden layer over the tender apple filling. In the U.S., it’s a holiday favorite often served warm with vanilla ice cream.
Why You’ll Love This Recipe
- Flaky homemade crust that stays crisp—no soggy bottoms
- Generous spiced apple filling with a perfect sweet-tart balance
- Buttery crumble topping that’s quick to make
- Great for Thanksgiving, Christmas, or weekend baking
- Easy to make ahead and freeze
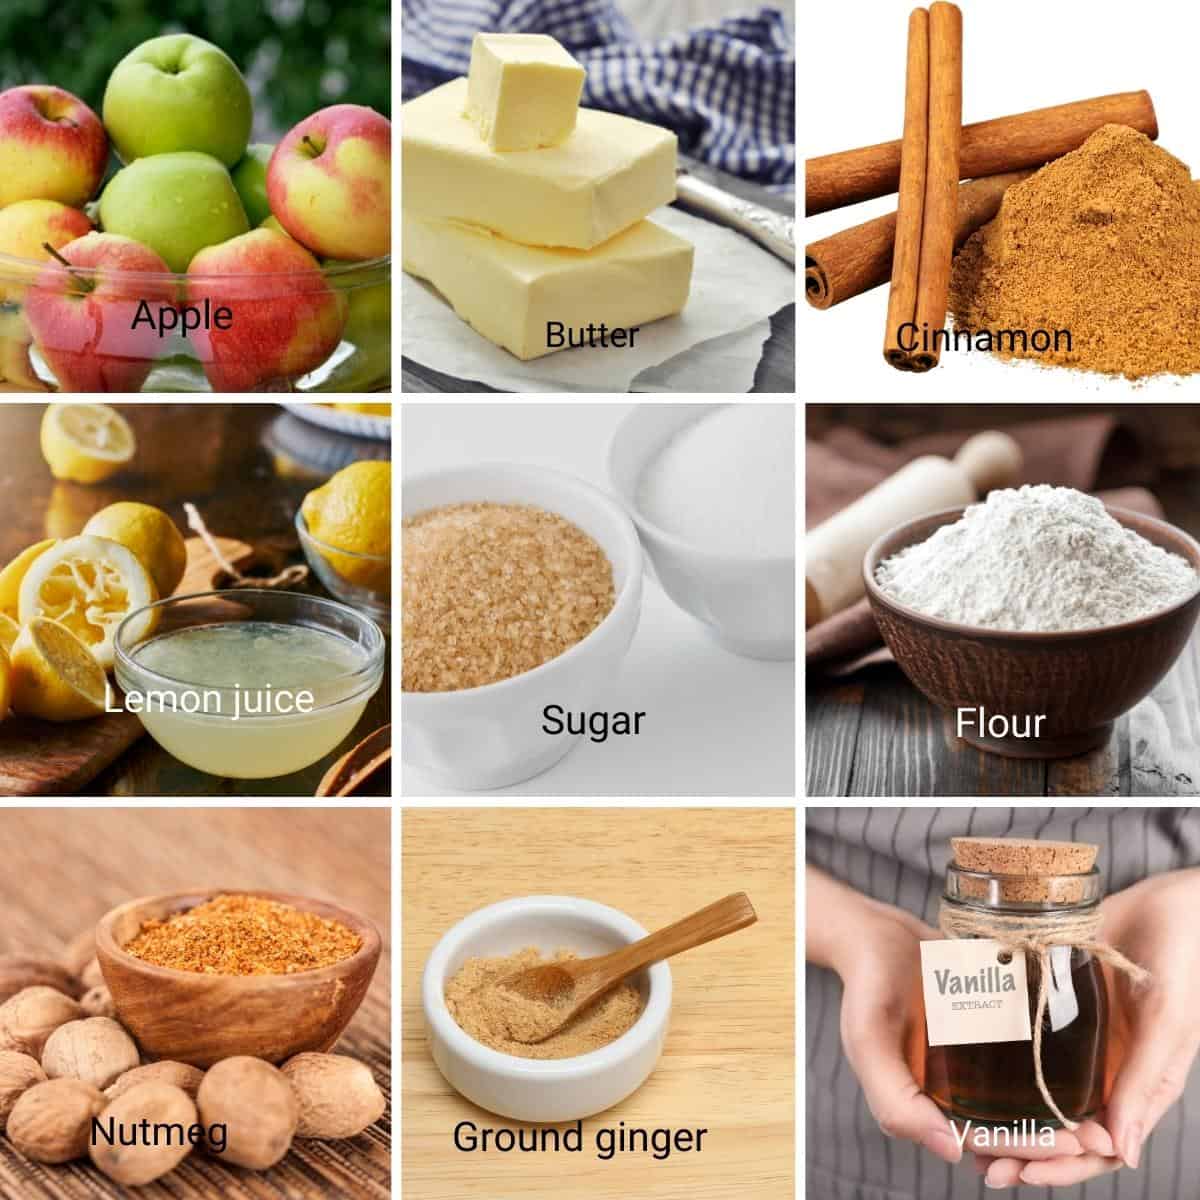
Ingredients and substitutes
- Apples – A mix of tart Granny Smith and sweet Honeycrisp, Fuji, or Gala makes the best flavor.
- Sugar – Light brown sugar adds caramel notes without overpowering.
- Spices – Cinnamon, nutmeg, and ginger for that warm, cozy flavor.
- Lemon juice – Keeps apples from browning and balances sweetness.
- Pie crust – I use my homemade all-butter crust, but store-bought works too.
- Cornstarch – For a glossy, firm filling that slices cleanly (works better than flour).
- Butter – Must be cold for the crumble to bake into distinct crumbs.
Step-by-step: Best Dutch Apple Pie (Apple Crumble Pie)
1. Make the Crumble
Mix brown sugar, salt, spices, and flour in a bowl. Cut in the cold butter until crumbly. Keep chilled until ready to use.
Pro Tip: Grating butter straight into the flour makes perfect crumbs.
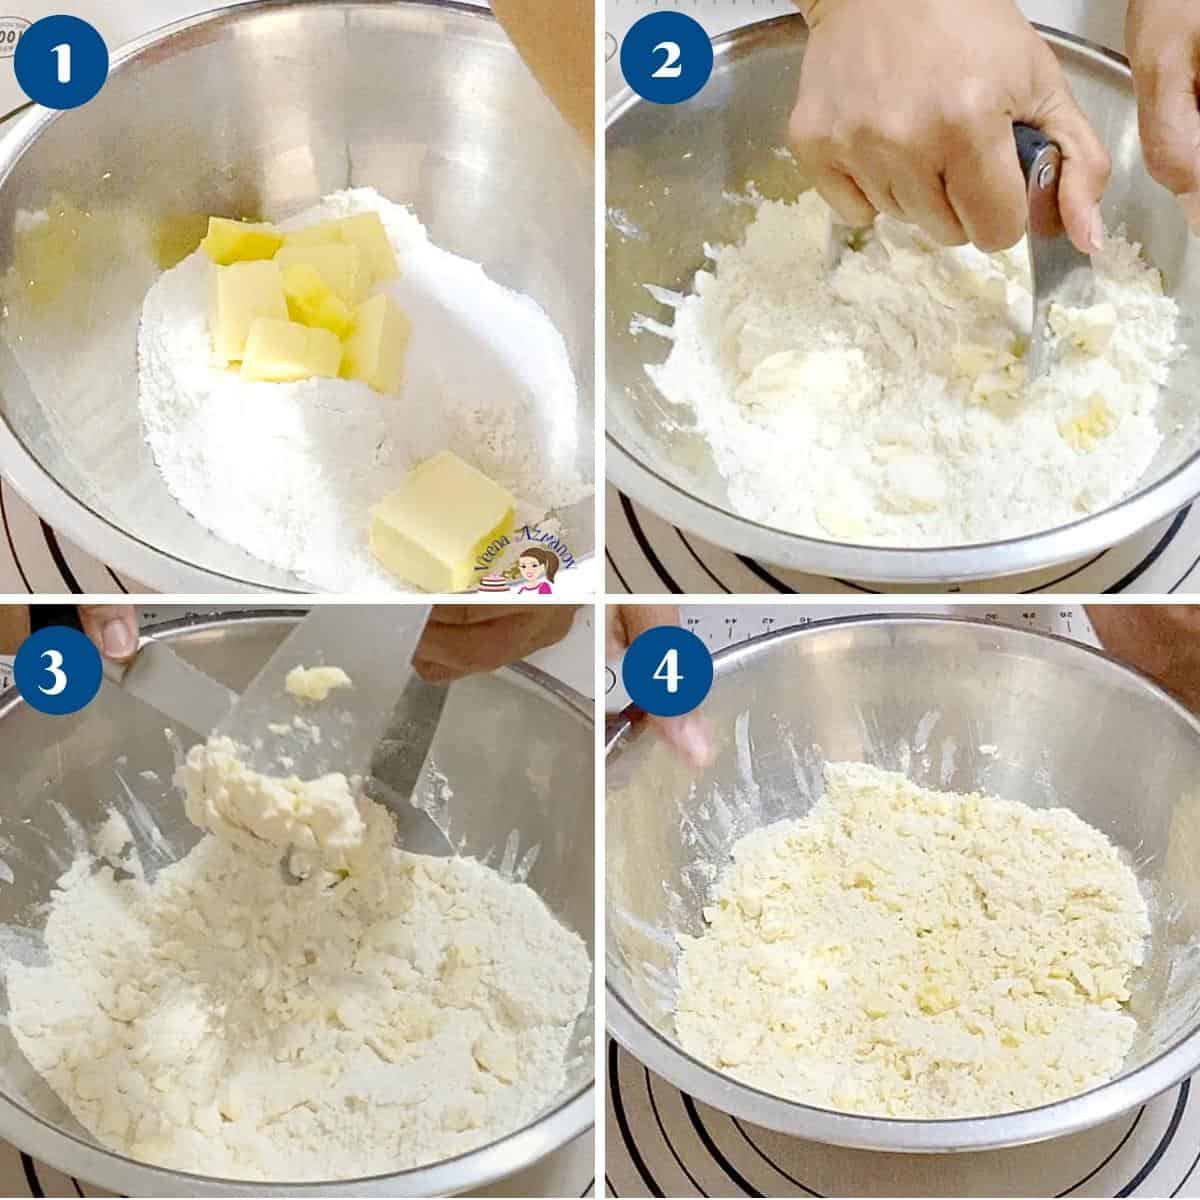
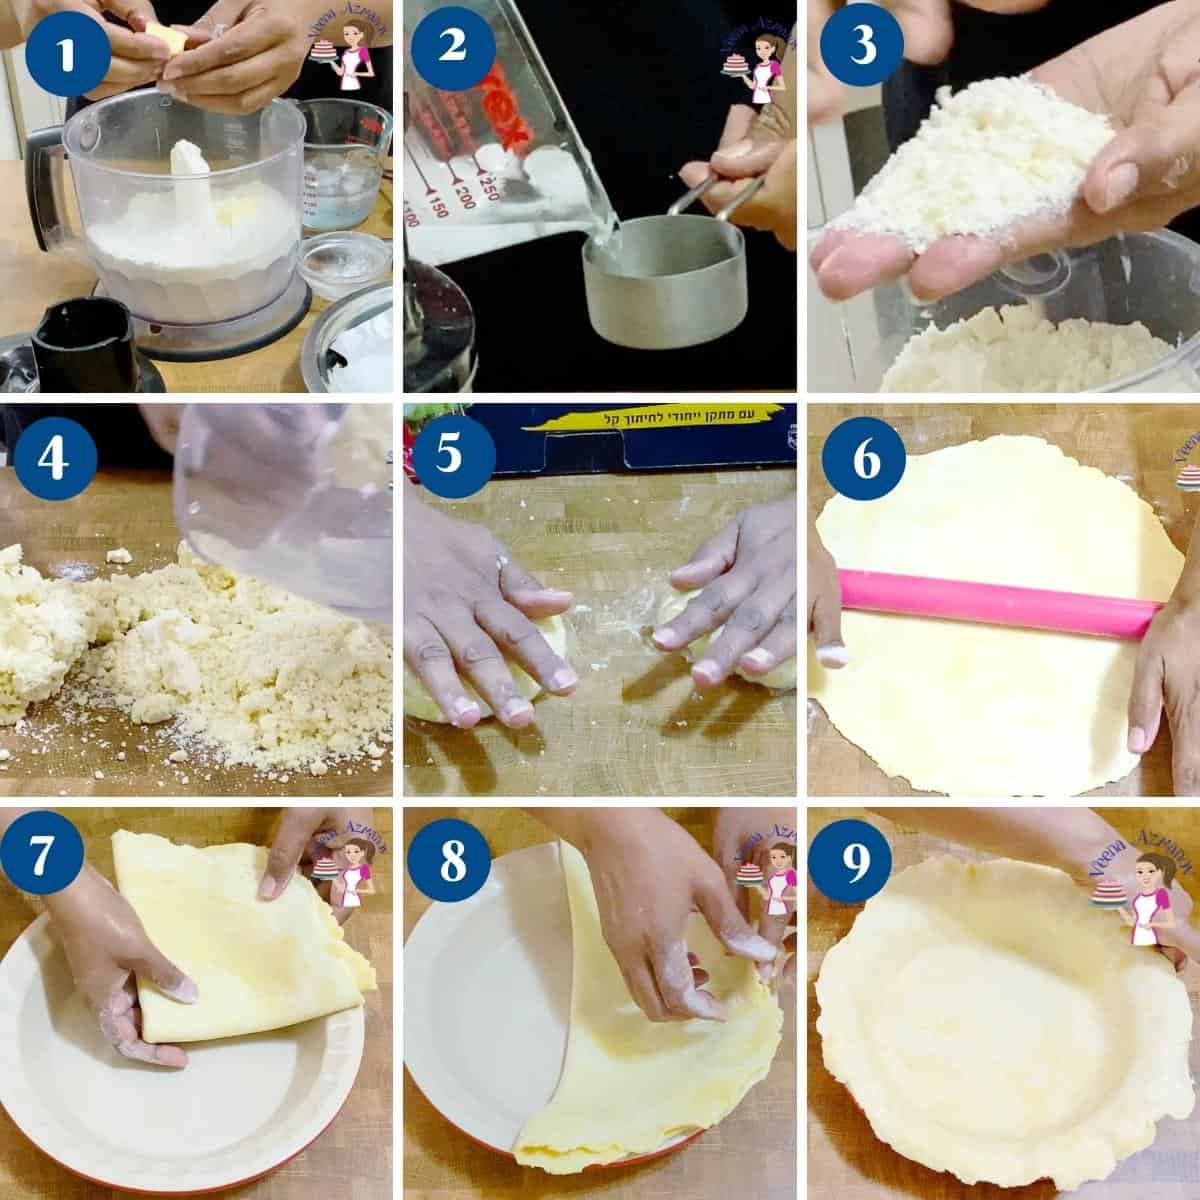
2. Make the Pie Crust
In a food processor (or by hand), combine flour, salt, and cold butter. Pulse until sandy, then add cold water until it comes together. Shape into a disc, wrap, and chill for 20–30 minutes. Roll out, fit into a 9-inch pie pan, crimp edges, and chill again.
Pro Tip: Partially baking the crust keeps it from getting soggy.
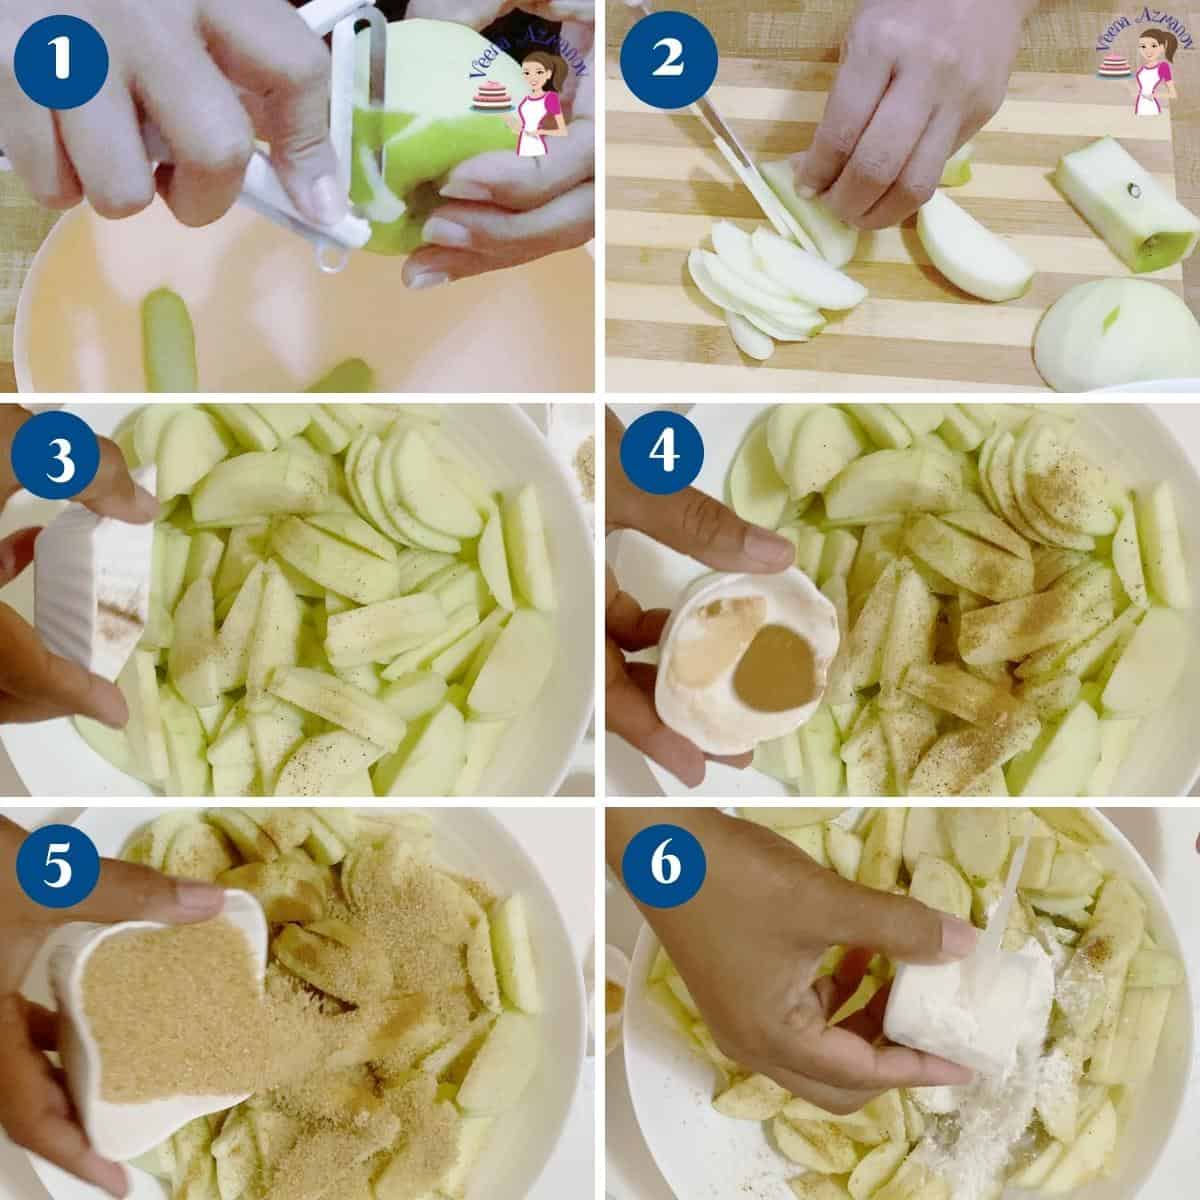
3. Prepare the Filling
Peel, core, and thinly slice apples (about 1/8 inch thick). Toss with lemon juice, then add sugar, spices, flour, and salt. Mix gently until apples are coated.
Pro Tip: Make filling just before assembling to avoid excess juice release.
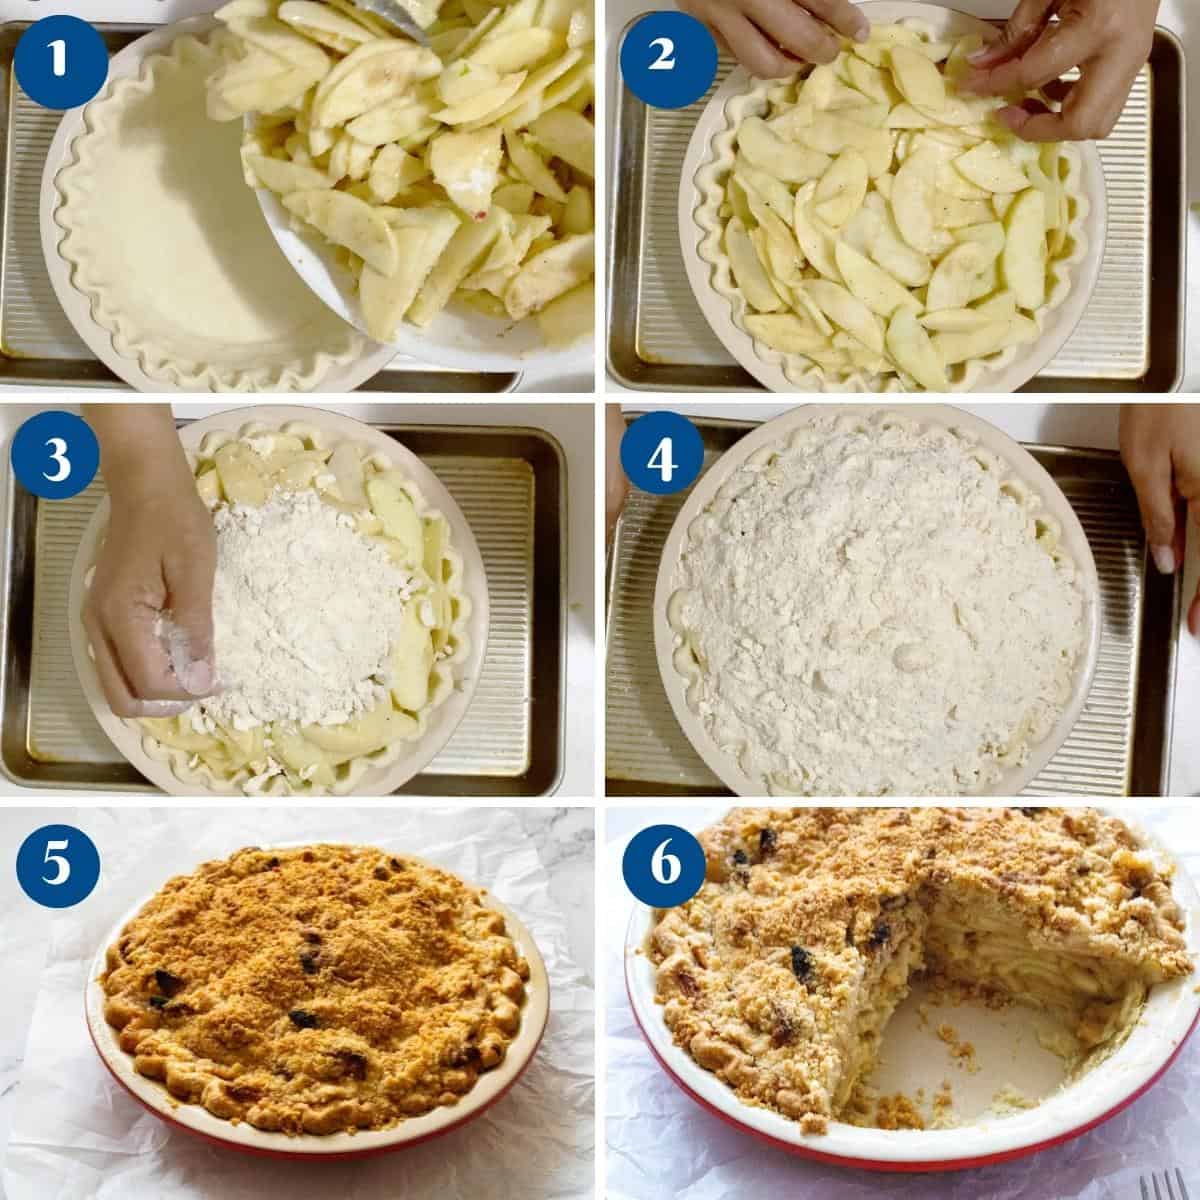
4. Assemble the Pie
Fill the chilled crust with apples in layers, settling them in as you go. Top evenly with crumble mixture.
5. Bake
Bake at 390°F (200°C) for 10 minutes, then reduce to 375°F (190°C) and bake 40–50 minutes more, tenting with foil halfway through if the crust browns too quickly.
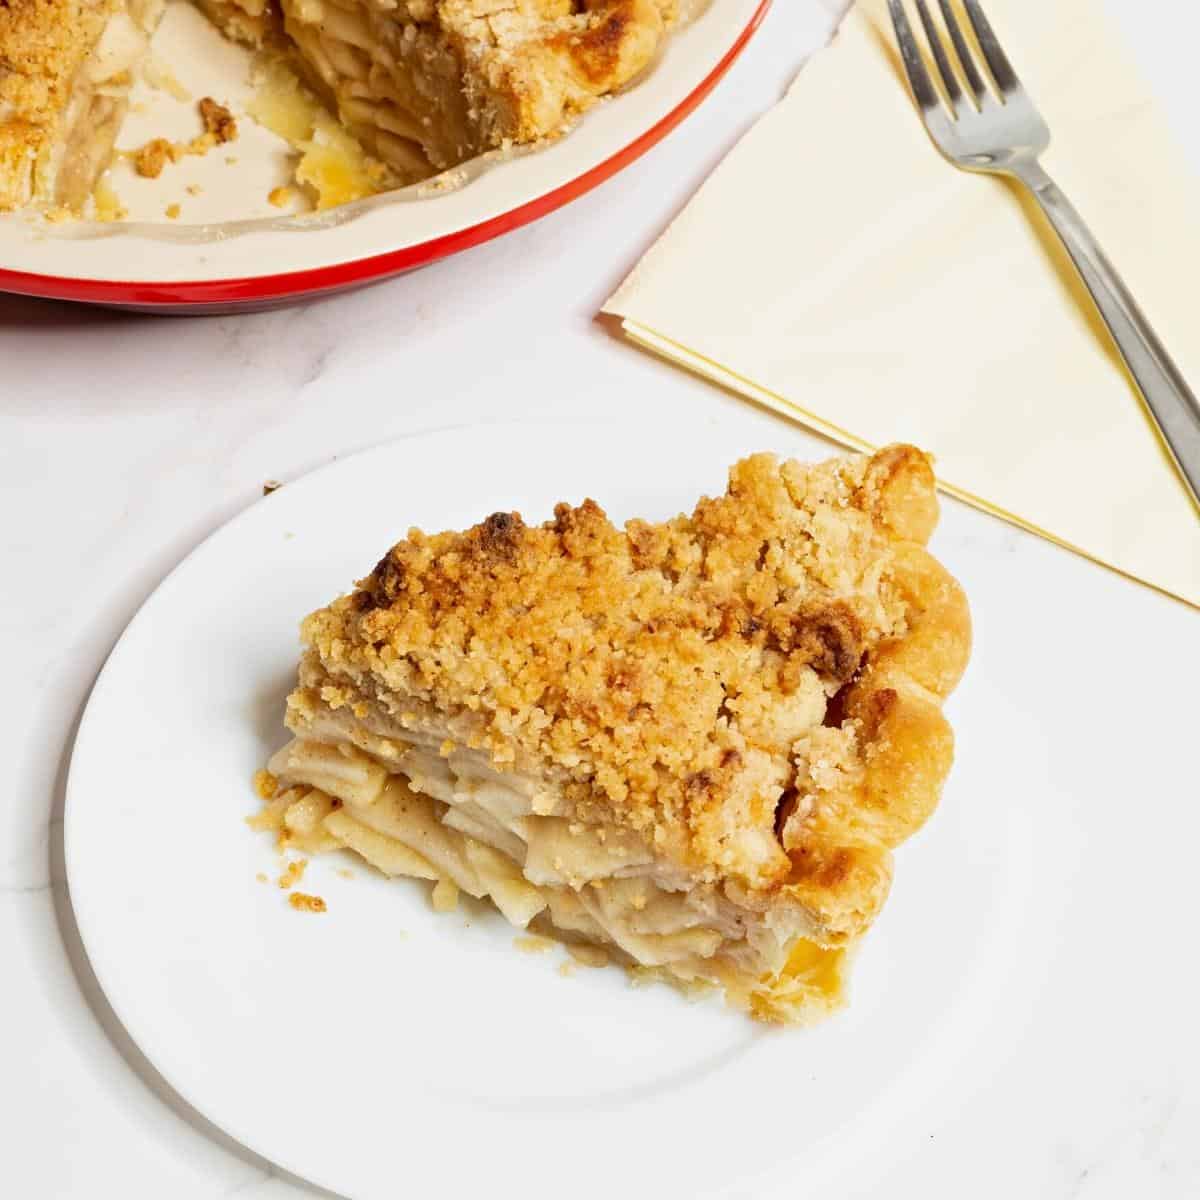
6. Cool & Serve
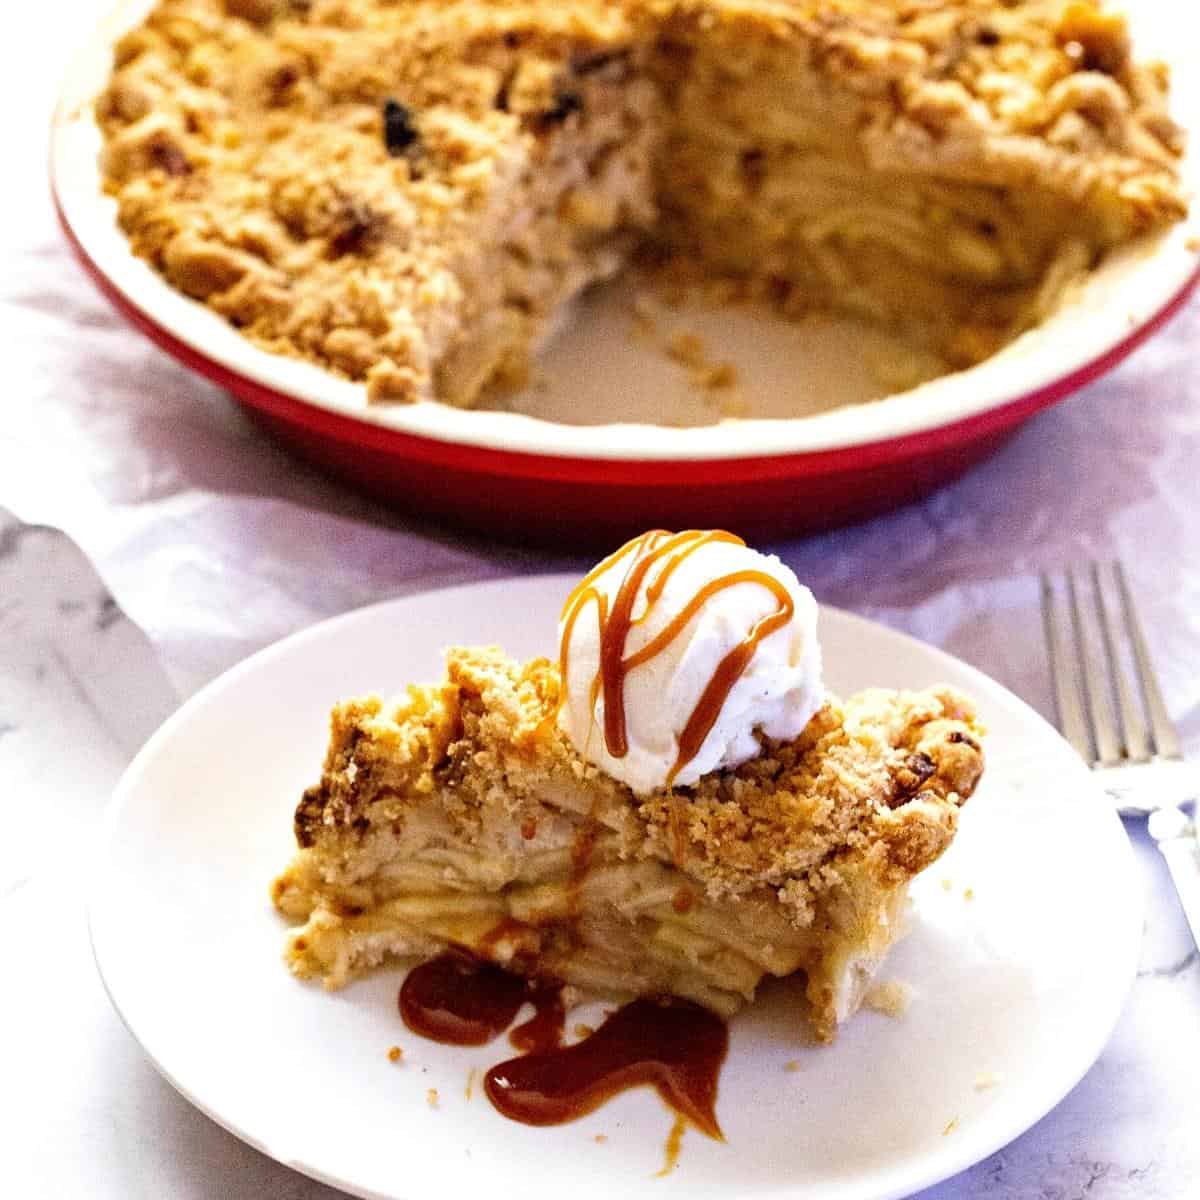
Let cool at least 30 minutes before slicing—ideally a couple of hours so the filling sets. Serve warm with vanilla ice cream or whipped cream.
Variations
- Nutty – Add chopped pecans or almonds to the crumble.
- Fruity – Toss in dried cranberries, raisins, or currants.
- Caramel – Layer apples with caramel sauce before adding crumble.
Tips for Success
- Keep crust and crumble ingredients cold at all times.
- Slice apples thinly for even baking and less shrinkage.
- Don’t over-spice—the apples should shine.
- Bake hot at first to set the crumble, then reduce heat to finish cooking the apples.
- Rest the pie before cutting so the juices thicken.
Troubleshooting
| Problem | Cause | Fix |
|---|---|---|
| Soggy bottom crust | Filling released too much juice | Pre-bake crust, make filling right before baking |
| Crumble melted together | Butter too warm | Chill crumble before topping pie |
| Apples undercooked | Too thick slices or not baked long enough | Slice thinner, bake 5–10 mins longer |
| Filling too runny | Not enough flour or cut too soon | Increase flour slightly, cool fully before slicing |
No posts
Frequently asked questions
Yes—store covered in the fridge for up to 4 days. Warm before serving if desired.
Yes—prep crust and crumble up to 2 days ahead. Assemble and bake fresh.
Mix flour, sugar, butter, and spices until crumbly, then chill until ready to use.
A mix of Granny Smith (tart) and Honeycrisp or Fuji (sweet) gives the best flavor balance.
Dutch apple pie has a crumble topping instead of a top crust.
Best Dutch Apple Pie (Apple Crumble Pie)
Make the best Dutch apple pie with a flaky homemade crust, juicy spiced apple filling, and a crisp, buttery crumble topping. Perfect for Thanksgiving, Christmas, or any fall dessert table.
Video
Ingredients
- 1 ½ cup (190 g) All-purpose flour
- ½ cup (113 g) Unsalted butter (1 stick, 1/2 cup) chilled, cubed
- ½ tsp Salt
- 2- 4 tbsp (60 ml) Chilled water
- 8 Apples large
- 2 tbsp Lemon juice
- ½ cup (110 g) Brown sugar light
- ½ tsp Ground cinnamon
- ¼ tsp Ground ginger
- ¼ tsp Ground nutmeg
- 2 tbsp Cornstarch
- ½ tsp Salt
- 1 cup (125 g) All-purpose flour
- 8 tbsp Chilled unsalted butter cut into cubes
- ½ cup (110 g) Brown sugar
- ¼ tsp Salt
- ½ tsp Ground ginger
- ¼ tsp Ground cinnamon
- ¼ tsp Ground nutmeg
Method
- Make the Crumble – Mix brown sugar, salt, spices, and flour in a bowl. Cut in the cold butter until crumbly. Keep chilled until ready to use.Pro Tip: Grating butter straight into the flour makes perfect crumbs.8 tbsp Chilled unsalted butter , ½ cup Brown sugar, ¼ tsp Salt, ½ tsp Ground ginger, ¼ tsp Ground cinnamon, ¼ tsp Ground nutmeg, 1 cup All-purpose flour
- Make the Pie Crust – In a food processor (or by hand), combine flour, salt, and cold butter. Pulse until sandy, then add cold water until it comes together. Shape into a disc, wrap, and chill for 20–30 minutes. Roll out, fit into a 9-inch pie pan, crimp edges, and chill again.Pro Tip: Partially baking the crust keeps it from getting soggy.1 ½ cup All-purpose flour, ½ cup Unsalted butter , ½ tsp Salt, 2- 4 tbsp Chilled water
- Prepare the Filling – Peel, core, and thinly slice apples (about 1/8 inch thick). Toss with lemon juice, then add sugar, spices, cornstarch, and salt. Mix gently until apples are coated.Pro Tip: Make filling just before assembling to avoid excess juice release.8 Apples , 2 tbsp Lemon juice, ½ cup Brown sugar, ½ tsp Ground cinnamon , ¼ tsp Ground ginger, ¼ tsp Ground nutmeg , 2 tbsp Cornstarch, ½ tsp Salt
- Assemble the Pie – Fill the chilled crust with apples in layers, settling them in as you go. Top evenly with crumble mixture.
- Bake – Bake at 390°F (200°C) for 10 minutes, then reduce to 375°F (190°C) and bake 40–50 minutes more, tenting with foil halfway through if the crust browns too quickly.
- Cool & Serve – Let cool at least 30 minutes before slicing—ideally a couple of hours so the filling sets. Serve warm with vanilla ice cream or whipped cream.
Notes
Tips for Success
- Keep crust and crumble ingredients cold at all times.
- Slice apples thinly for even baking and less shrinkage.
- Don’t over-spice—the apples should shine.
- Bake hot at first to set the crumble, then reduce heat to finish cooking the apples.
- Rest the pie before cutting so the juices thicken.
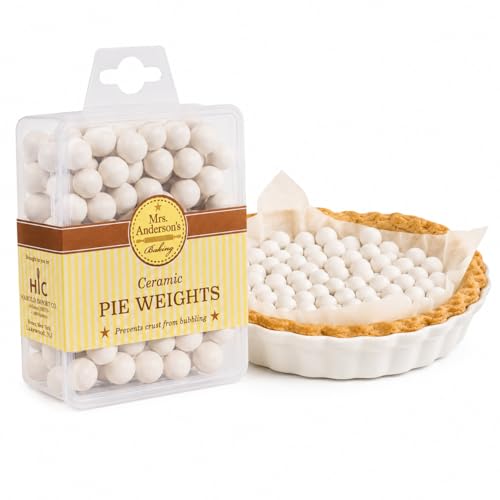
Equipment you will need


Nutrition
Tried this recipe?
Mention @veenaazmanov_kitchen or tag #veenaazmanovkitchen!- Caramel Apple Cake with Caramel Buttercream
- Cinnamon Apple Bread Recipe
- Apple Crumble Tart
- Pumpkin Spice Caramel Apple Dessert
- Apple Strudel with Filo Pastry – Easy, Flaky & Delicious
Don’t lose this recipe! Save it for Later!
📌 Save this Recipe for later on Pinterest so you can easily find it again.
⭐ Add Veena Azmanov Kitchen to your Google Preferred Sources.
It helps Google show you more of our recipes.
📧 Subscribe for new recipes delivered to your inbox.
🎥 Follow us for more recipes


Is it possible to freeze this pie before or after baking?
You can definitely freeze after baking. If you freeze before baking, I highly recommend adding the crumble just thawed and before baking.