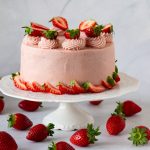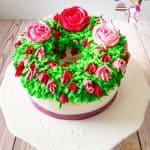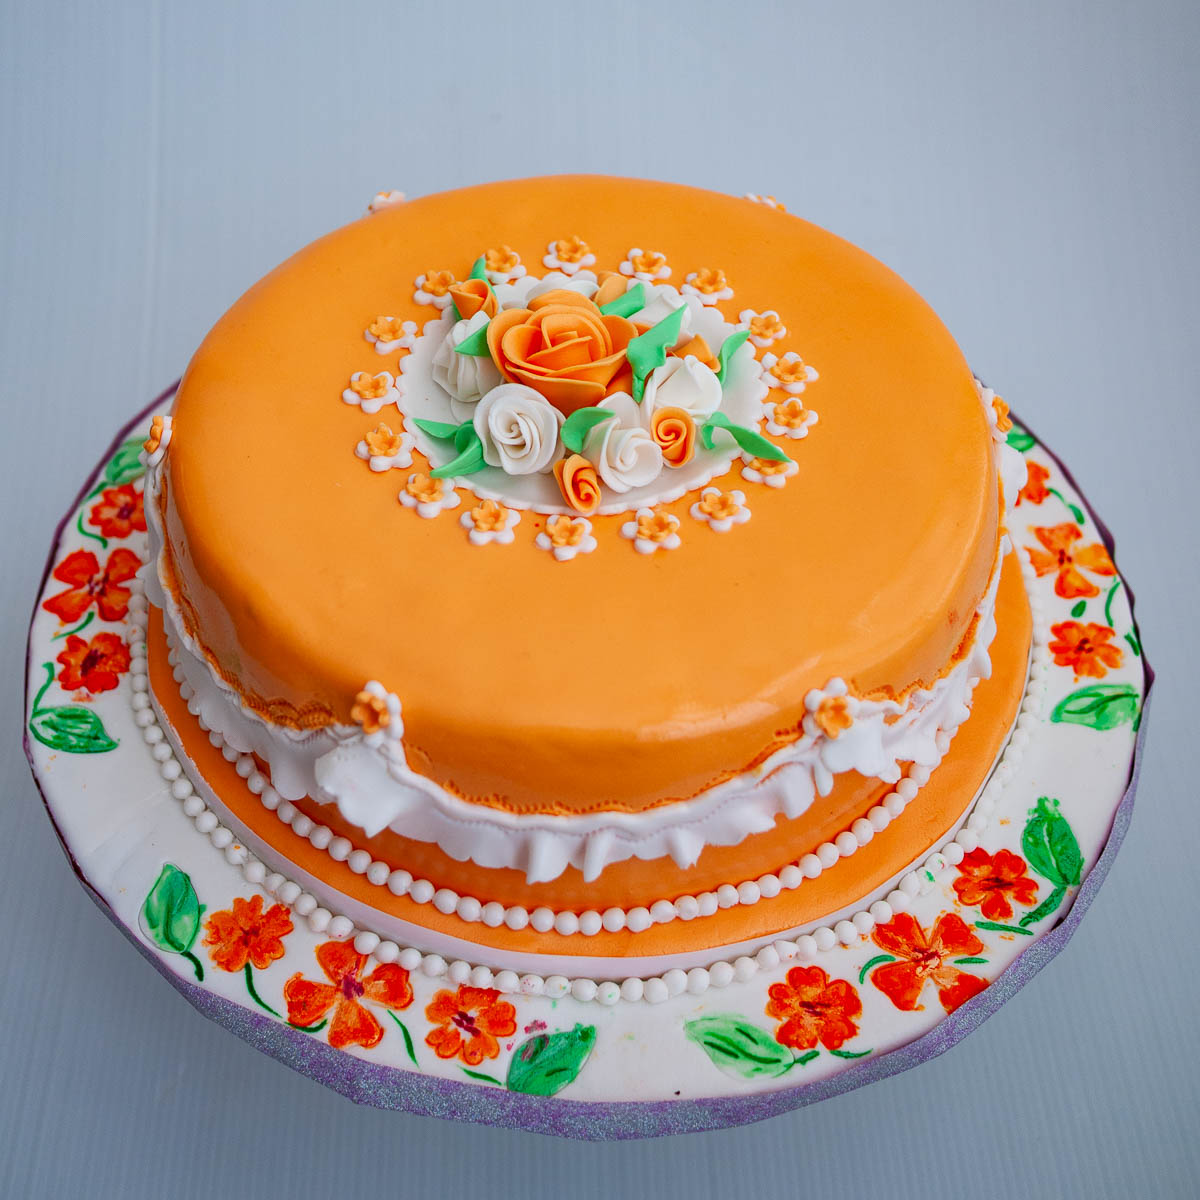
Cake Decorating Recipes
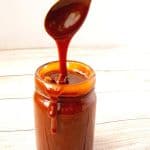
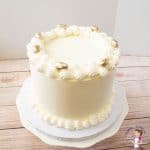
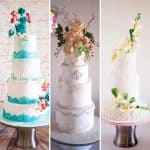
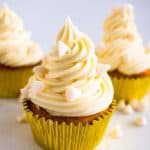
Here you will find recipes for cake decorators from layer cakes to filings, frostings, ganache as well as fondant. I have over 50 layer cake recipes, with over 30 filling and frostings to choose from. You can use my cake decorators chocolate ganache as well as six different recipes for homemade fondant