Marble Loaf Cake
 Prep Time 15 minutes Cook Time 50 minutes Total Time 1 hour 5 minutes
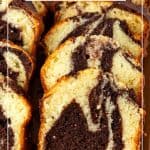
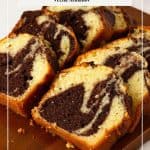
Marble loaf cake combines vanilla and chocolate cake in one buttery, moist loaf with beautiful swirls in every slice. It’s easy to make from one batter, looks impressive, and is perfect for breakfast, afternoon coffee, or dessert.
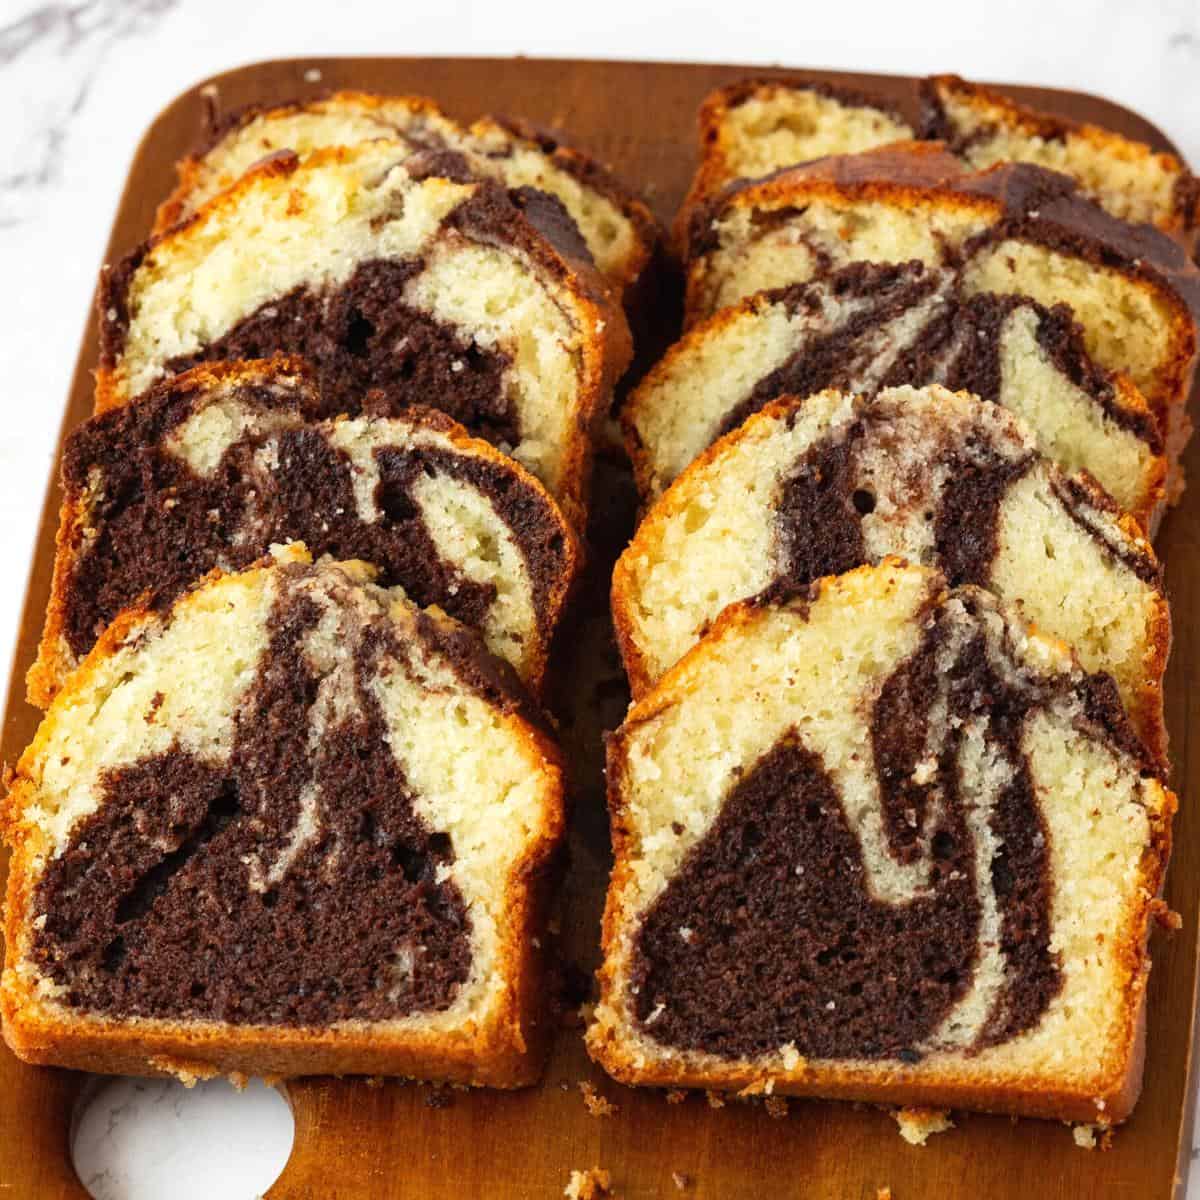
I love marble cake because you never have to choose between chocolate and vanilla. Every slice has a little of both, and the simple swirl makes each loaf look unique without any complicated decorating. It’s one of those classic cakes that’s just as welcome on a holiday table as it is on an ordinary weekend.

Marble cake always reminds me of the bakery cakes I grew up seeing. As a child, I could never decide whether I wanted chocolate or vanilla, so marble cake felt like the best of both worlds. Even now, when I bake one, I’m always excited to cut that first slice because every loaf has its own unique pattern. It’s a simple cake, but it’s one that never goes out of style.
Why You’ll Love This Marble Loaf Cake
- Soft and buttery crumb that stays moist for several days.
- Chocolate and vanilla in every bite using one simple batter.
- Easy marble swirl that looks beautiful without extra effort.
- Perfect for any occasion, from breakfast and coffee breaks to dessert.
- Freezes well, so you can always have homemade cake on hand.

Ingredients & Substitutes
- Butter – Use unsalted butter at room temperature for the best texture.
- Sugar – Regular granulated sugar keeps the crumb light and tender.
- Buttermilk – Adds moisture and a soft crumb. You can substitute milk mixed with a little lemon juice or vinegar.
- Flour – All-purpose flour works perfectly for this recipe.
- Eggs – Bring them to room temperature so the batter mixes smoothly.
- Vanilla extract – Use pure vanilla for the best flavor.
- Cocoa powder – Unsweetened natural cocoa gives the chocolate swirl its rich flavor. Dutch-process cocoa also works for a darker color.

Step-by-step: marble loaf cake
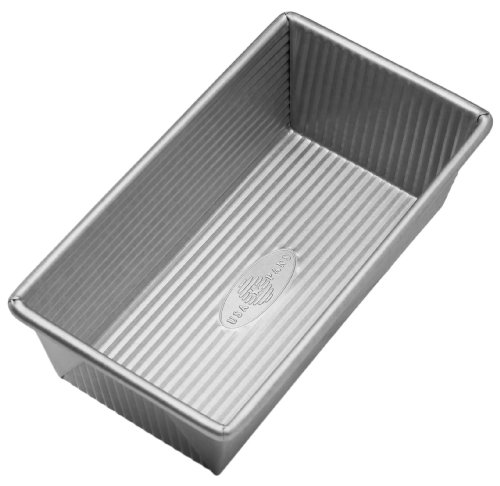
- Prep – Preheat your oven to 350°F / 175°C / Gas mark 4. Grease and flour a 9-inch loaf pan thoroughly to prevent sticking.
- Cocoa paste – Mix the cocoa paste with cocoa powder and hot water in a small bowl. Stir until you have a smooth chocolate paste. Set it aside to cool while you prepare the batter.

- Dry ingredients – Whisk together the all-purpose flour, baking powder, and salt in a medium-sized mixing bowl. Set this dry mixture aside.
- Wet ingredients – In a large mixing bowl, using an electric mixer or a stand mixer, cream the softened butter and granulated white sugar until light and fluffy. This should take about 3-4 minutes. Add the eggs one at a time, mixing well after each addition. Be sure to scrape down the sides of the bowl to ensure even mixing. Mix in the vanilla extract.
- Dry to wet – Gradually add the dry mixture to the wet mixture in three parts, alternating with the buttermilk. Begin and end with the dry ingredients, mixing until just combined after each addition. Be careful not to overmix; mix until the ingredients are incorporated.
- Divide – Transfer half of the vanilla batter to another bowl. Gently fold the cocoa paste into this portion of the batter until it’s well combined. Now you should have two bowls, one with vanilla batter and the other with chocolate batter.

- Layer – Begin layering the batters in your prepared 9-inch loaf pan. Start by spooning a layer of vanilla batter into the bottom of the pan. Then, spoon the chocolate batter on top of the vanilla. Continue alternating between the two batters until all the batter is used up.
- Marble – Use a butter knife or a skewer to gently swirl the two batters together in the pan to create a marbled effect.
- Bake in the preheated oven for approximately 50-60 minutes, or until a toothpick inserted into the center of the cake comes out clean, with a few moist crumbs attached.
- Cool – Allow the cake to cool in the pan for about 10 minutes before transferring it to a wire rack to cool completely.
- Dust – Once the cake has cooled, dust it with powdered sugar or drizzle with a simple glaze if desired. Slice and enjoy your homemade 8-inch Bundt Marble Cake!

Storage
- Store covered at room temperature for up to 3 days.
- Refrigerate for up to 1 week, bringing slices to room temperature before serving.
- Freeze the whole loaf or individual slices for up to 3 months. Wrap well in plastic wrap and foil before freezing.

Marble Loaf Cake
Marble loaf cake, for the uninitiated, is a delightful combination of rich chocolate and vanilla flavors swirled together in a beautiful marbled pattern. It's the best loaf cake out there for many reasons – it's moist, tender, and boasts a mesmerizing visual appeal that will have everyone reaching for a slice.
Video
Ingredients
- 1 ½ cups (190 g) All-purpose flour
- 1 tsp Baking powder
- ½ tsp Baking soda
- ½ tsp Kosher salt
- ½ cup (113 g) Unsalted butter at room temperature
- 1 cups (200 g) Granulated white sugar
- 2 large (100 g) Eggs
- ½ cup (120 ml) Buttermilk
- 1 tsp Vanilla extract
- ¼ cup (20 g) Unsweetened cocoa powder
- 2 tbsp (30 ml) Hot water
Method
- Prep – Preheat your oven to 350°F /175°C/ Gas mark 4. Grease and flour a 9-inch loaf pan thoroughly to prevent sticking.
- Cocoa paste – Mix the cocoa paste with cocoa powder and hot water in a small bowl. Stir until you have a smooth chocolate paste. Set it aside to cool while you prepare the batter.¼ cup Unsweetened cocoa powder, 2 tbsp Hot water
- Dry ingredients – Whisk together the all-purpose flour, baking powder, and salt in a medium-sized mixing bowl. Set this dry mixture aside.1 ½ cups All-purpose flour, 1 tsp Baking powder, ½ tsp Baking soda , ½ tsp Kosher salt
- Wet ingredients – In a large mixing bowl, using an electric mixer or a stand mixer, cream the softened butter and granulated white sugar until light and fluffy, which should take about 3-4 minutes. Add the eggs one at a time, mixing well after each addition. Be sure to scrape down the sides of the bowl to ensure even mixing. Mix in the vanilla extract.½ cup Unsalted butter, 1 cups Granulated white sugar, 2 large Eggs, ½ cup Buttermilk, 1 tsp Vanilla extract
- Dry to wet – Gradually add the dry mixture to the wet mixture in three parts, alternating with the buttermilk. Begin and end with the dry ingredients, mixing until just combined after each addition. Be careful not to overmix; mix until the ingredients are incorporated.
- Divide – Transfer half of the vanilla batter to another bowl. Gently fold the cocoa paste into this portion of the batter until it's well combined. Now you should have two bowls, one with vanilla batter and the other with chocolate batter.
- Layer – Begin layering the batters in your prepared 9-inch loaf pan. Start by spooning a layer of vanilla batter into the bottom of the pan. Then, spoon the chocolate batter on top of the vanilla. Continue alternating between the two batters until all the batter is used up.
- Marble – Use a butter knife or a skewer to gently swirl the two batters together in the pan to create a marbled effect.
- Bake in the preheated oven for approximately 50-60 minutes, or until a toothpick inserted into the center of the cake comes out clean, with a few moist crumbs attached.
- Cool – Allow the cake to cool in the pan for about 10 minutes before transferring it to a wire rack to cool completely.
- Dust – Once the cake has cooled, dust it with powdered sugar or drizzle with a simple glaze if desired. Slice and enjoy your homemade 8-inch Bundt Marble Cake!
Notes
- Use room-temperature butter, eggs, and buttermilk so the batter mixes smoothly and bakes evenly.
- Mix the batter only until the flour disappears. Overmixing can make the cake dense.
- Stir the cocoa powder and hot water into a smooth paste before folding it into half of the batter.
- For distinct marble swirls, use a knife or skewer to make just a few figure-eight motions. Too much swirling will blend the batters together.
- Every oven bakes differently, so start checking the cake at about 50 minutes. A skewer inserted into the center should come out with a few moist crumbs.
- Let the cake cool in the pan for 10 minutes before turning it out onto a wire rack to cool completely.
- Store covered at room temperature for up to 3 days, or refrigerate for up to 1 week.
- Freeze the whole loaf or individual slices for up to 3 months. Thaw at room temperature before serving.
Equipment you will need

Nutrition
Tried this recipe?
Mention @veenaazmanov_kitchen or tag #veenaazmanovkitchen!Tips for Success
- Use room-temperature butter, eggs, and buttermilk.
- Mix the batter only until combined to keep the cake tender.
- Stir the cocoa paste until completely smooth before adding it to the batter.
- Swirl with just a few figure-eight motions. Too much swirling blends the colors together.
- Check for doneness with a skewer inserted into the center. It should come out with only a few moist crumbs.
- Cool the cake for about 10 minutes before removing it from the pan.
more loaf cake recipes
- Lemon Blueberry Loaf with Crumble Topping
- Perfect Lemon Pound Cake
- Moist Vanilla Pound Cake Recipe
- Perfect Gingerbread Cake


Frequently asked questions
Achieving that beautiful swirl effect can seem tricky, but don’t worry, it’s easier than it looks. The key is to avoid overmixing the two batters together. Simply alternate spoonfuls of the vanilla and chocolate batters into the loaf pan, and then use a skewer or knife to swirl them together gently. This creates elegant, marbled patterns that make the cake visually appealing.
The secret lies in the moisture content. To keep your marble loaf cake moist and tender, be sure not to overbake it. Start checking for doneness around the recommended baking time. Once a toothpick inserted into the center comes out with a few crumbs clinging to it, it’s ready to be taken out of the oven. Overbaking can lead to a dry and crumbly texture, so keep a close eye on it.
The answer is a resounding yes! Marble loaf cake tastes even better the day after it’s baked, as the flavors have had time to meld together. You can store it at room temperature in an airtight container for up to three days or refrigerate it for a week. Just bring it to room temperature before serving for the best taste and texture.
Buttermilk is a magical ingredient that can elevate the flavor and texture of your cake. Its tangy and creamy characteristics impart a subtle yet distinctive taste, making it a popular choice for adding depth to baked goods. When used in marble loaf cakes, buttermilk enhances the overall flavor and ensures a moist and tender crumb.
more coffee cake recipes
- Best Moist Banana Cake
- Sour Cream Coffee Cake Recipe
- Moist Cinnamon Swirl Cake
- Old Fashion Coconut Cake Recipe (One Bowl)
- Italian Almond Cake
- Bundt Marble Cakes

Don’t lose this recipe! Save it for Later!
📌 Save this Recipe for later on Pinterest so you can easily find it again.
⭐ Add Veena Azmanov Kitchen to your Google Preferred Sources.
It helps Google show you more of our recipes.
📧 Subscribe for new recipes delivered to your inbox.
🎥 Follow us for more recipes


Hi Veena
I was looking for a 6inch marble cake. How can I convert this recipe to fit in for 6inch two layer marble cake.
Hi, if you double this recipe you should be able to make 2 x 6-inch layer cakes (each 2-inch depth) Thanks
Thank you Veena