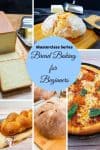
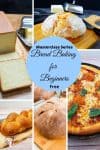
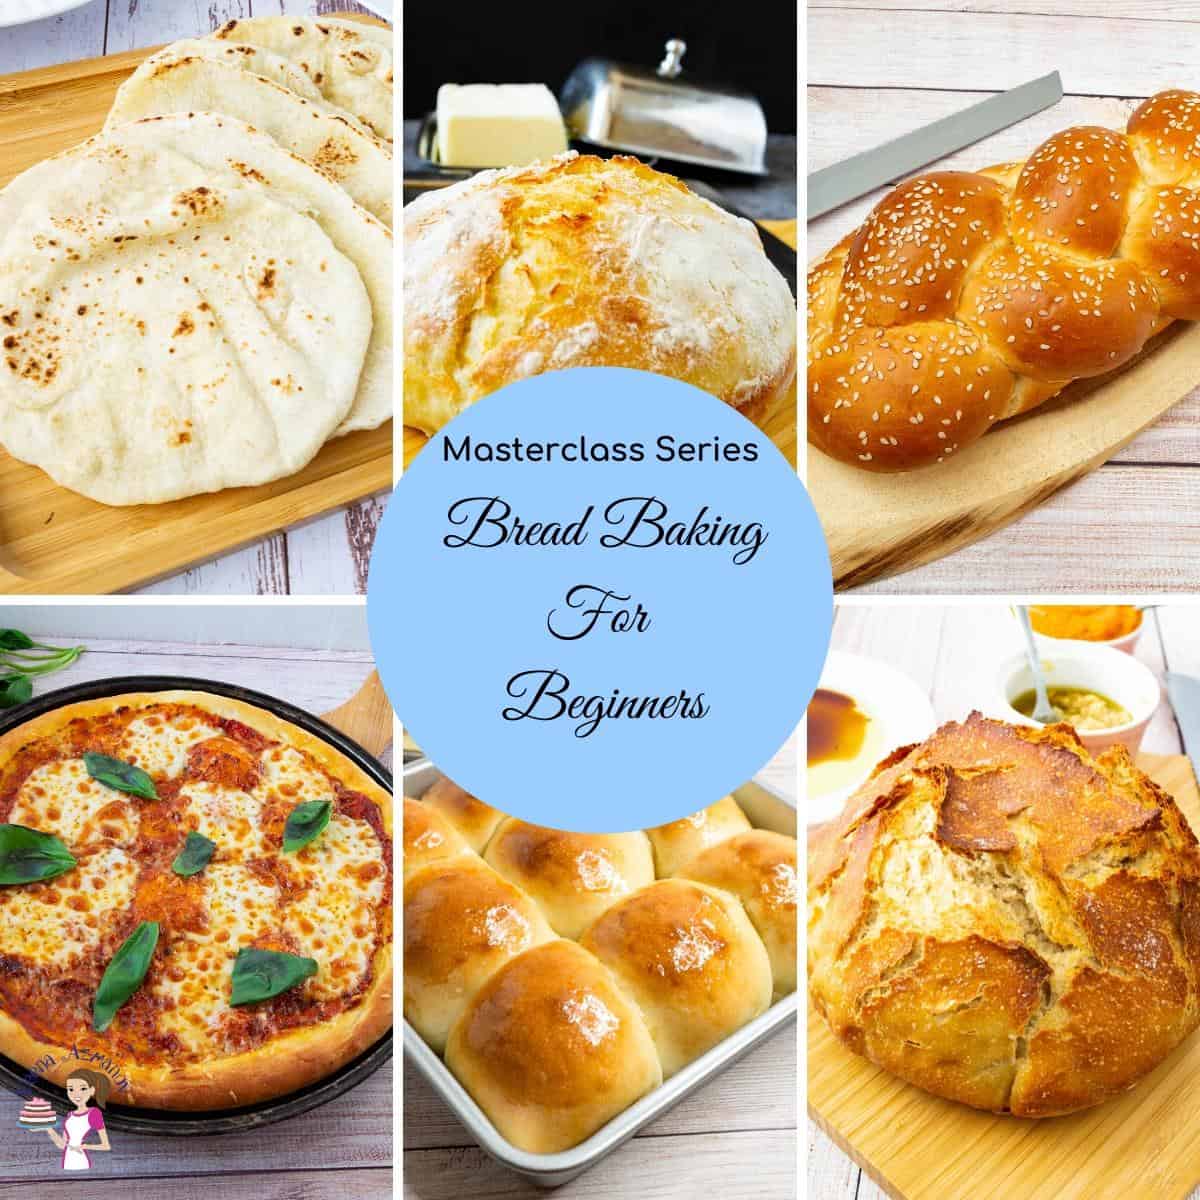
Learn Bread Baking at Home — Step by Step 😄
Have you ever wanted to bake your own bread but felt intimidated by yeast, kneading, proofing, or dough that never seems to behave properly?
Trust me — you are not alone.
That’s exactly why I created this free Bread Baking Series for Beginners.
Because homemade bread is not nearly as complicated as people think.
You do not need:
- professional training
- fancy equipment
- or years of baking experience
to make beautiful homemade bread at home.
What you really need is to understand:
- ingredients
- dough texture
- hydration
- kneading
- proofing
- and baking techniques
And once those things start making sense, bread baking becomes much easier — and honestly, much more fun 😄
I started baking bread many years ago through lots of trial and error. Some recipes took several attempts before I found the version that worked consistently every time.
But those were not failures.
They were lessons.
And now I want to help make the learning process easier for you.
This series is designed specifically for beginner and home bakers who want to build confidence baking bread from scratch.
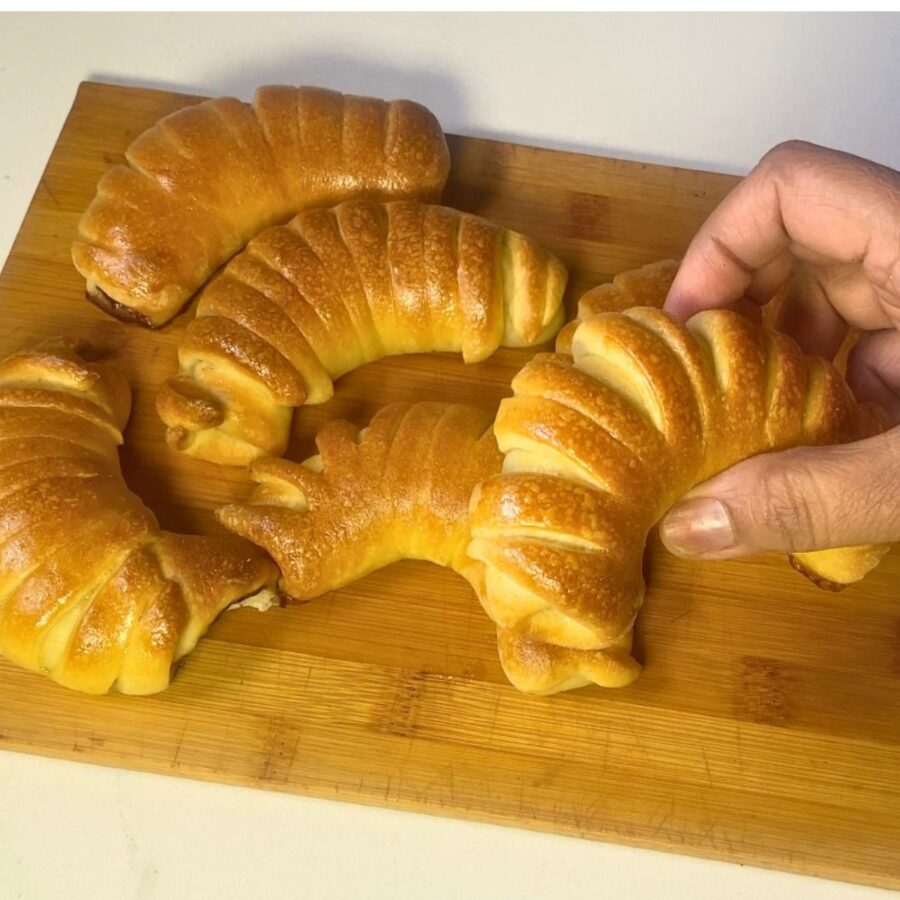
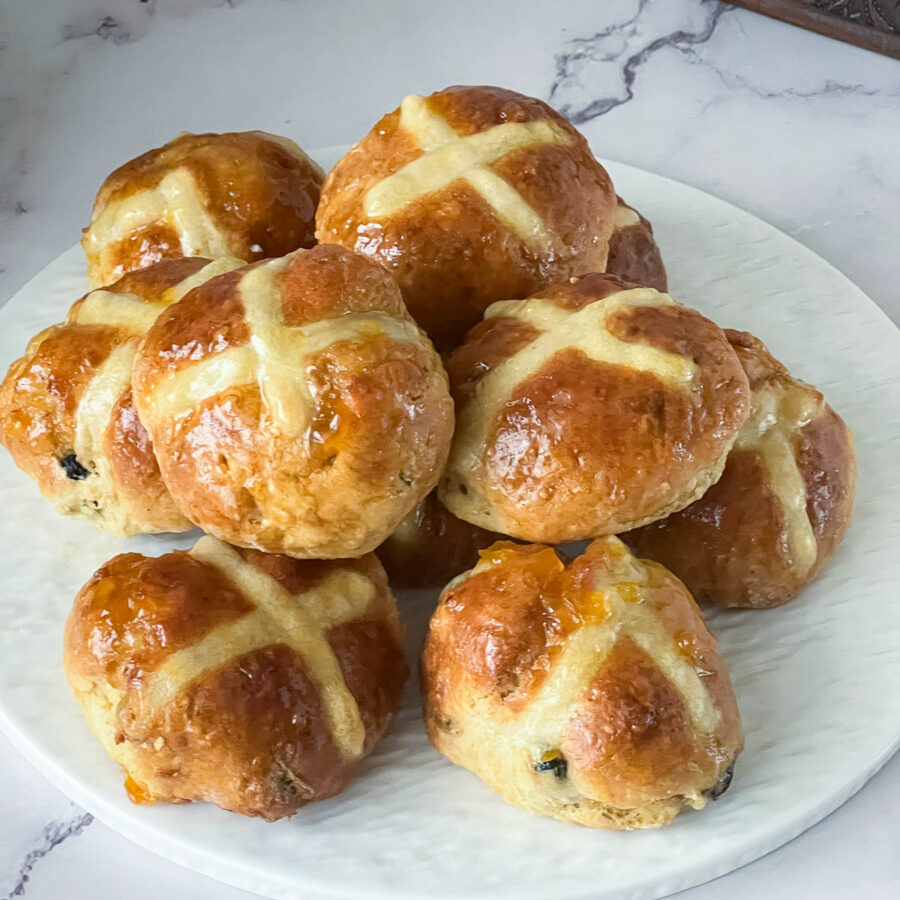
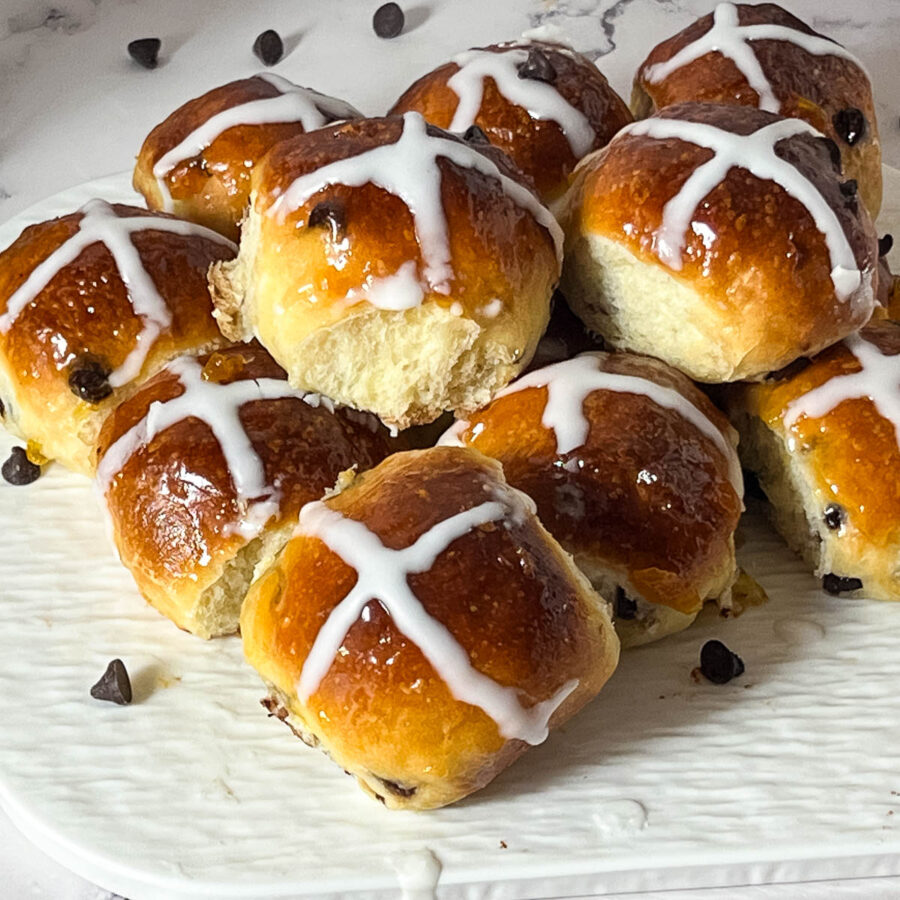
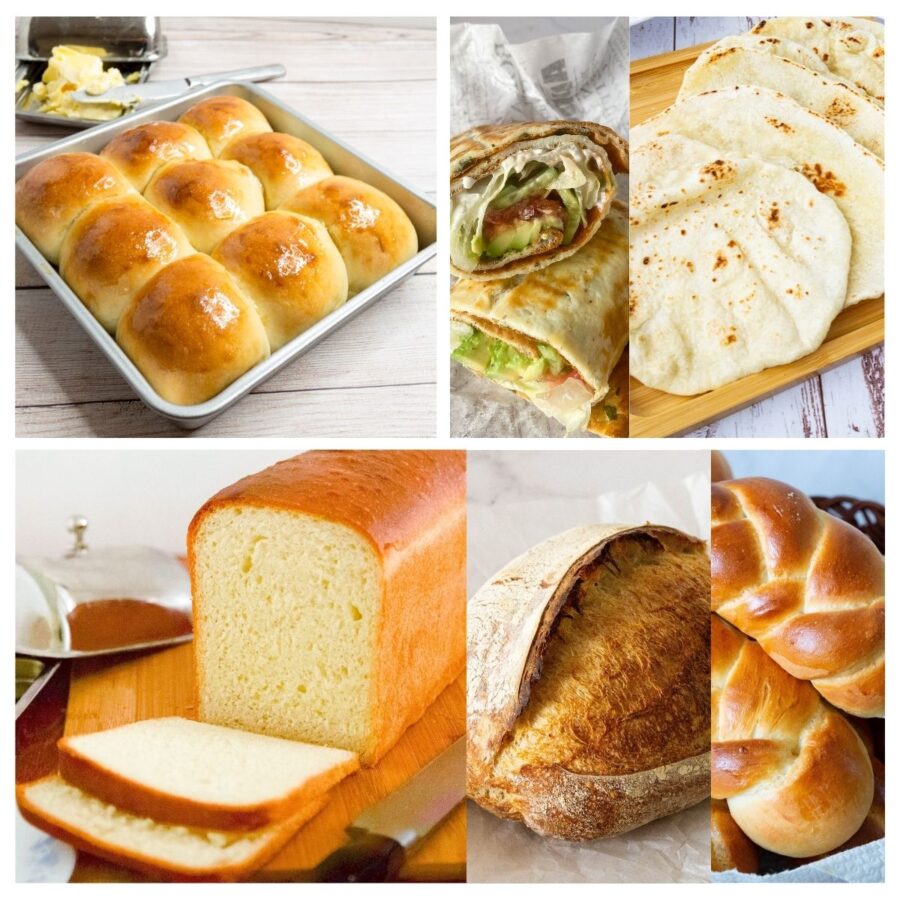
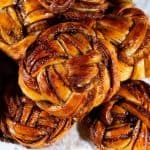
Along the way, you’ll learn how to make:
- soft dinner rolls
- sandwich bread
- challah
- burger buns
- whole wheat bread
- rustic artisan loaves
- flatbreads
- pizza dough
- and more 😄
You’ll also learn the foundations of bread baking, including:
- how yeast works
- understanding gluten and hydration
- kneading techniques
- proofing dough
- shaping bread
- and troubleshooting common bread problems
Whether you want to bake fresh bread for your family, learn a new skill, or simply enjoy the process of homemade baking, this series will guide you step-by-step.
And the best part?
You can learn at your own pace.
Be sure to join the Facebook group, share your bread photos, and ask questions along the way 😄
What equipment do I need to make bread?
To bake bread, you will need a few essential tools to help you with the various stages of the bread-making process. Here are some common tools necessary for baking bread:
Remember, while these tools can enhance your bread-making experience, you can start with the basics and gradually acquire additional tools as you gain more experience and confidence in baking bread.
- Mixing Bowl: Use a large mixing bowl to combine and mix the ingredients for the dough.
- Measuring Cups and Spoons: Accurate measurements are crucial in baking. Use measuring cups and spoons to precisely measure flour, water, yeast, salt, and other ingredients.
- Kitchen Scale: A kitchen scale is helpful for measuring ingredients by weight, which can provide more accurate and consistent results, especially when working with bread recipes that use weight measurements.
- Dough Scraper/Bench Scraper: A dough scraper or bench scraper handles sticky dough, divides dough portions, and cleans your work surface.
- Wooden Spoon or Dough Whisk: Use a wooden spoon or dough whisk to mix the dough and combine the ingredients before kneading.
- Stand Mixer with Dough Hook (optional): While not essential, a stand mixer with a dough hook attachment can make kneading easier and less labor-intensive, especially for larger batches of dough.
- Pastry Brush: A pastry brush is helpful for applying egg wash or butter to the bread’s surface to enhance browning and add flavor.
- Banneton or Proofing Basket: A banneton or proofing basket is made of cane or other natural materials that help shape and support the dough during the final proofing stage. It adds texture to the crust and helps the bread retain its shape.
- Baking Sheet or Loaf Pans: Baking sheets or loaf pans hold and shape the dough during the final rise and baking.
- Oven Thermometer: An oven thermometer ensures that your oven is at the correct temperature, as oven thermostats can be inconsistent. This helps achieve the desired baking results.
- Cooling Rack: After baking, a cooling rack allows air to circulate the bread, preventing moisture buildup and keeping the crust crisp.
Additional tools that can be handy but are not essential include a bread knife or sharp knife for scoring the bread, a spray bottle for creating steam in the oven, and a pizza stone or baking stone for even heat distribution.


Frequently asked questions
Anyone who wants to become a better bread baker.
All my masterclass series are free.
The lessons and assignments are over a period of 12 days. After that, you will get an email from me every week with links to recipes you may like to try. This is to encourage you to bake and refresh the skills you learned in this masterclass.
No, this class starts from the basics. And even if you have some baking experience, the lessons are a good refresher.
Yes, we start with the lessons and then move on to baking some bread. After all, how will you learn if you don’t put your knowledge into practice?
You don’t need a camera to take pictures. Your phone camera is adequate. Just make sure your images are clear, not blurred.
This masterclass is given via a series of emails. You don’t need to do anything. During this masterclass, every day, you will get an email from me with the content and assignment for that particular lesson. Follow the lessons and instructions, and do the assignment for each day.
Absolutely, but don’t do them all at once.
If you do them one at a time, you will be able to give each masterclass the time and energy it needs.
You can see the signup form above or click here to sign up.

Don’t lose this recipe! Save it for Later!
📌 Save this Recipe for later on Pinterest so you can easily find it again.
⭐ Add Veena Azmanov Kitchen to your Google Preferred Sources.
It helps Google show you more of our recipes.
📧 Subscribe for new recipes delivered to your inbox.
🎥 Follow us for more recipes

After the success of my first masterclass – Secrets to baking incredible cakes, I decided to do a few more masterclass series.

Thank you for so generously sharing your masterclasses. I have signed up and I hope I will be able to start tomorrow afternoon. If not I will start on Friday 26 MAY.
Today I experimented with some simple 2 ingredients bread recipe with some success.
For your masterclass, I already have all the equipment, so that is a great plus.
Blessings in abundance.
Bernadette
PS. Where do I find the recipe for the first class?
Just follow the instructions in the emails you receive everyday.
Hi Veena,
Thank you so much for your Master Classes and being a Master Instructor. I’ve learned many tips and tricks and can’t wait to show it all off to family and friends. No matter how much you know or think you know, you always learn something new. I truly appreciate your lessons.
Thank You,
Dorothy Klass 🙂
Thank you so much for the lovely feedback, Dorothy. I am so happy you learned from this masterclass.
I need to try your recipe
Veena: As somewhat experienced bread baker, I still learned new things from your course. I was unable to keep up with the course because of not baking every day. Enjoyed your professionalism and your tips that you added. Old dogs can learn new things. I have been baking bread with eggs for years and my hamburger buns were superb. I do not have a cell phone so unable to send you photos
Thankyou:
Charles Kaiser.
Thank you Charles.
I really like you and appreciate you already. I just came across your site today and I enjoyed reading your recipes. It was like a walk in the amusement Park. Thank you for what you do.
Thank you so much Zainab
Great class highly recommended
Very educational
Hi VeenA
I loved your course and all the baking catagories that you covered. To be honest, it was too fast paced for me. A lesson week would have been more my pace.
I did not have the time to keep up and as usual life intervened. But I did save your lessens. The pizza dough and sauce will be the first to revisit.
I love all the tips and jnsights.
Thanks
Laura
Thank you for your feedback, Laura.
Veena –
These classes have been great! Thank you for offering them.
Although I am an experienced baker I was still able to learn a few new tricks and tips.
I also used your classes with my son (age 19) and he now feels confident to start baking bread.
Thanks again!
Thank you, Karen, I am so happy to hear that you and your son enjoyed my class. Thanks for the lovely feedback.
Hi
Thank you for such incredible recipes and ideas.
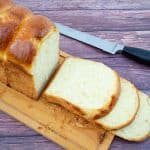
Your bread slices look so amazing, what do you use for slicing bread, knife and cutting board
Thank you
CC
Yes, I just use a bread knife and cutting board. Thanks
Thank you for taking the time to reply, that was thoughtful
When you say you use a cutting board do you mean a plain cutting board or a slicer board
I may need to buy a sliver board at 77 I am not that accurate in slicing bread
Have you written anywhere how to use the dough cycle then bake the bread.
I am so confused, some people say they knead it after removing the bread others don’t
I assume I let it rise in a buttered pan yet I have no idea how long and what temp
I want to buy the Pullman sandwich pan.
Your a busy lady, when you have alittle extra time, I hope you will have the answers, I want to be a success story before my time ends
I also want to gift some breads to my neighbors, so I certainly need a pretty loaf lol
Again
Thank you so much
Stay safe
Hey CC, Yes, I do use just a regular cutting board and a bread knife. But you can buy a bread slicer too. My neighbor has this one she loves very much.
I don’t use a bread machine so I don’t usually dwell much on those details. For me. the process is simple.
I knead the dough and let it rise until double. If I don’t have time to tend to it I punch it down and let it rise again.
Sometimes, I even let the dough rise in the fridge overnight on busy days. Bread if very forgiving if you know the basics.
Then I shape the dough, proof, and bake
I hope that makes sense.
Your neighbors are lucky to have fresh bread from you. I’m sure they don’t mind the slices.
Have a great day.
Great Course I’m looking forward to the next one.