10 Tips – Roll Perfect Sugar Cookies
Cookies look best when they are cut perfectly. But not all cookie dough is easy to manage. Some spread out with thin edges, which can be a nightmare when decorating, especially with royal icing. Some puff up and have air pockets and can’t be used for decorating. These 10 tips will help you roll perfect sugar cookies every single time.

Those of you who bake cookies often know how frustrating it can be when your cookie dough is soft and you need to move it around. The fear of losing that shape when moving the cookies from the working board to the cookie sheet. Now multiply that if you live in a hot and humid place like me. I know!!
I’ve baked and decorated my fair share of cookies. And I can tell you that these 10 tips to roll perfect sugar cookies every single time come from experience and a lot of trial and error.
You can use the tips below with a sugar cookie recipe, including my sugar cookie recipes (don’t worry, I have linked them for you at the bottom of this post again).
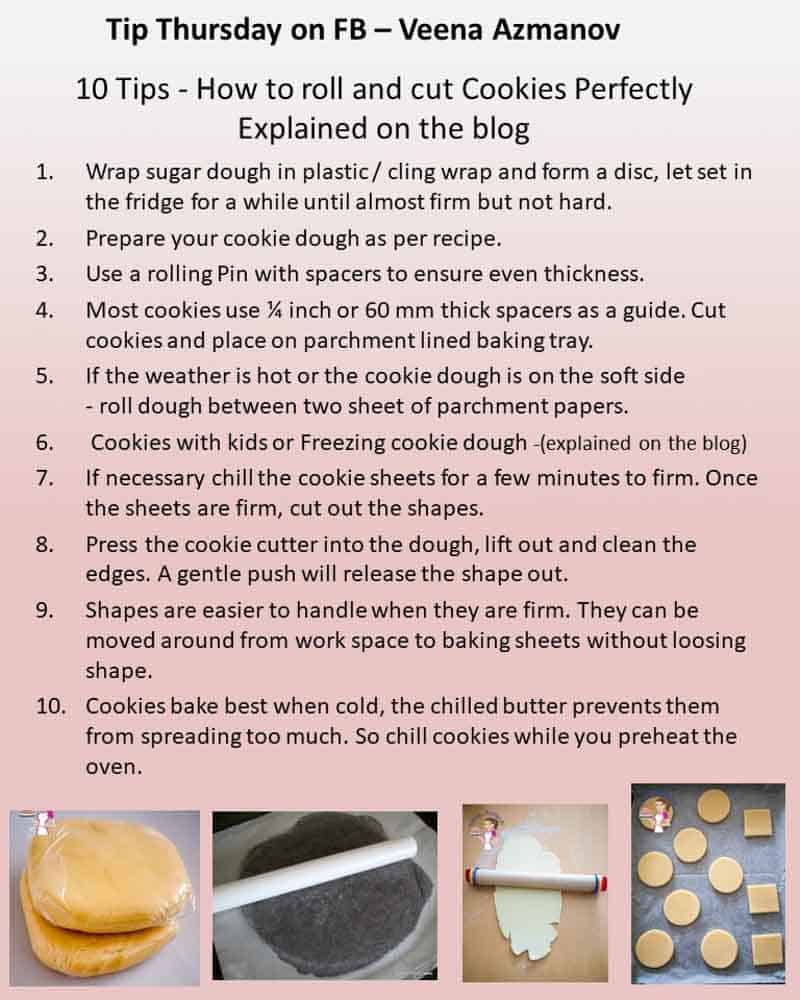
How to roll and cut cookies perfectly
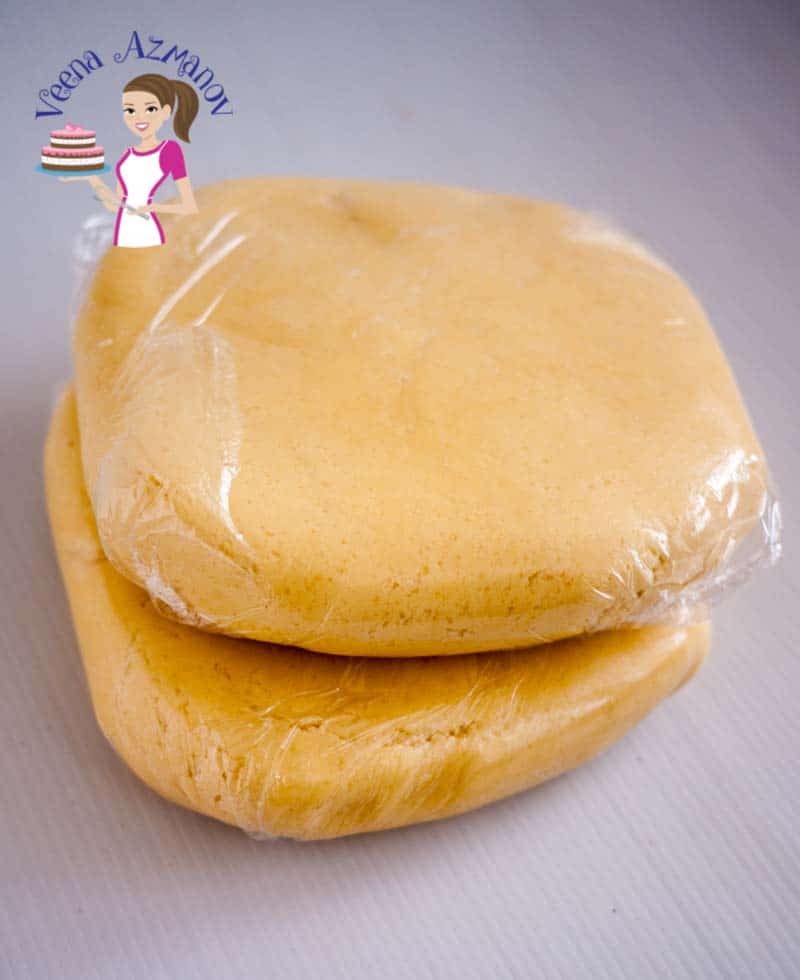
1. Prepare your cookie dough as per the recipe.
2. Wrap sugar dough in plastic/cling wrap and form a disc. Let it set in the fridge for a while until it’s almost firm but not hard.
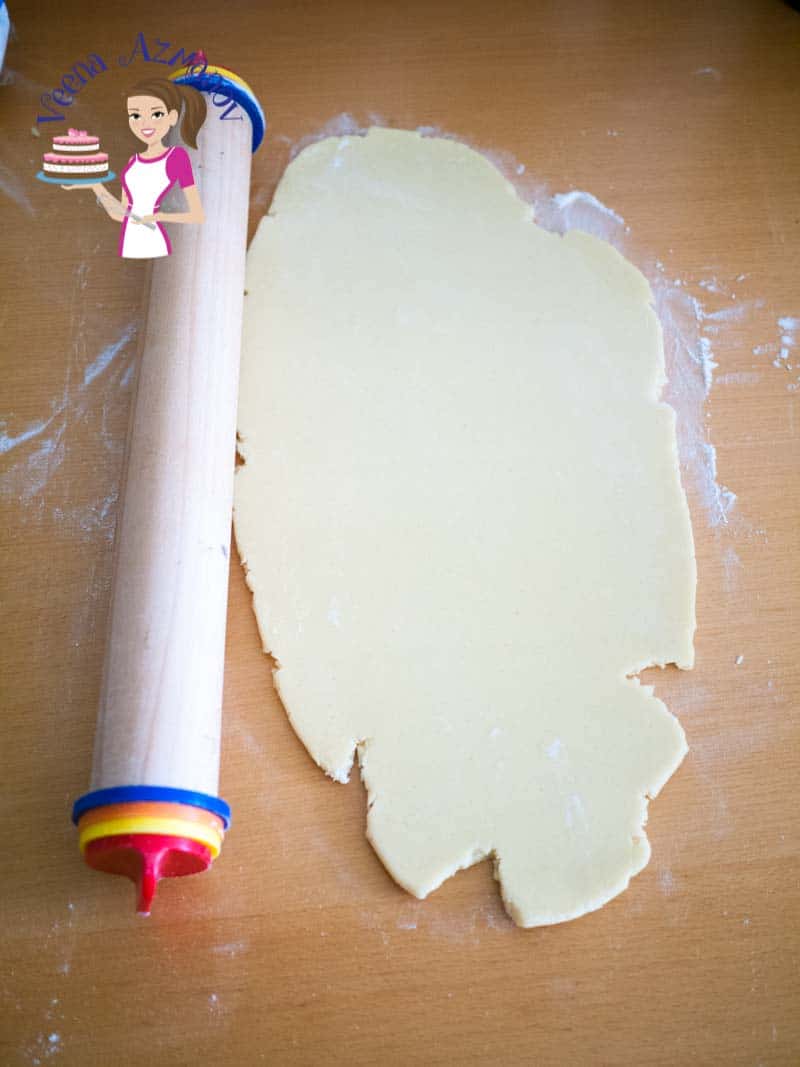
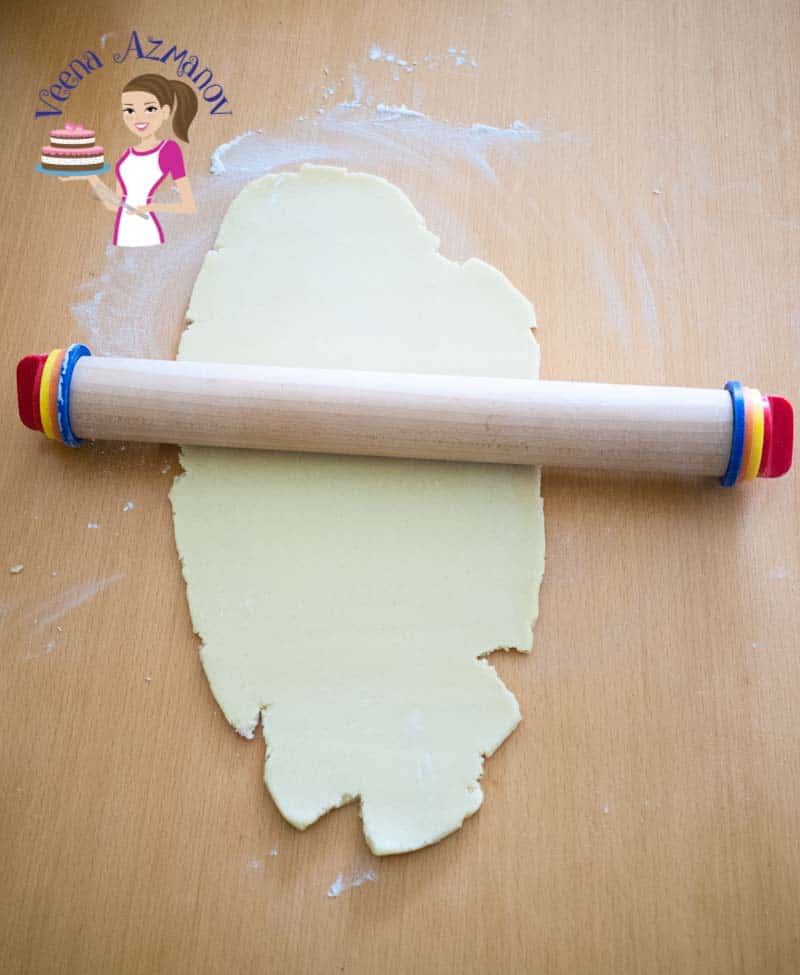
3. Use a rolling pin with spacers to ensure even thickness.
Pro tip – If you do not have a rolling pin with spacers – it’s OK too! Just roll the cookie dough with your regular rolling pin. But cut the cookies an inch away from the outer edges. Why? The normal tendency when rolling the dough is that the outer edges are thinner than the center.
4. Most cookies use a ¼ inch or 60 mm thick spacer as a guide. Cut cookies and place them on a parchment-lined baking tray.
Pro tip – If the cookie dough is soft, do not cut the cookies yet. Place the dough on a parchment-lined baking tray and chill the cookie sheet for 10 minutes.
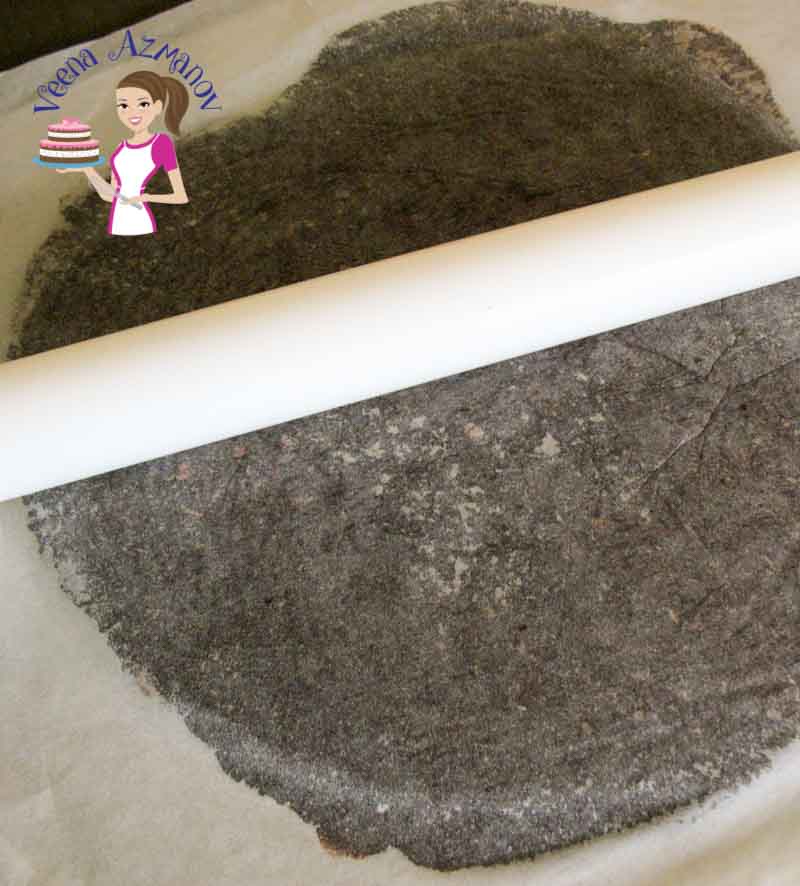
5. And, if you live in hot and humid weather, always roll cookie dough between two sheets of parchment paper and chill it.
6. Cookies with kids or freezing cookie dough.
- Chilling cookie dough between two parchment papers makes a great way to manage cookie projects with kids. Kids love to handle cookies, and the chilled dough helps keep the shapes.
- Freezing cookie dough between two parchment papers is also a great way to prepare huge batches of cookies. If you need large batches of cookies for a project, instead of doing them all on one day, just divide the workload so you can bake them closer to the date you need them.
Pro tip – Peel off both the papers and release the sheet of dough from the parchment paper first. It’s easier to release the sheet from the whole disc than from individual cookies.
7. If necessary, chill the cookie sheets for a few minutes to firm. Once the sheets are firm, cut out the shapes.

8. Press the cookie cutter into the dough, lift out, and clean the edges. A gentle push will release the shape.
9. Shapes are easier to handle when they are firm. They can be moved around from workspace to baking sheets without losing shape.
10. Cookies bake best when cold; the chilled butter prevents them from spreading too much. So, chill cookies while you preheat the oven.
If you have to make cookie pops, insert the stick into the chilled cookie just before baking – this will ensure you do not distort the cookie shape.
Pro tip – I dip my cookie stick in egg white. Place my hand on the cookie as shown and slide the stick right under the cookie. Because the dough is cold, it won’t lose shape. The egg white helps the cookie stick slide easily, but most importantly, sticks to the cookie-like glue.
This was this week’s Tip Thursday
Works for every cookie dough
Now, these tips work for all cookie dough. Even the ones that do not need rolling. Chill your dough before forming the shapes and before you bake them. I promise you will be a happy cookie baker.

Best timeline for decorating cookies
One of the things we like to do is start a project and expect to get it done in one go. Start to finish. Often, that attitude makes us compromise on the time a project needs. In this case, it’s the chilling time. However, if you plan your project a little in advance, you will find that you not only complete your project on time but do a great job with it, and most importantly, have fun doing it.
So don’t start the project at the last minute.
- Prepare your cookie dough – divide into two or three, wrap in cling wrap, and leave in the fridge. Go on with your day. Find something else to do. Get a cup of coffee.
- Roll cookie dough onto sheets of parchment paper – if you enjoy good weather – cut them out and place them on a cookie sheet, or chill the sheets first, then cut them later.
You can double-stack cookies between parchment papers to save space and trays in the fridge. Let cookies chill before you bake.
Most rolled cookies can stay in the fridge for up to two days if wrapped well. So no haste, bake them when you have time. - Always bake cookies when you can give them the attention they need, and with a kitchen timer on hand.
A rule of thumb for me – never trust yourself when it comes to baking cookies. They bake so fast that often that one extra minute can ruin all your hard work.
So, preheat the oven – when you place the first tray in, set the timer for 10 minutes – often cookies bake at 10 or 11 minutes if cut at a thickness of 1/4 inch. - Remove, cool on the rack, and then store well in a cookie jar. Never leave cookies out too long after they are cooled – store them in a cookie jar so they stay crisp and don’t dry out.

Sugar cookie recipes
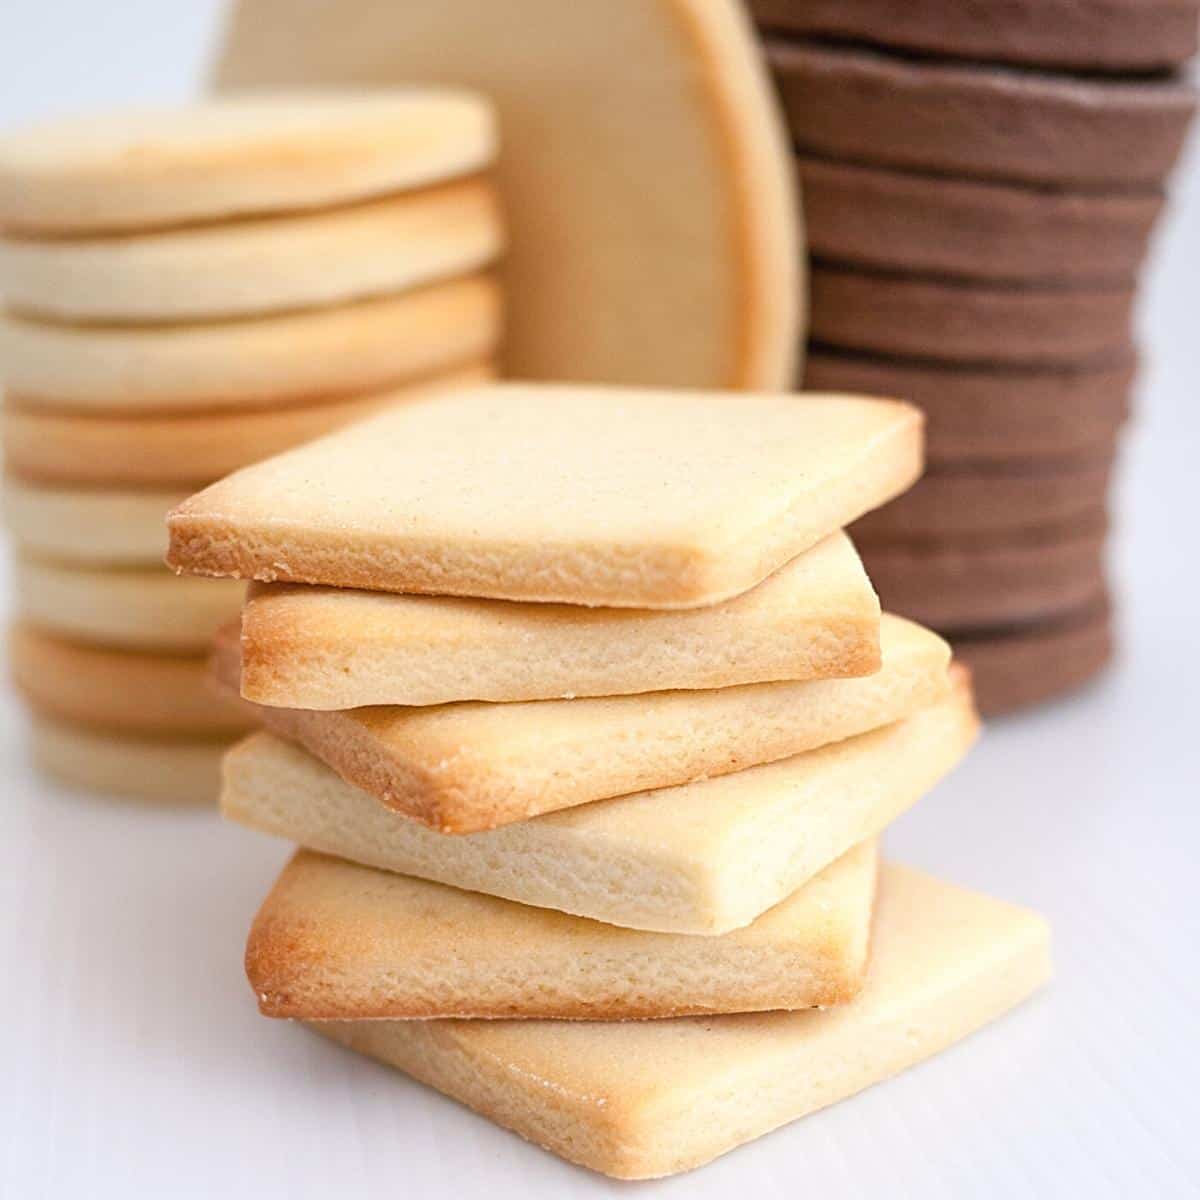
The Best Sugar Cookies Recipe

Eggless Vanilla Sugar Cookies
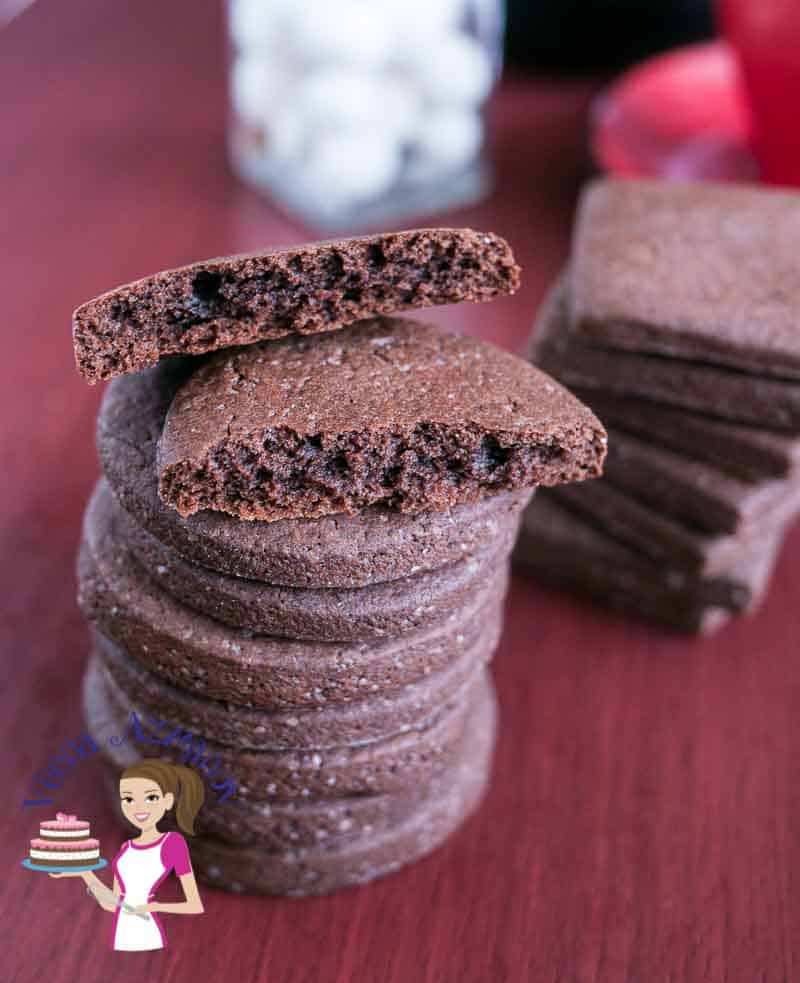
Eggless Chocolate Sugar Cookies

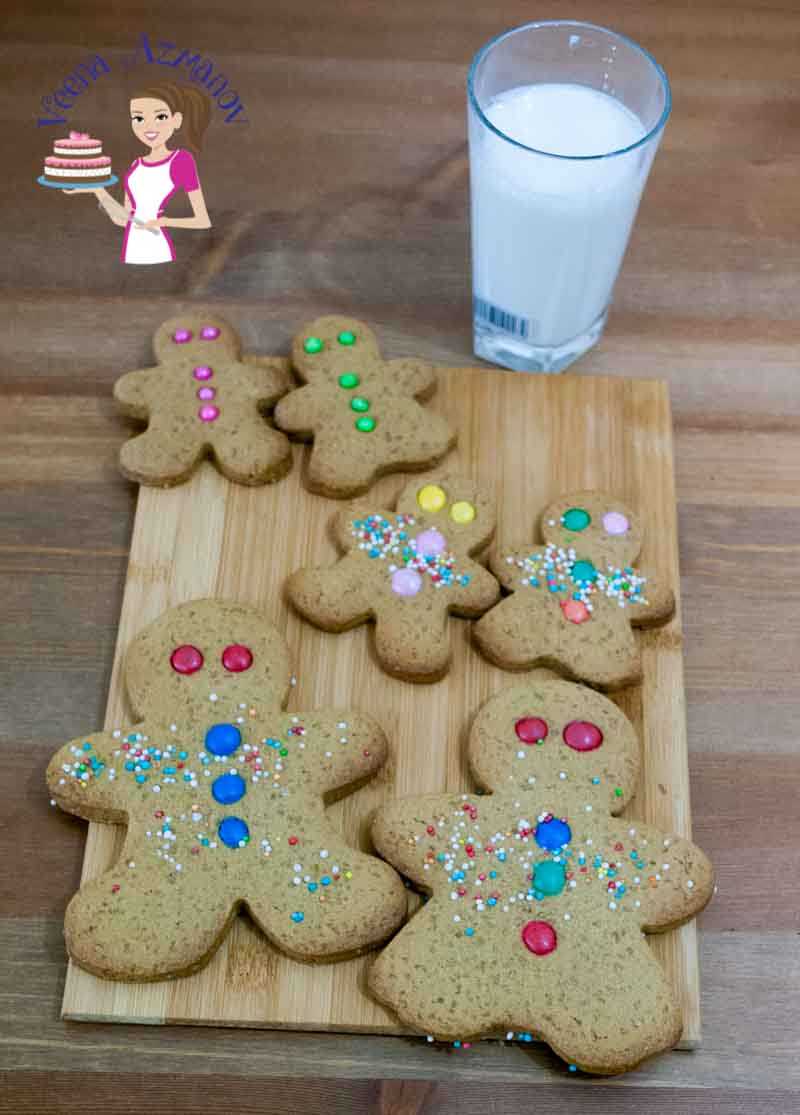
Gingerbread Sugar Cookies


Please help me.
I’m unable to view the vanilla/ chocolate sugar cookie recipe.
It takes me to the home page with all the different categories of food.
Thanks.
Ah I see what happened. I fixed it – here’s the Sugar cookie recipe.
Hi, `I’m going to try this recipe, it looks perfect. Ive got 500 cookies to make so hopefully
your recipe will work for me. Can I make gluten free cookies with this recipe substituting all purpose flour for gluten free? Thanks for recipe. Paula
Thanks Paula. Yes, I hope you enjoy it. Everybody seems to have great success with it. It’s very delicious too!
amazing!! thank u SO much for sharing all ur tricks n tips! will try them out tom!